
In August of 2022 we embarked on a basic renovation of our barn. Our intention is to have the barn function as a communal space with a lounge area, a pool/ping-pong/dining table, and a simple loft sleeping area for spill-over guests.
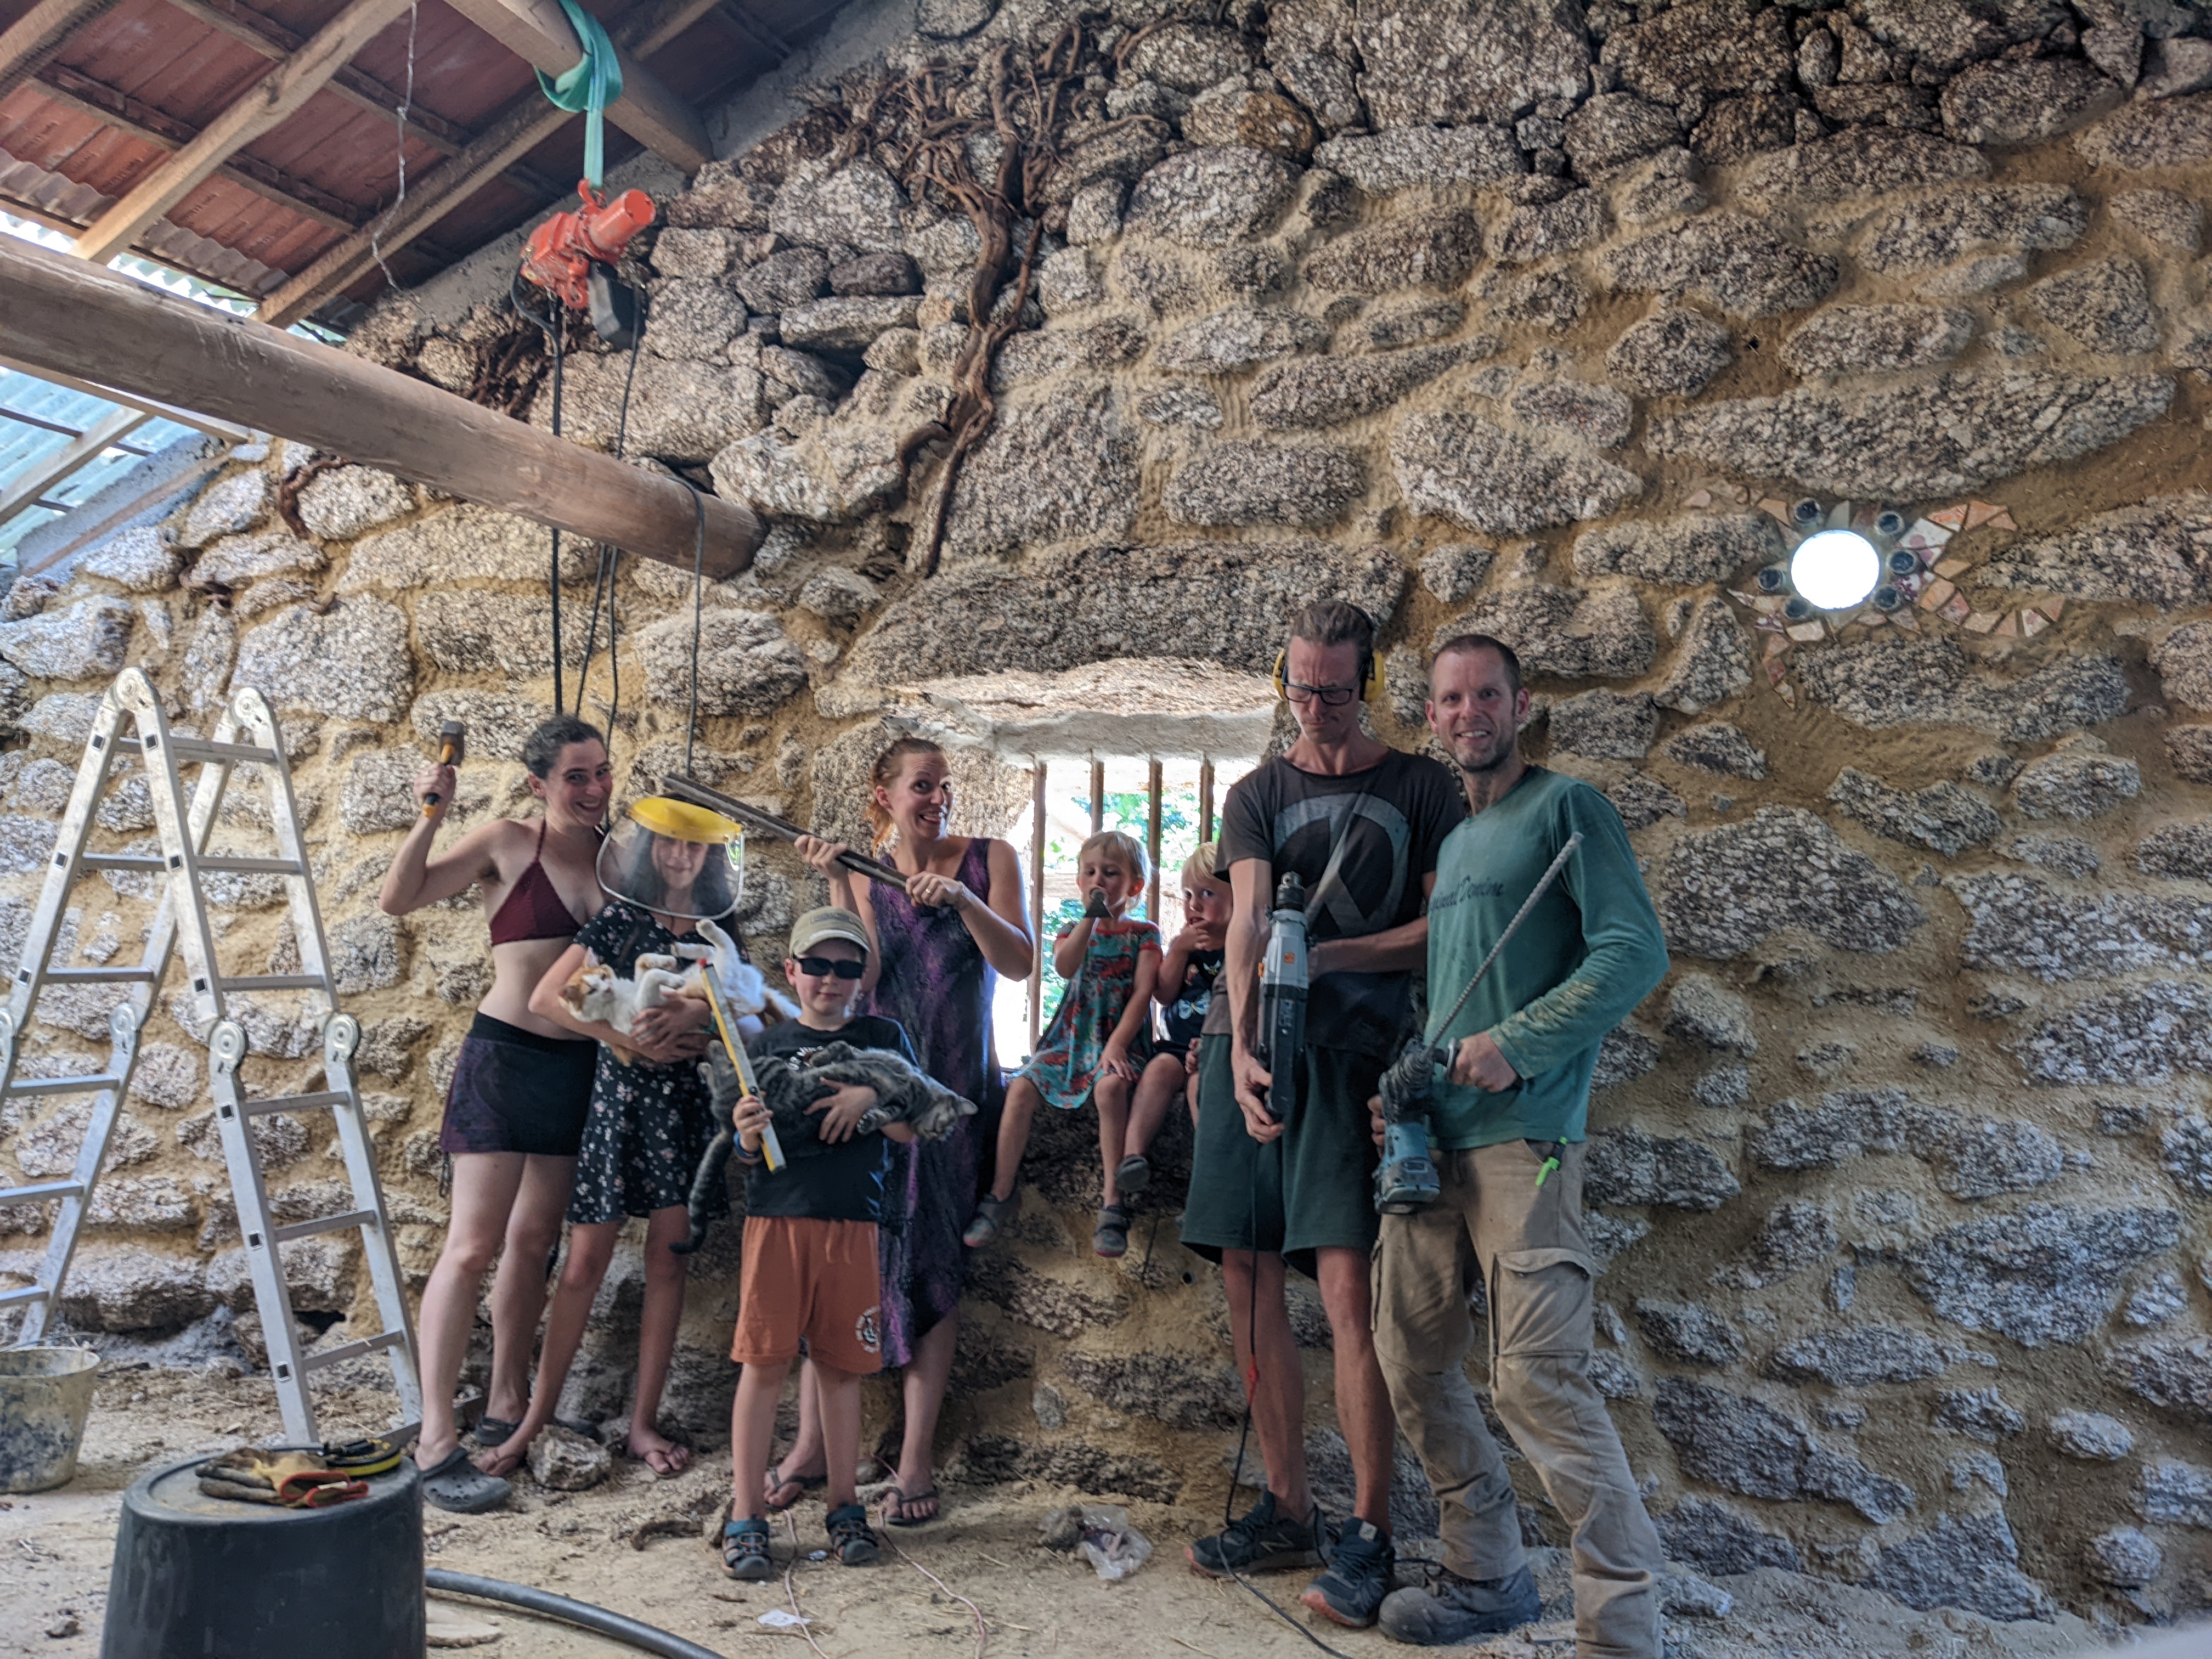
We were able to complete it in a few short months by enlisting the help of our friends, our resident family here, in exchange for them spending the winter in the renovated barn.
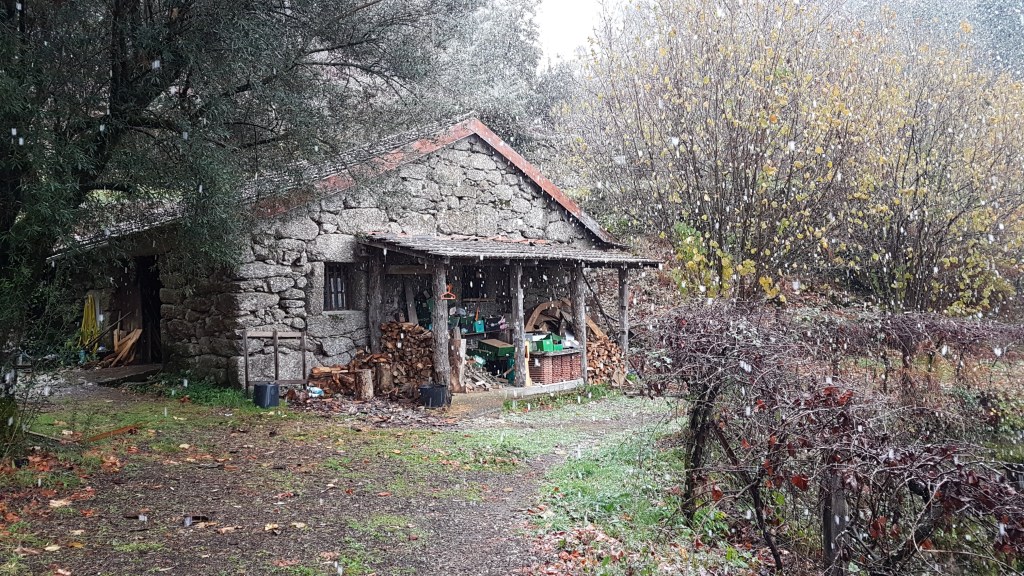
First, we had to tackle the barn’s winter water problems. Since the back wall of the barn is actually the terrace wall, water would seep through onto the floor when it rained.
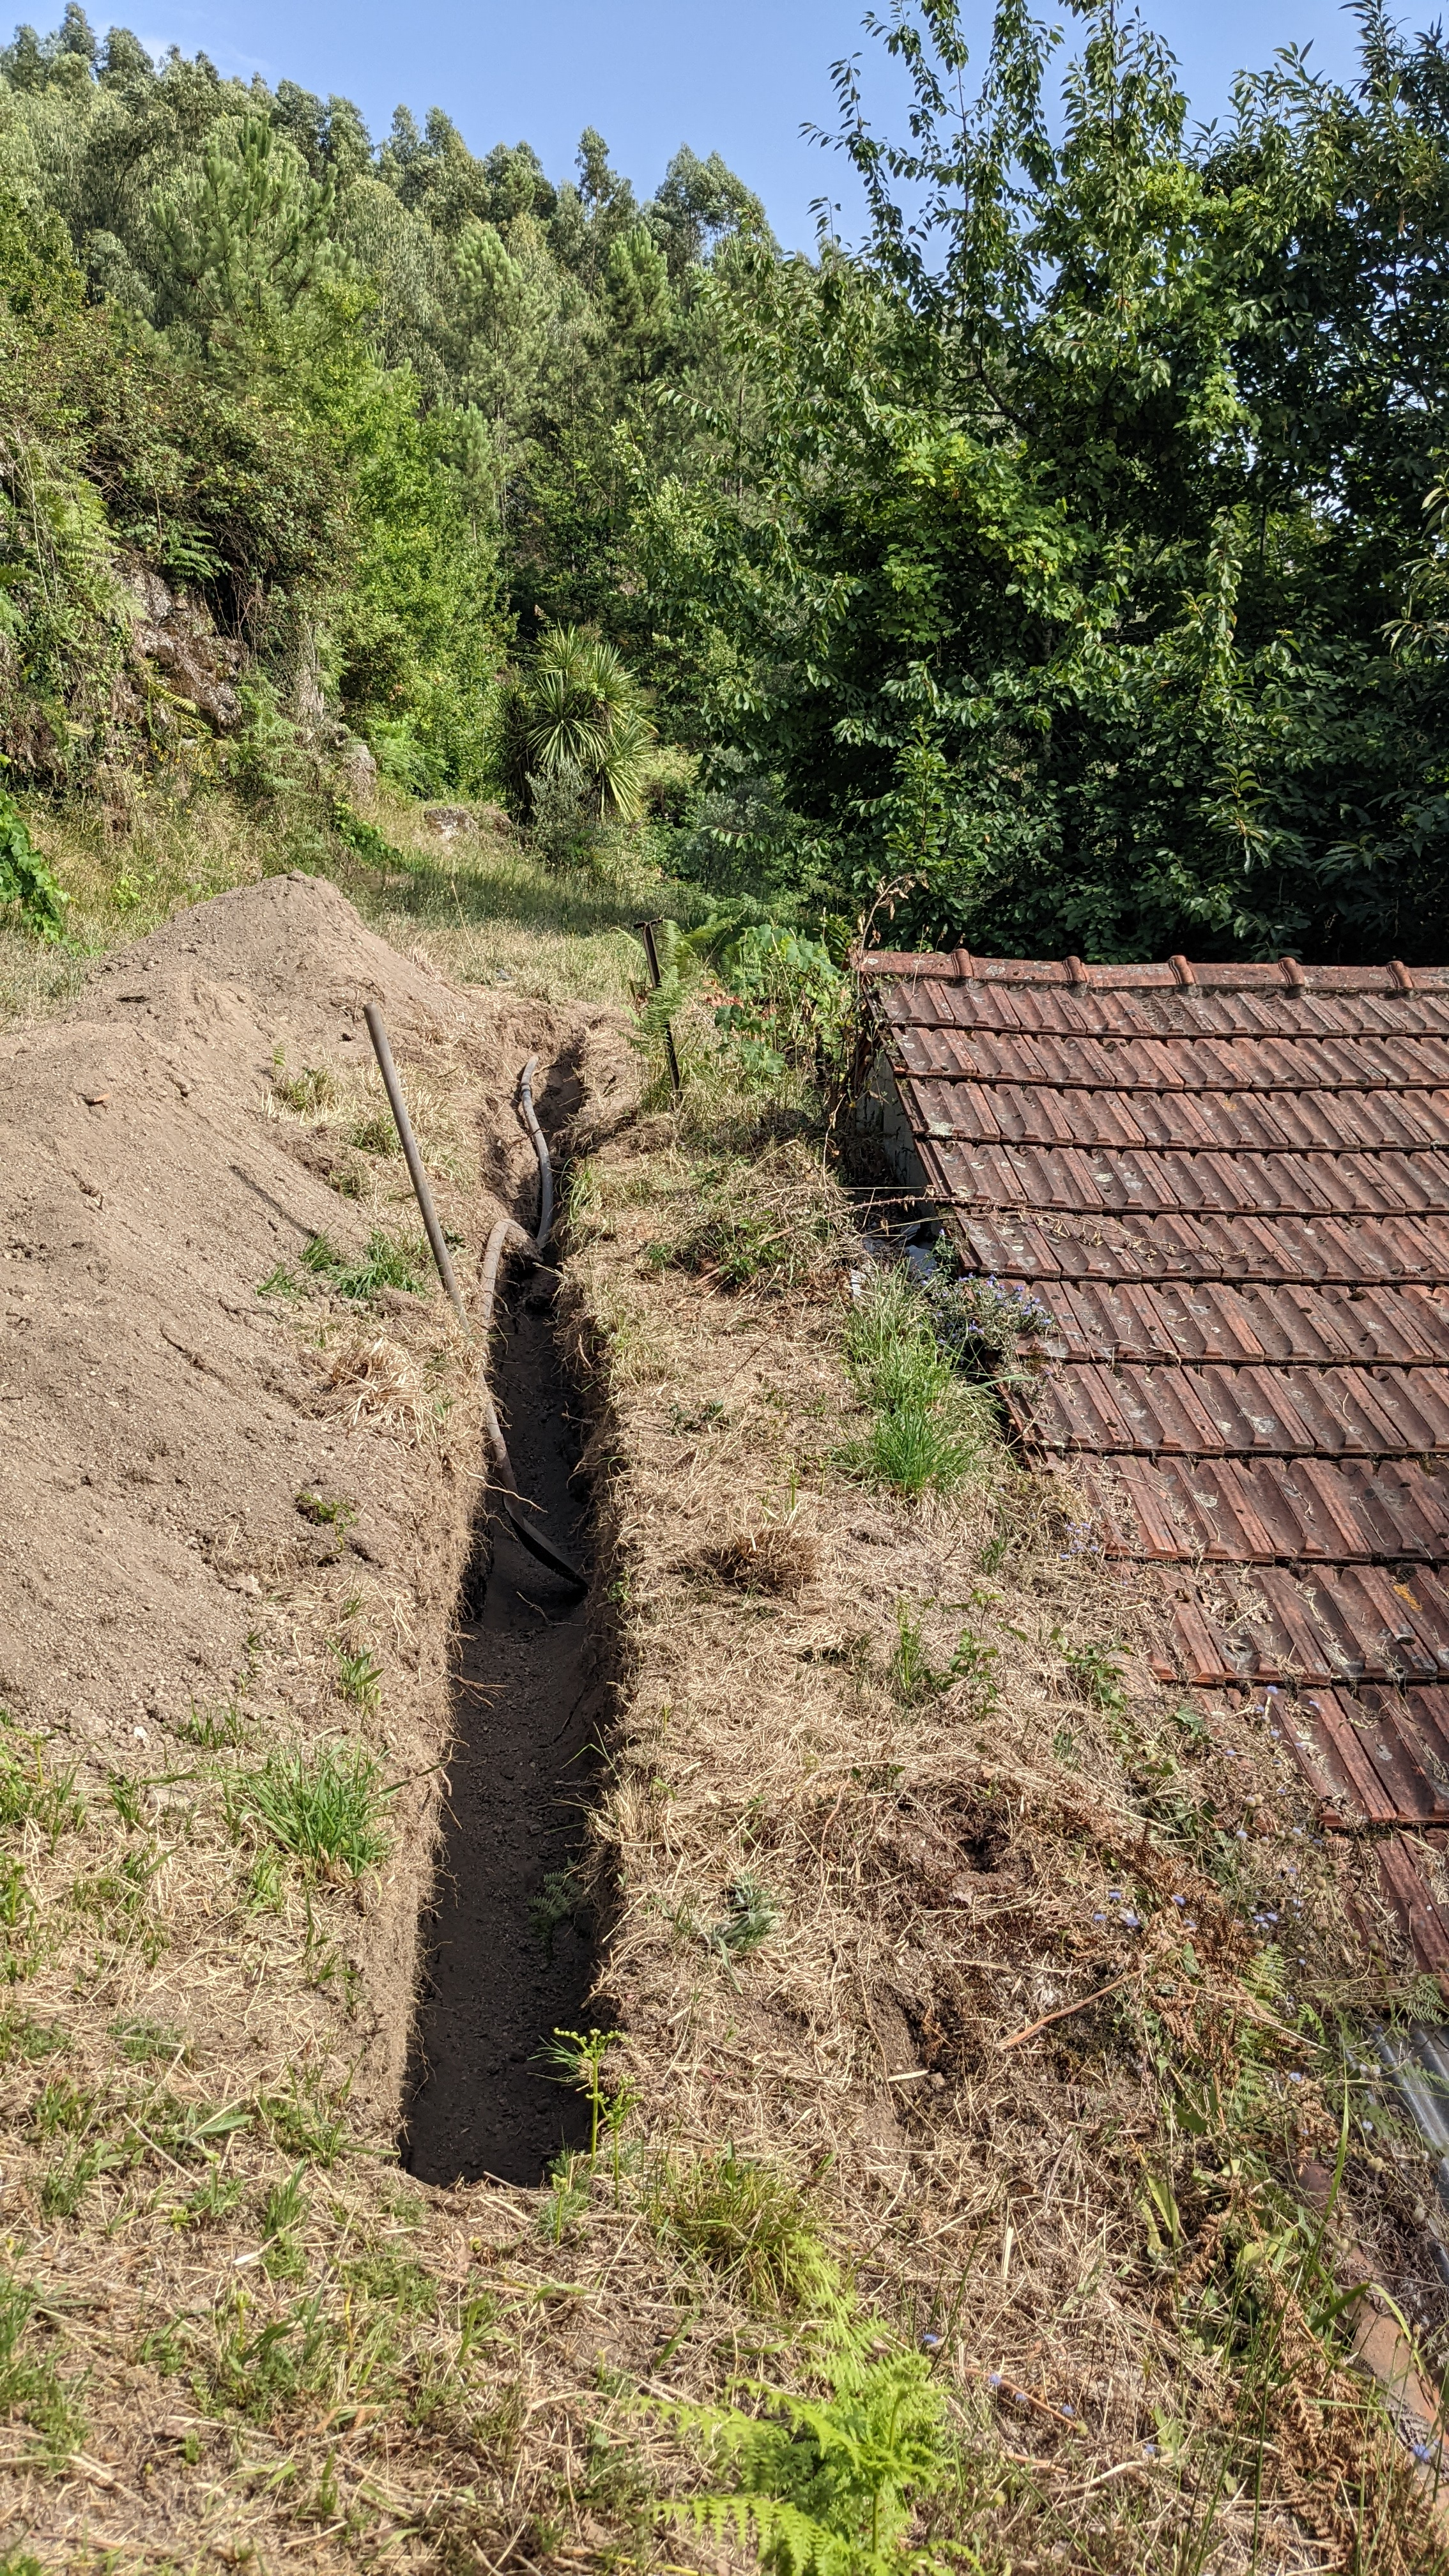
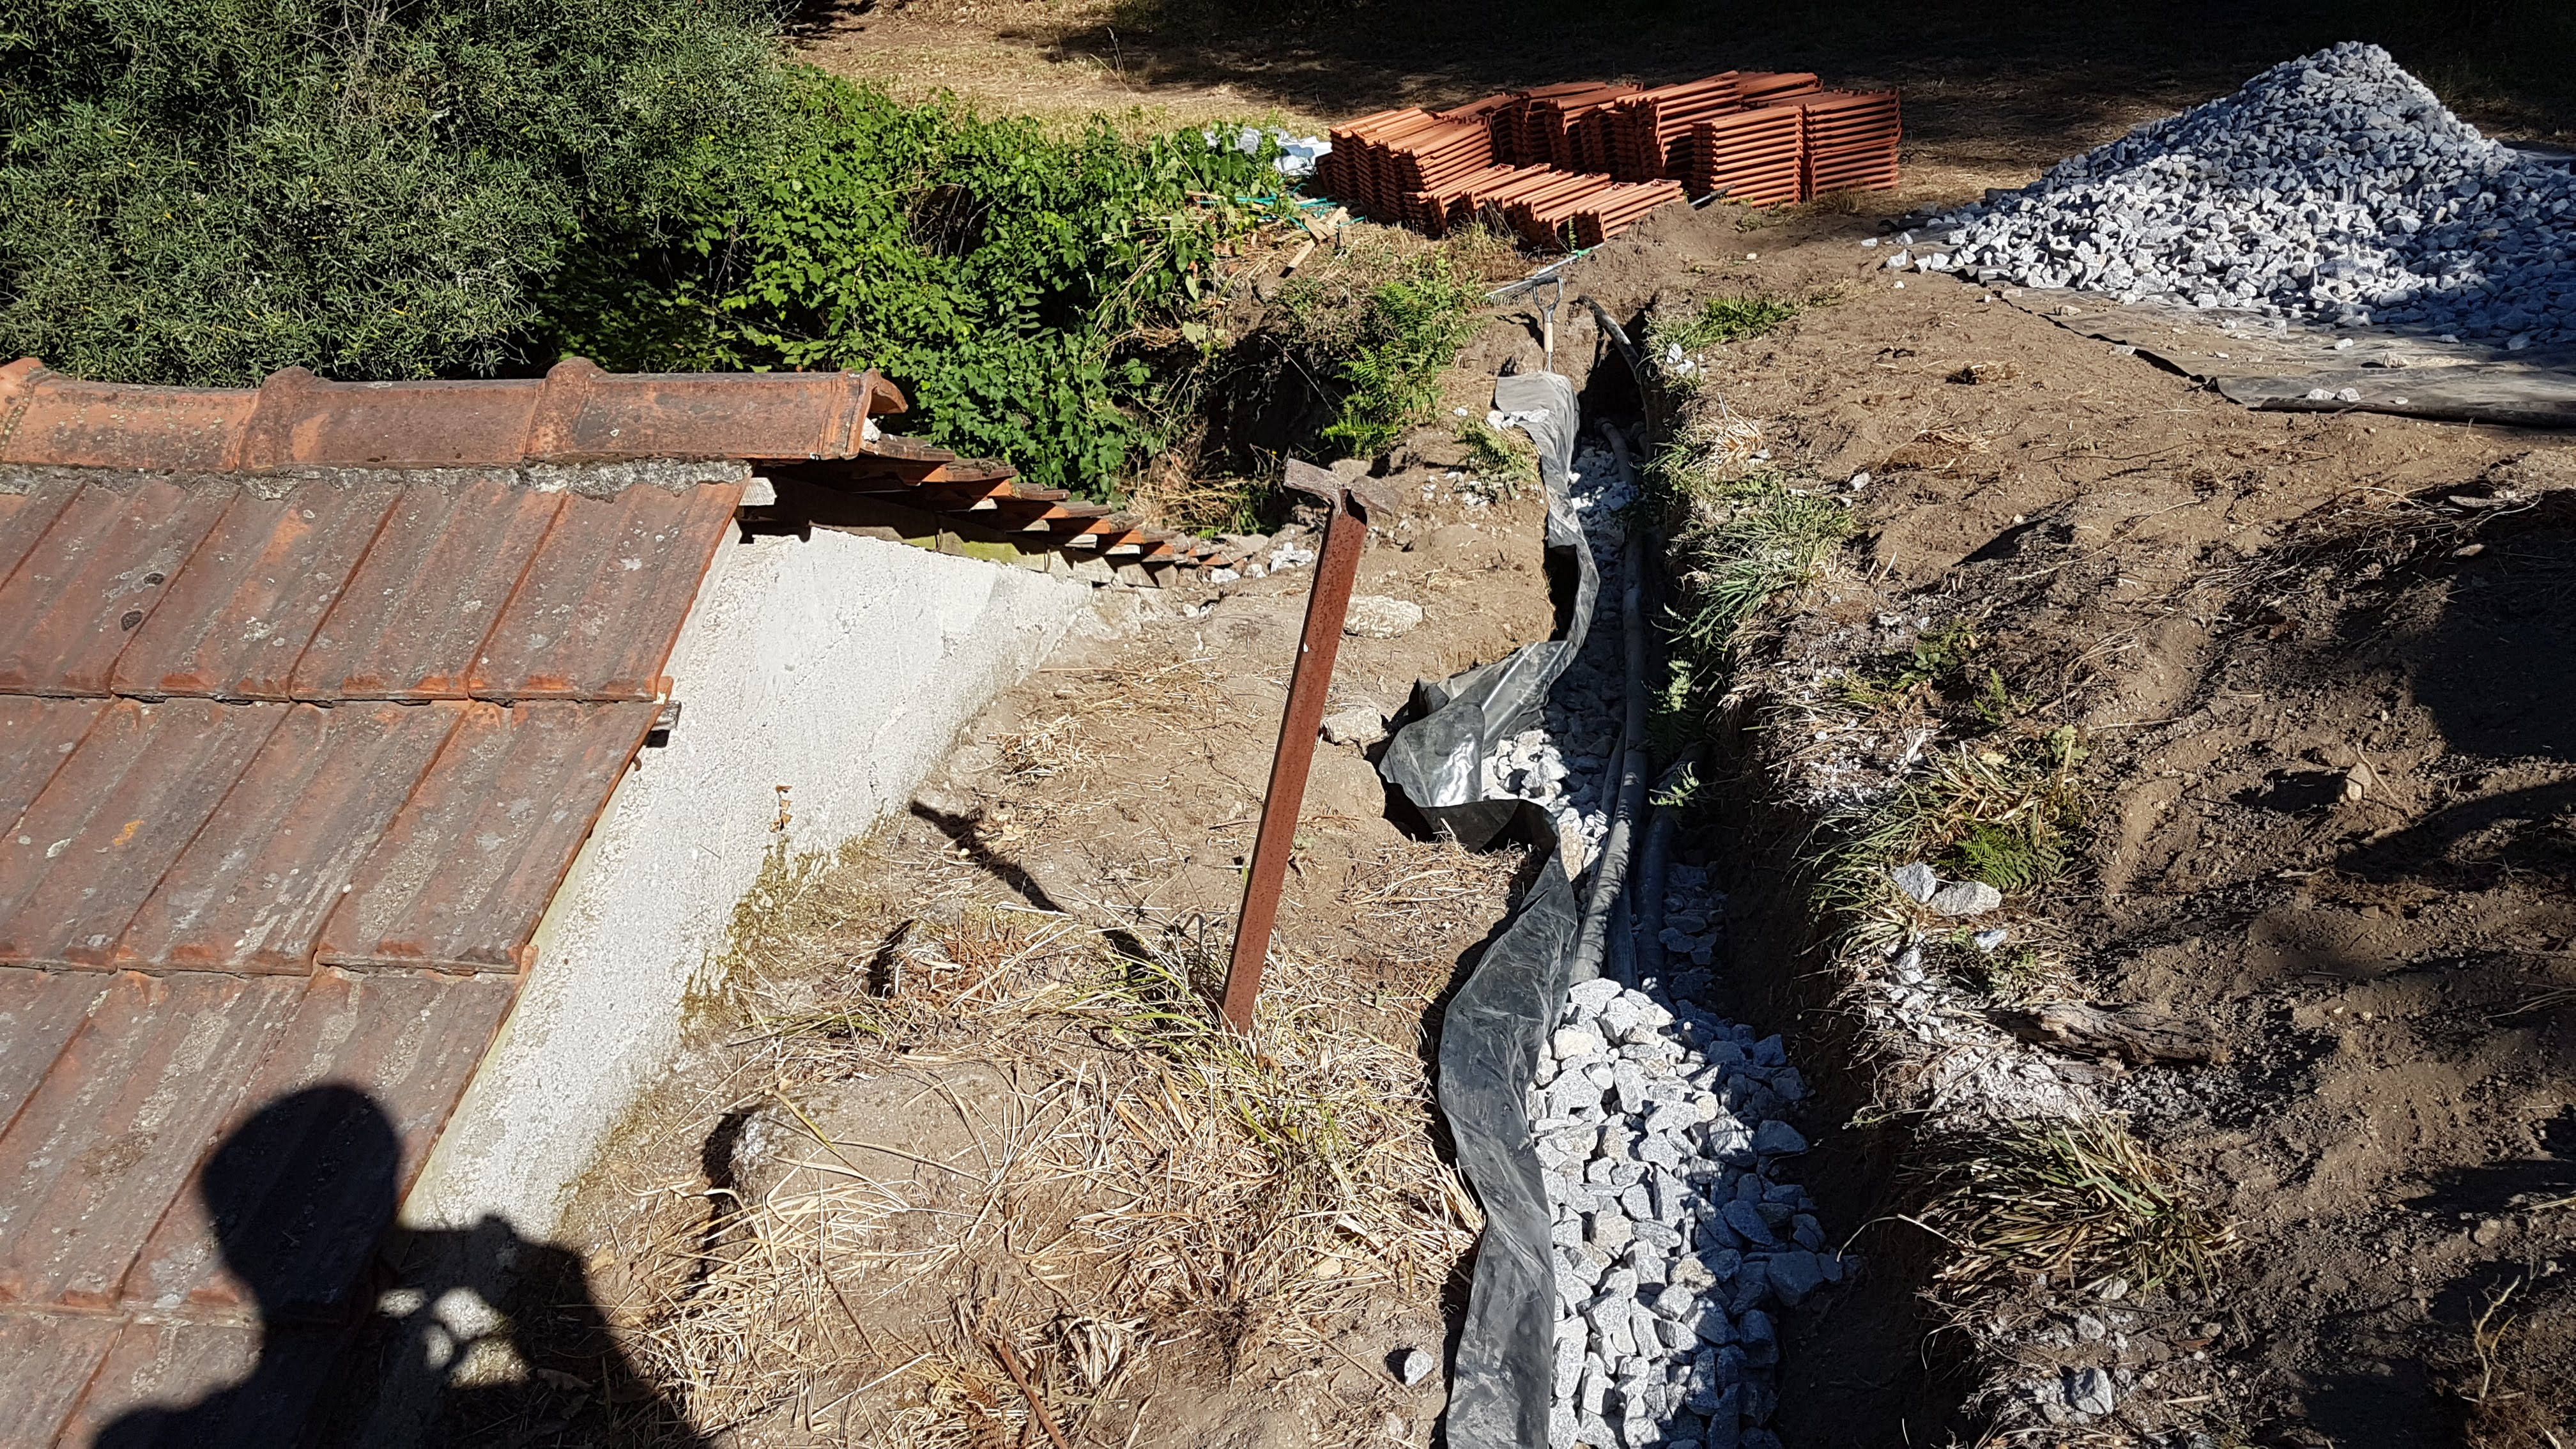
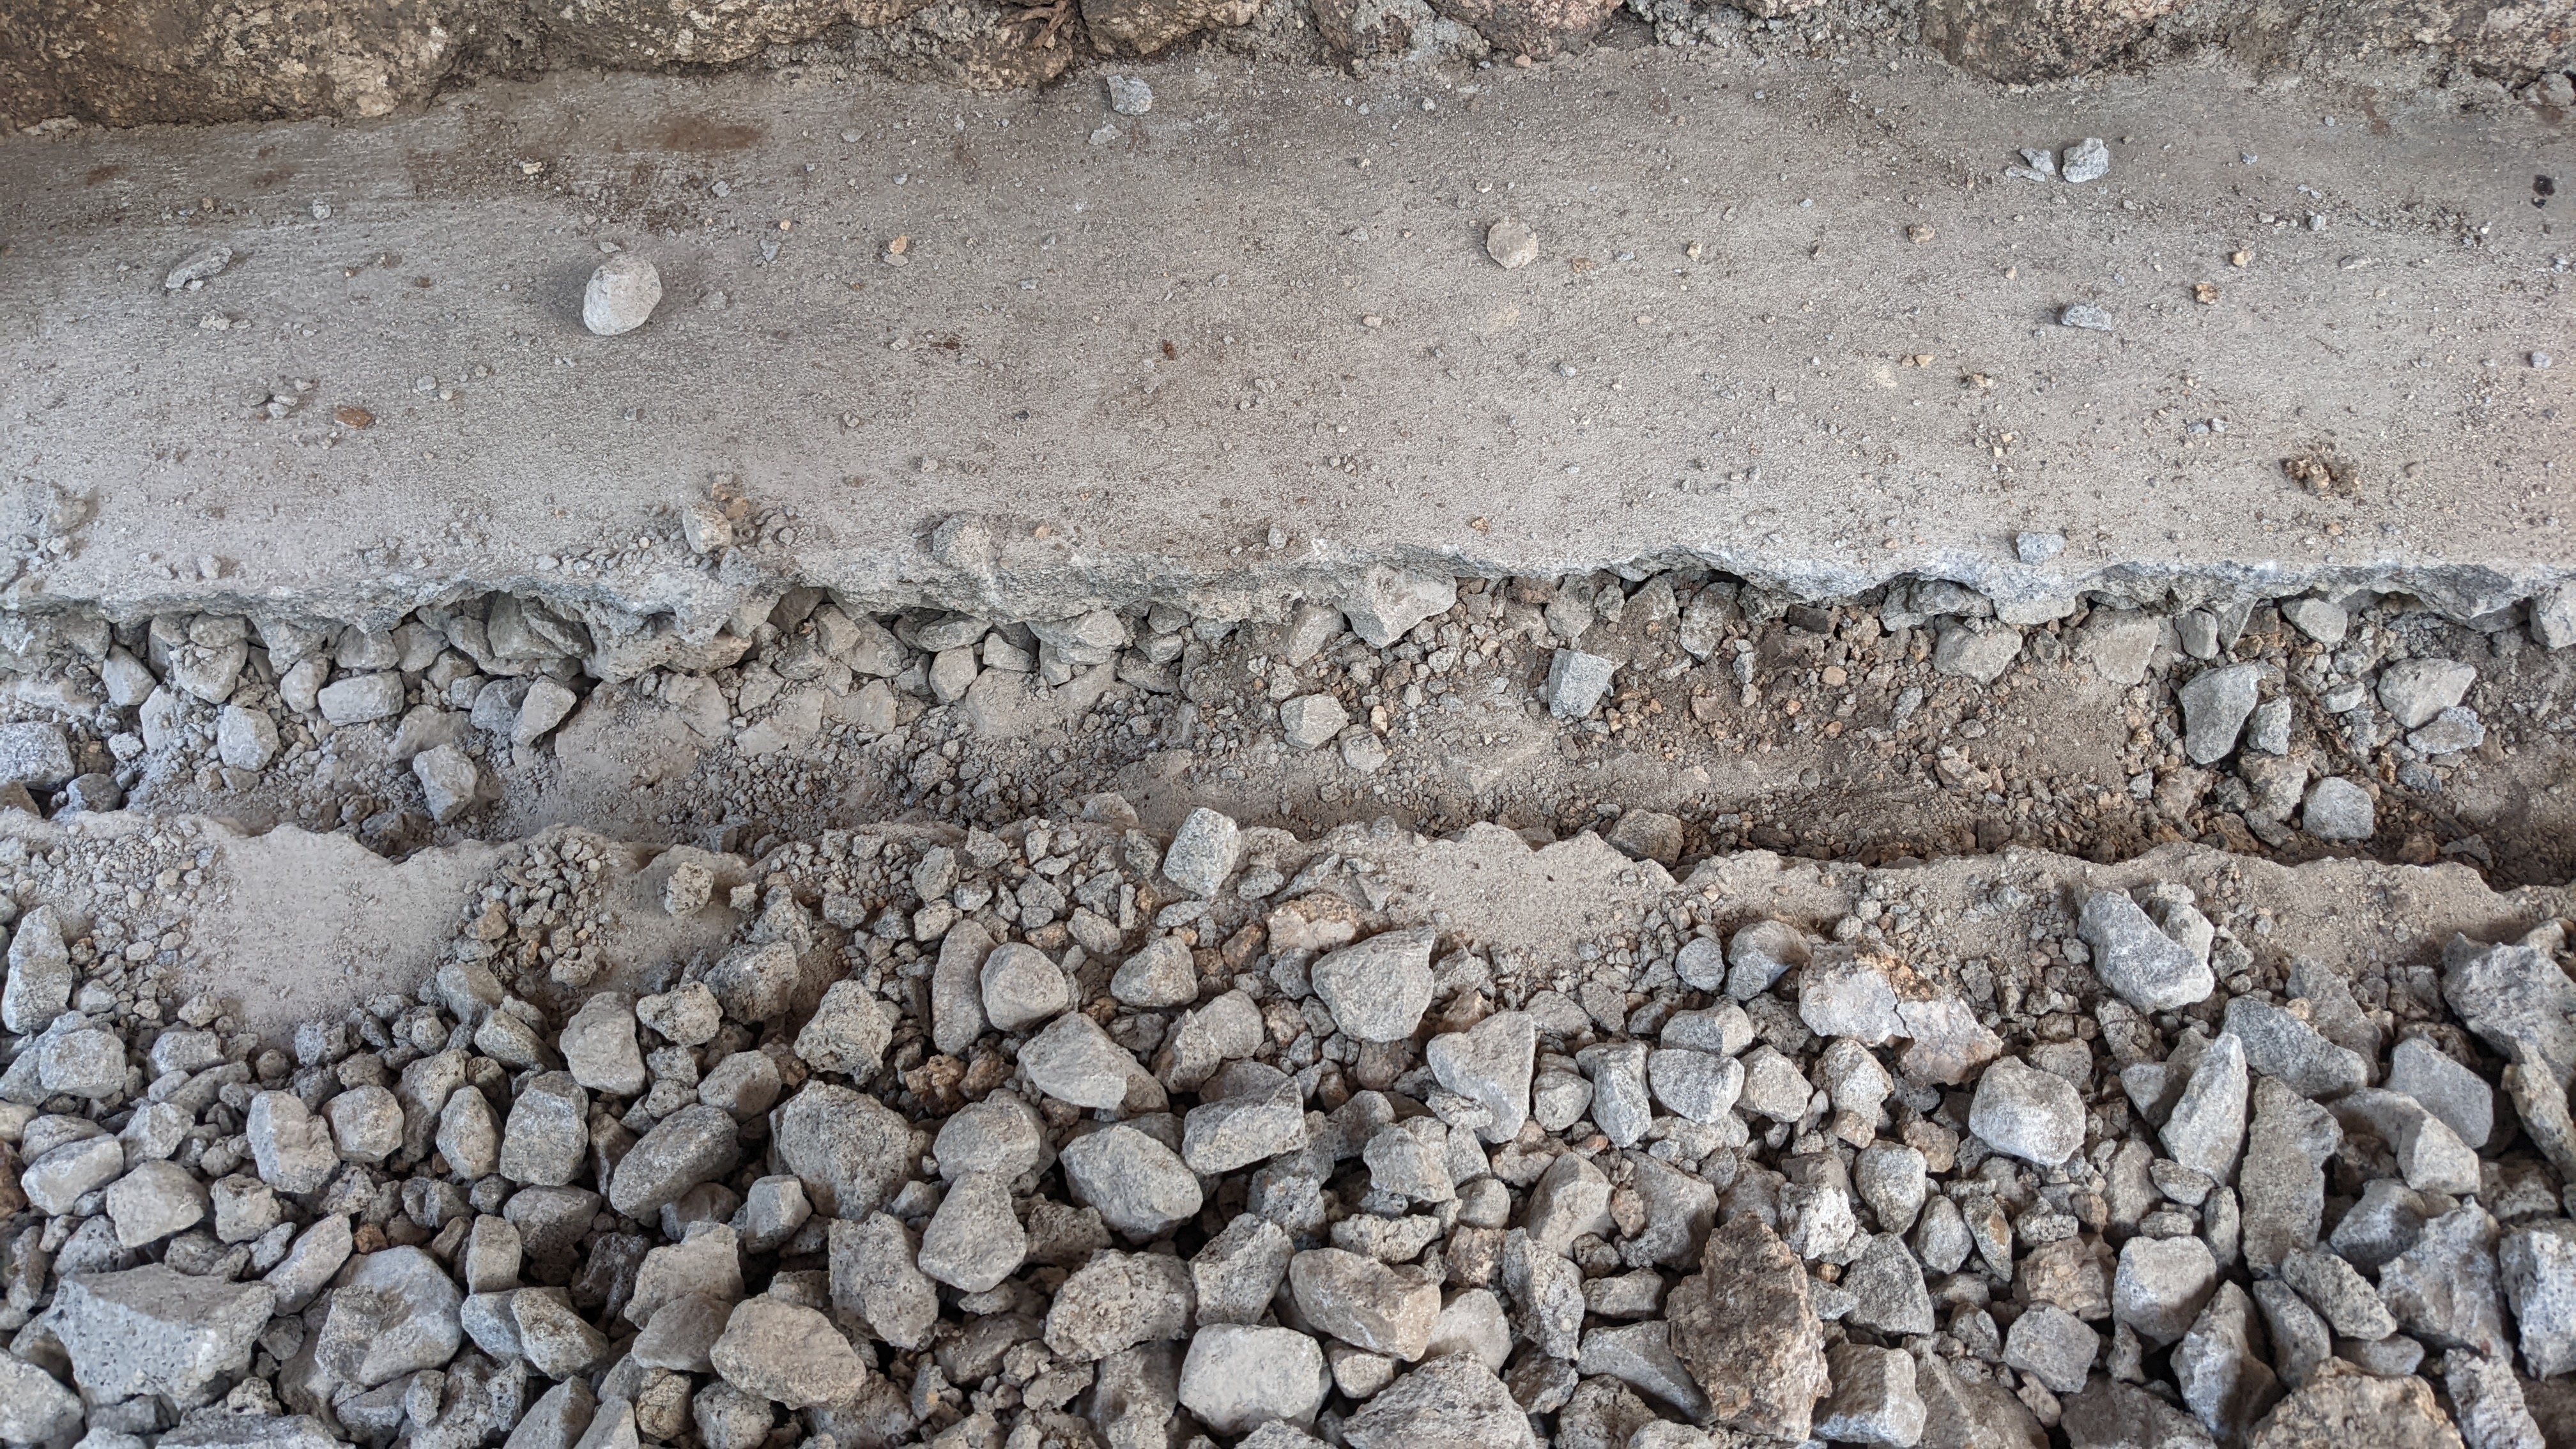
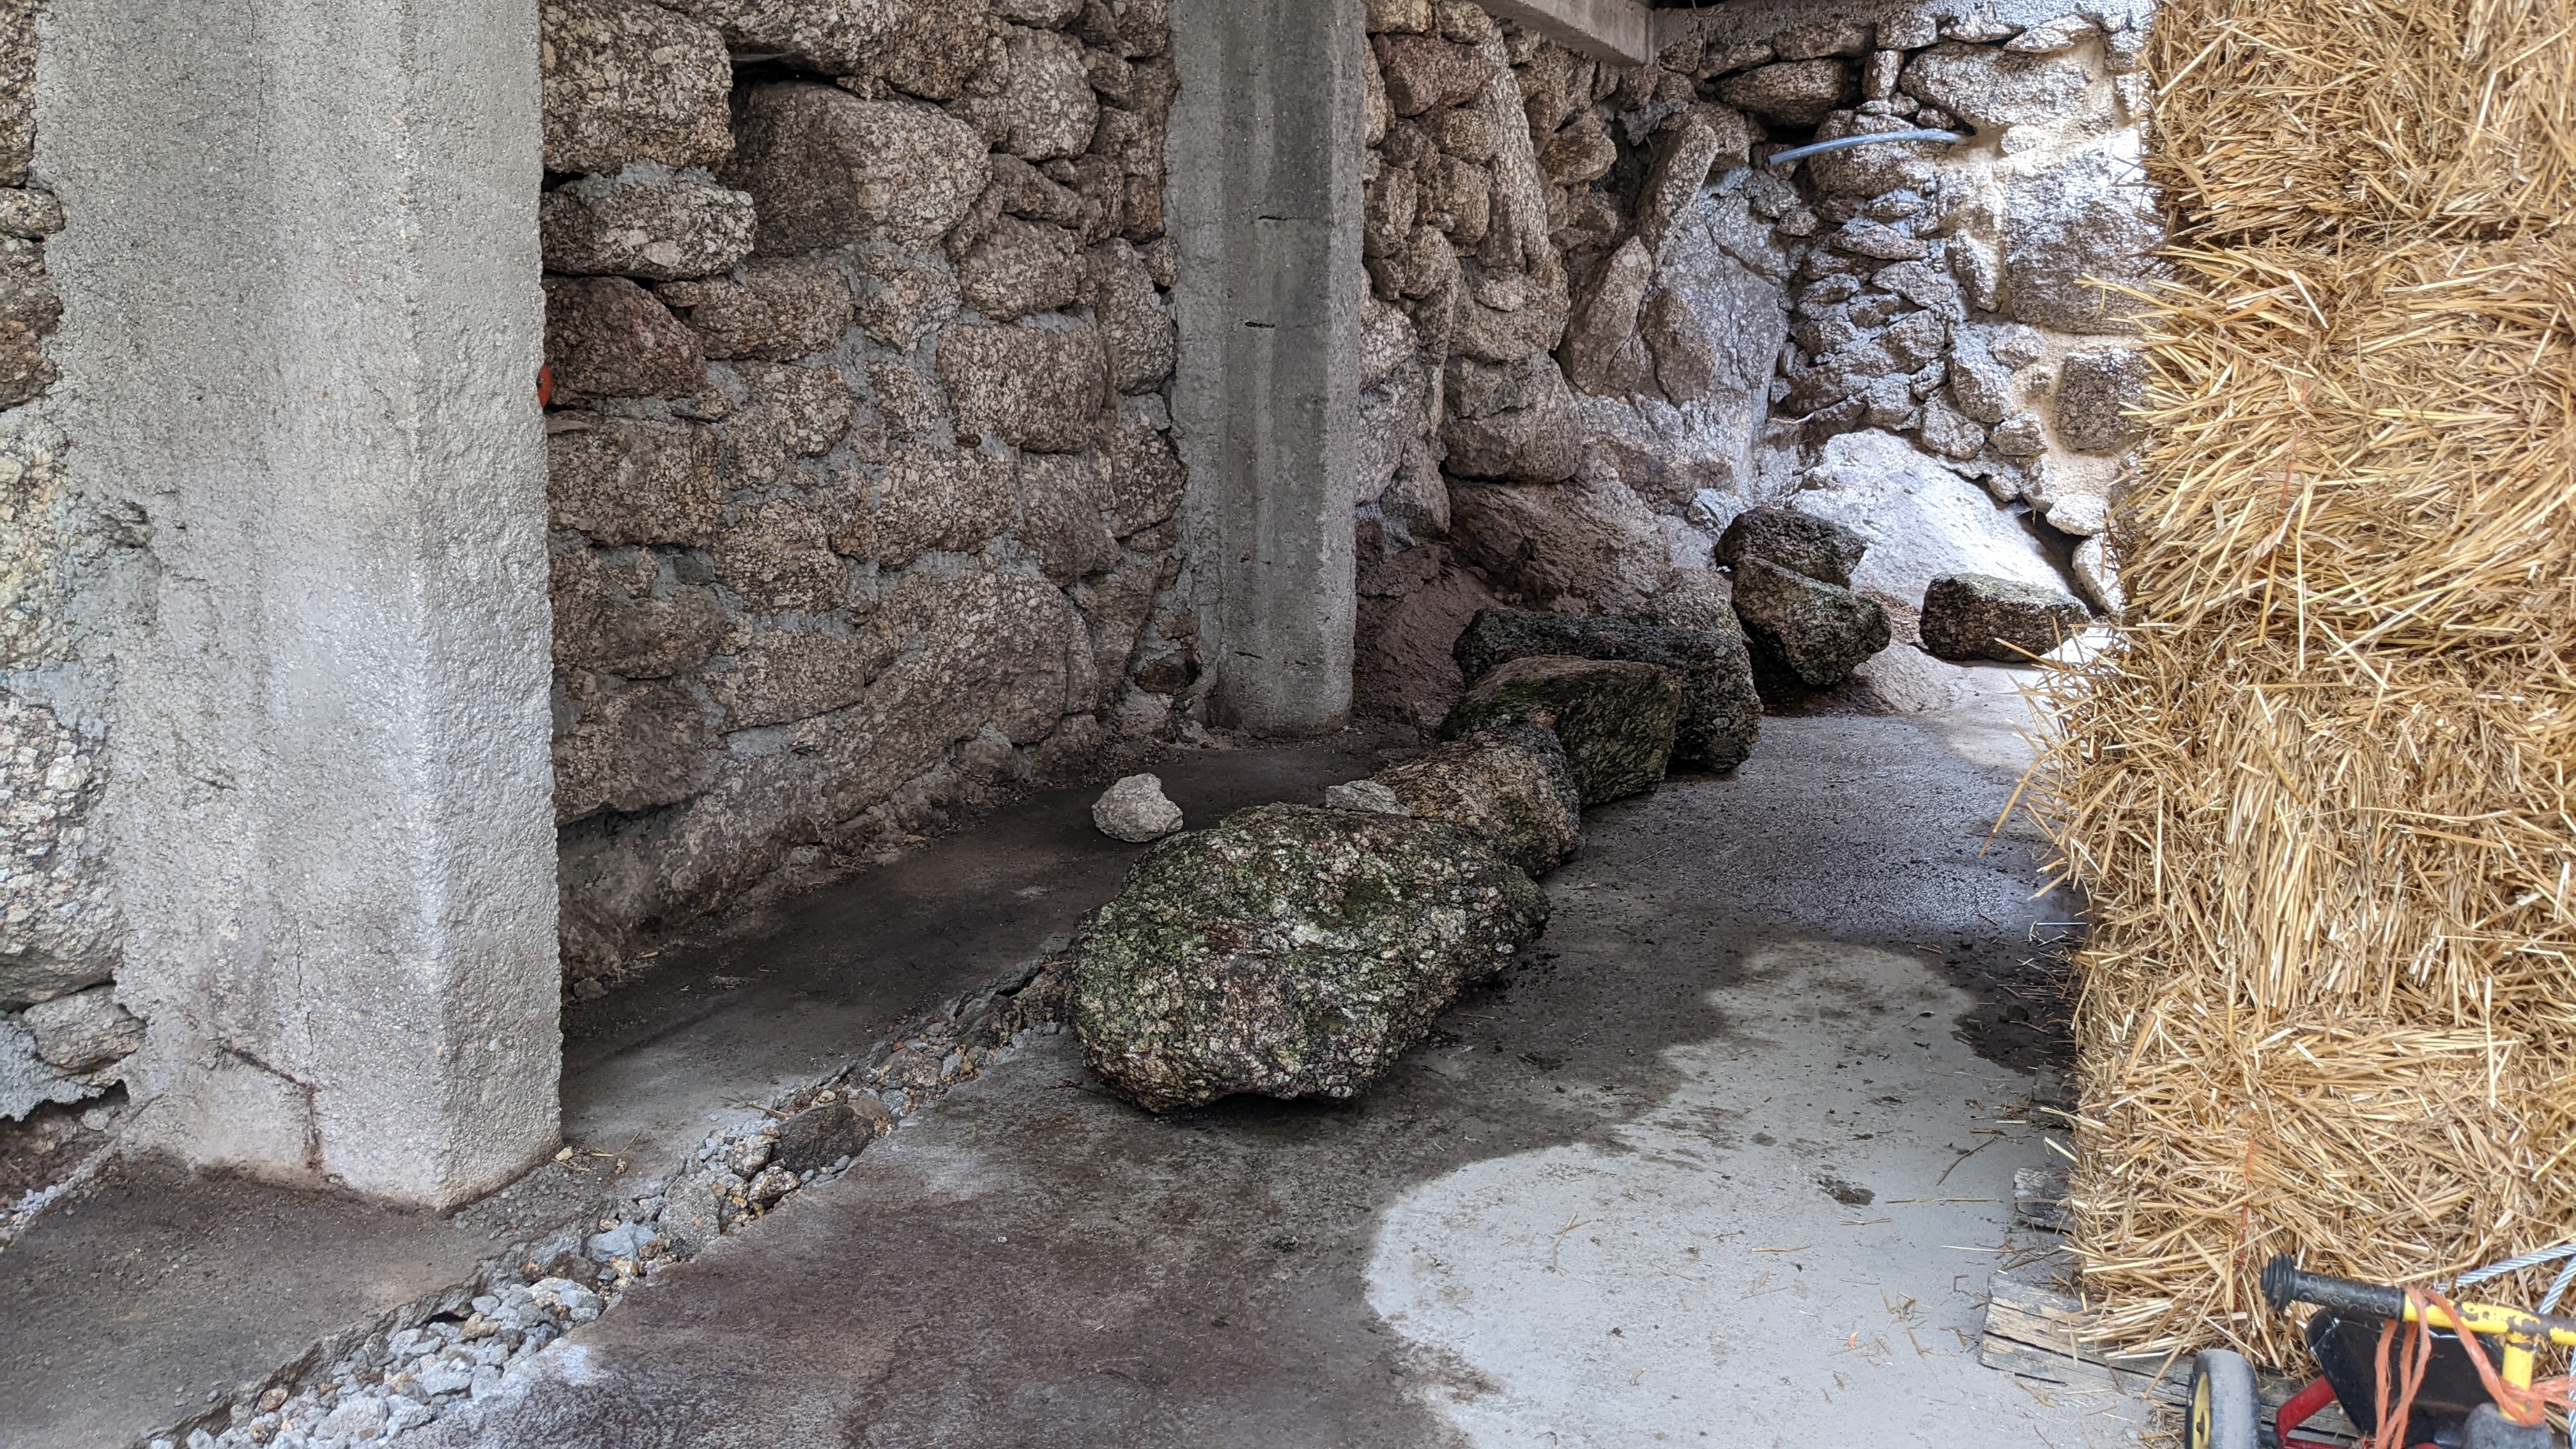
In order to mitigate this problem, we dug two trenches, put in French drains, and then filled the trenches with coarse gravel.
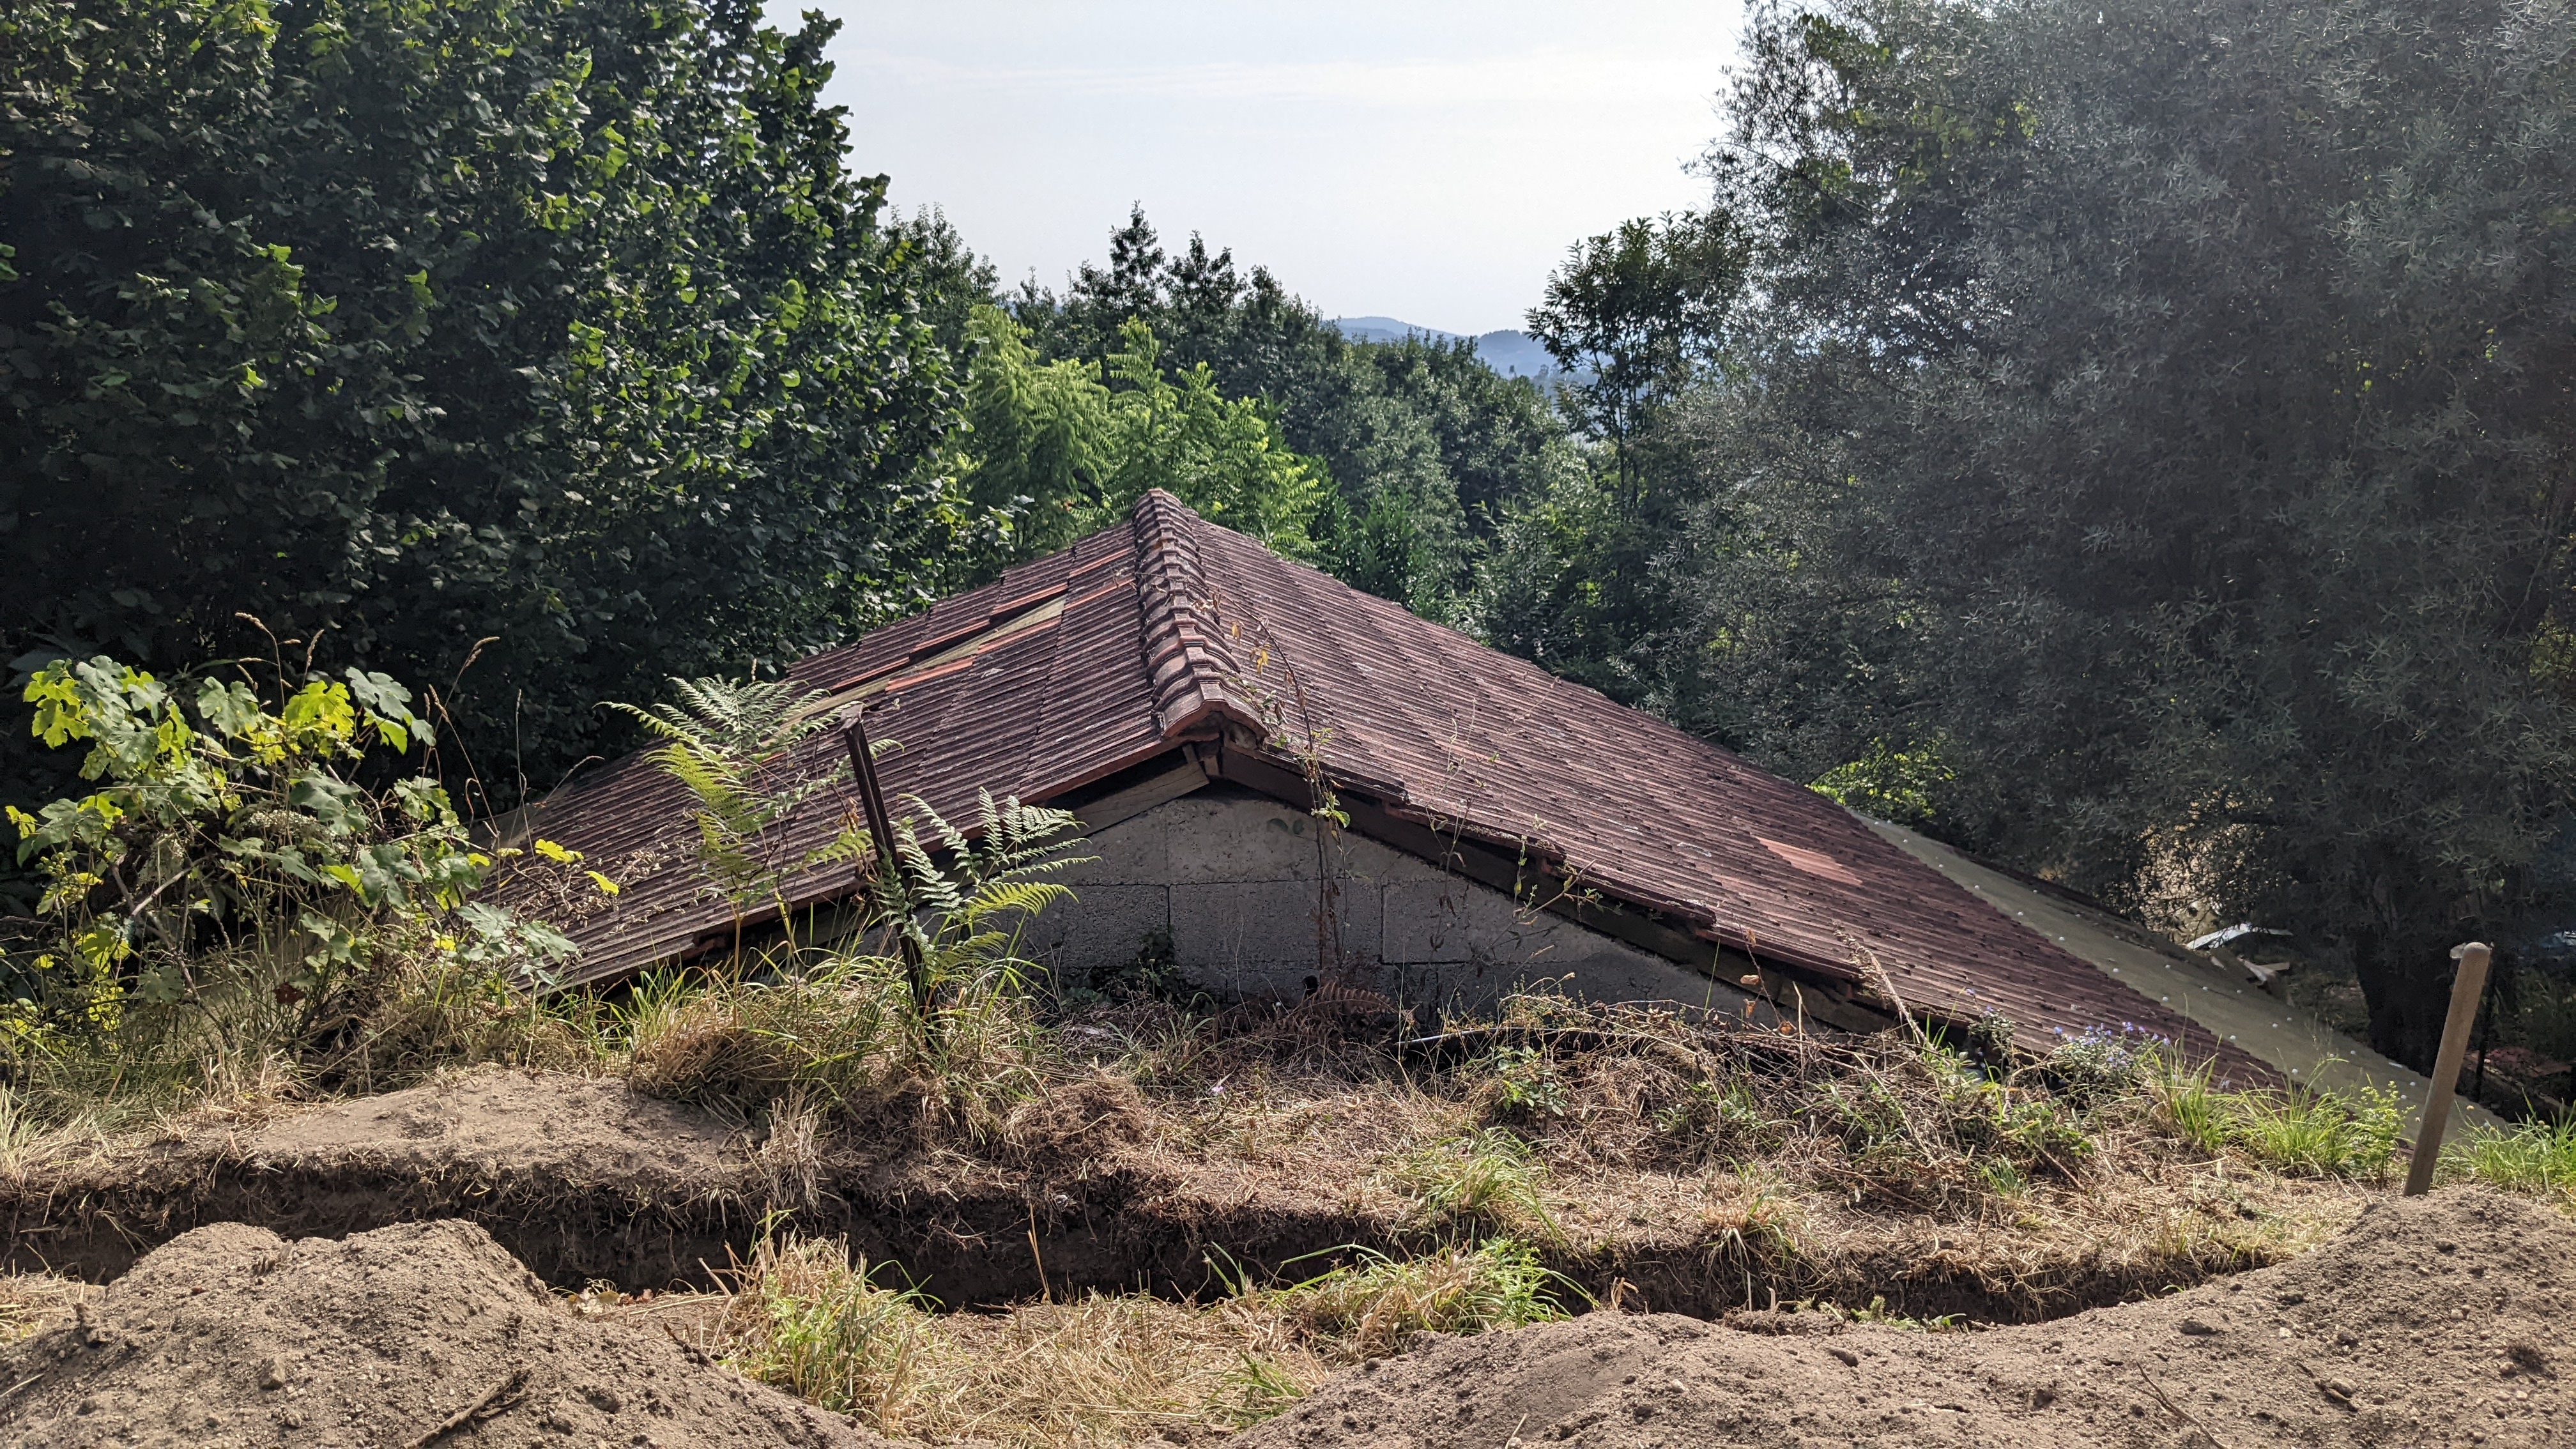
The first trench is above the barn, on the top of the terrace. We dug this as deep as we could, in order to clear the back wall from infiltrating moisture.
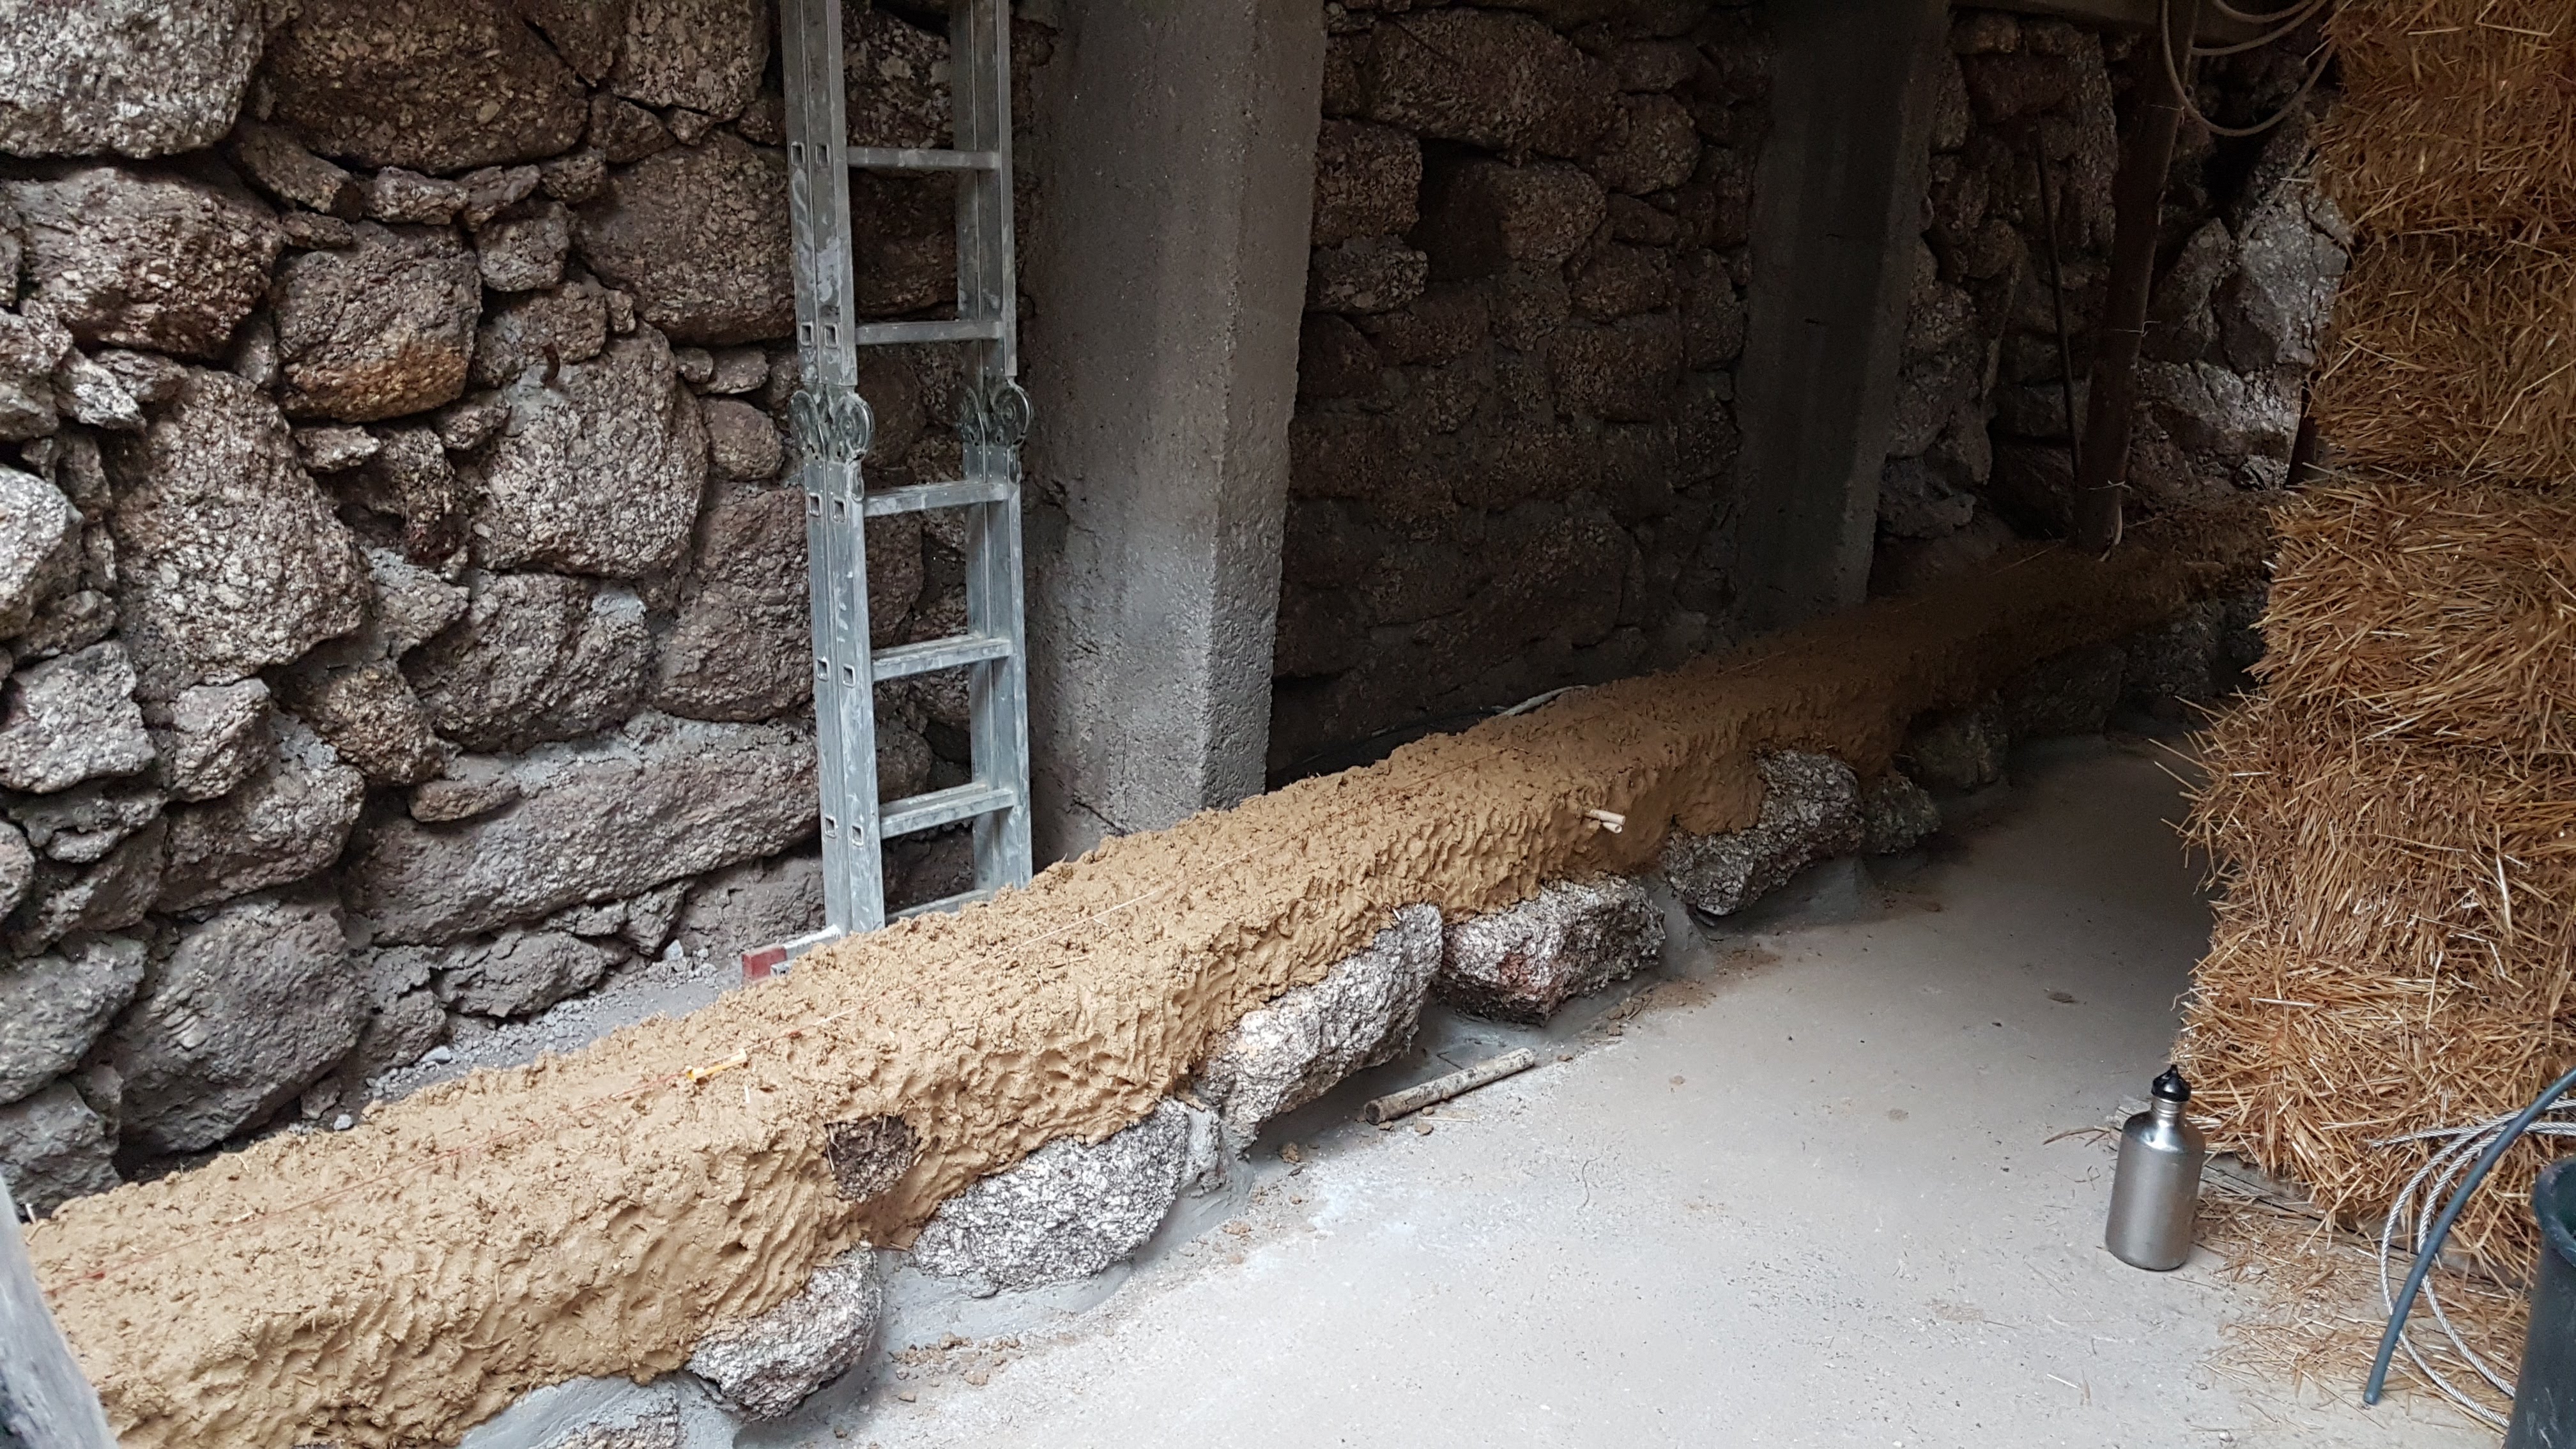
The second trench is on the inside of the barn, right against the back wall. This required opening up the barn’s concrete floor.
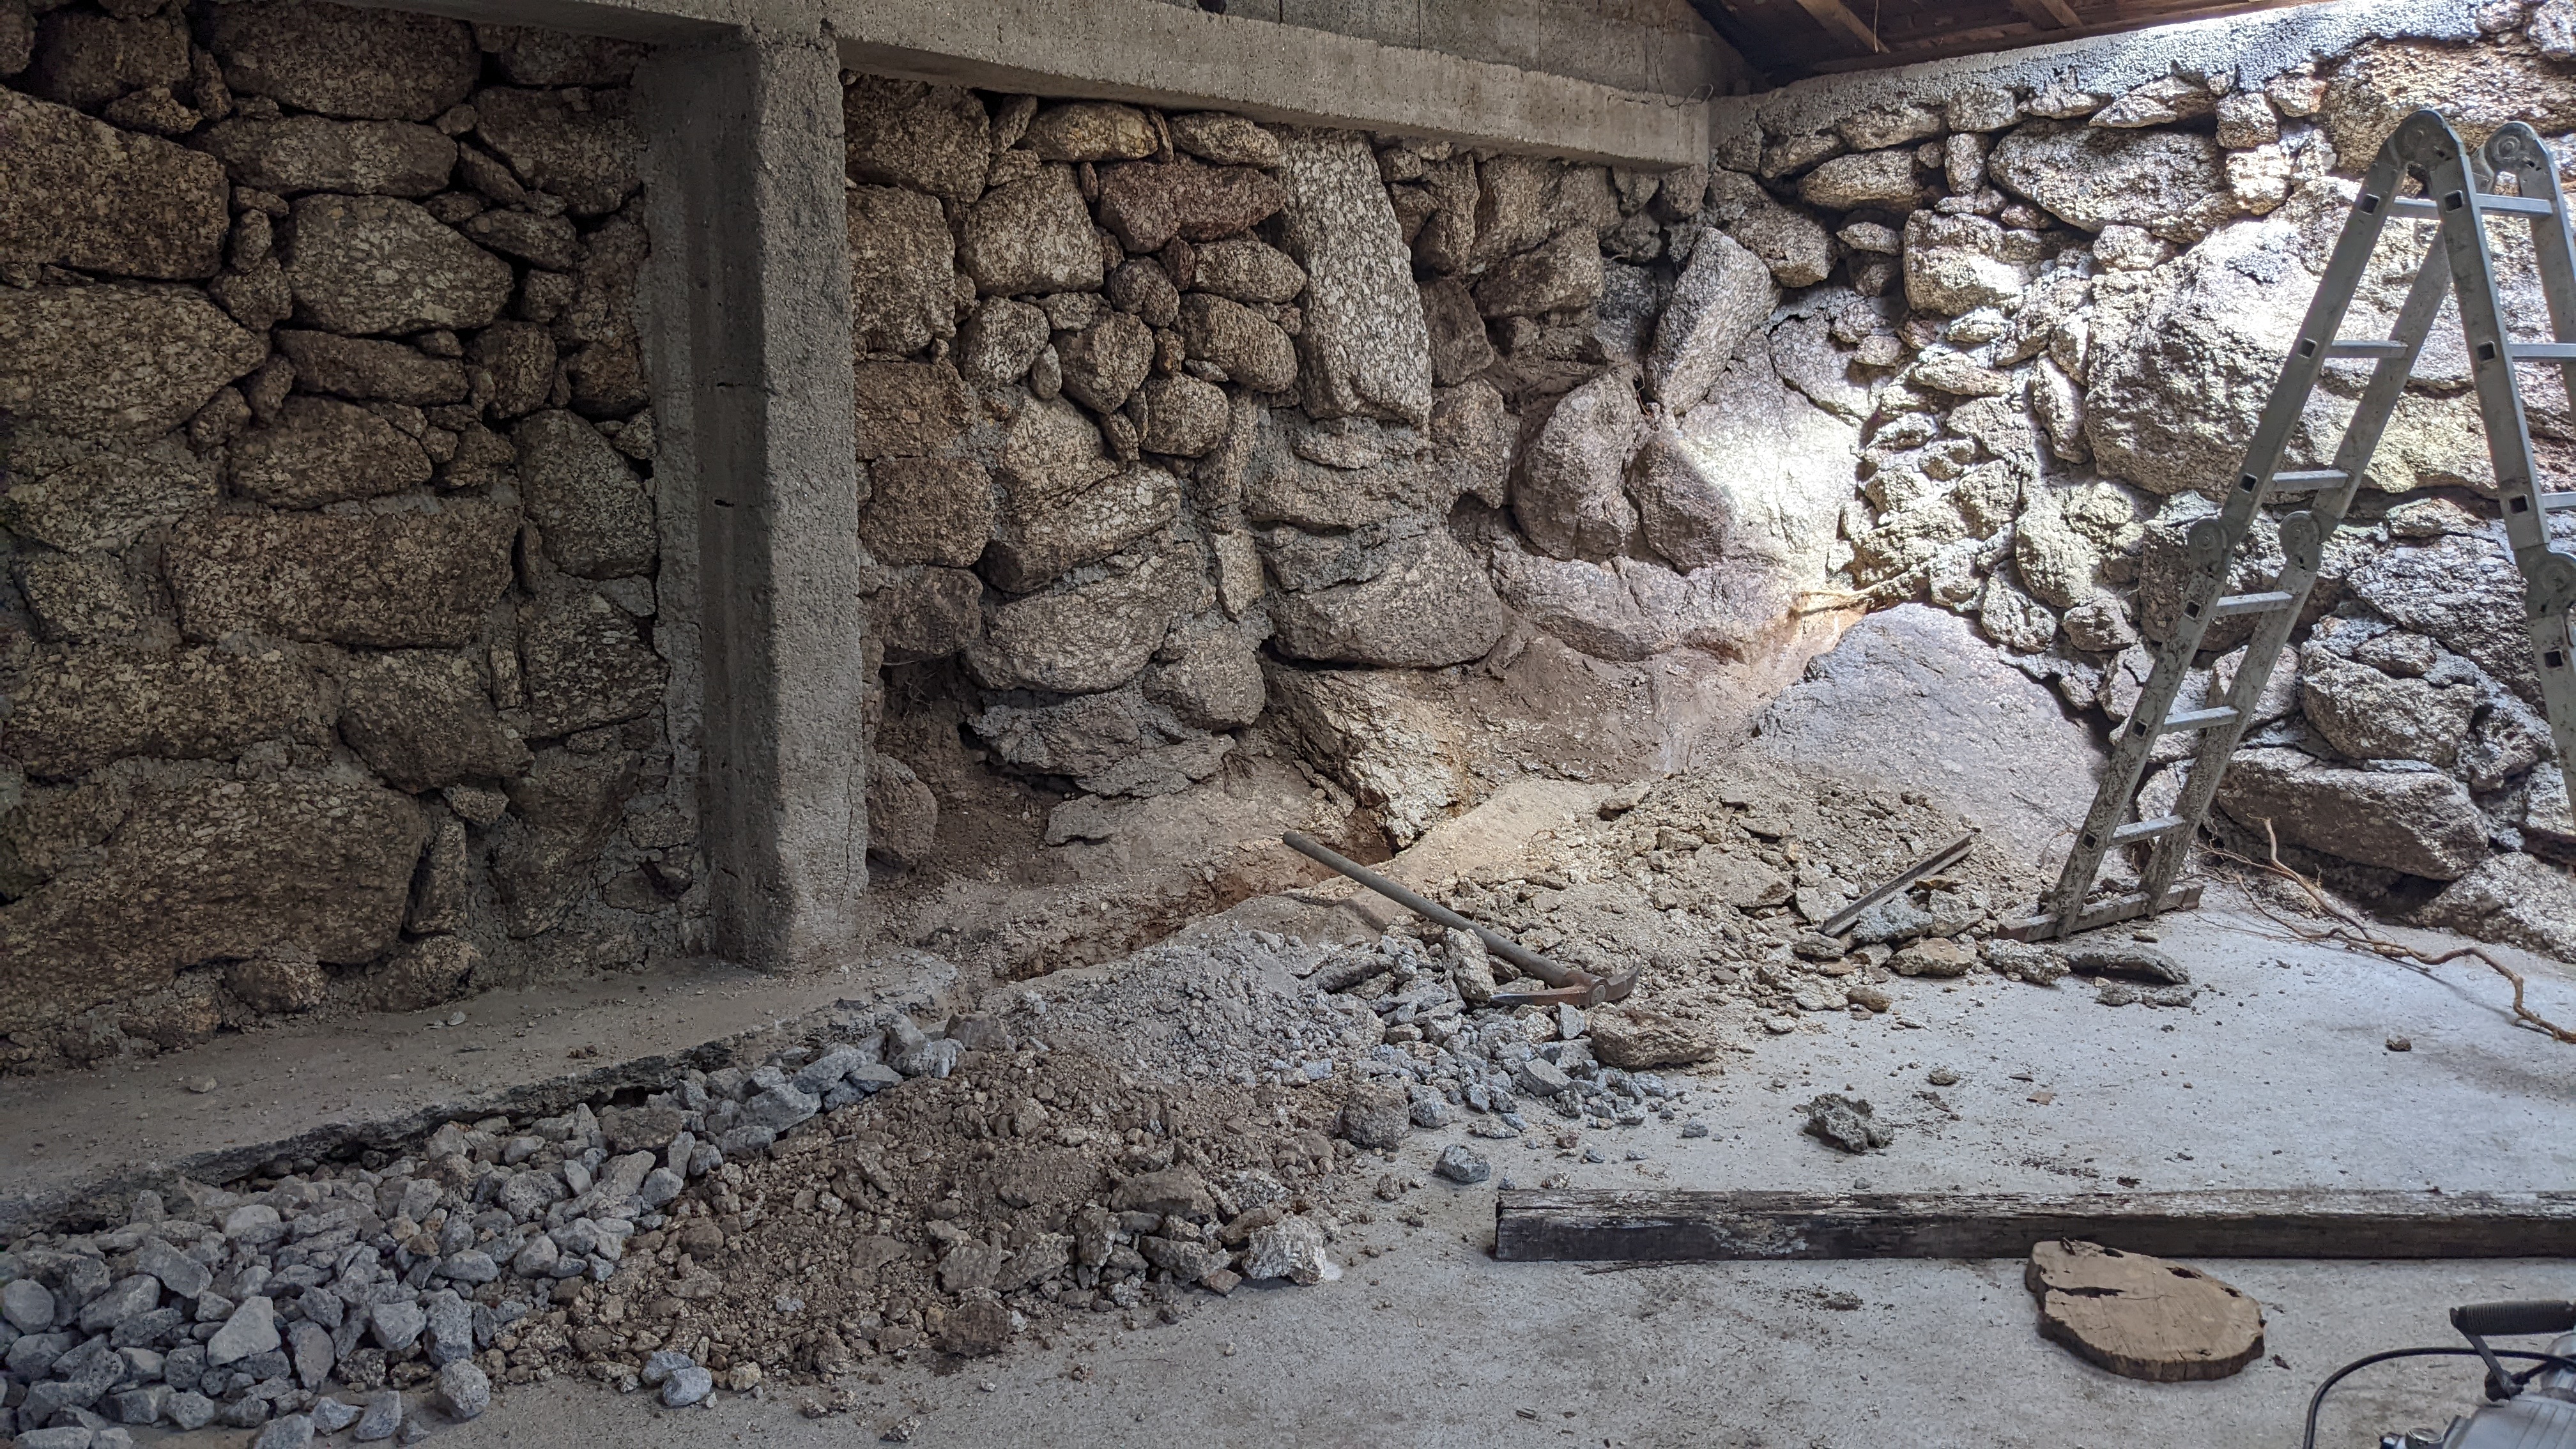

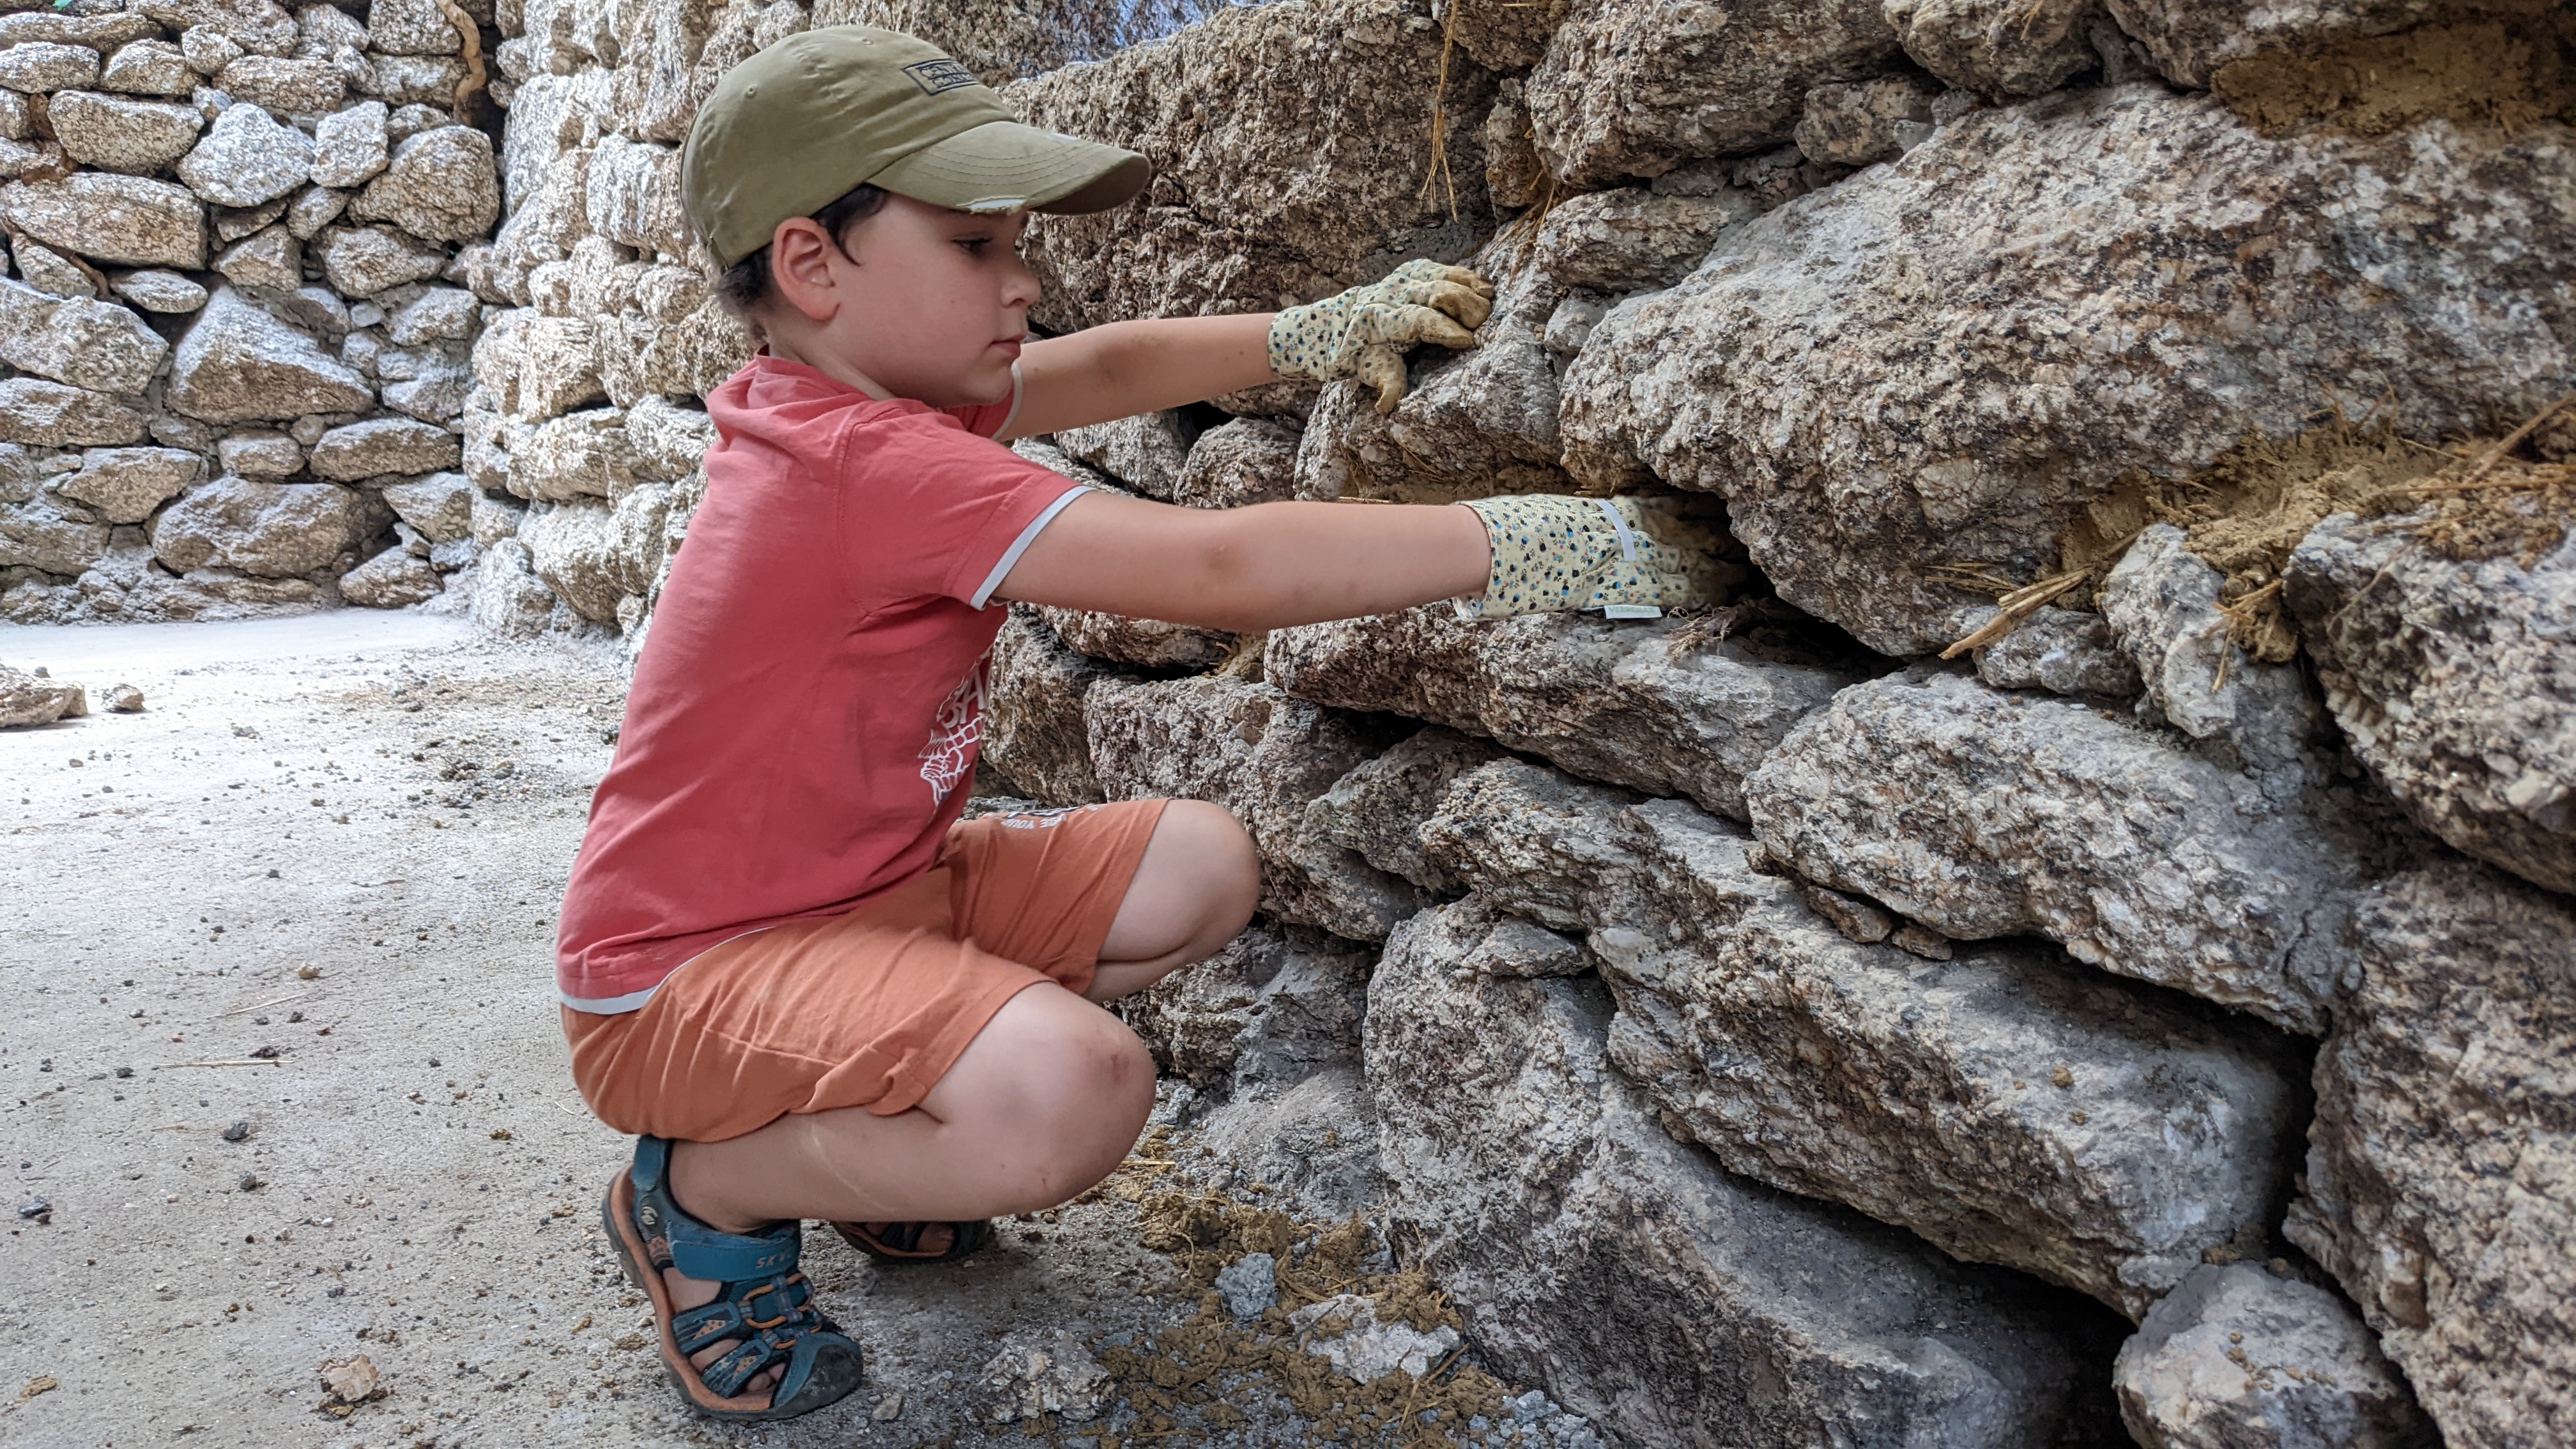
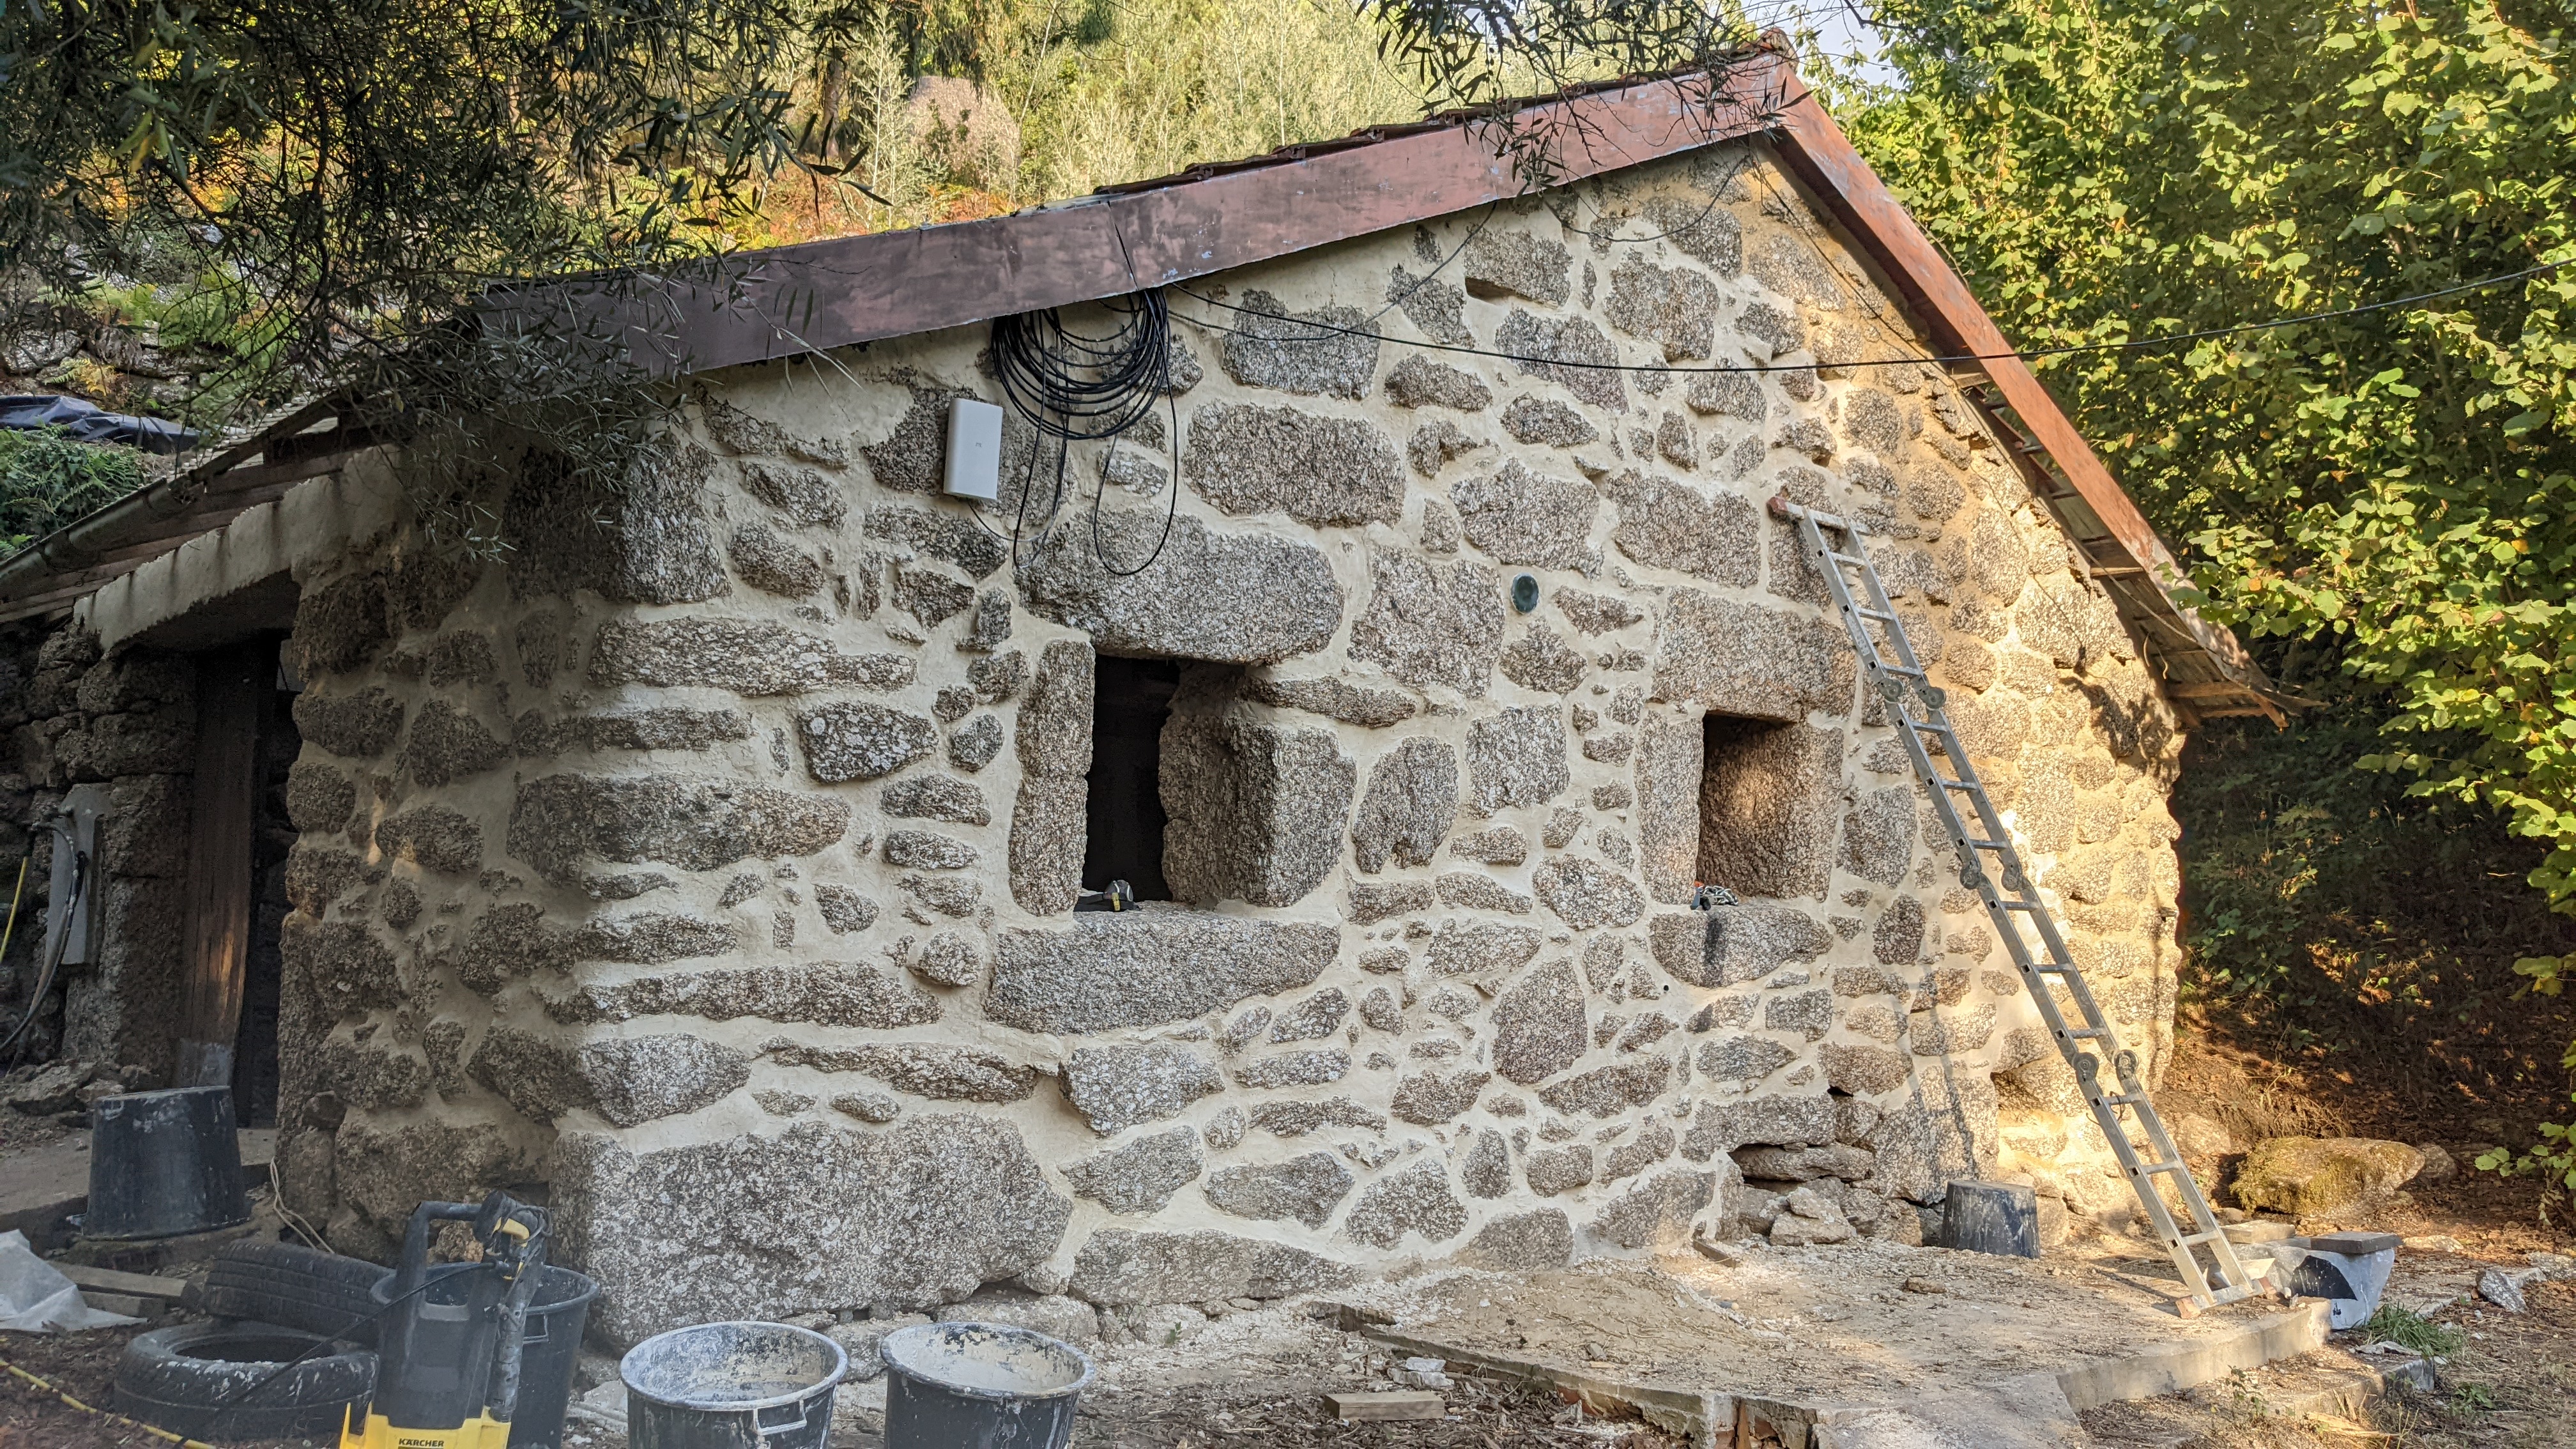
Next, we started on the barn’s rock walls.
Based on the building techniques, we estimate the walls were built about 600 years ago. All of the walls are made out of native rock, without mortar. The long front wall is double-faced, meaning it is comprised of an outer and inner wall, with a space in between. The side walls are built of one layer of rock only.
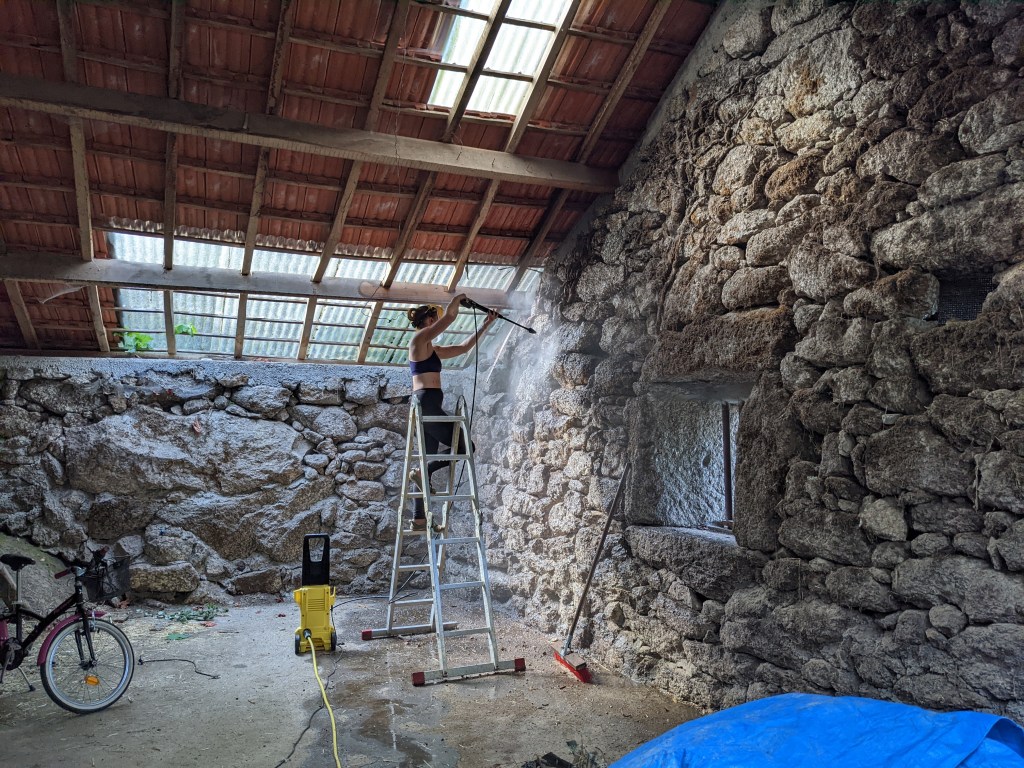

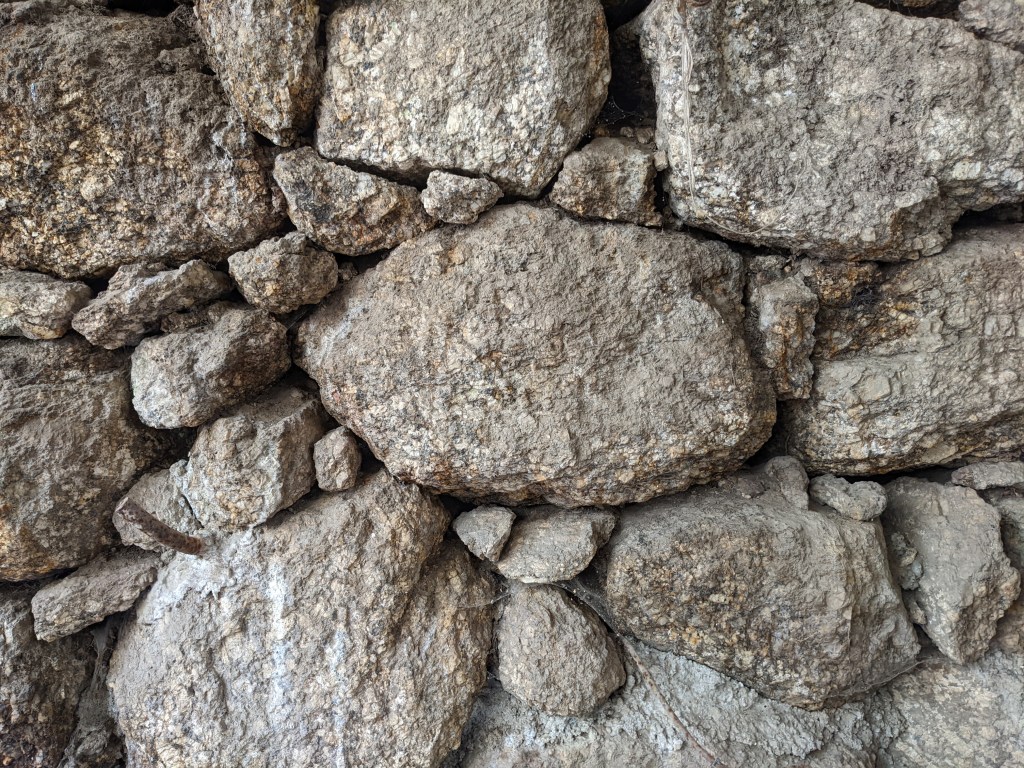
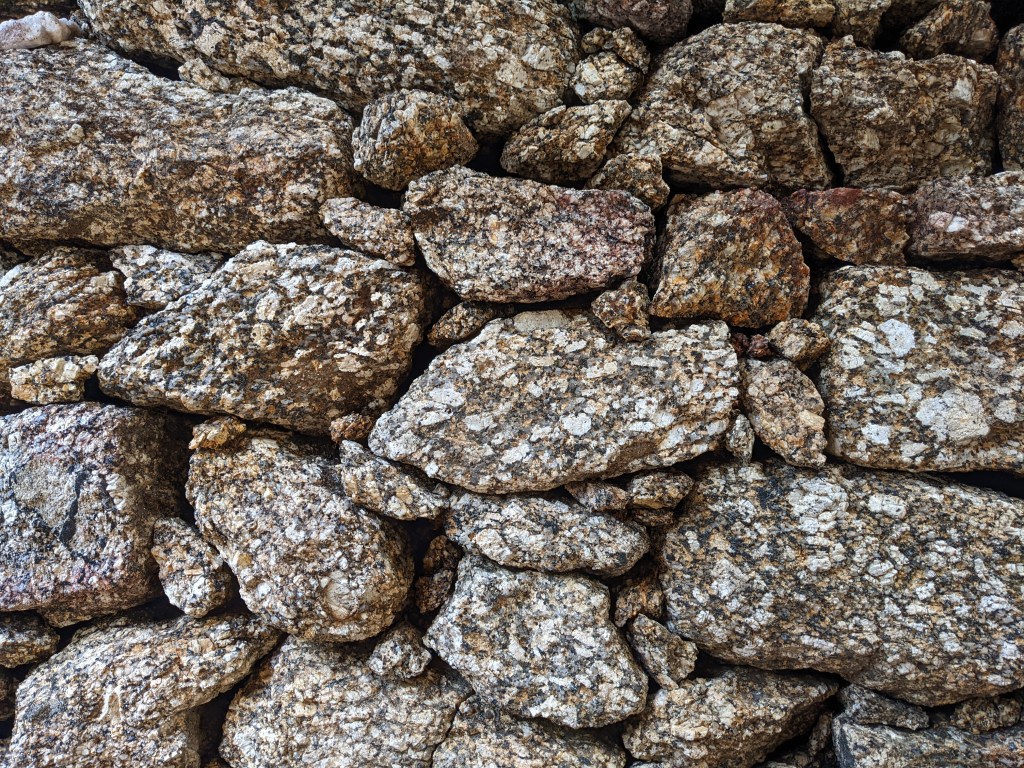
After pressure washing the walls, we began filling in the bare joints with cob. Once that was done, we added a lime plaster finish on the outside, and a lime-stabilized earth plaster on the inside. It was important for us to use earth plasters, in order to avoid moisture problems inside the walls.


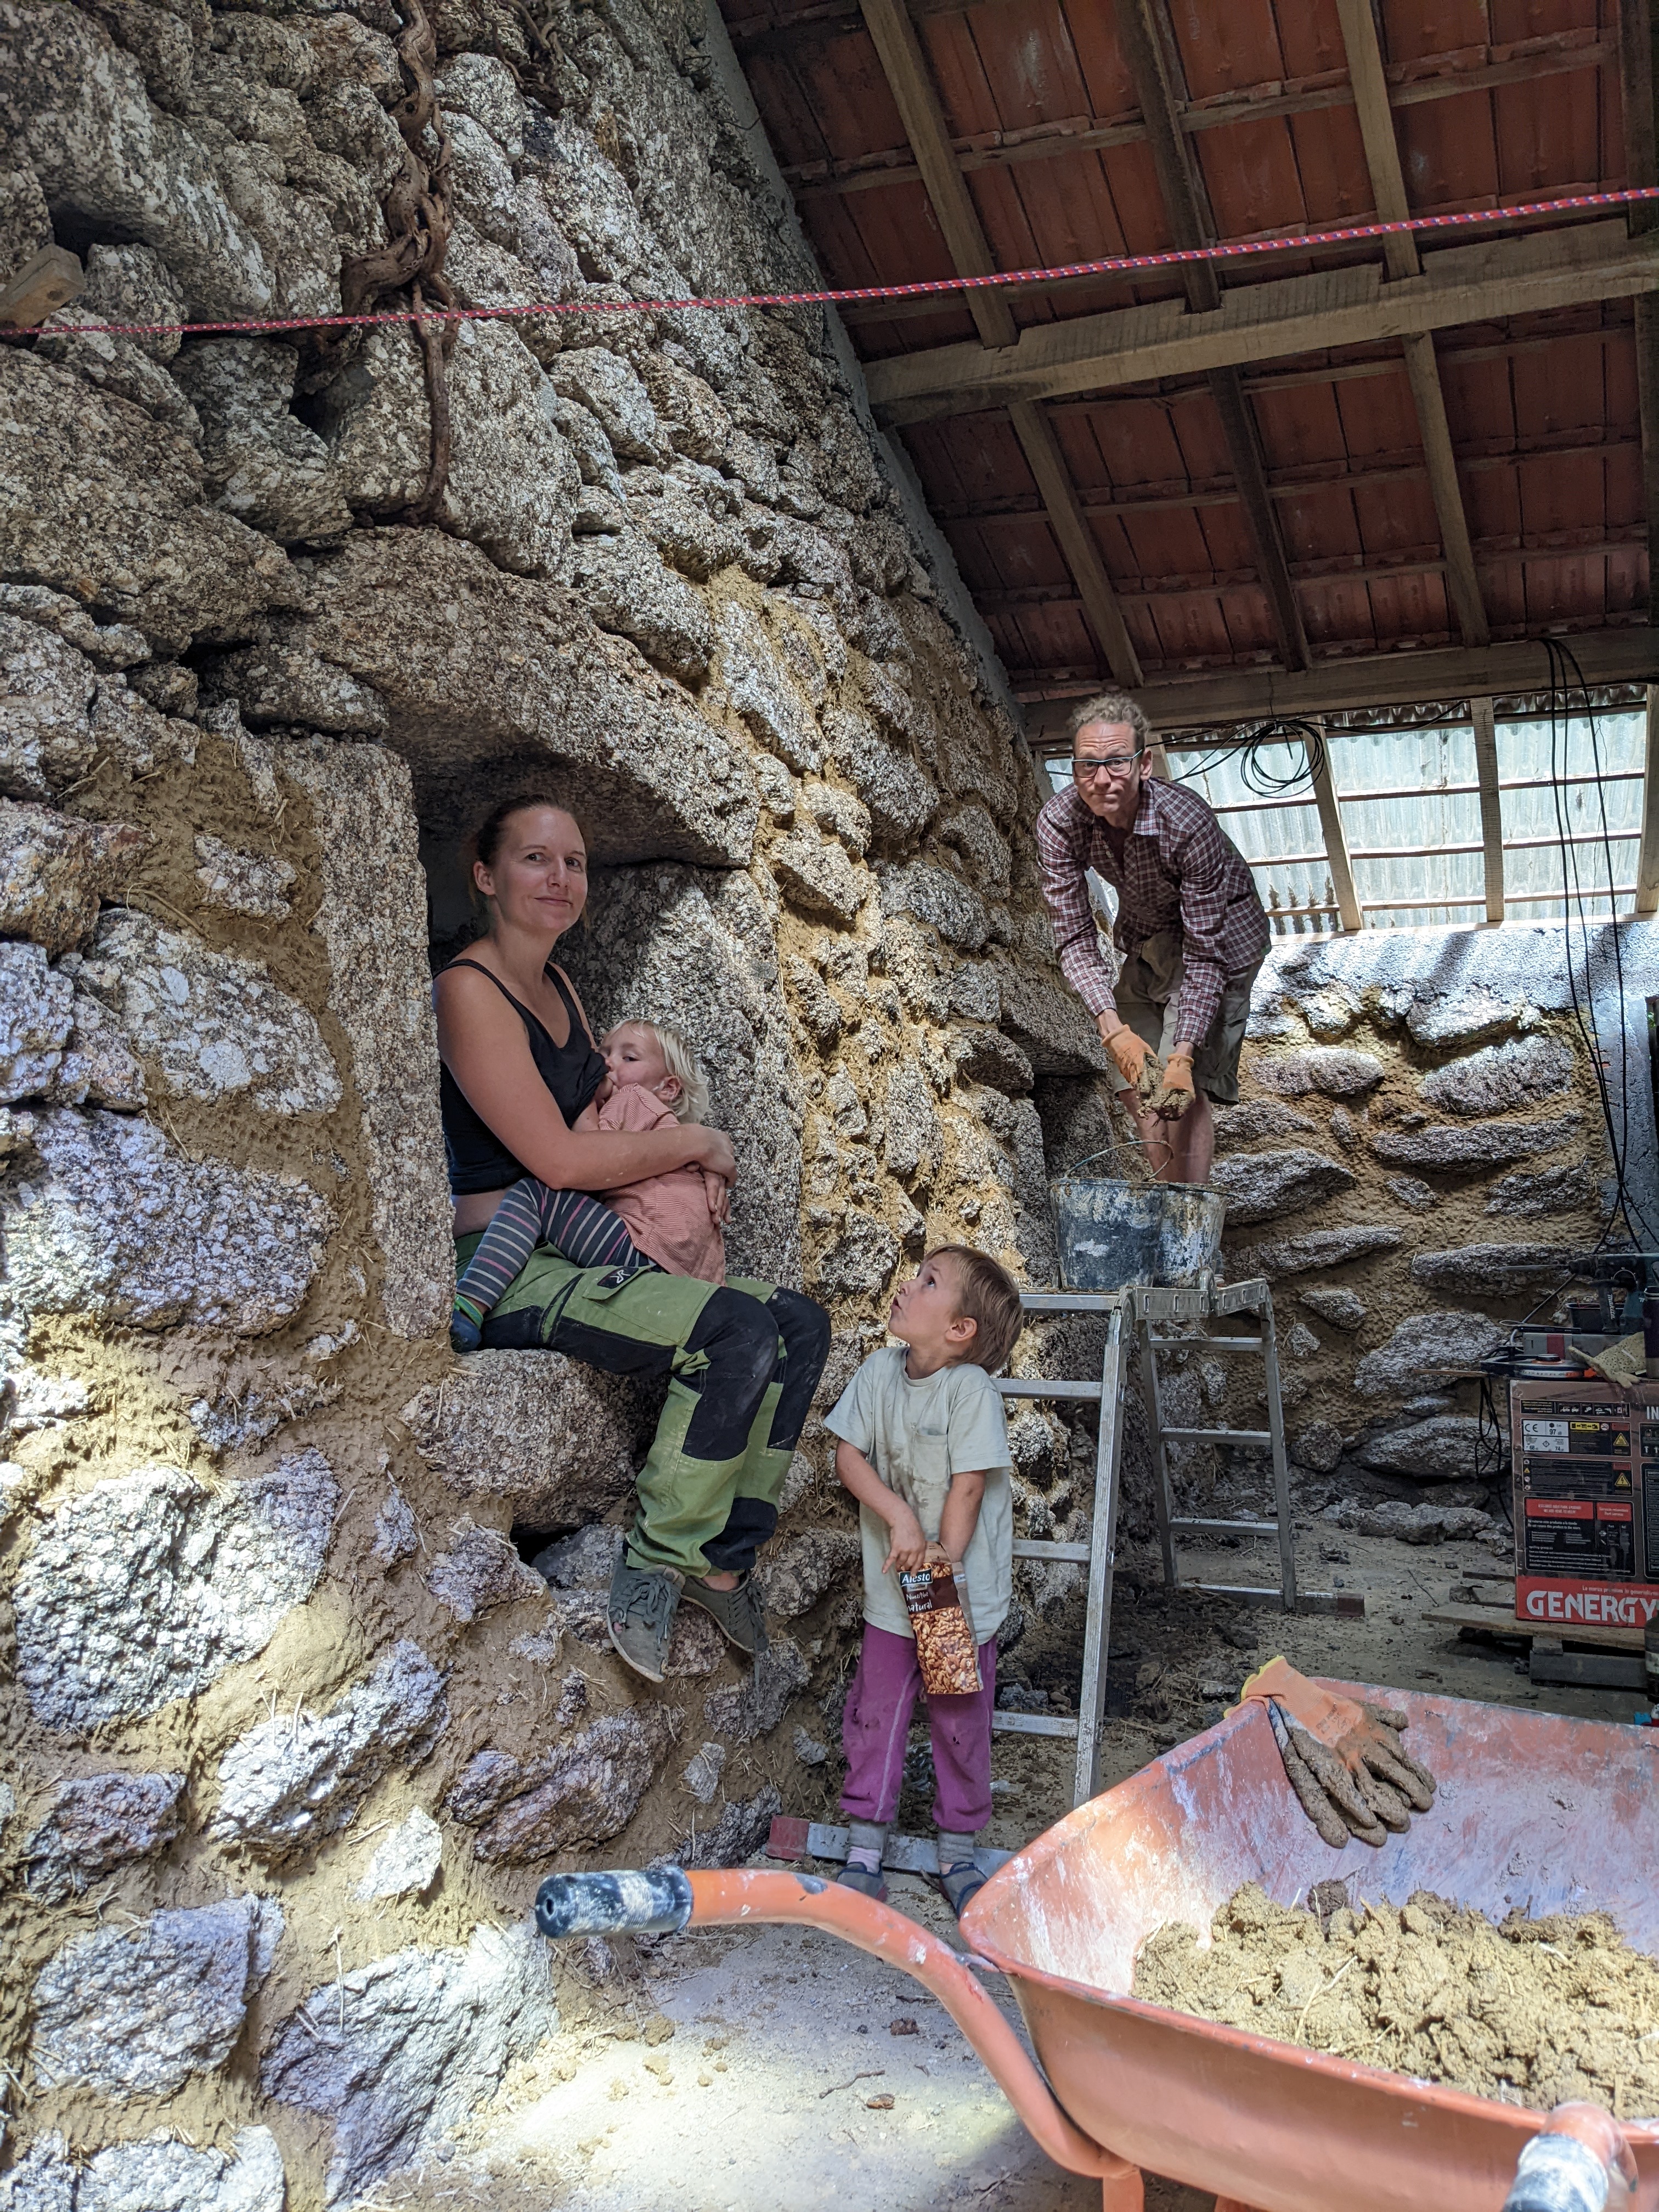
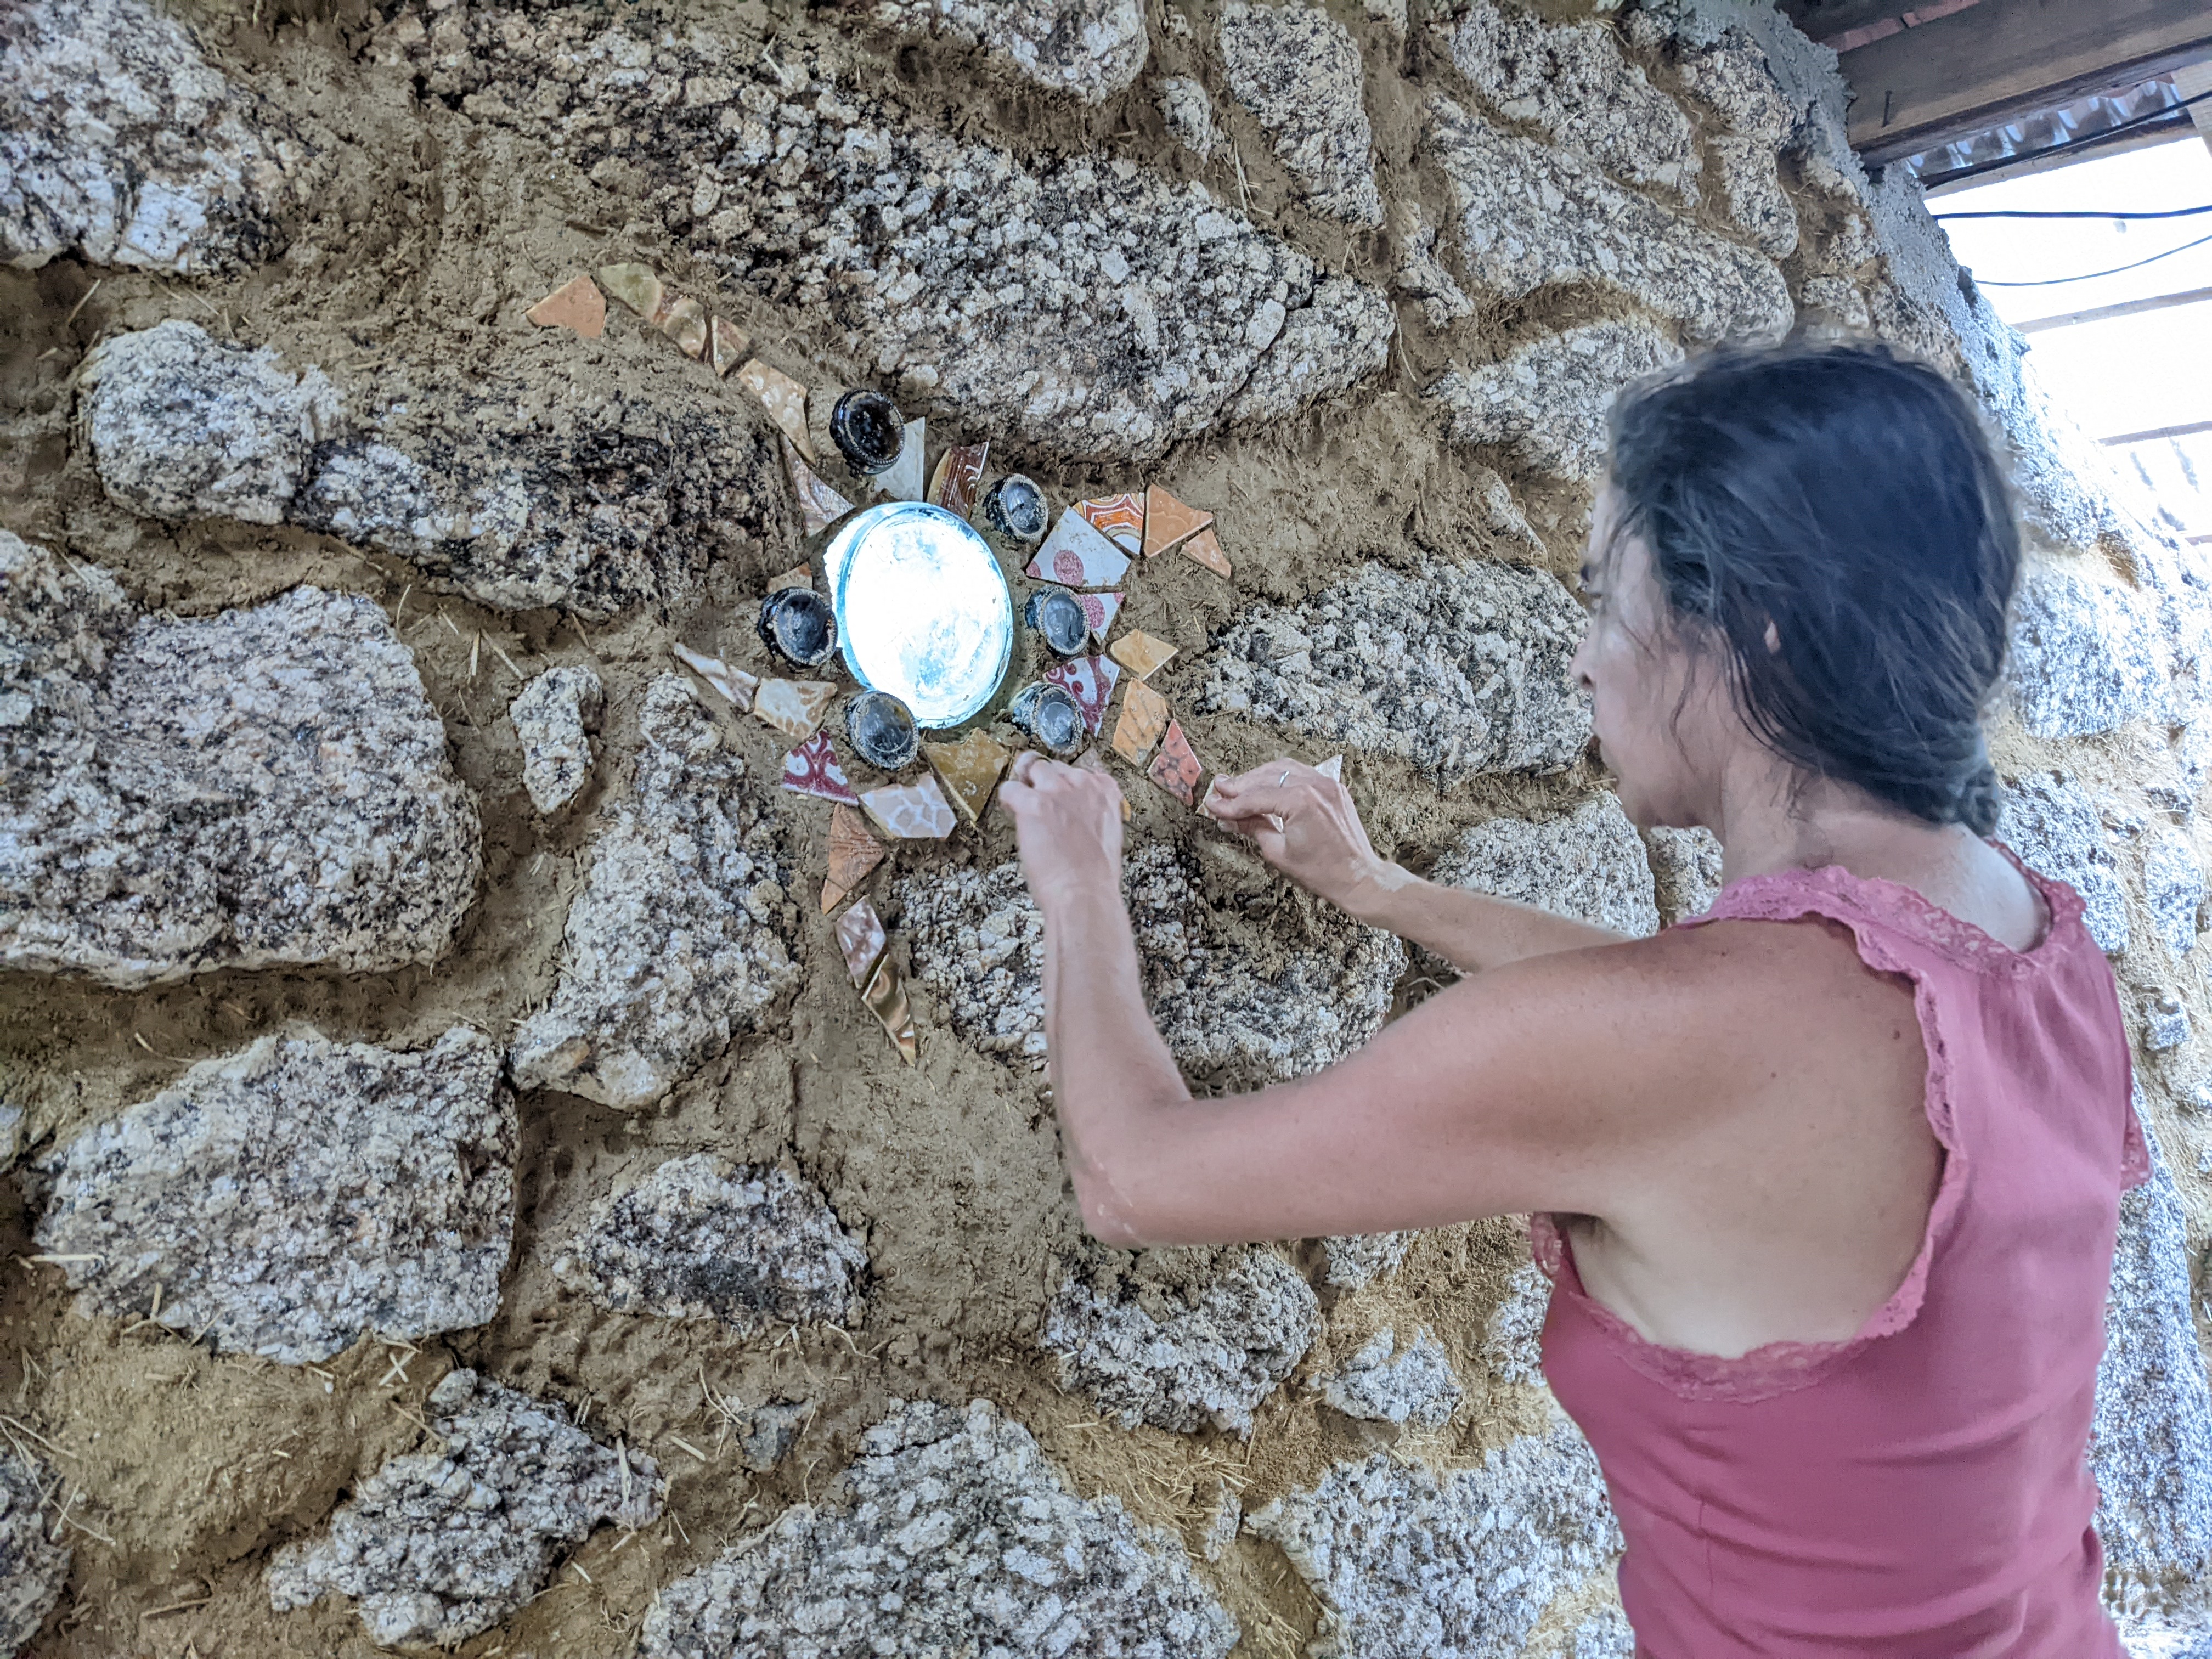
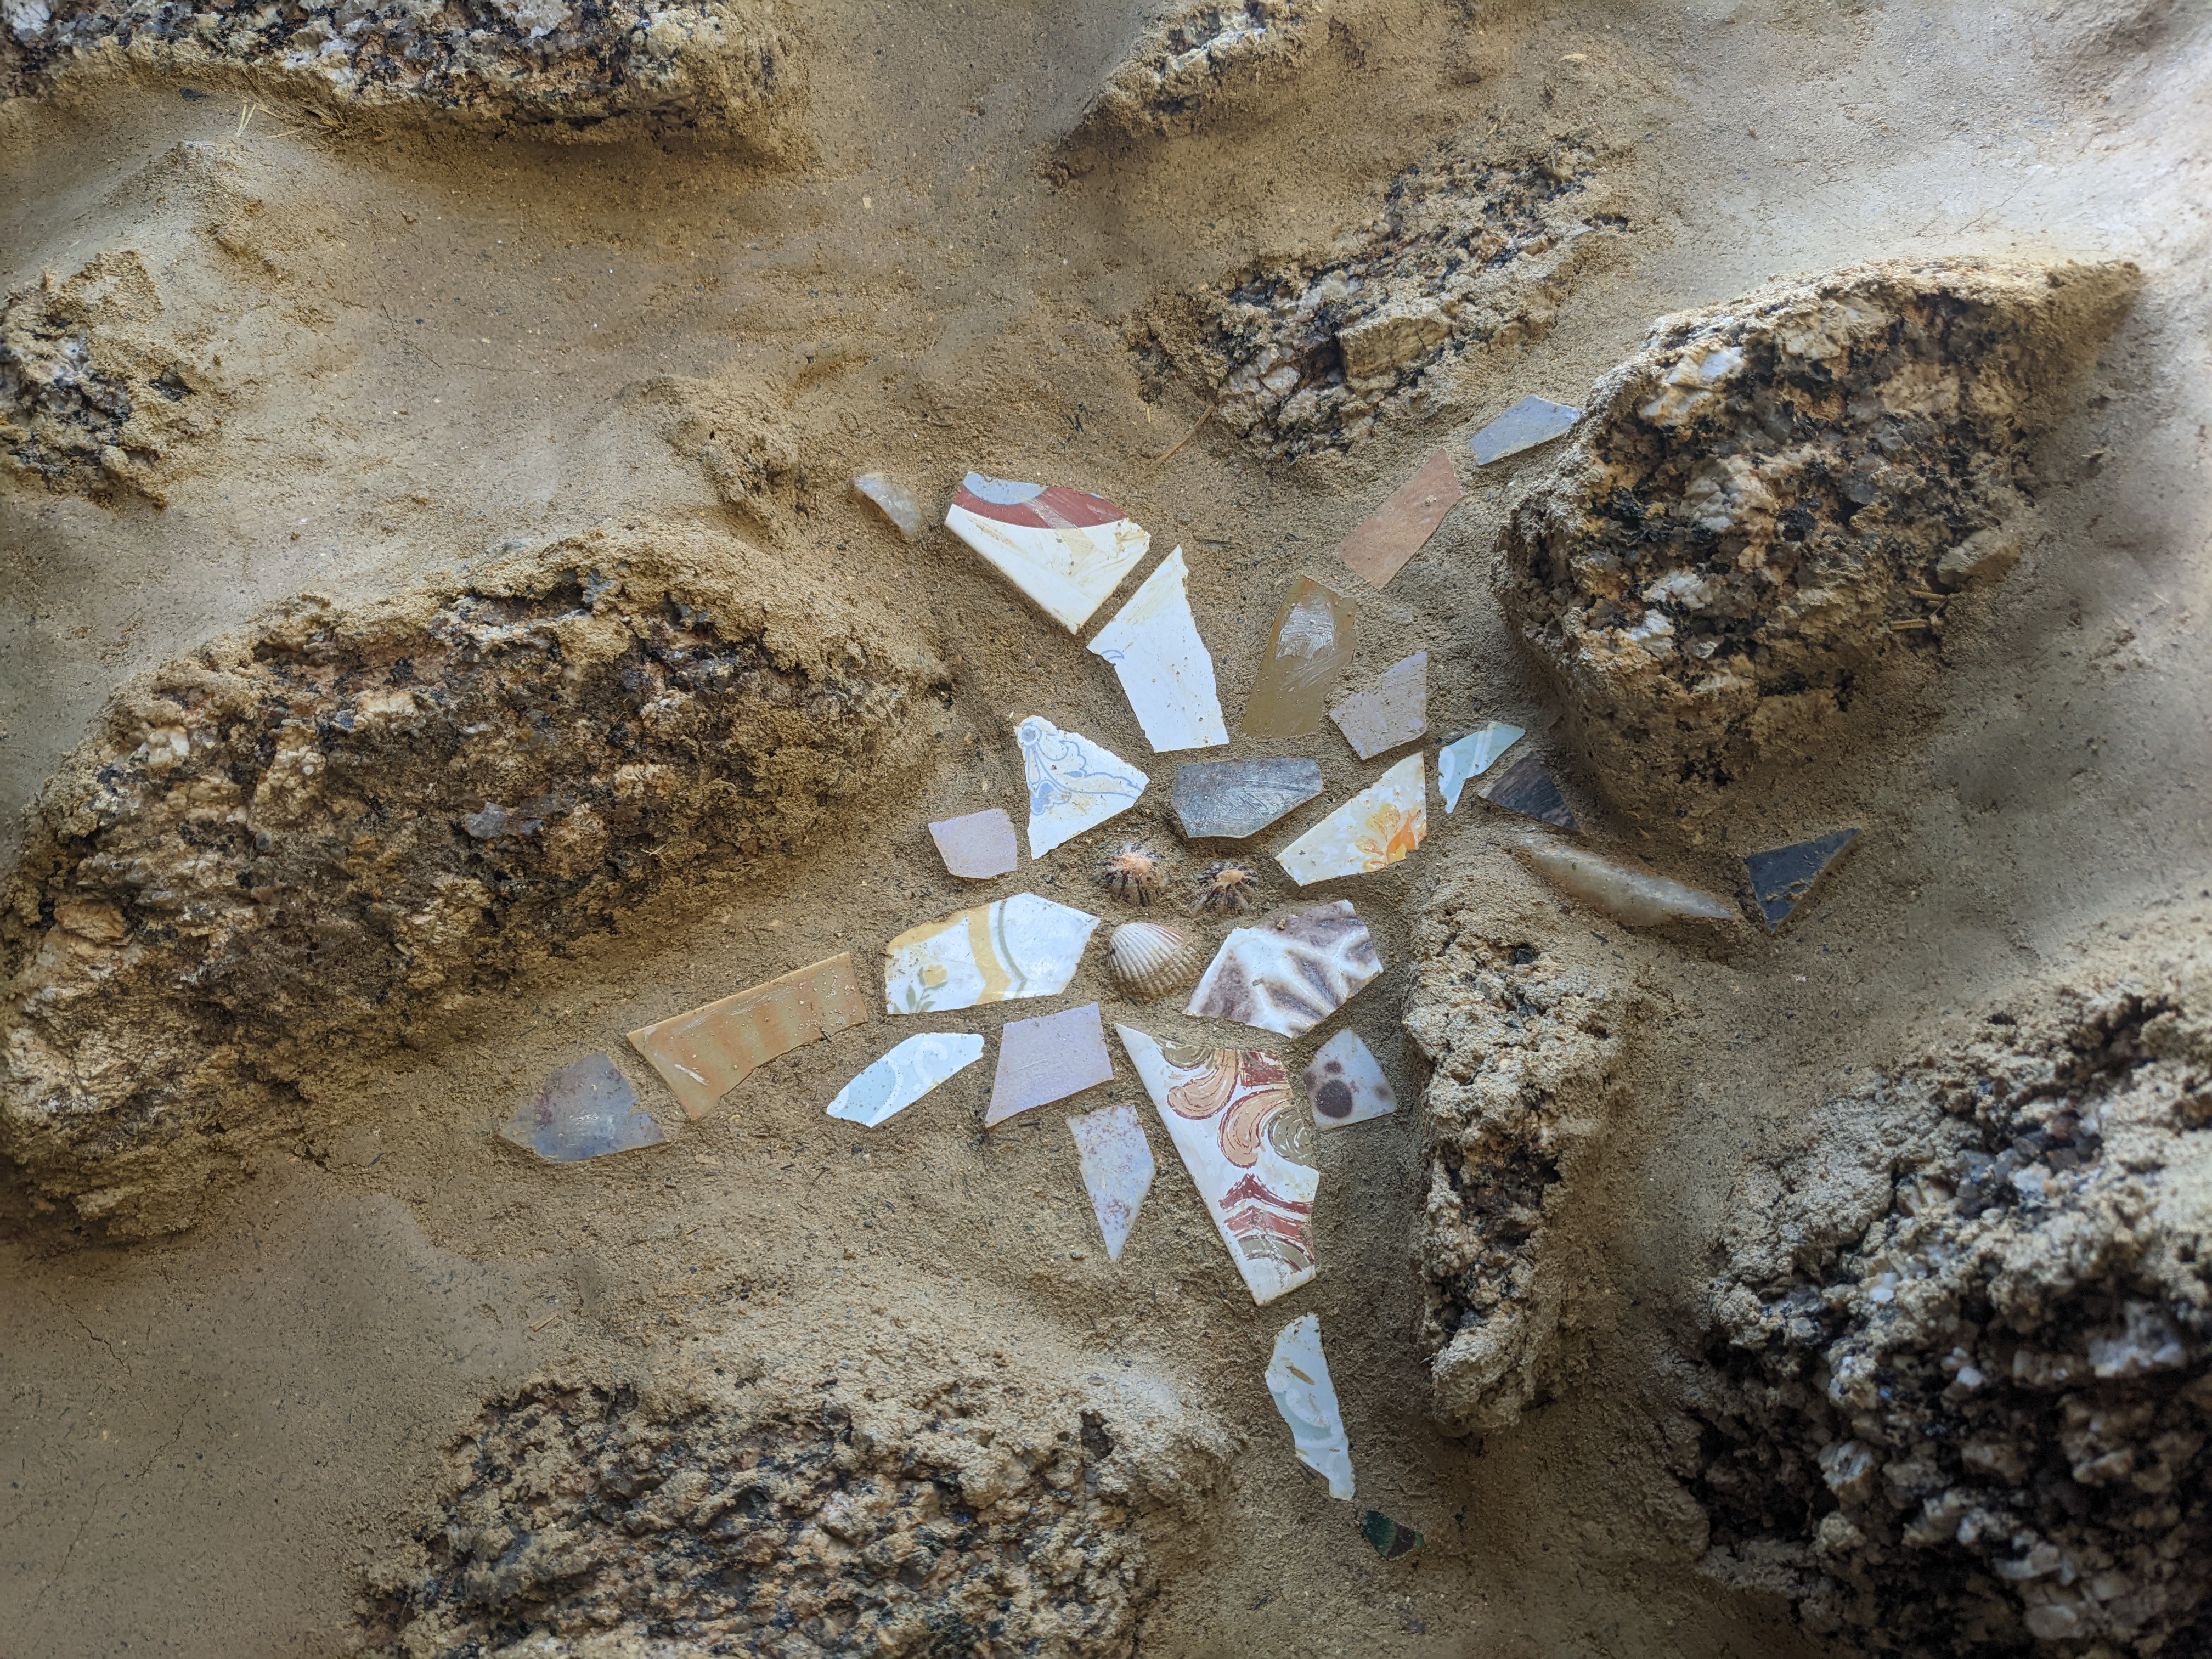
Unsurprisingly, some barn gnomes manifested themselves while we were renovating the walls. We also placed a couple of time capsules in the wall, including a photo of the construction team.


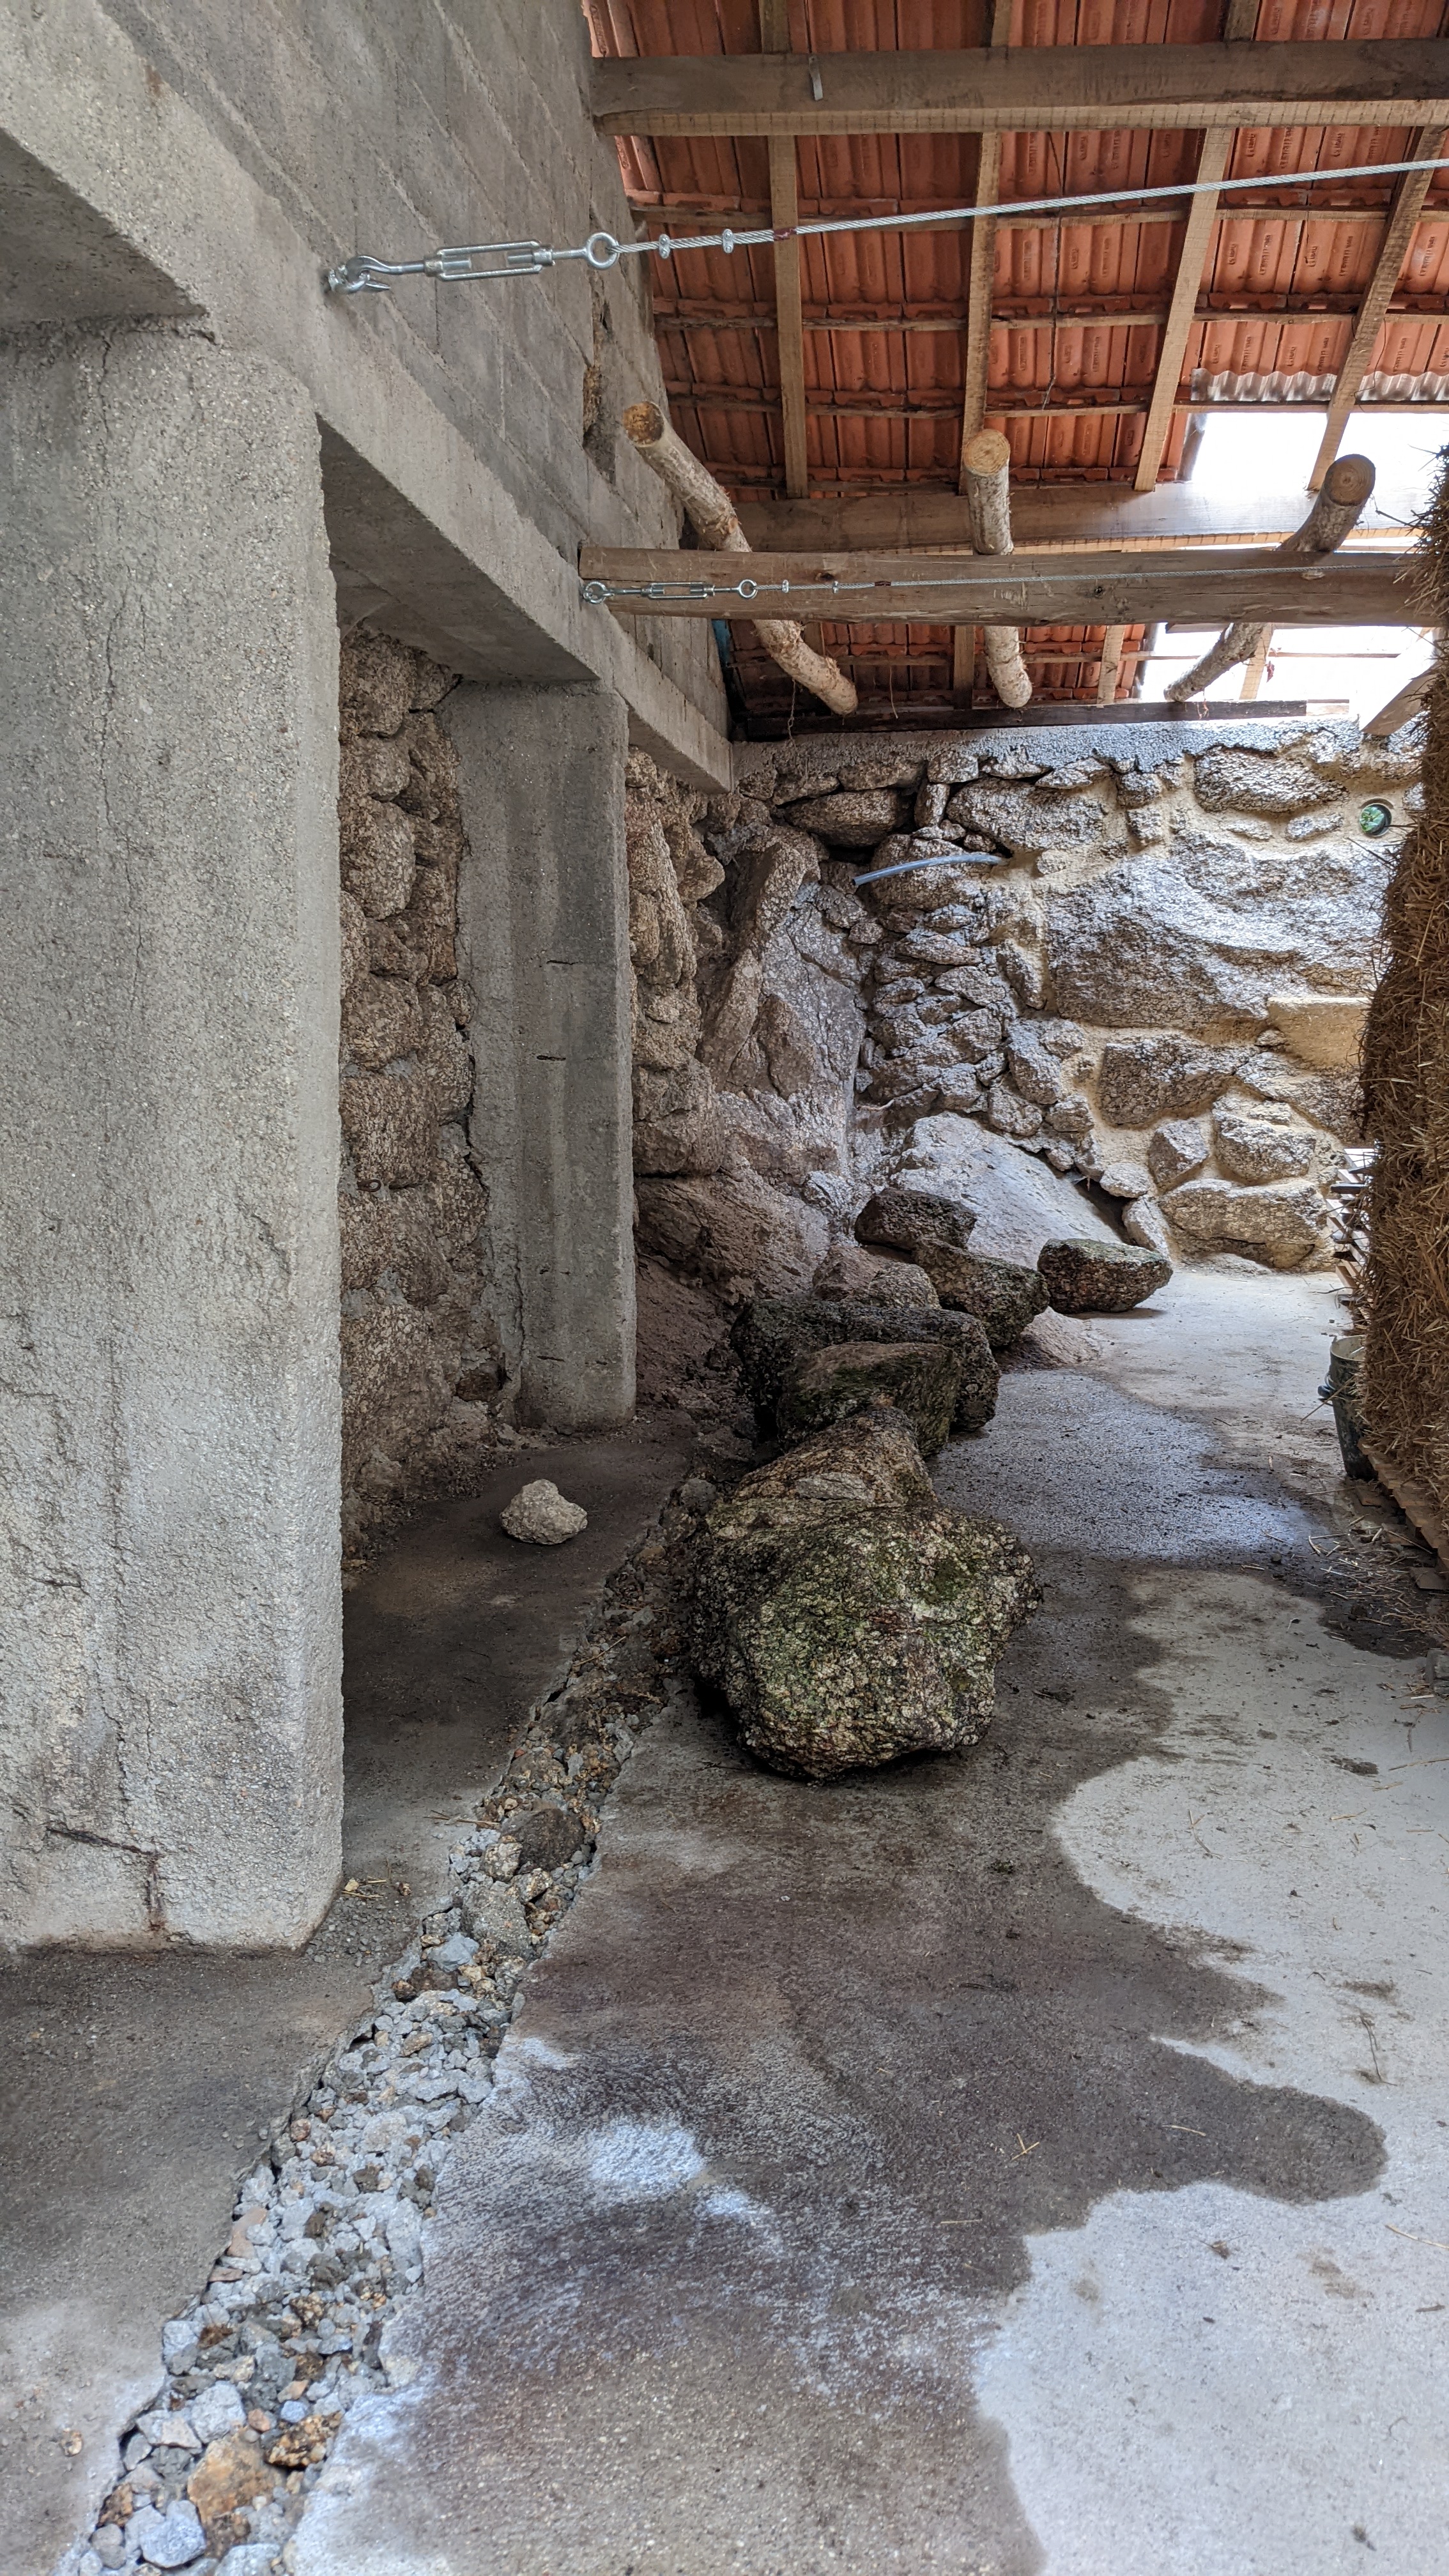
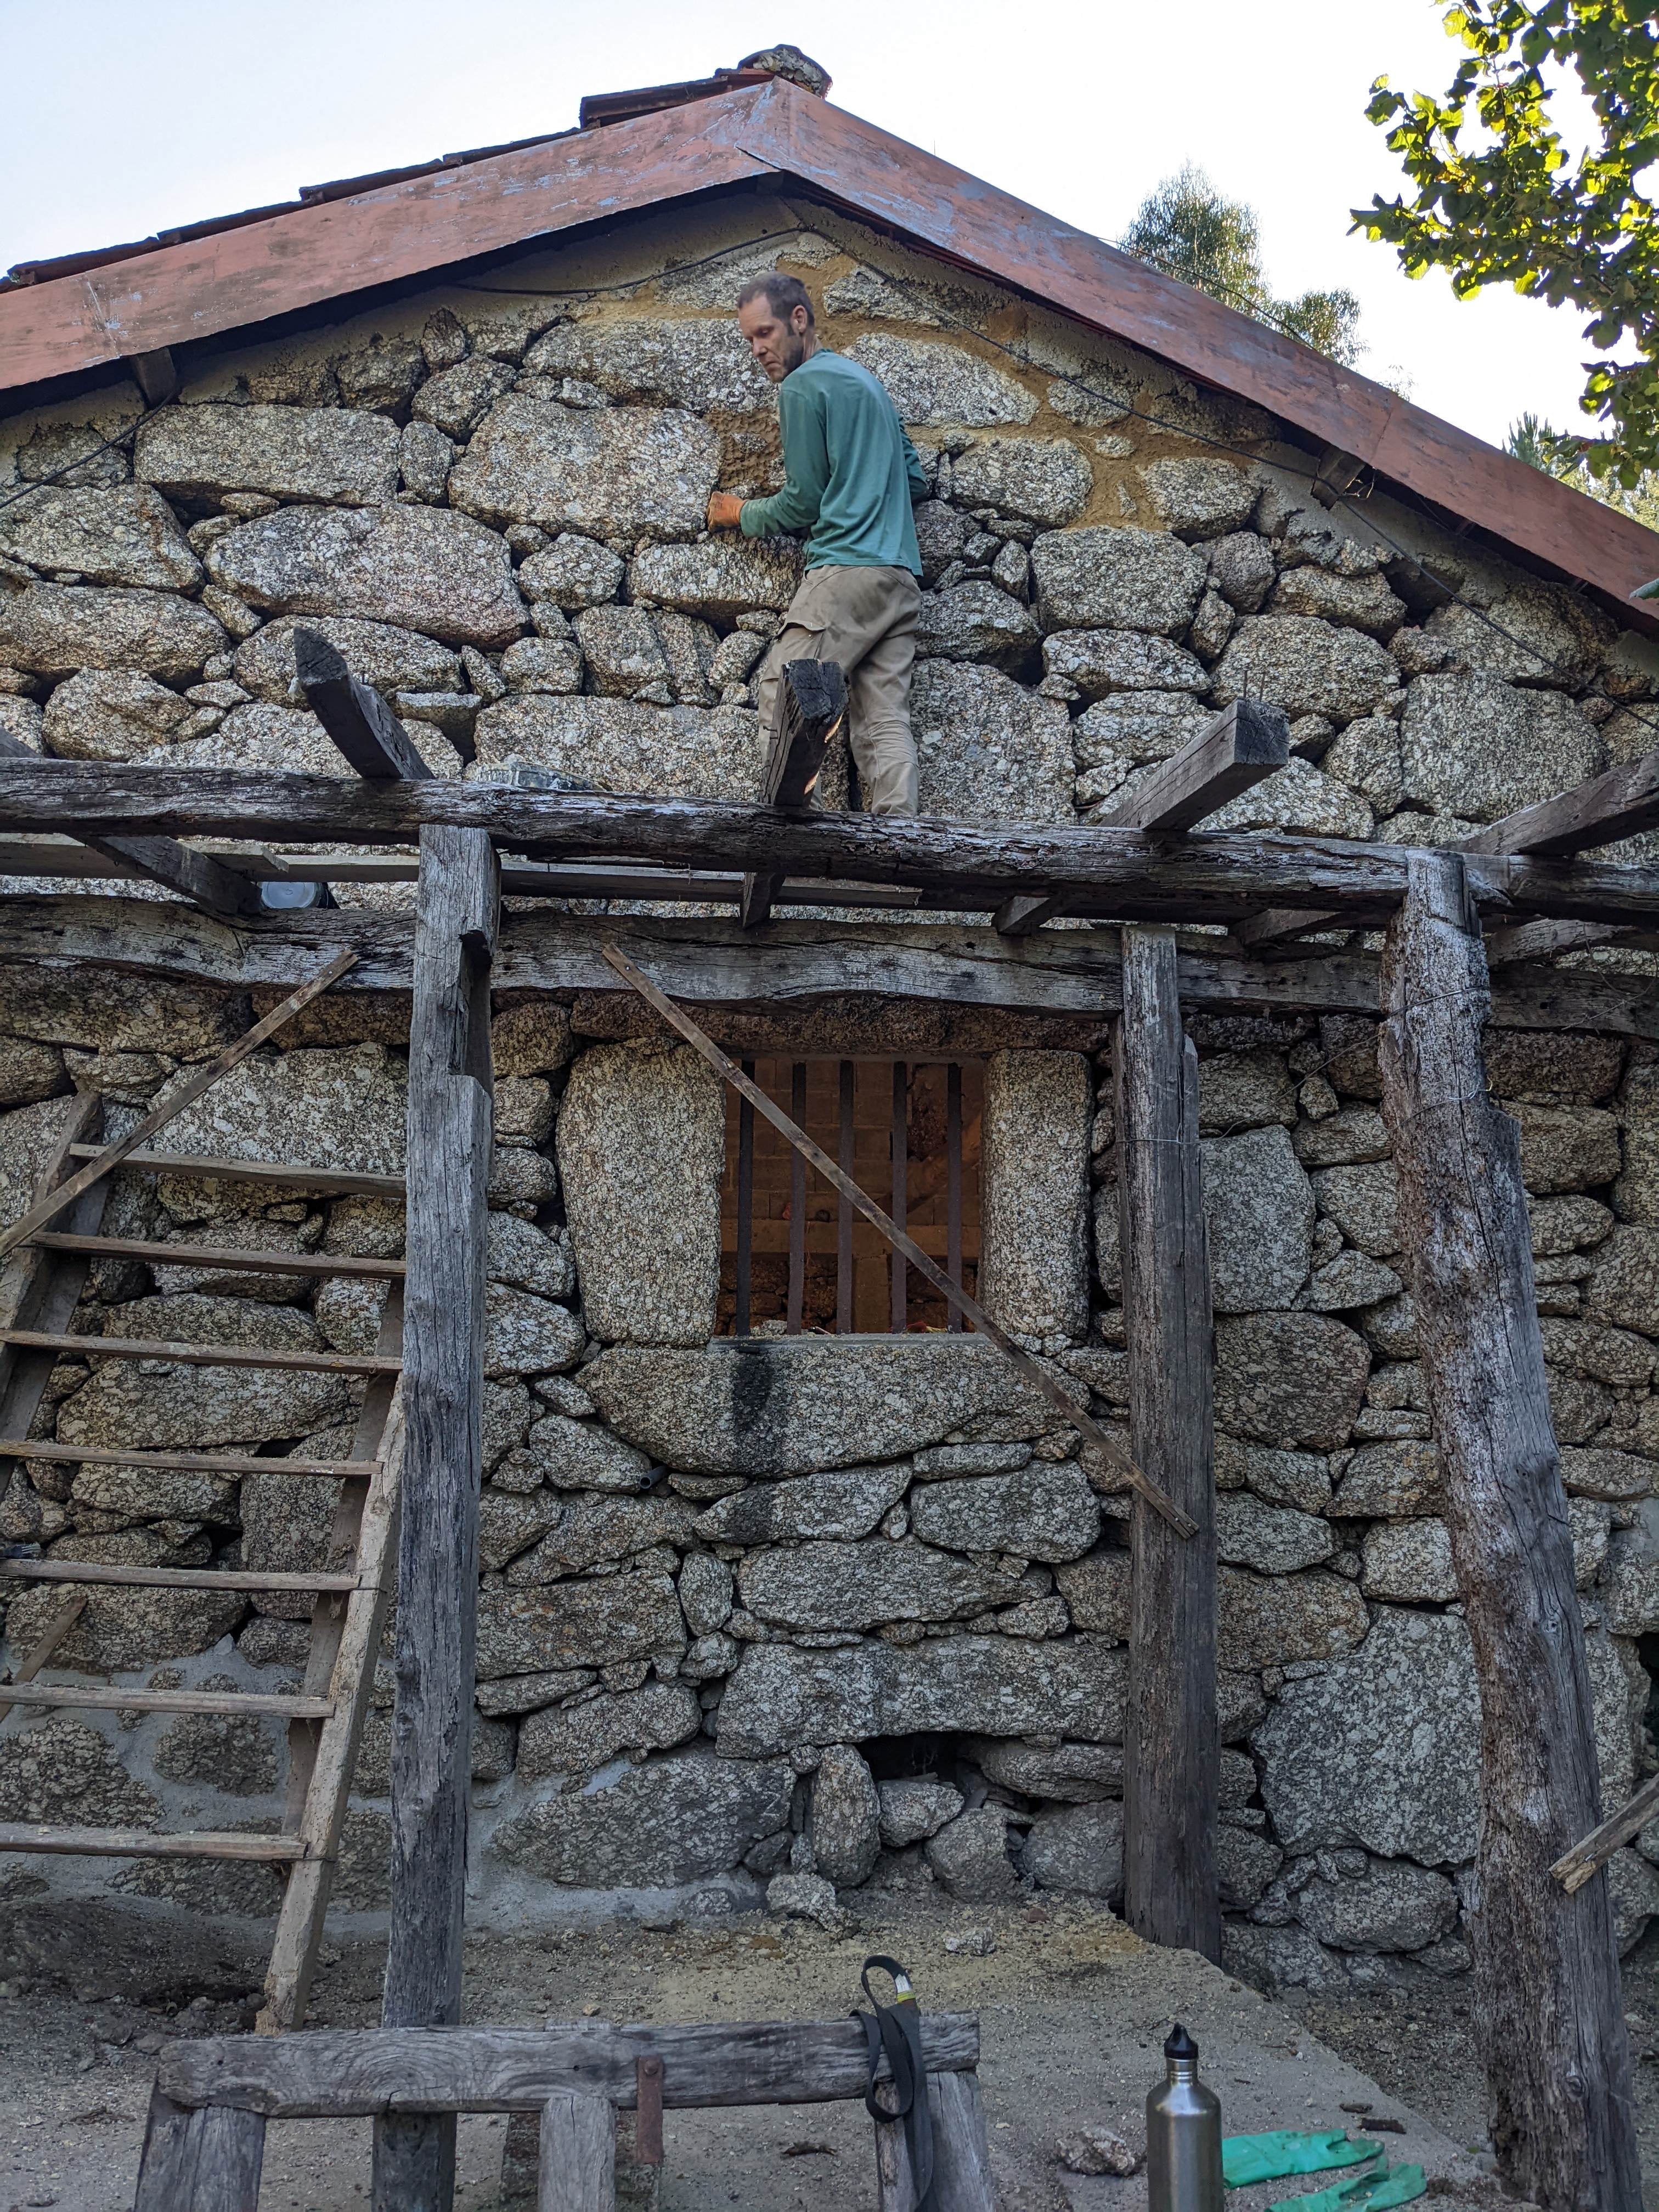
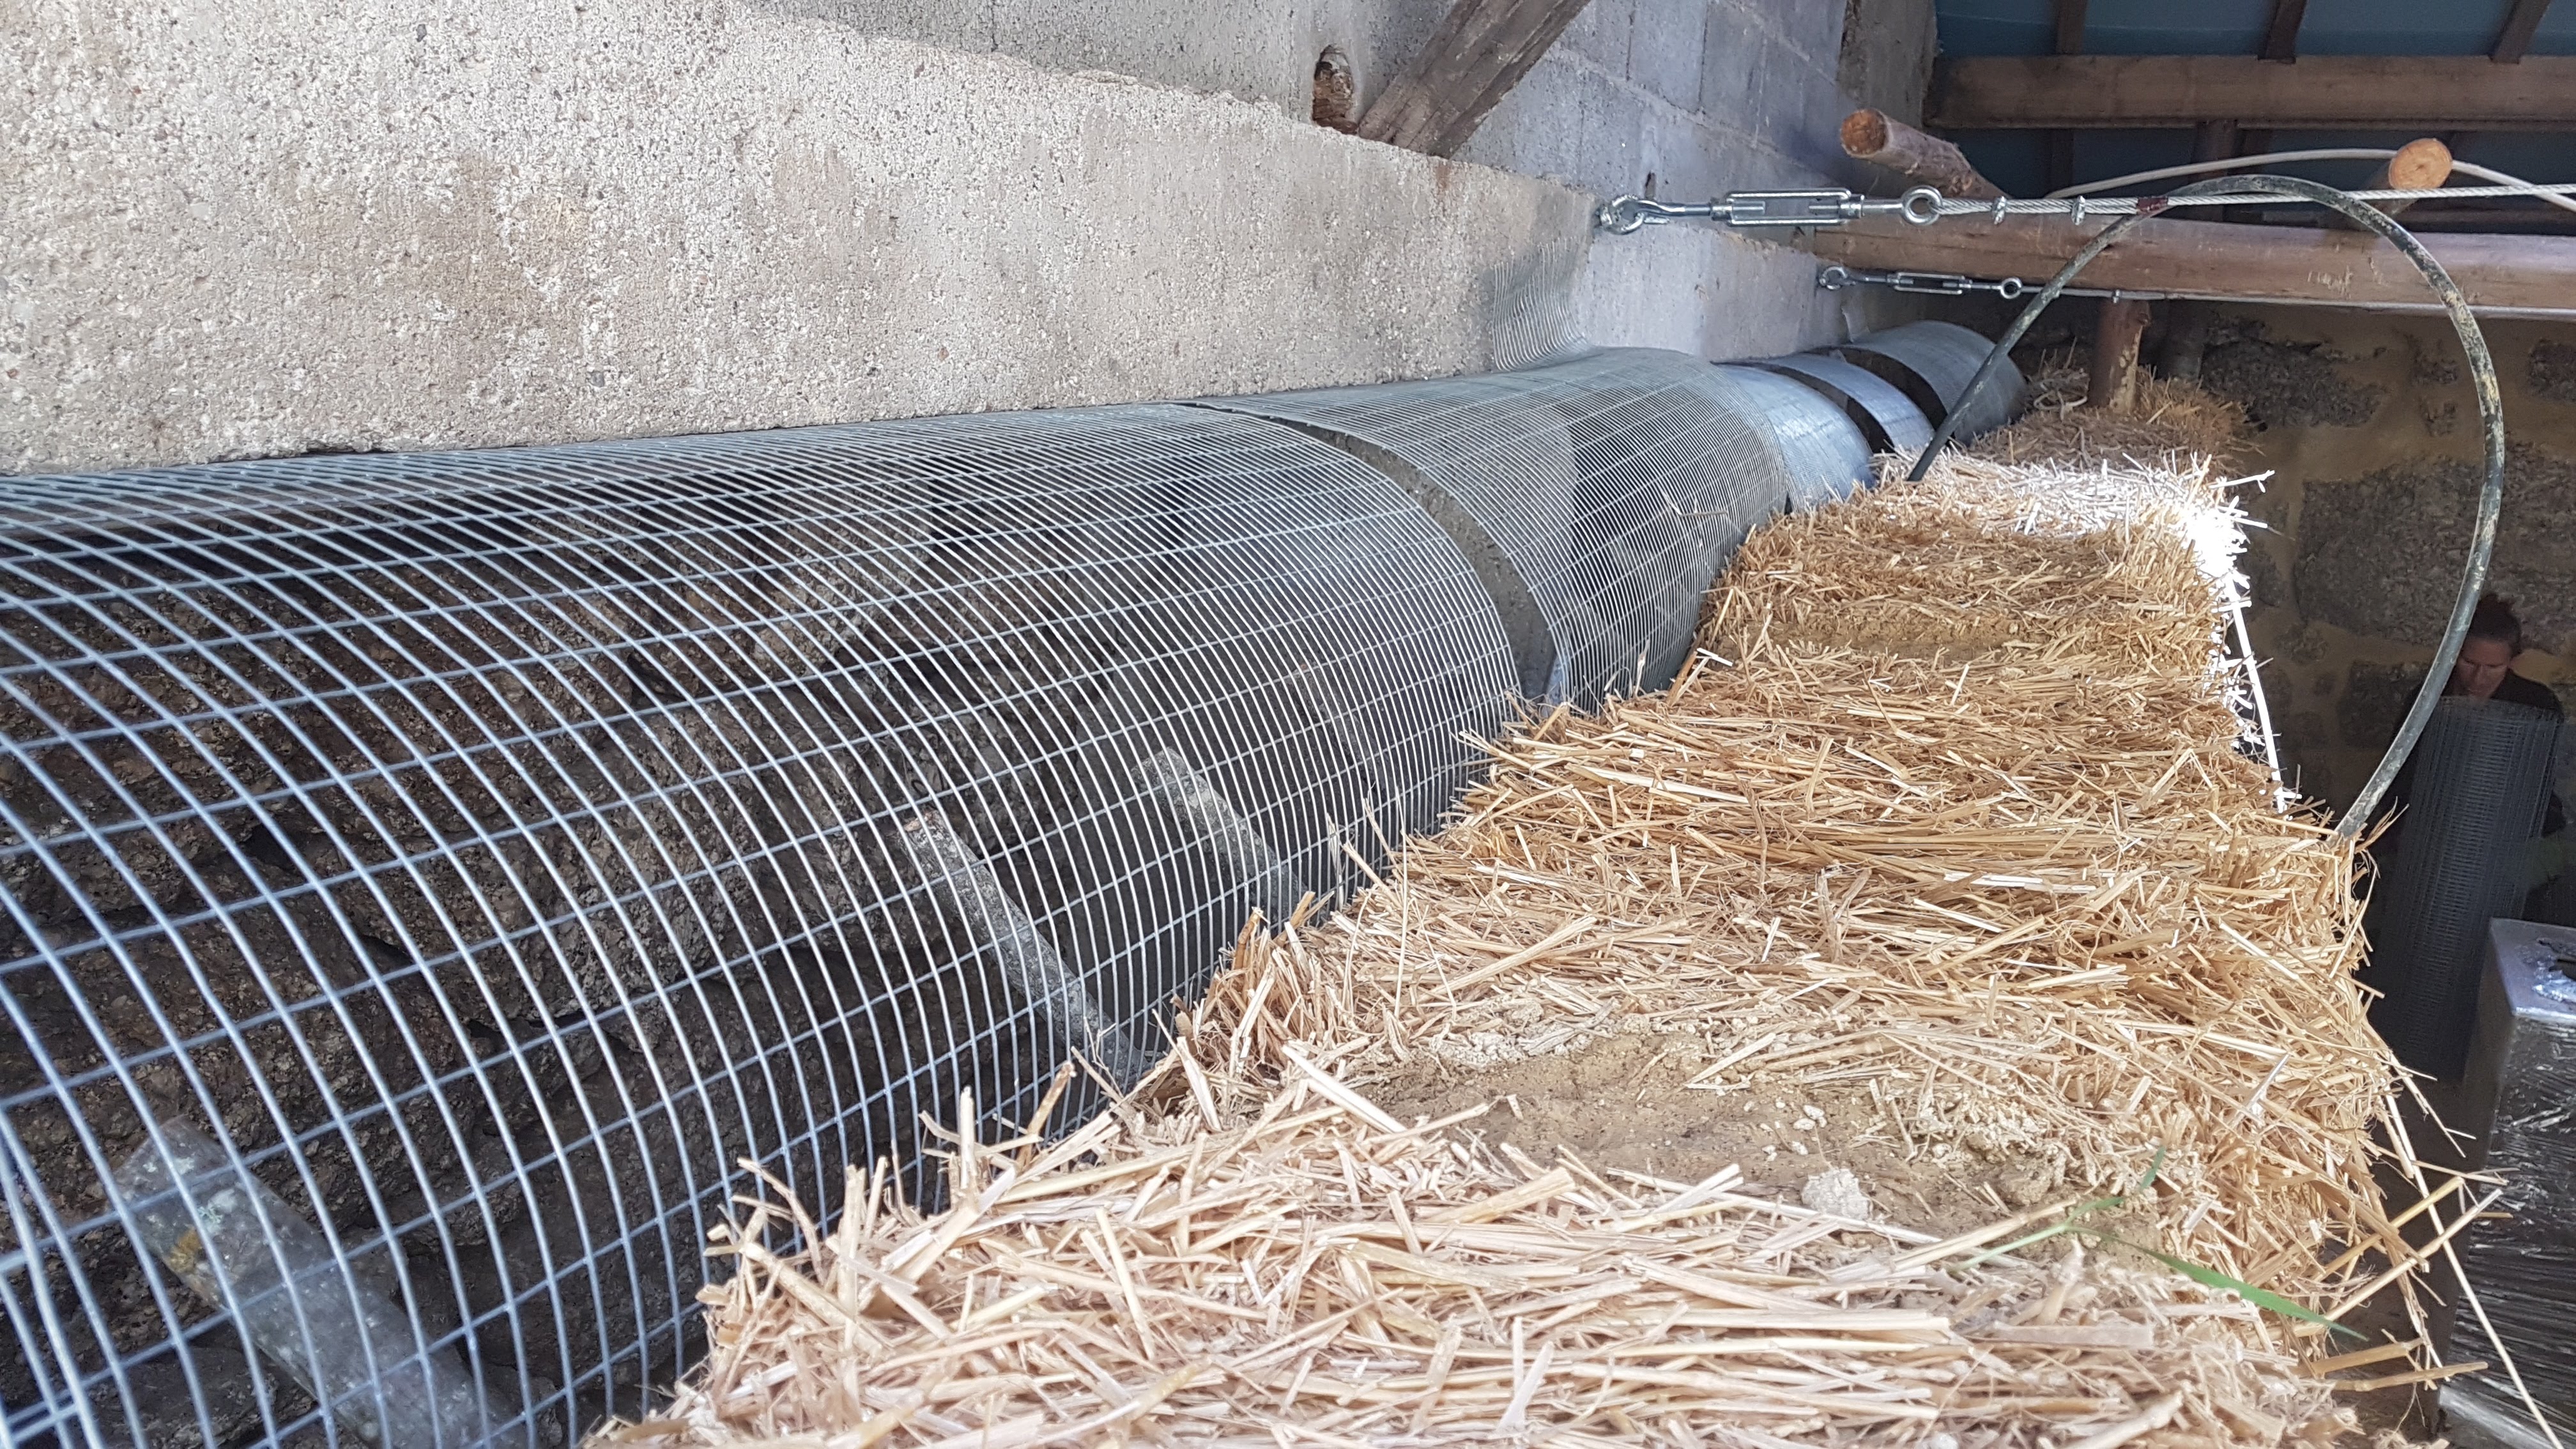
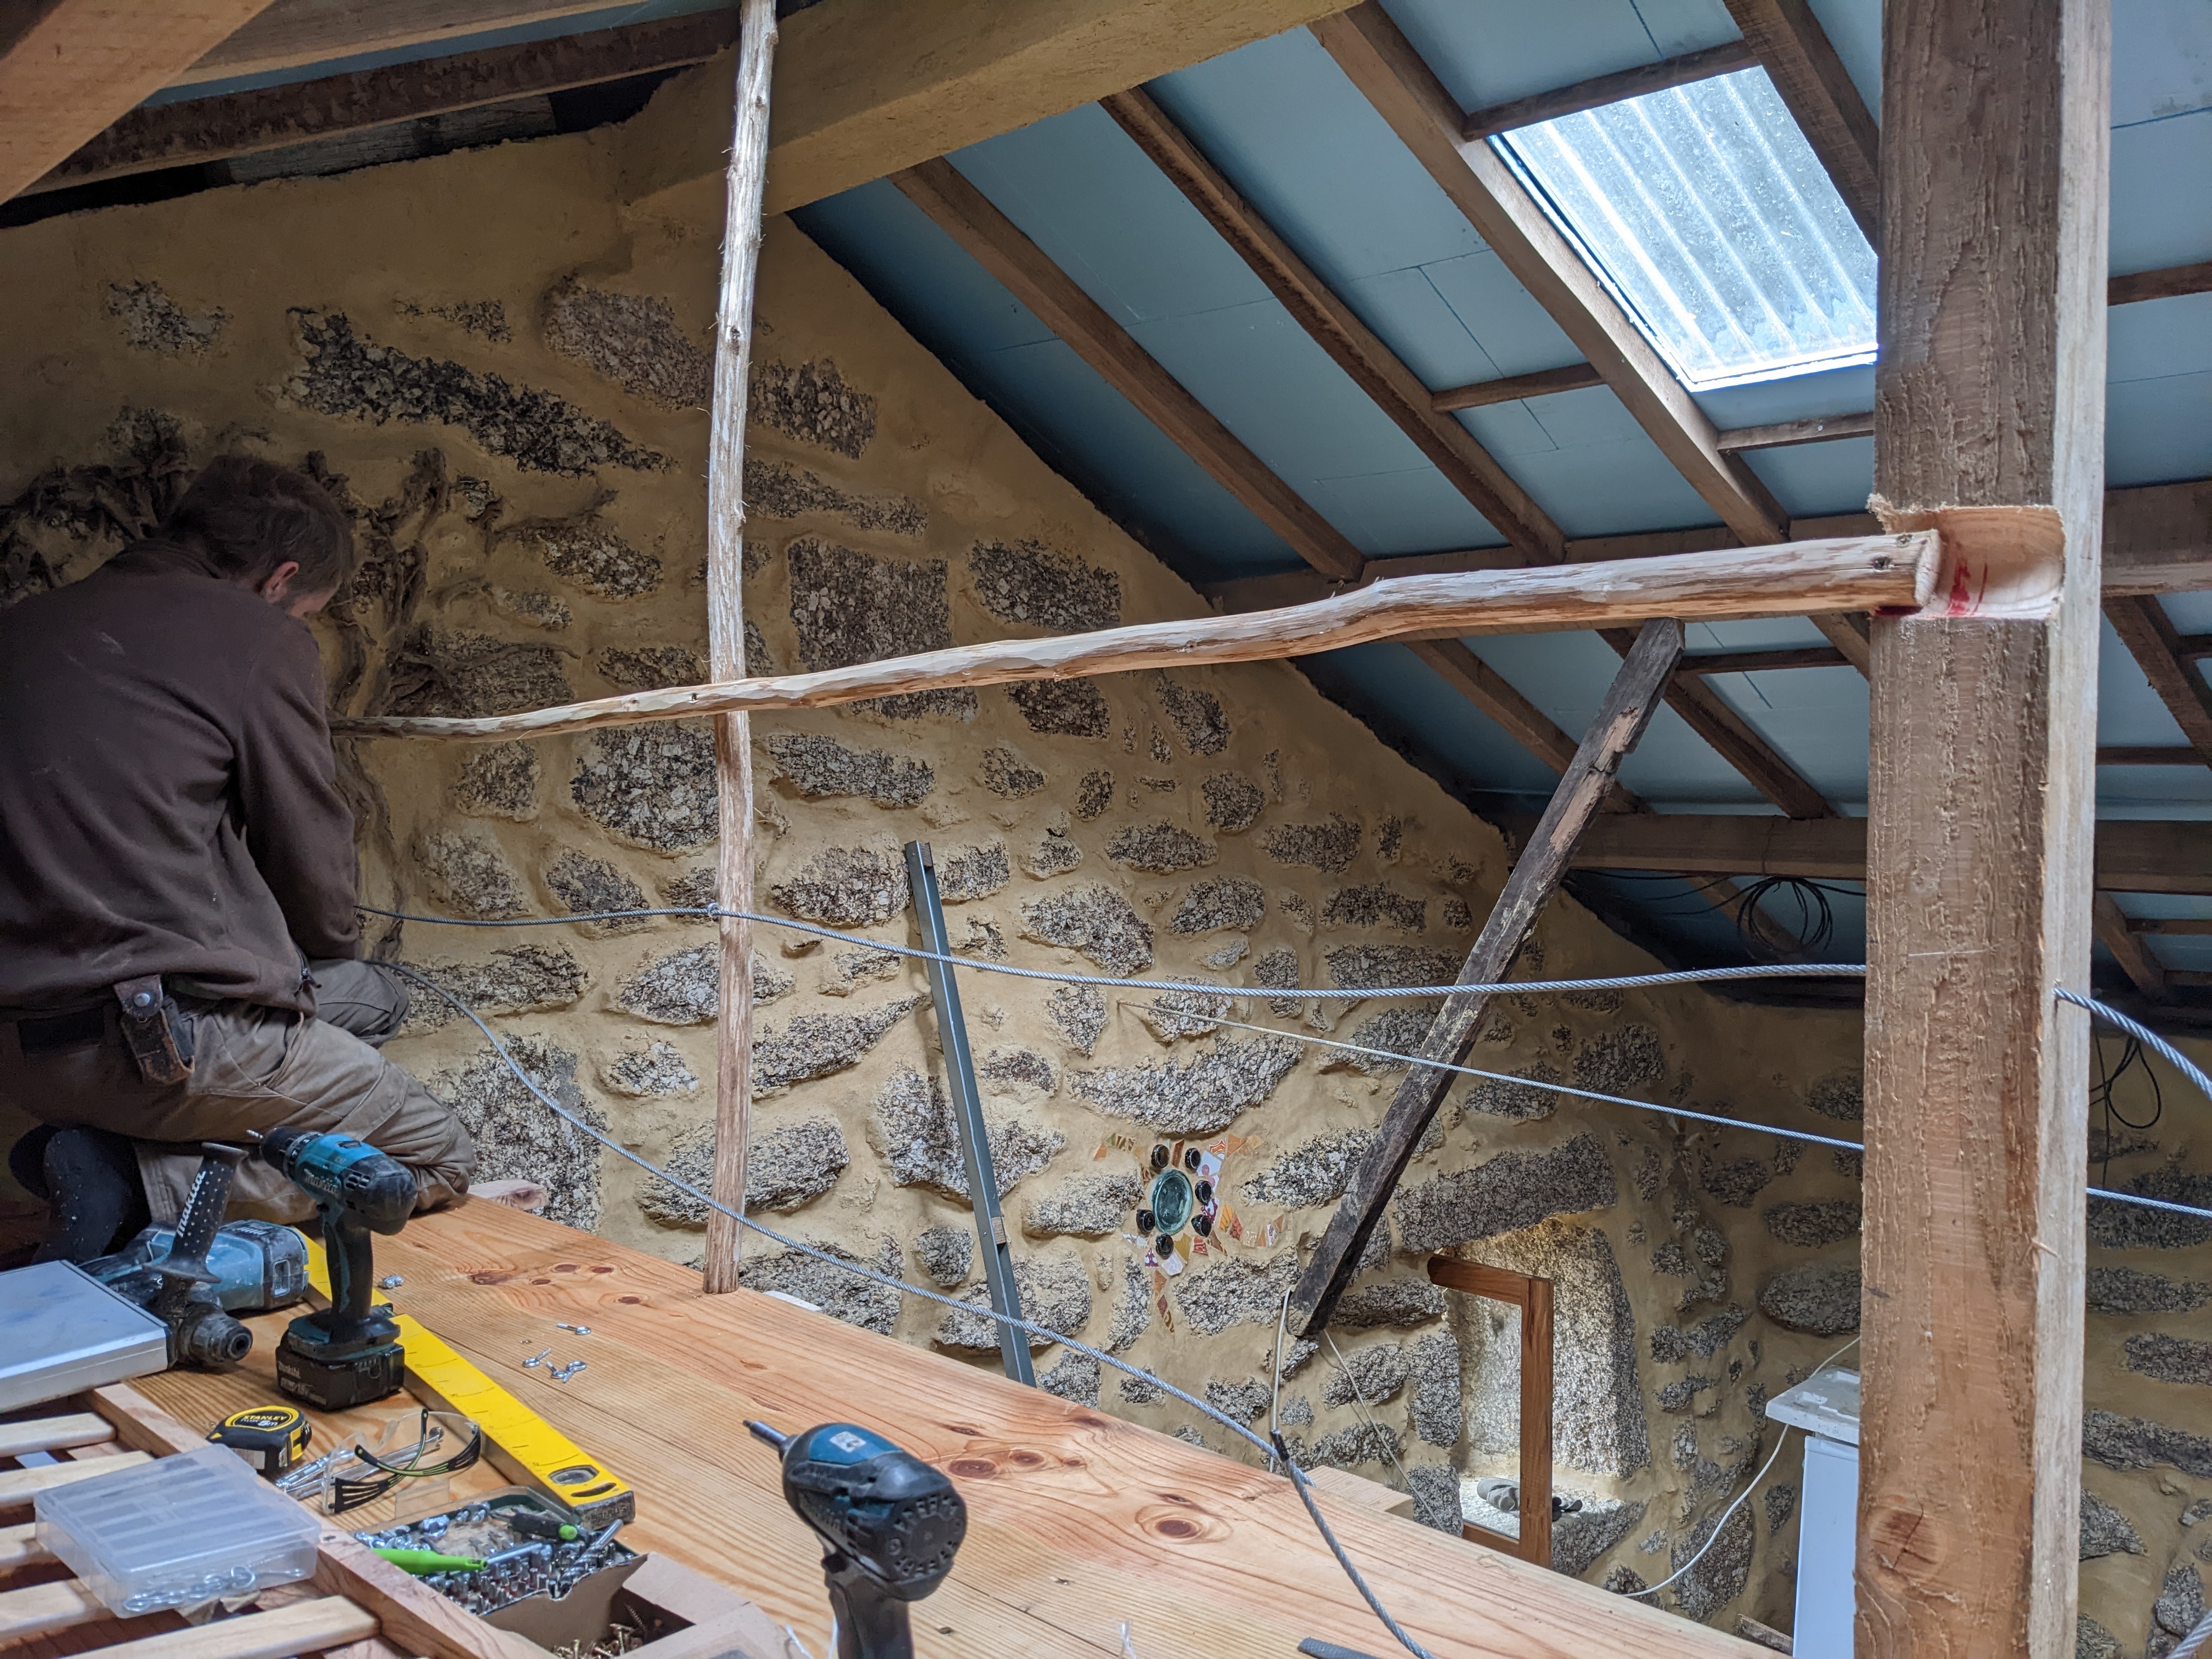
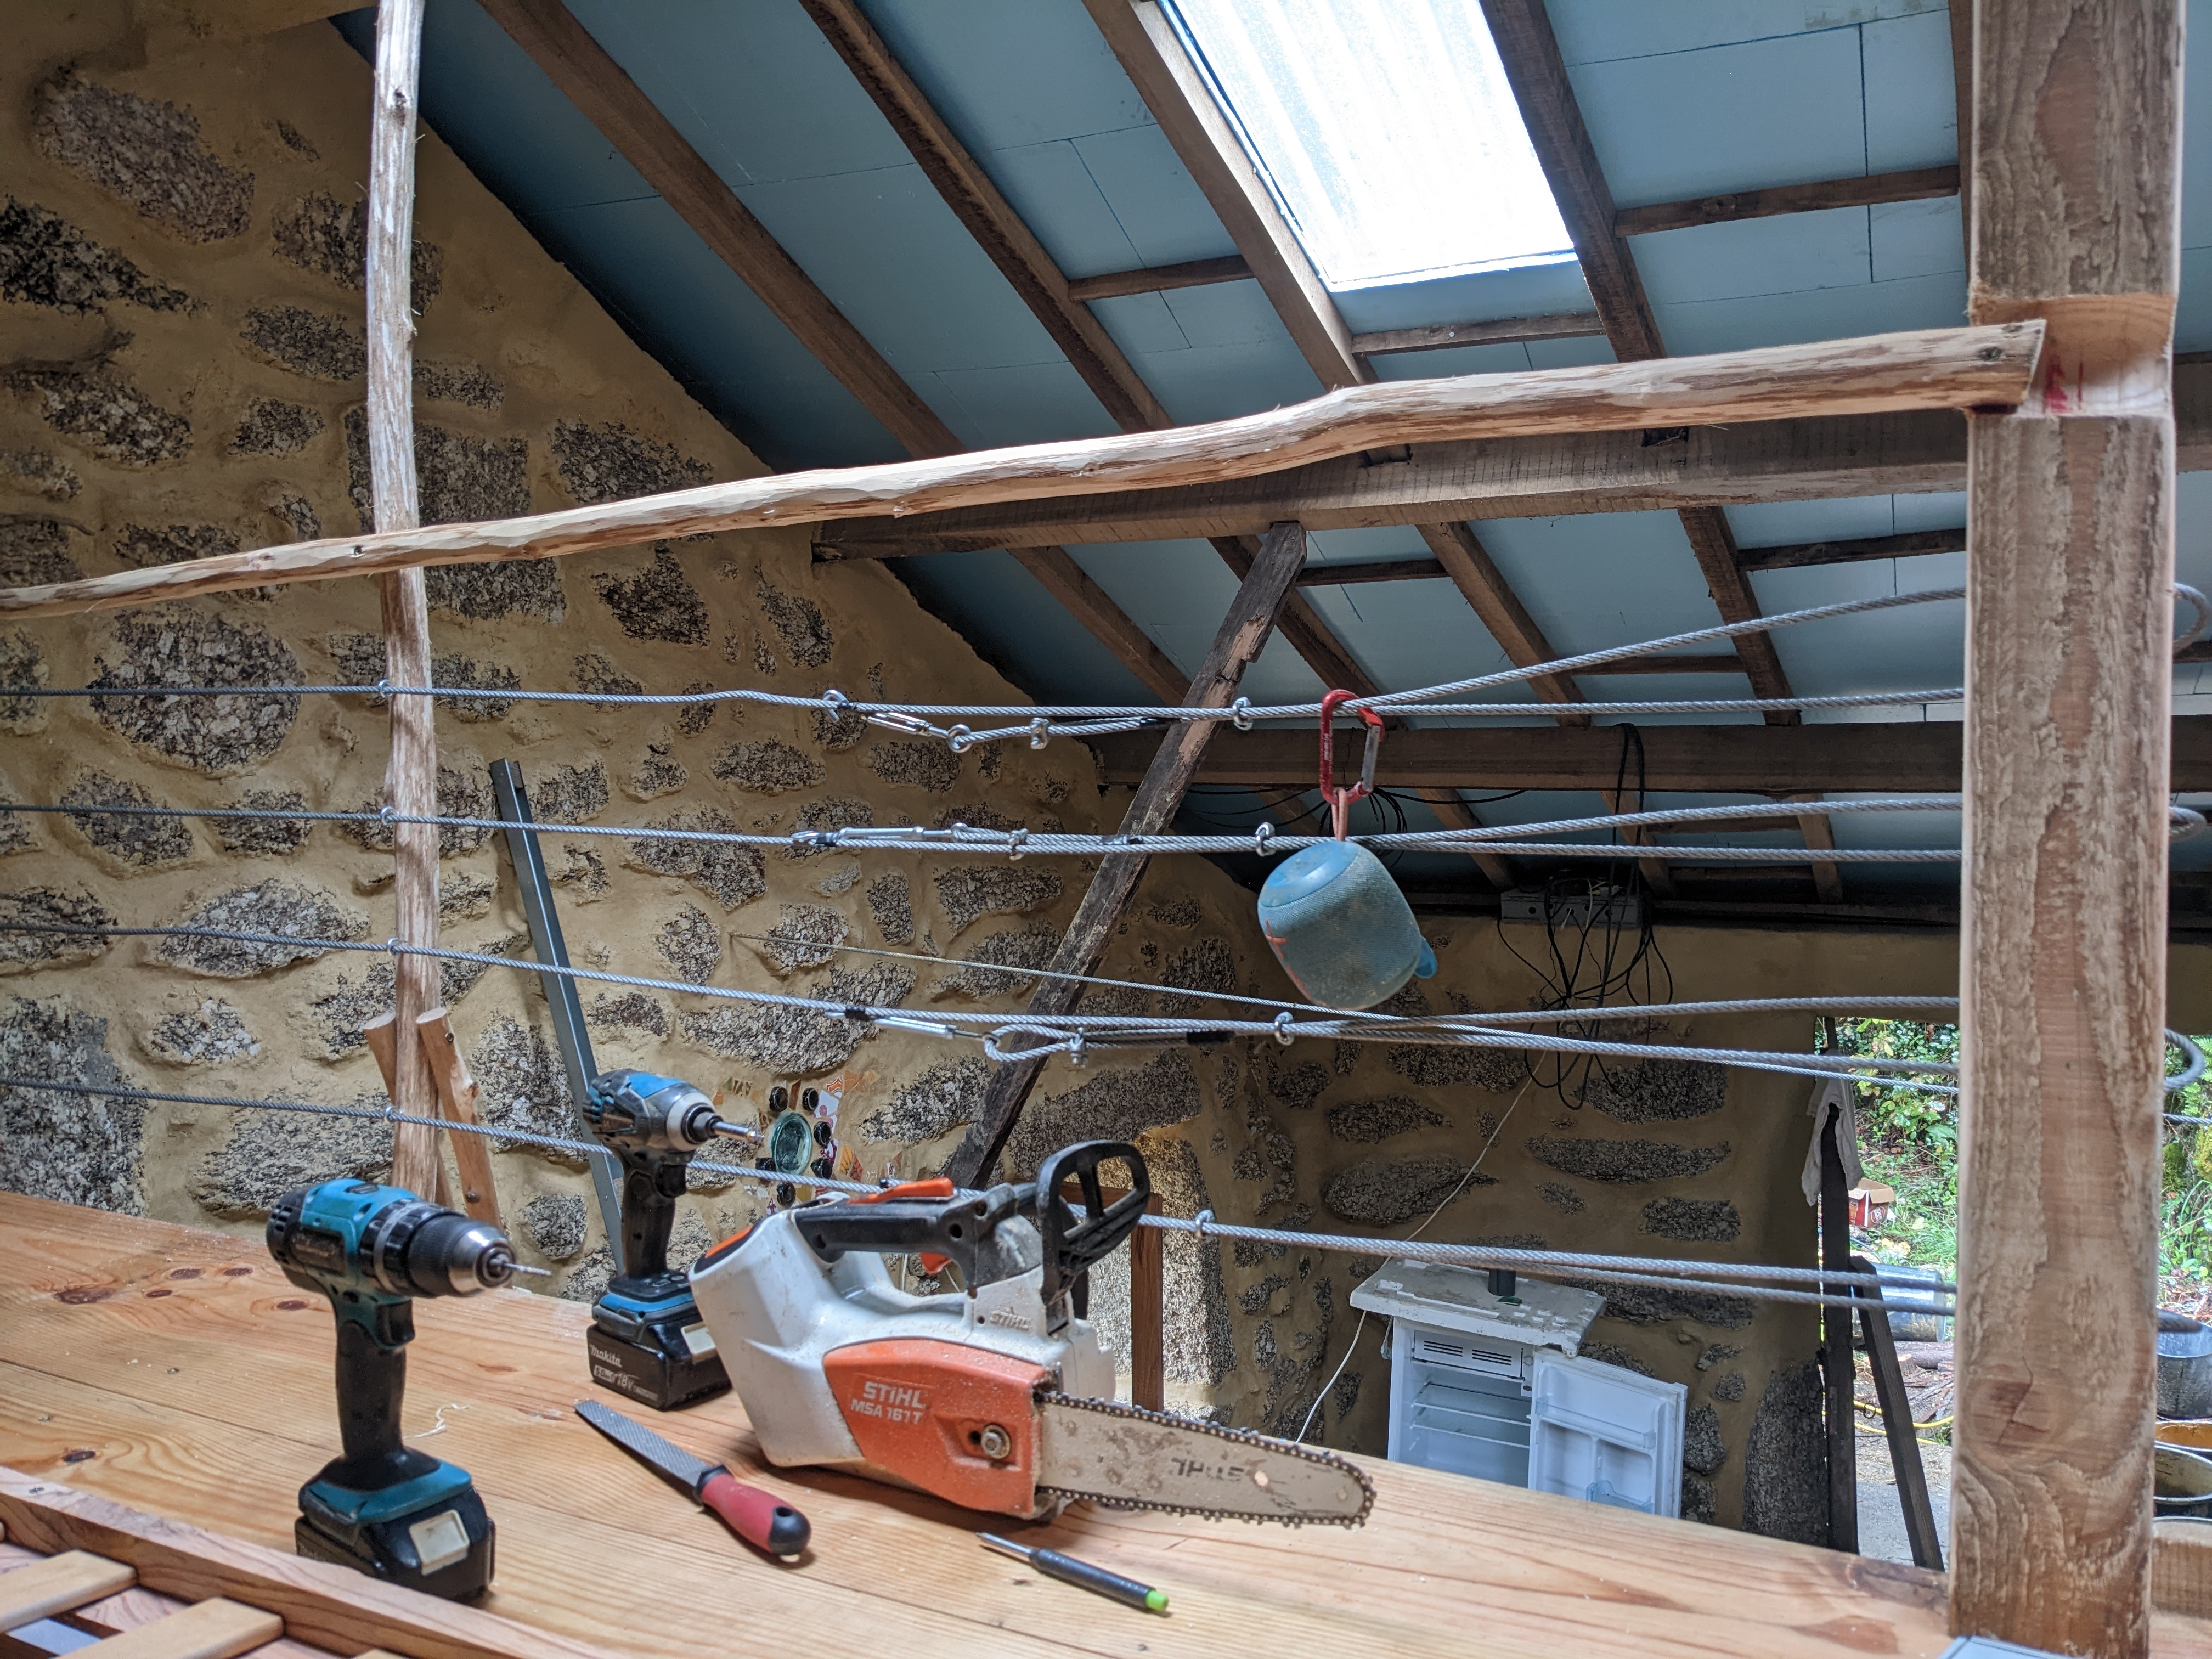
We also had to take care of the long outer wall’s lean. It used to be tapered on both sides, but over time it developed a steeper lean on the inside, with a negligeable lean on the outside.
Evidently, it is possible to push the wall back over time. However, in this case, that would have required quite a serious intervention for just a basic renovation. As a compromise, we decided to install two logs on the outside of the wall, and to connect each, with a cable, to the concrete structure that sits against the terrace wall. We figured this would both give the wall more stability, and serve as a visual aid to determine whether the lean progresses over time.
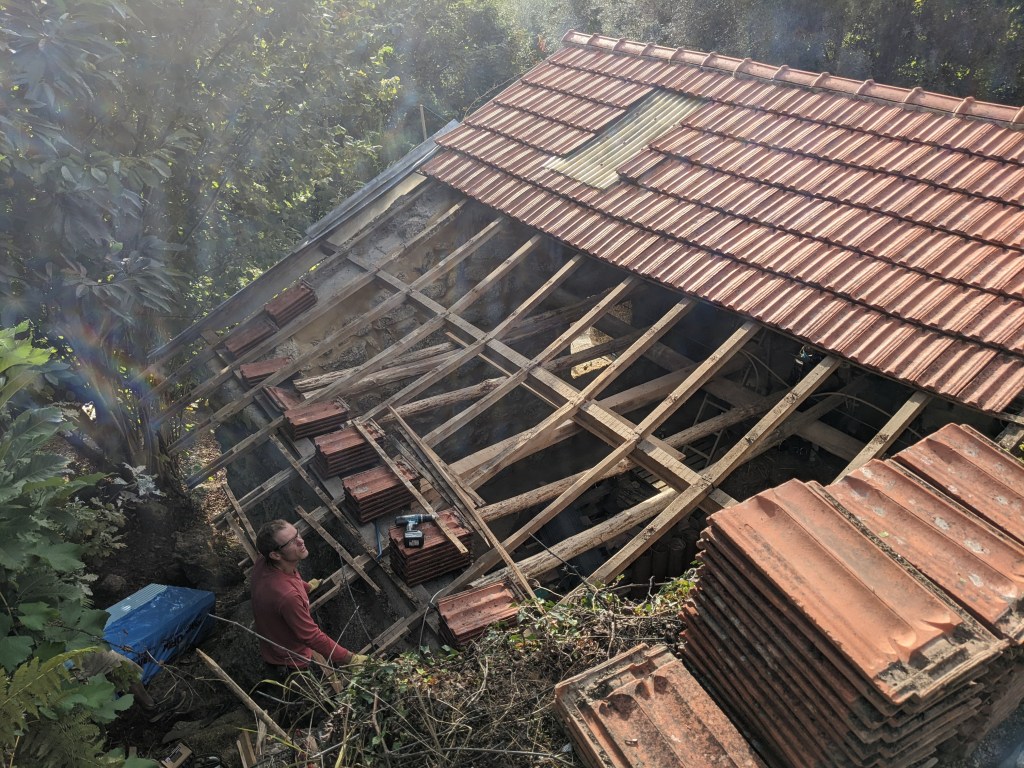
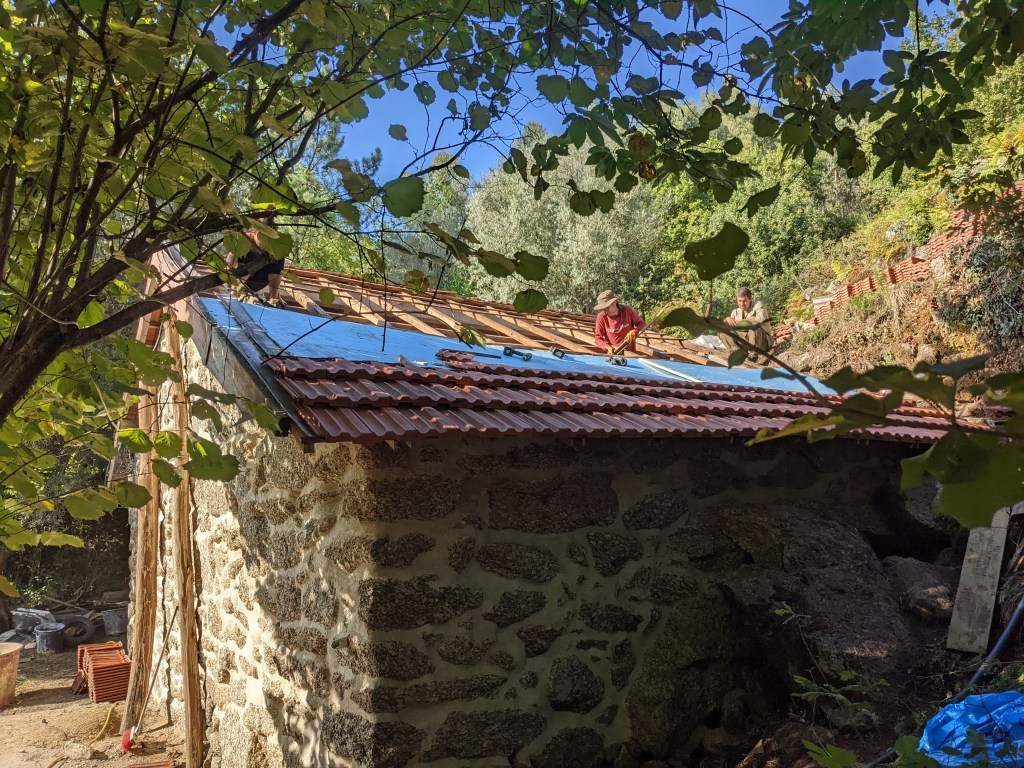
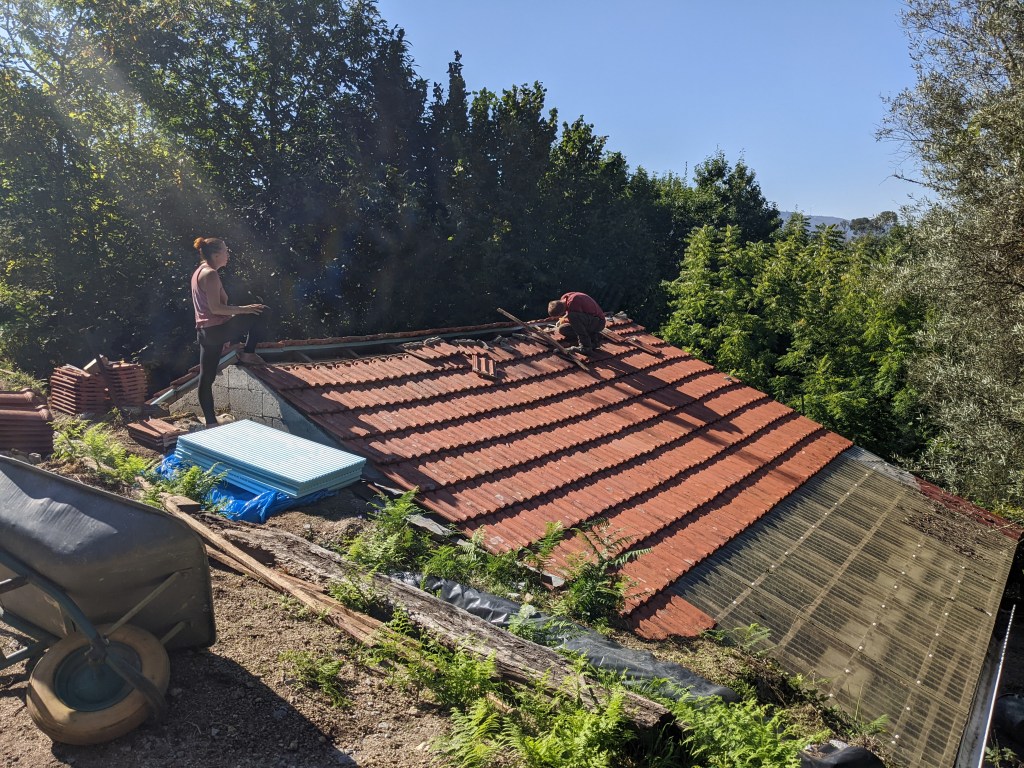
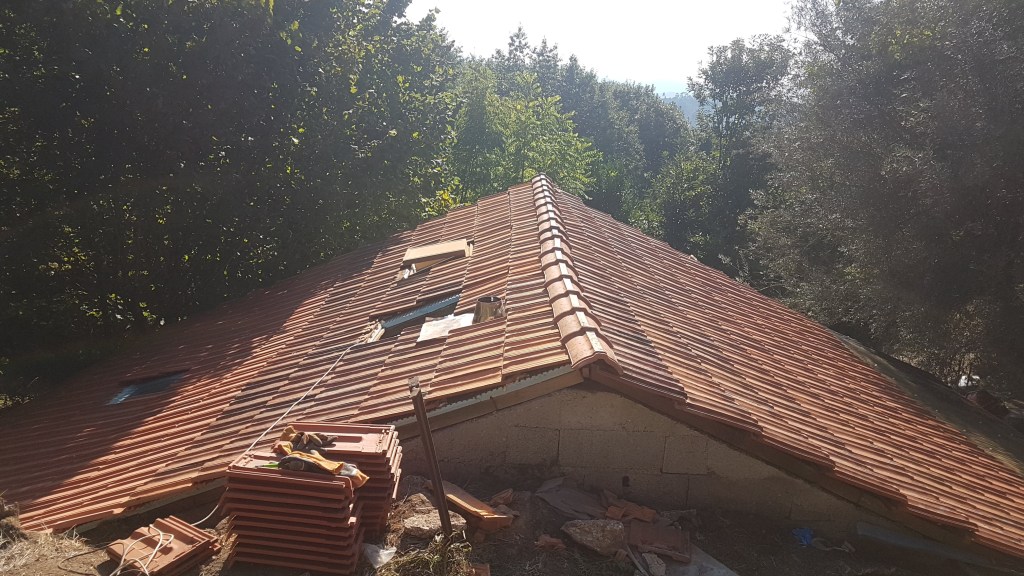
Next we tackled the roof. Here we needed to add insulation, add more tiles, and insert some skylights.
For budget and timing reasons, we decided to use XPS boards for insulation, and laid the tiles directly on them with the aid of expanding foam. We installed the XPS over the rafters, added some wood where the XPS sheets overlapped, and laid the tiles on top.
We also installed the three permanent skylights, and one small opening one. To this end, we cut out a hole in the XPS, and inserted a piece of double glass. Then we tiled up to the glass, and covered it with a sheet of polycarbonate. This was a cheap and effective solution, if not the most aesthetically pleasing on the outside.


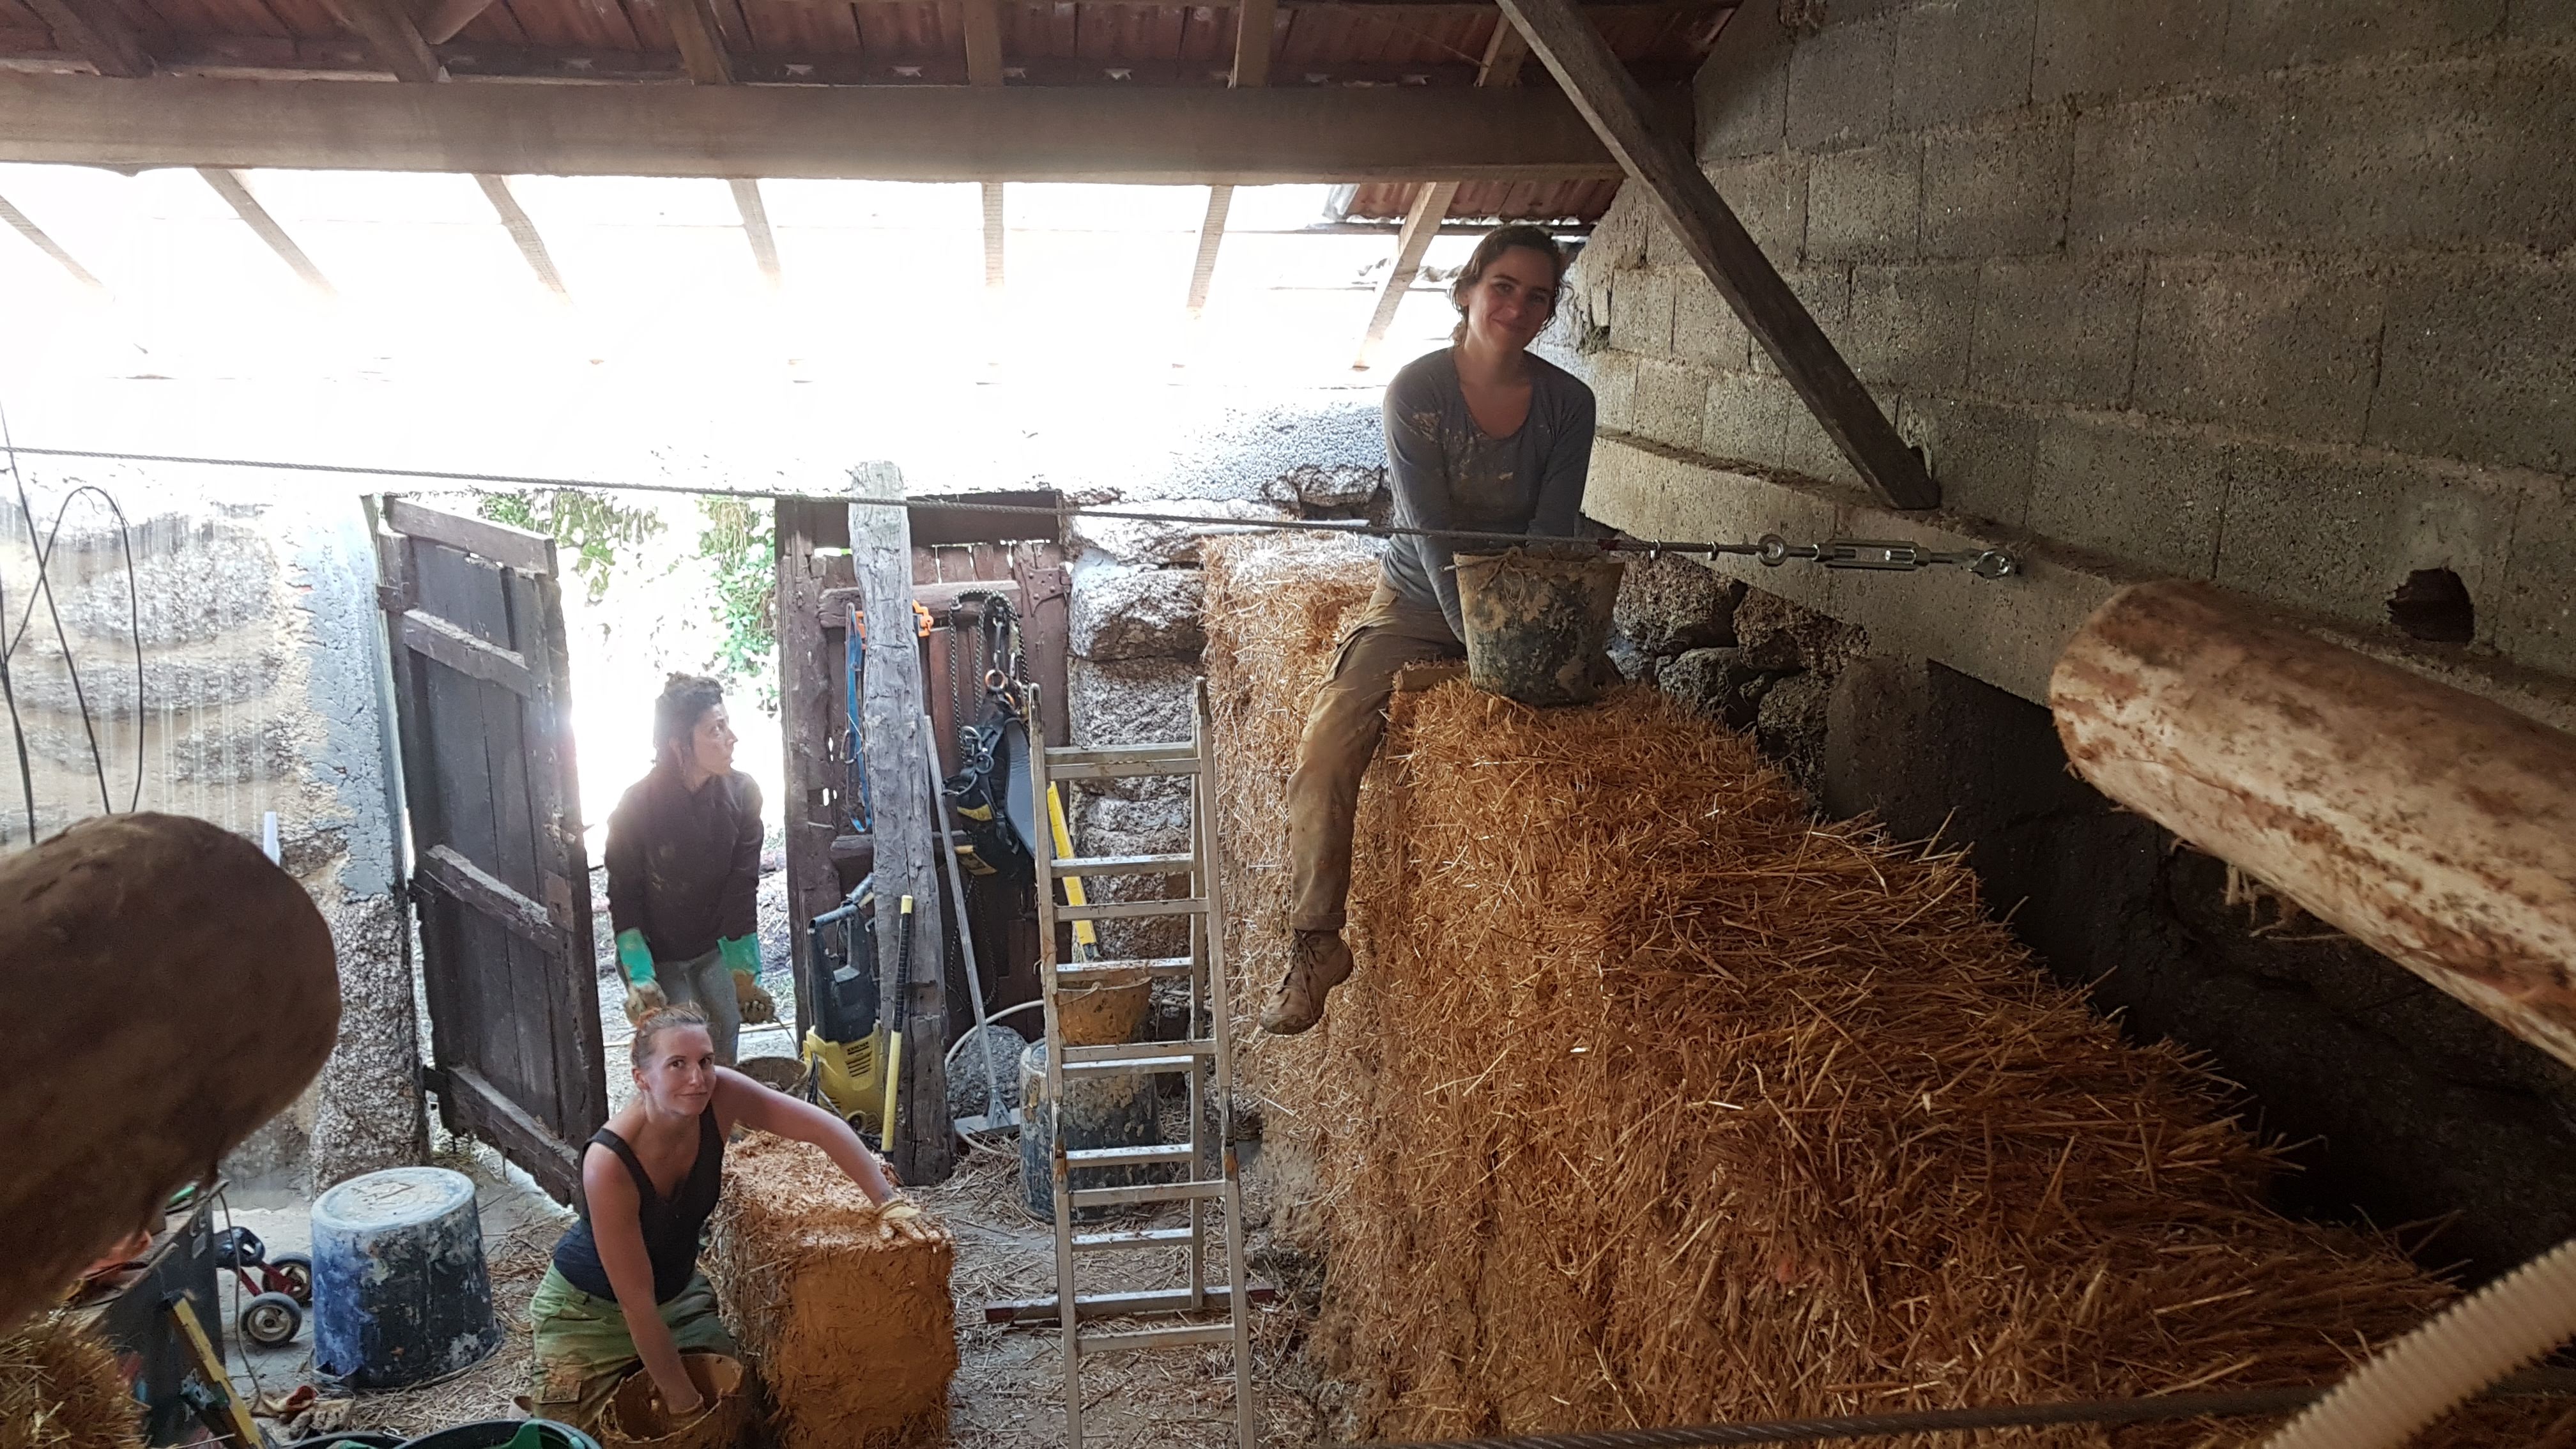
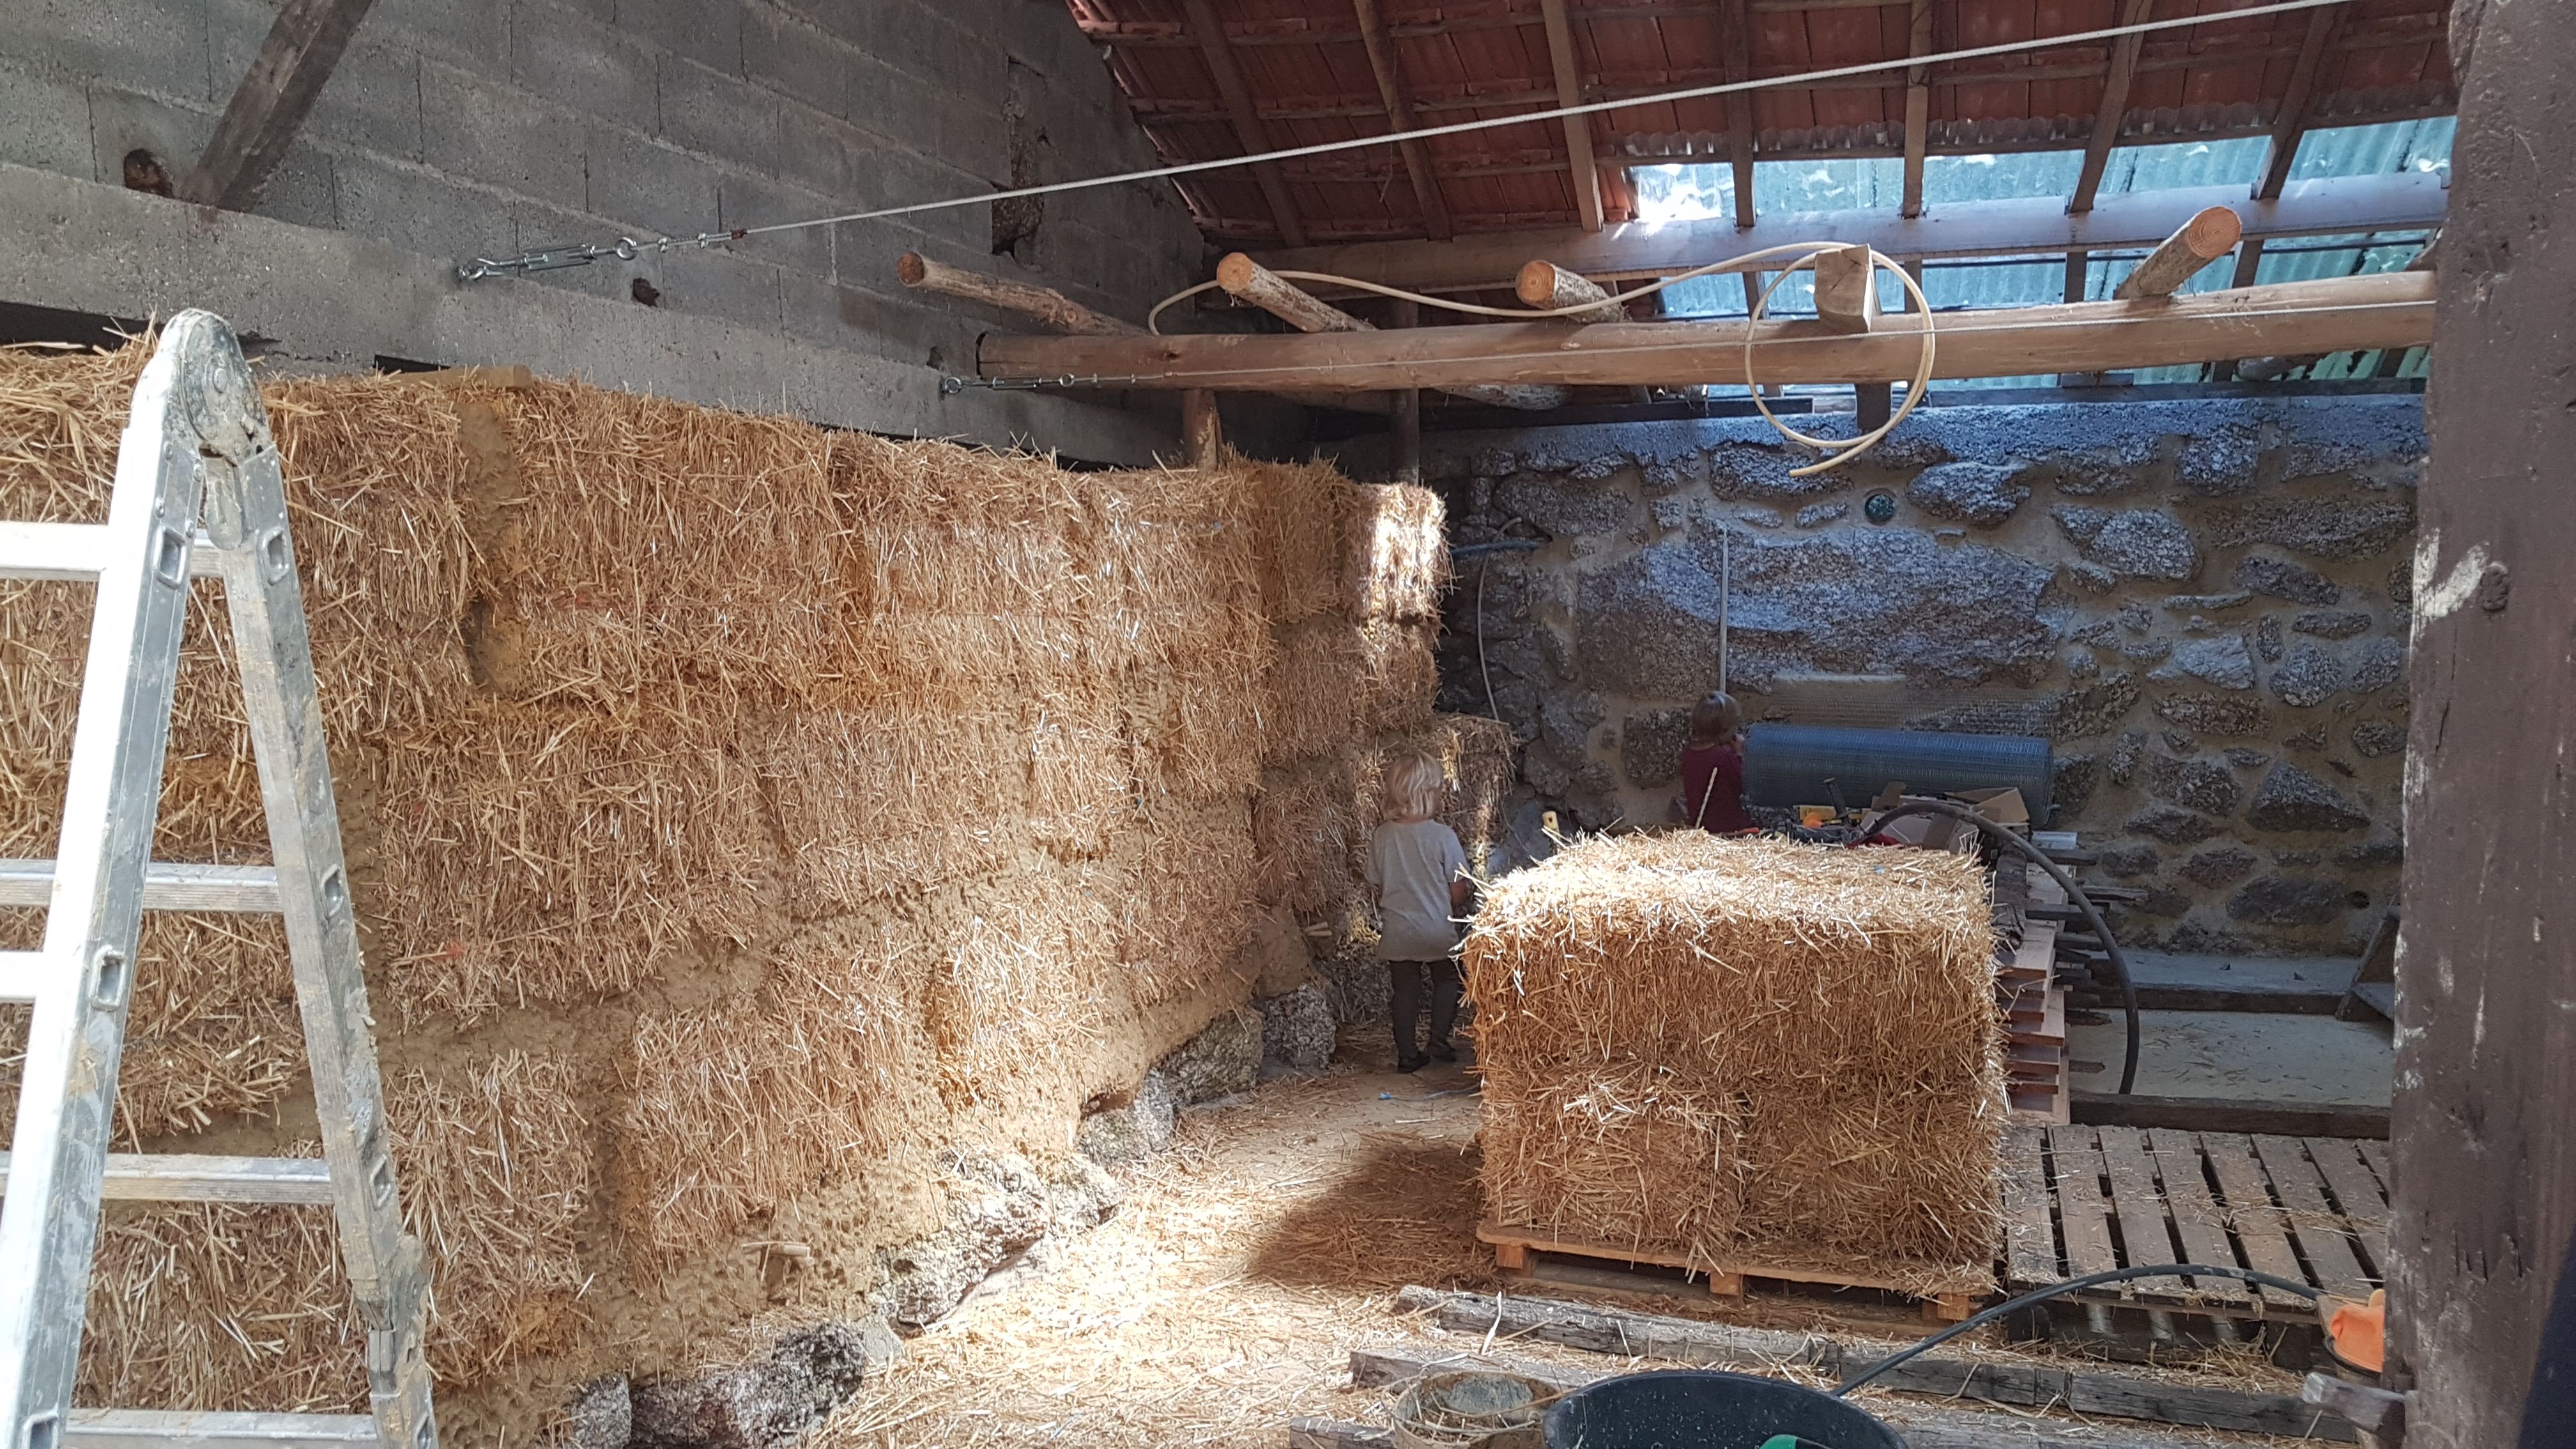
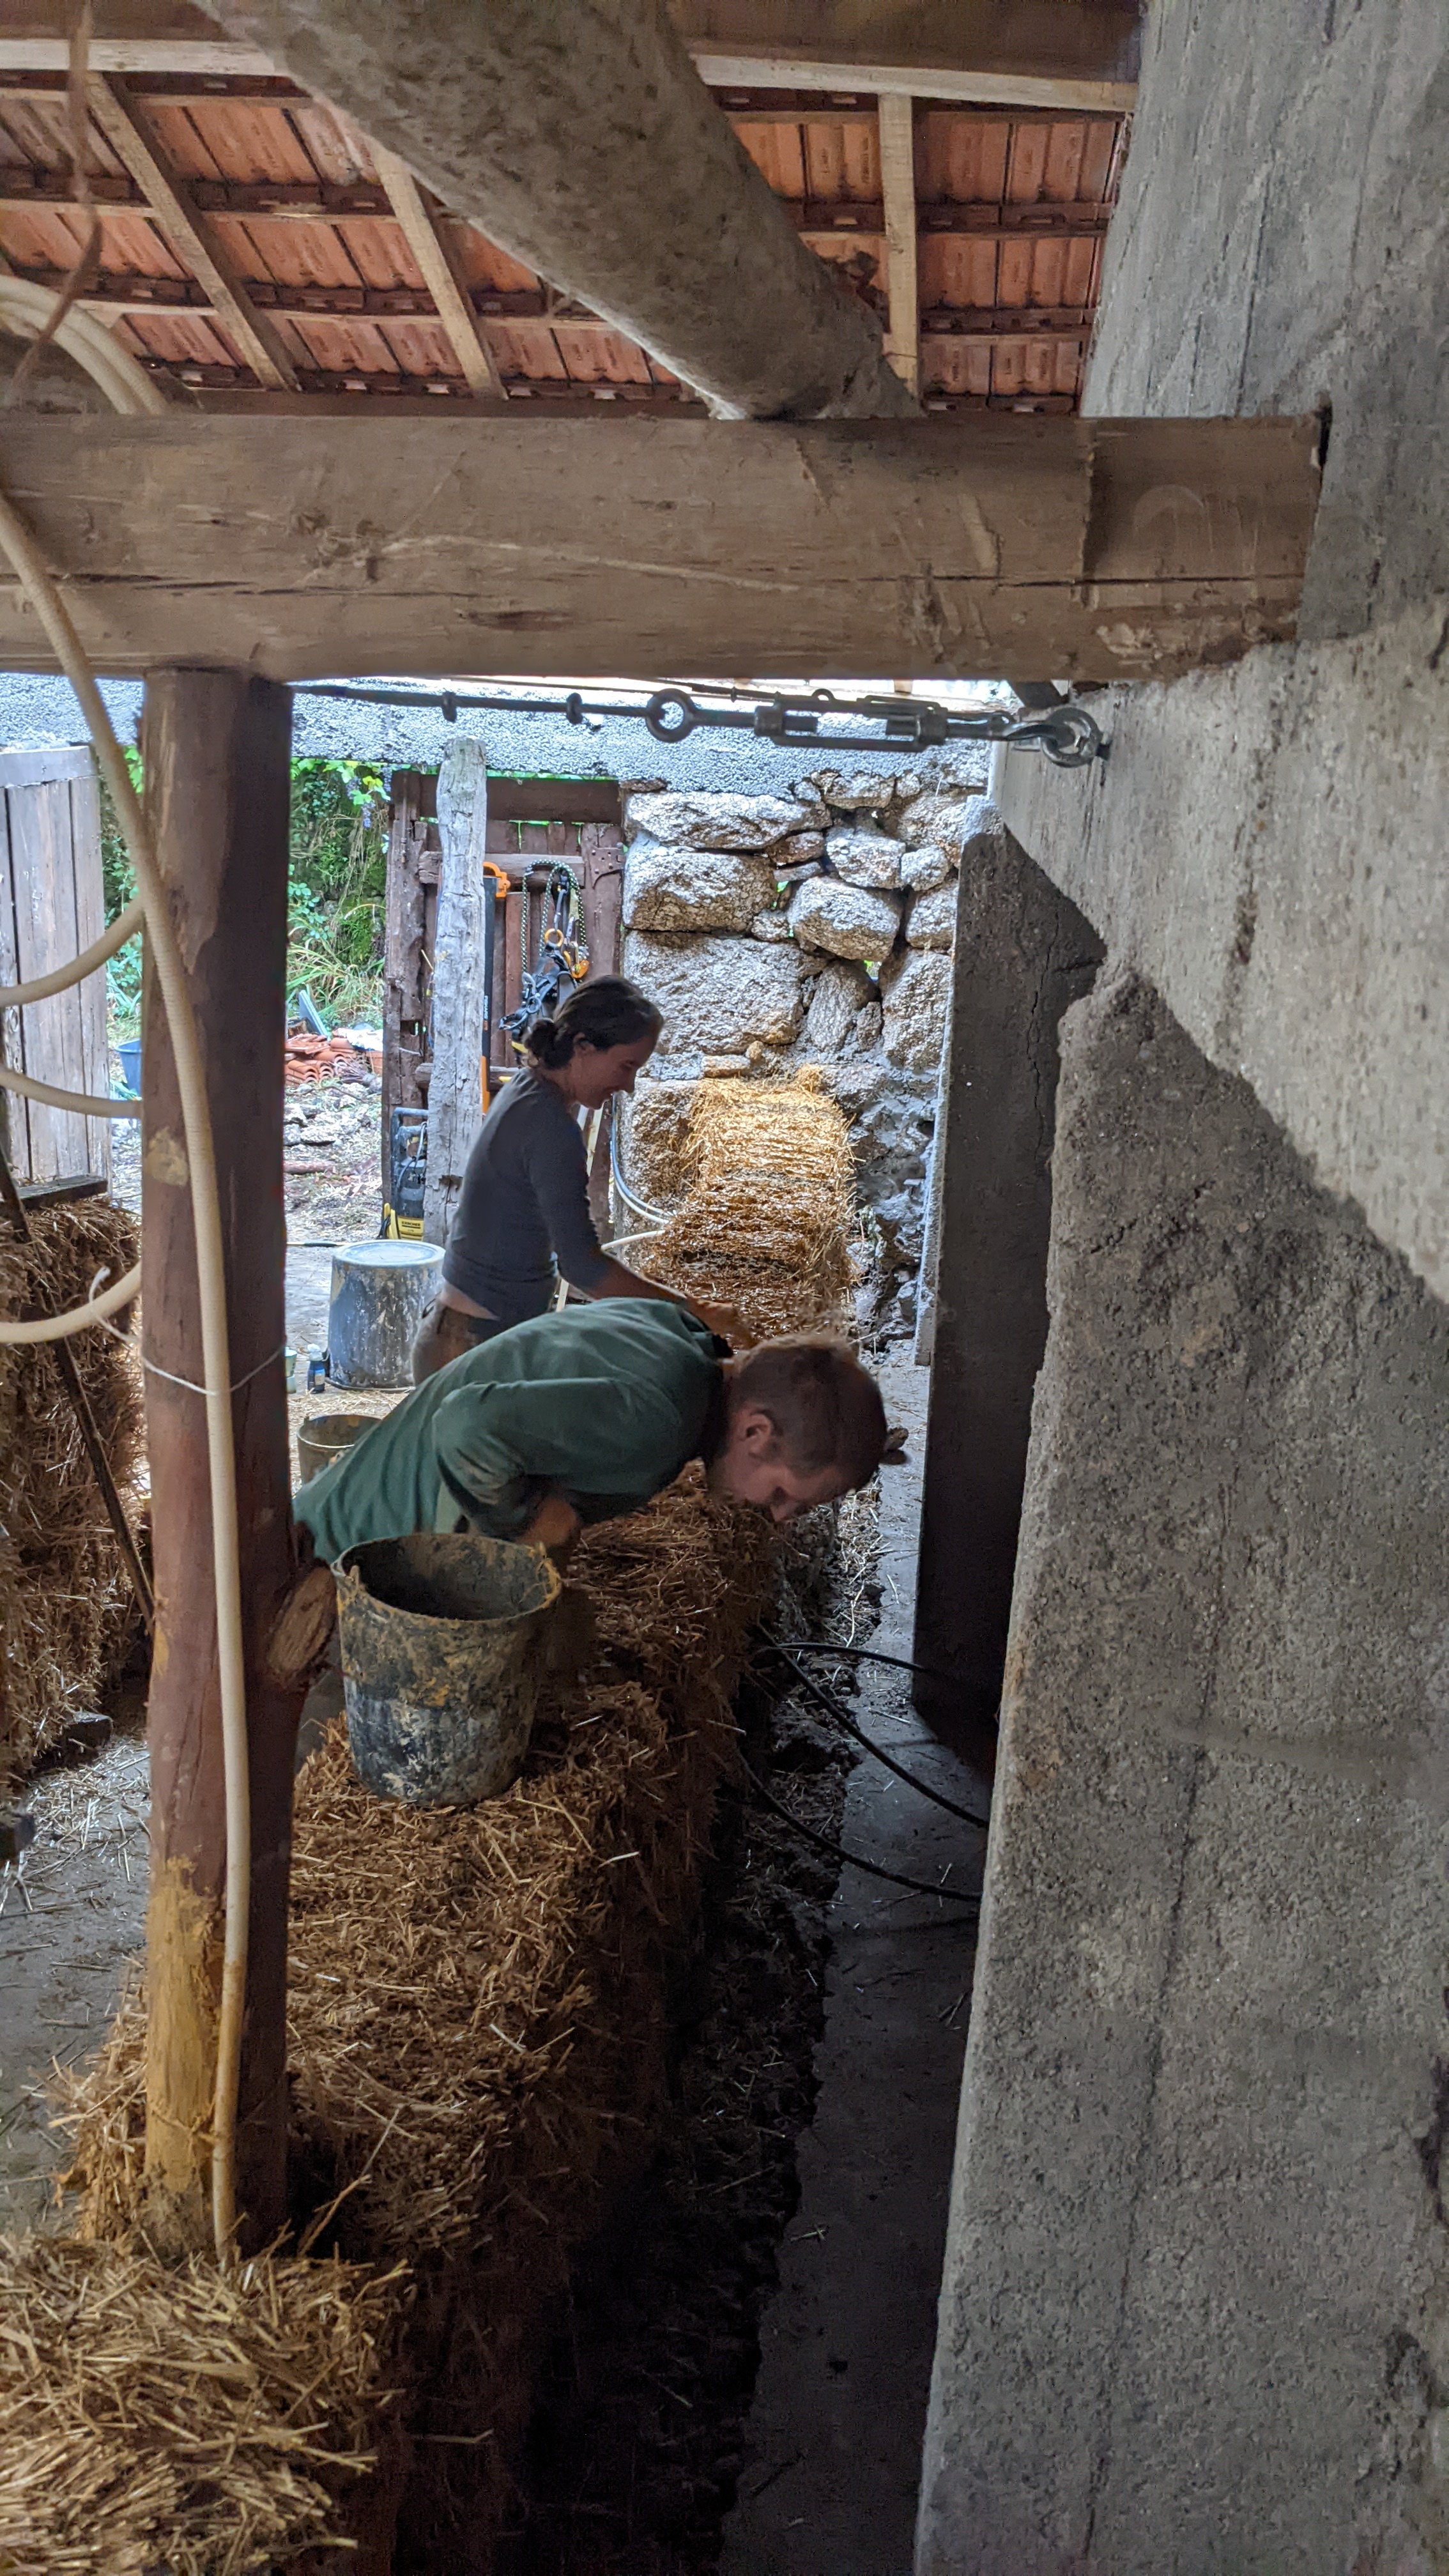
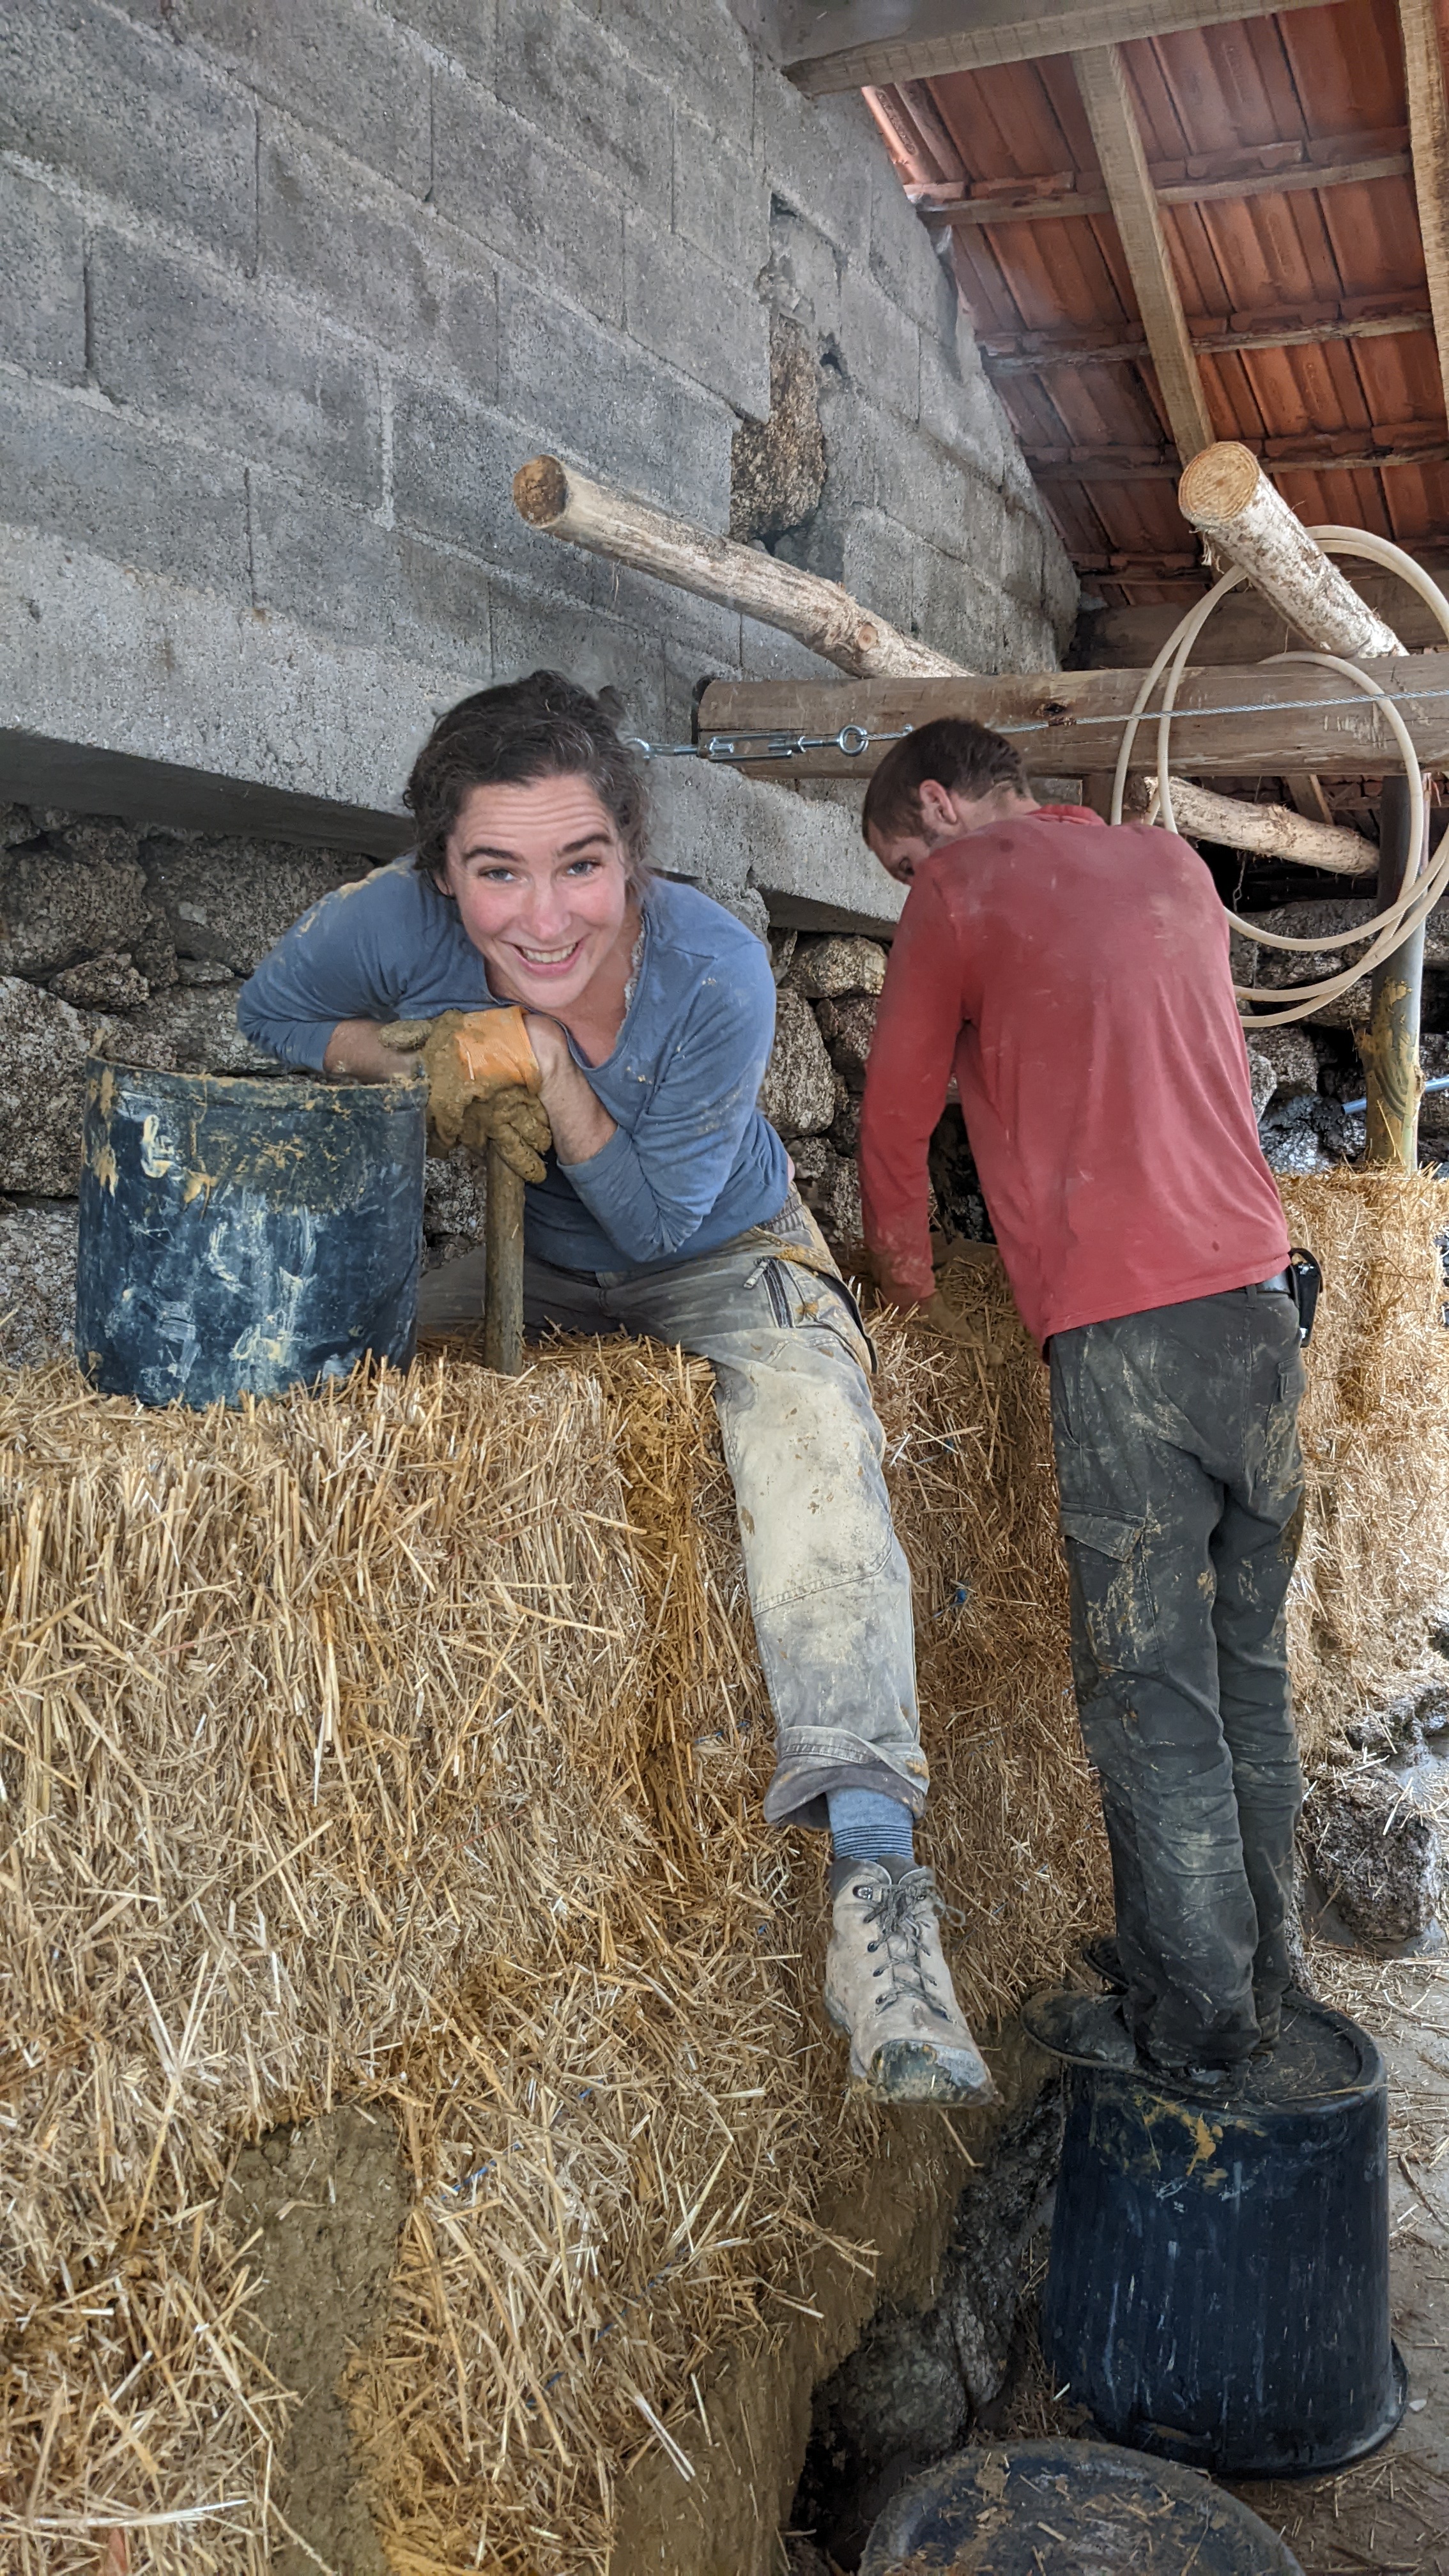
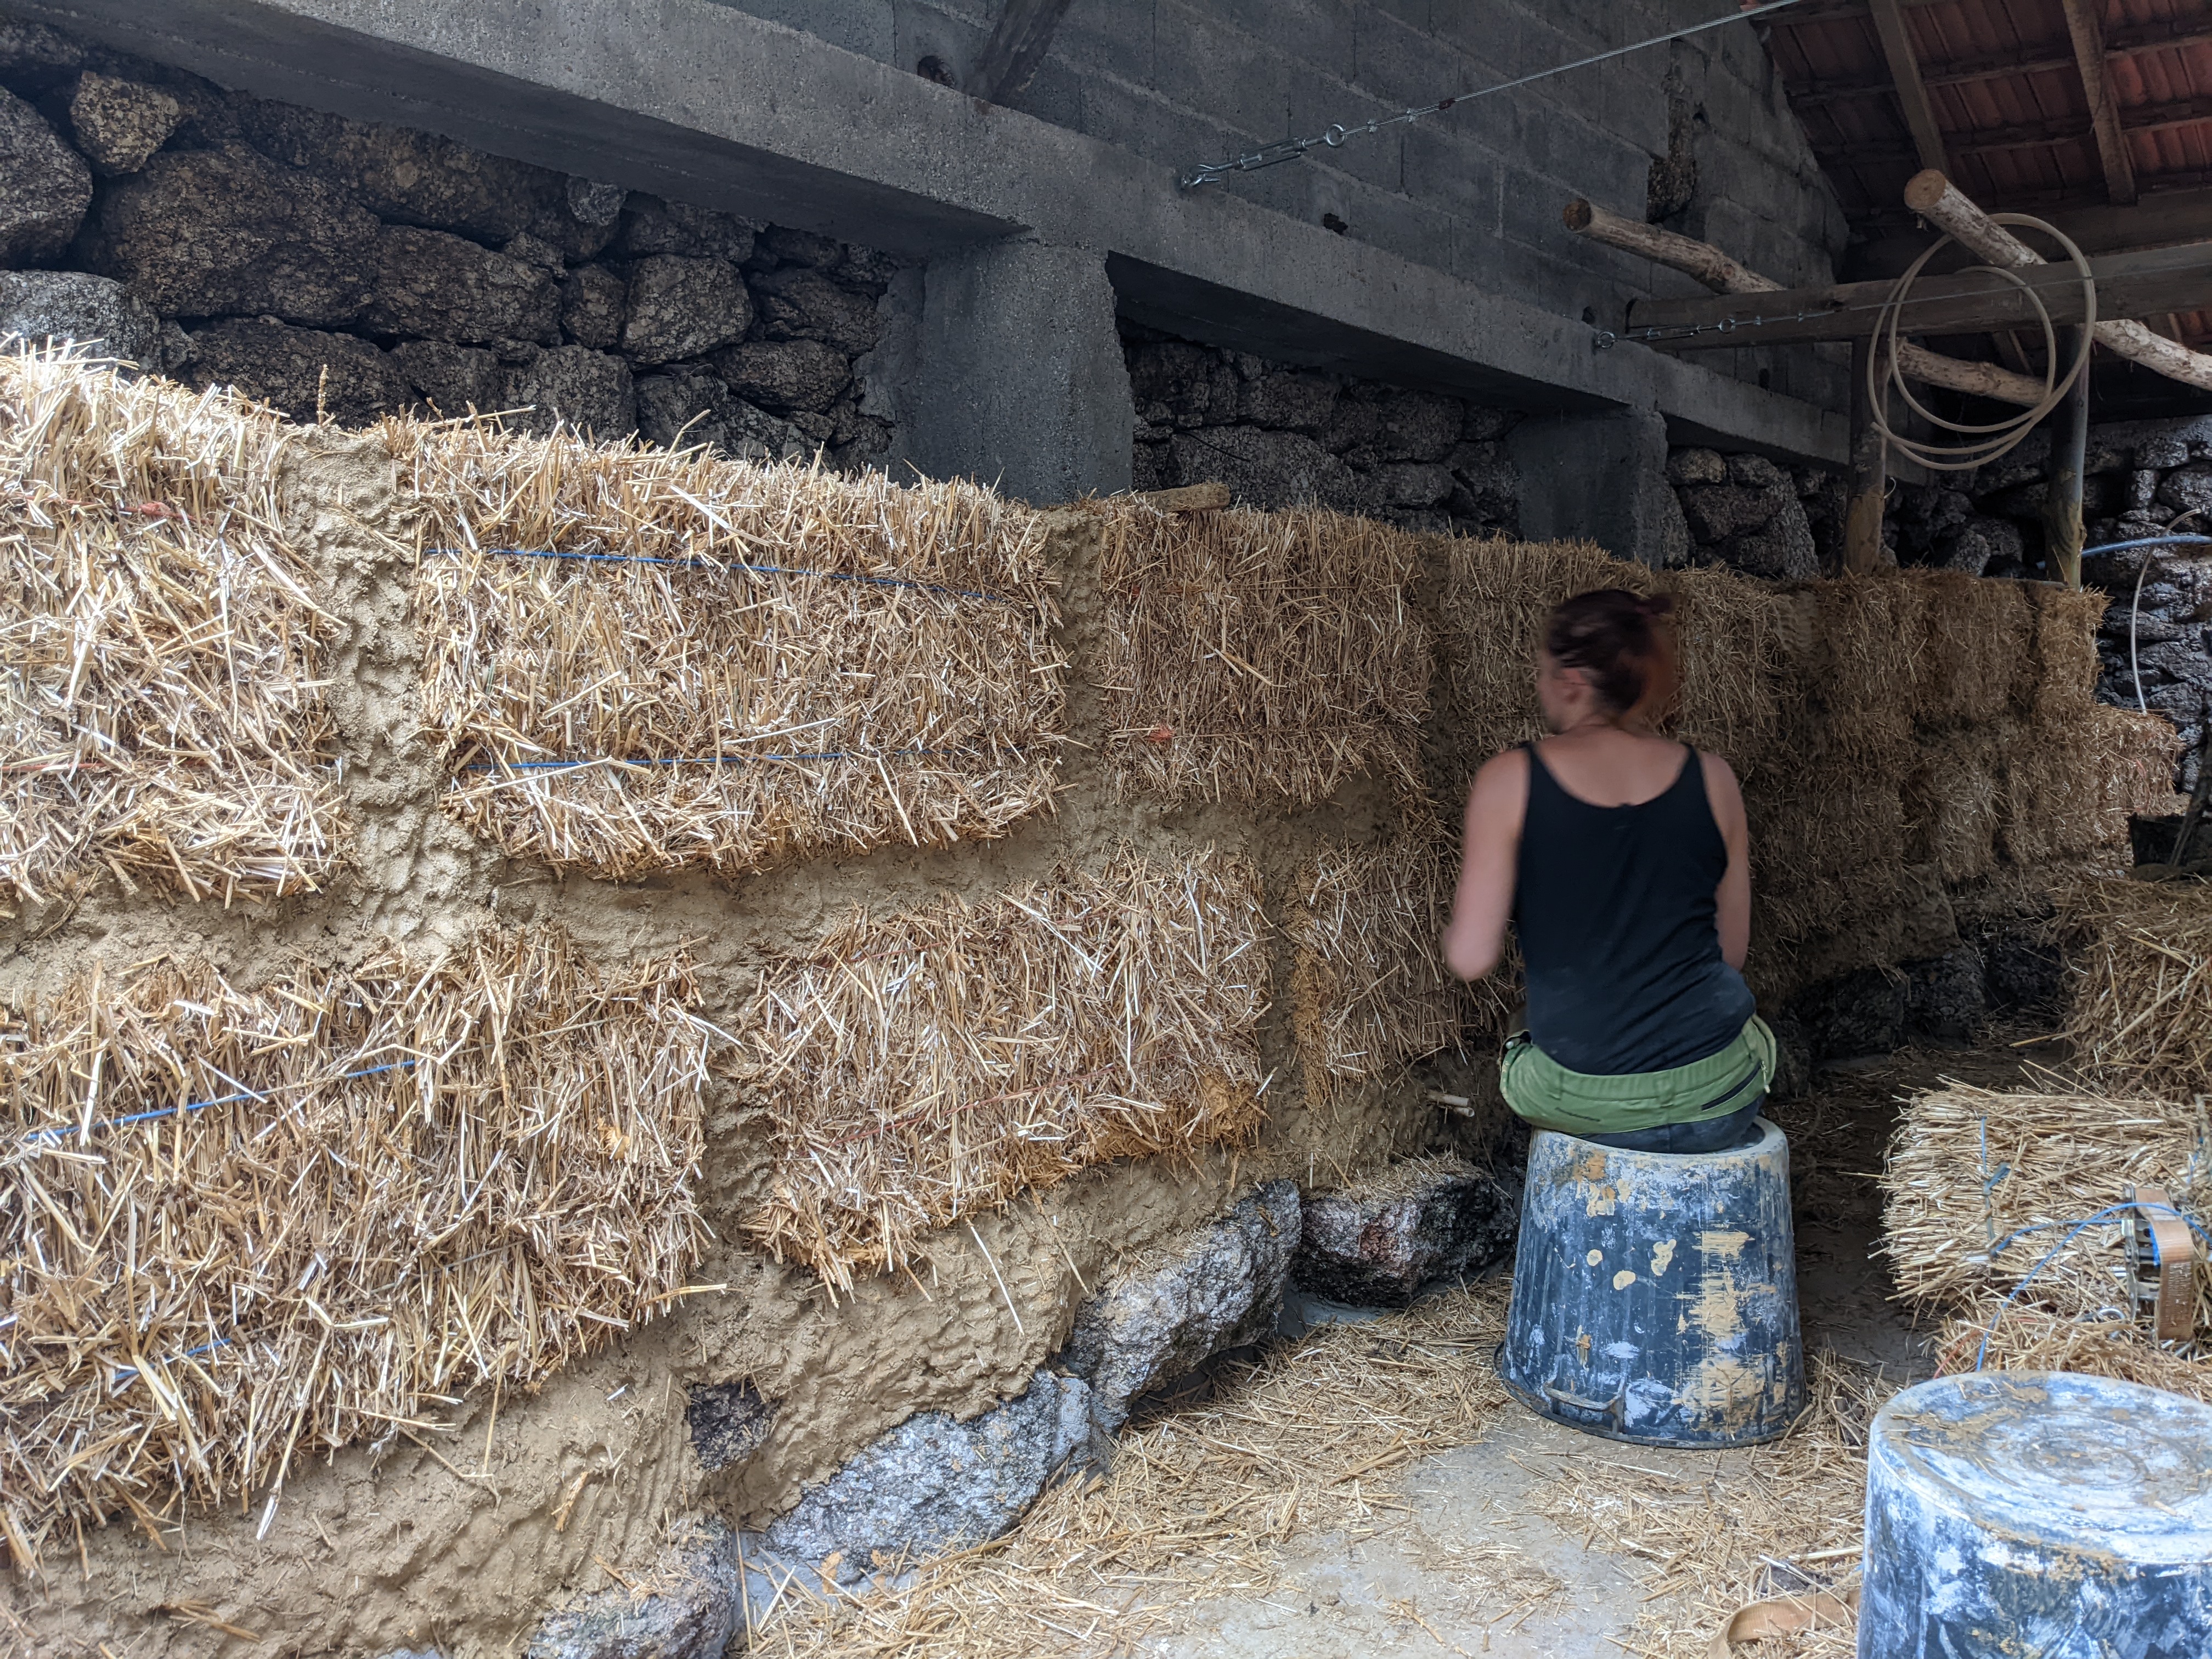
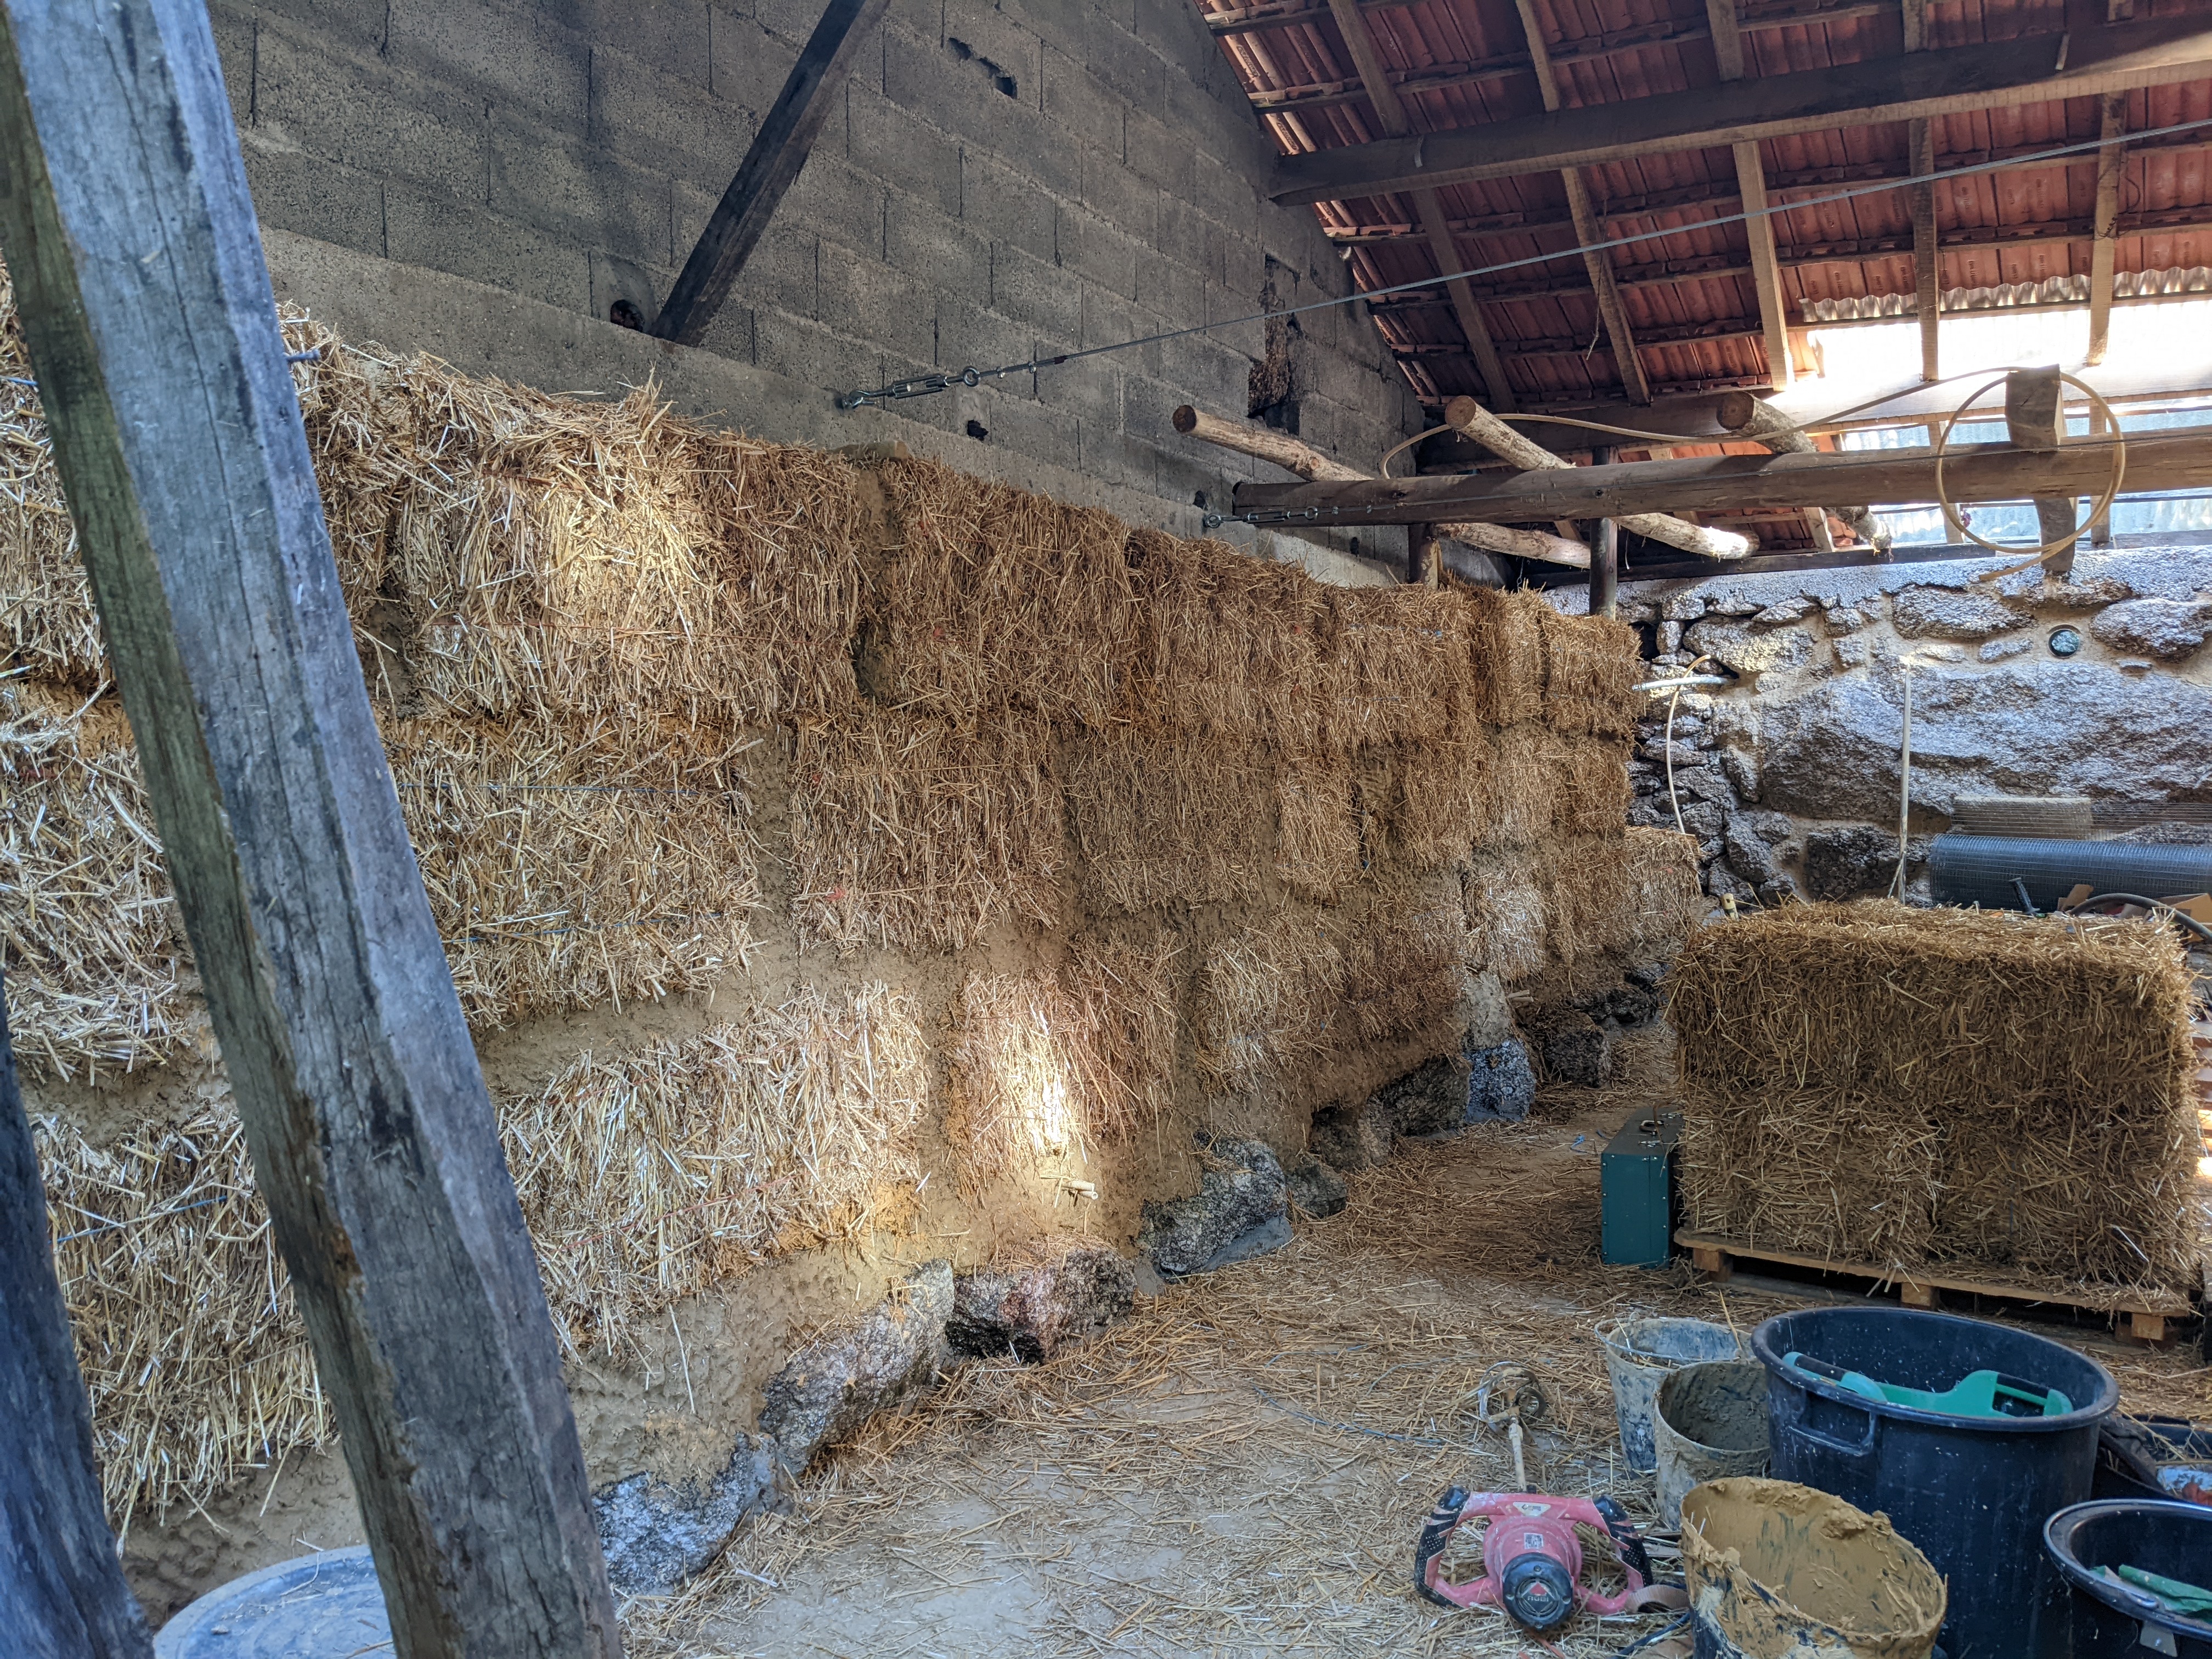
Once the roof was on, we started the construction of the interior wall. We decided to build a balecob wall in front of the trench, for further water mitigation. That way, should any water infiltrate despite the two trenches, it would be kept separate from the indoor space.
Balecob is a hybrid eco-building technique that combines straw bale building with cob. I couldn’t find a lot of information about it, but we liked the idea, and we figured it is was a good opportunity to try it out. It turned out to be a joy, and we are planning on using it in future builds.
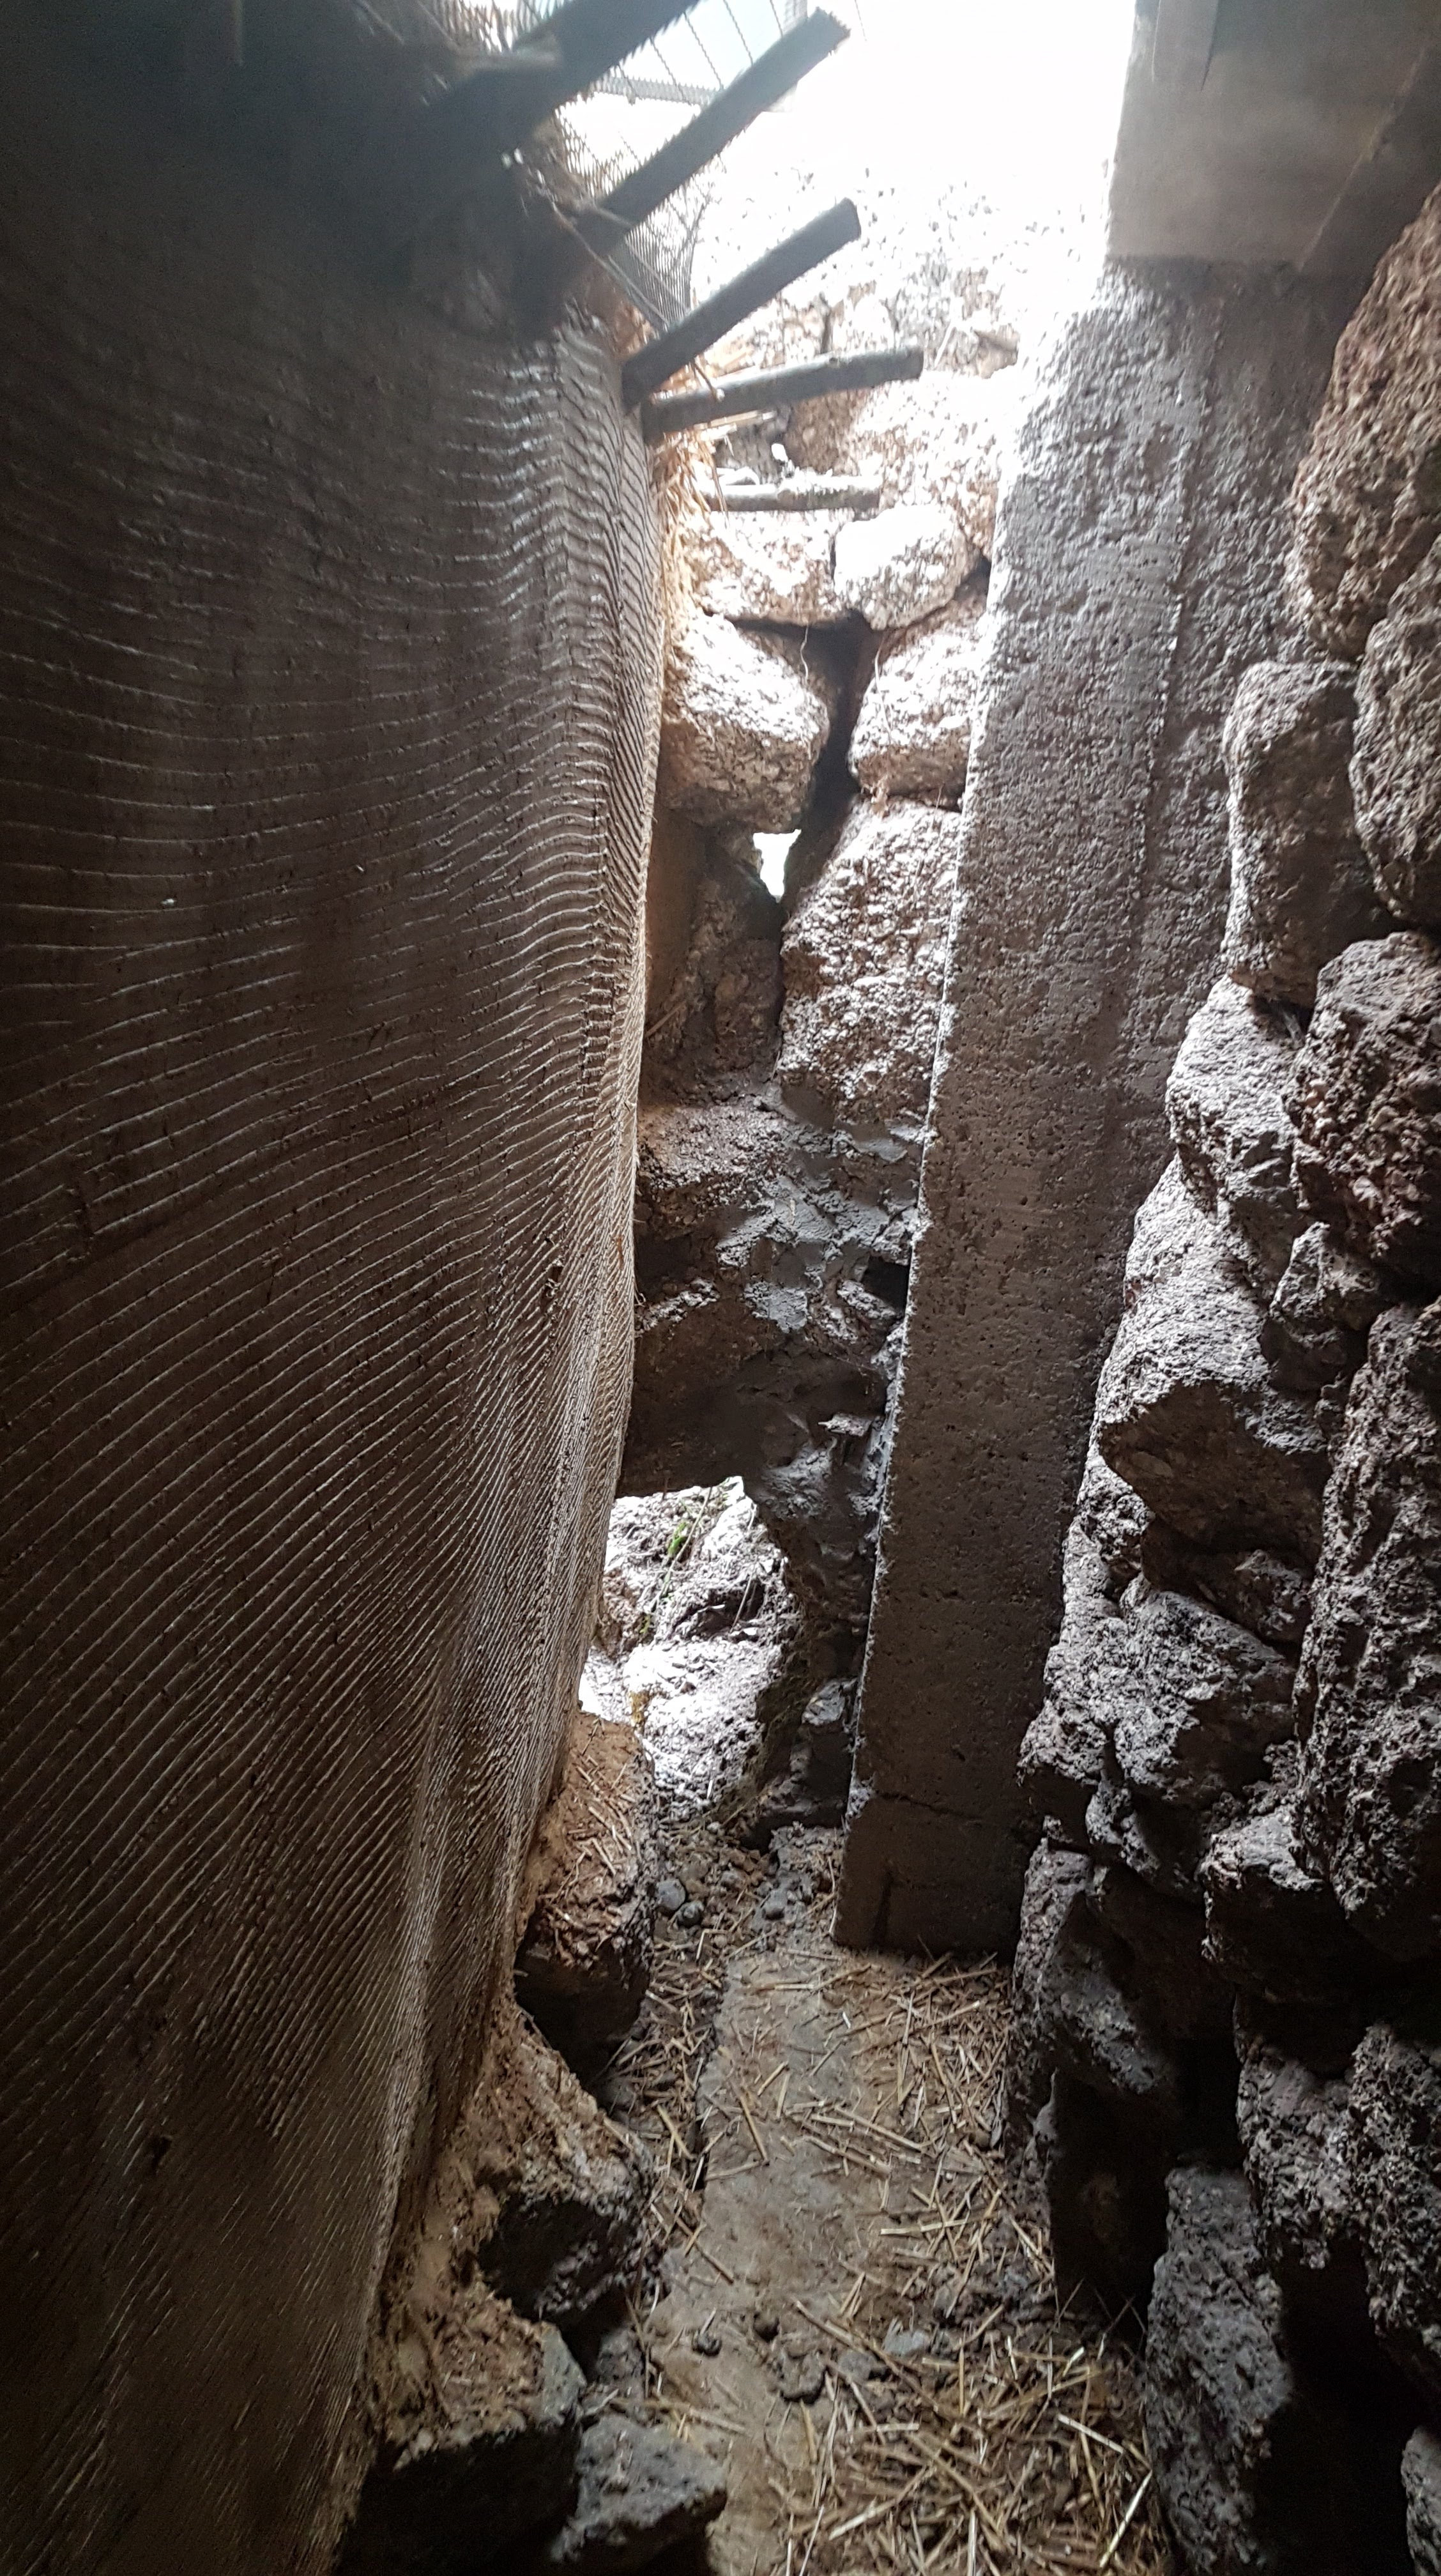
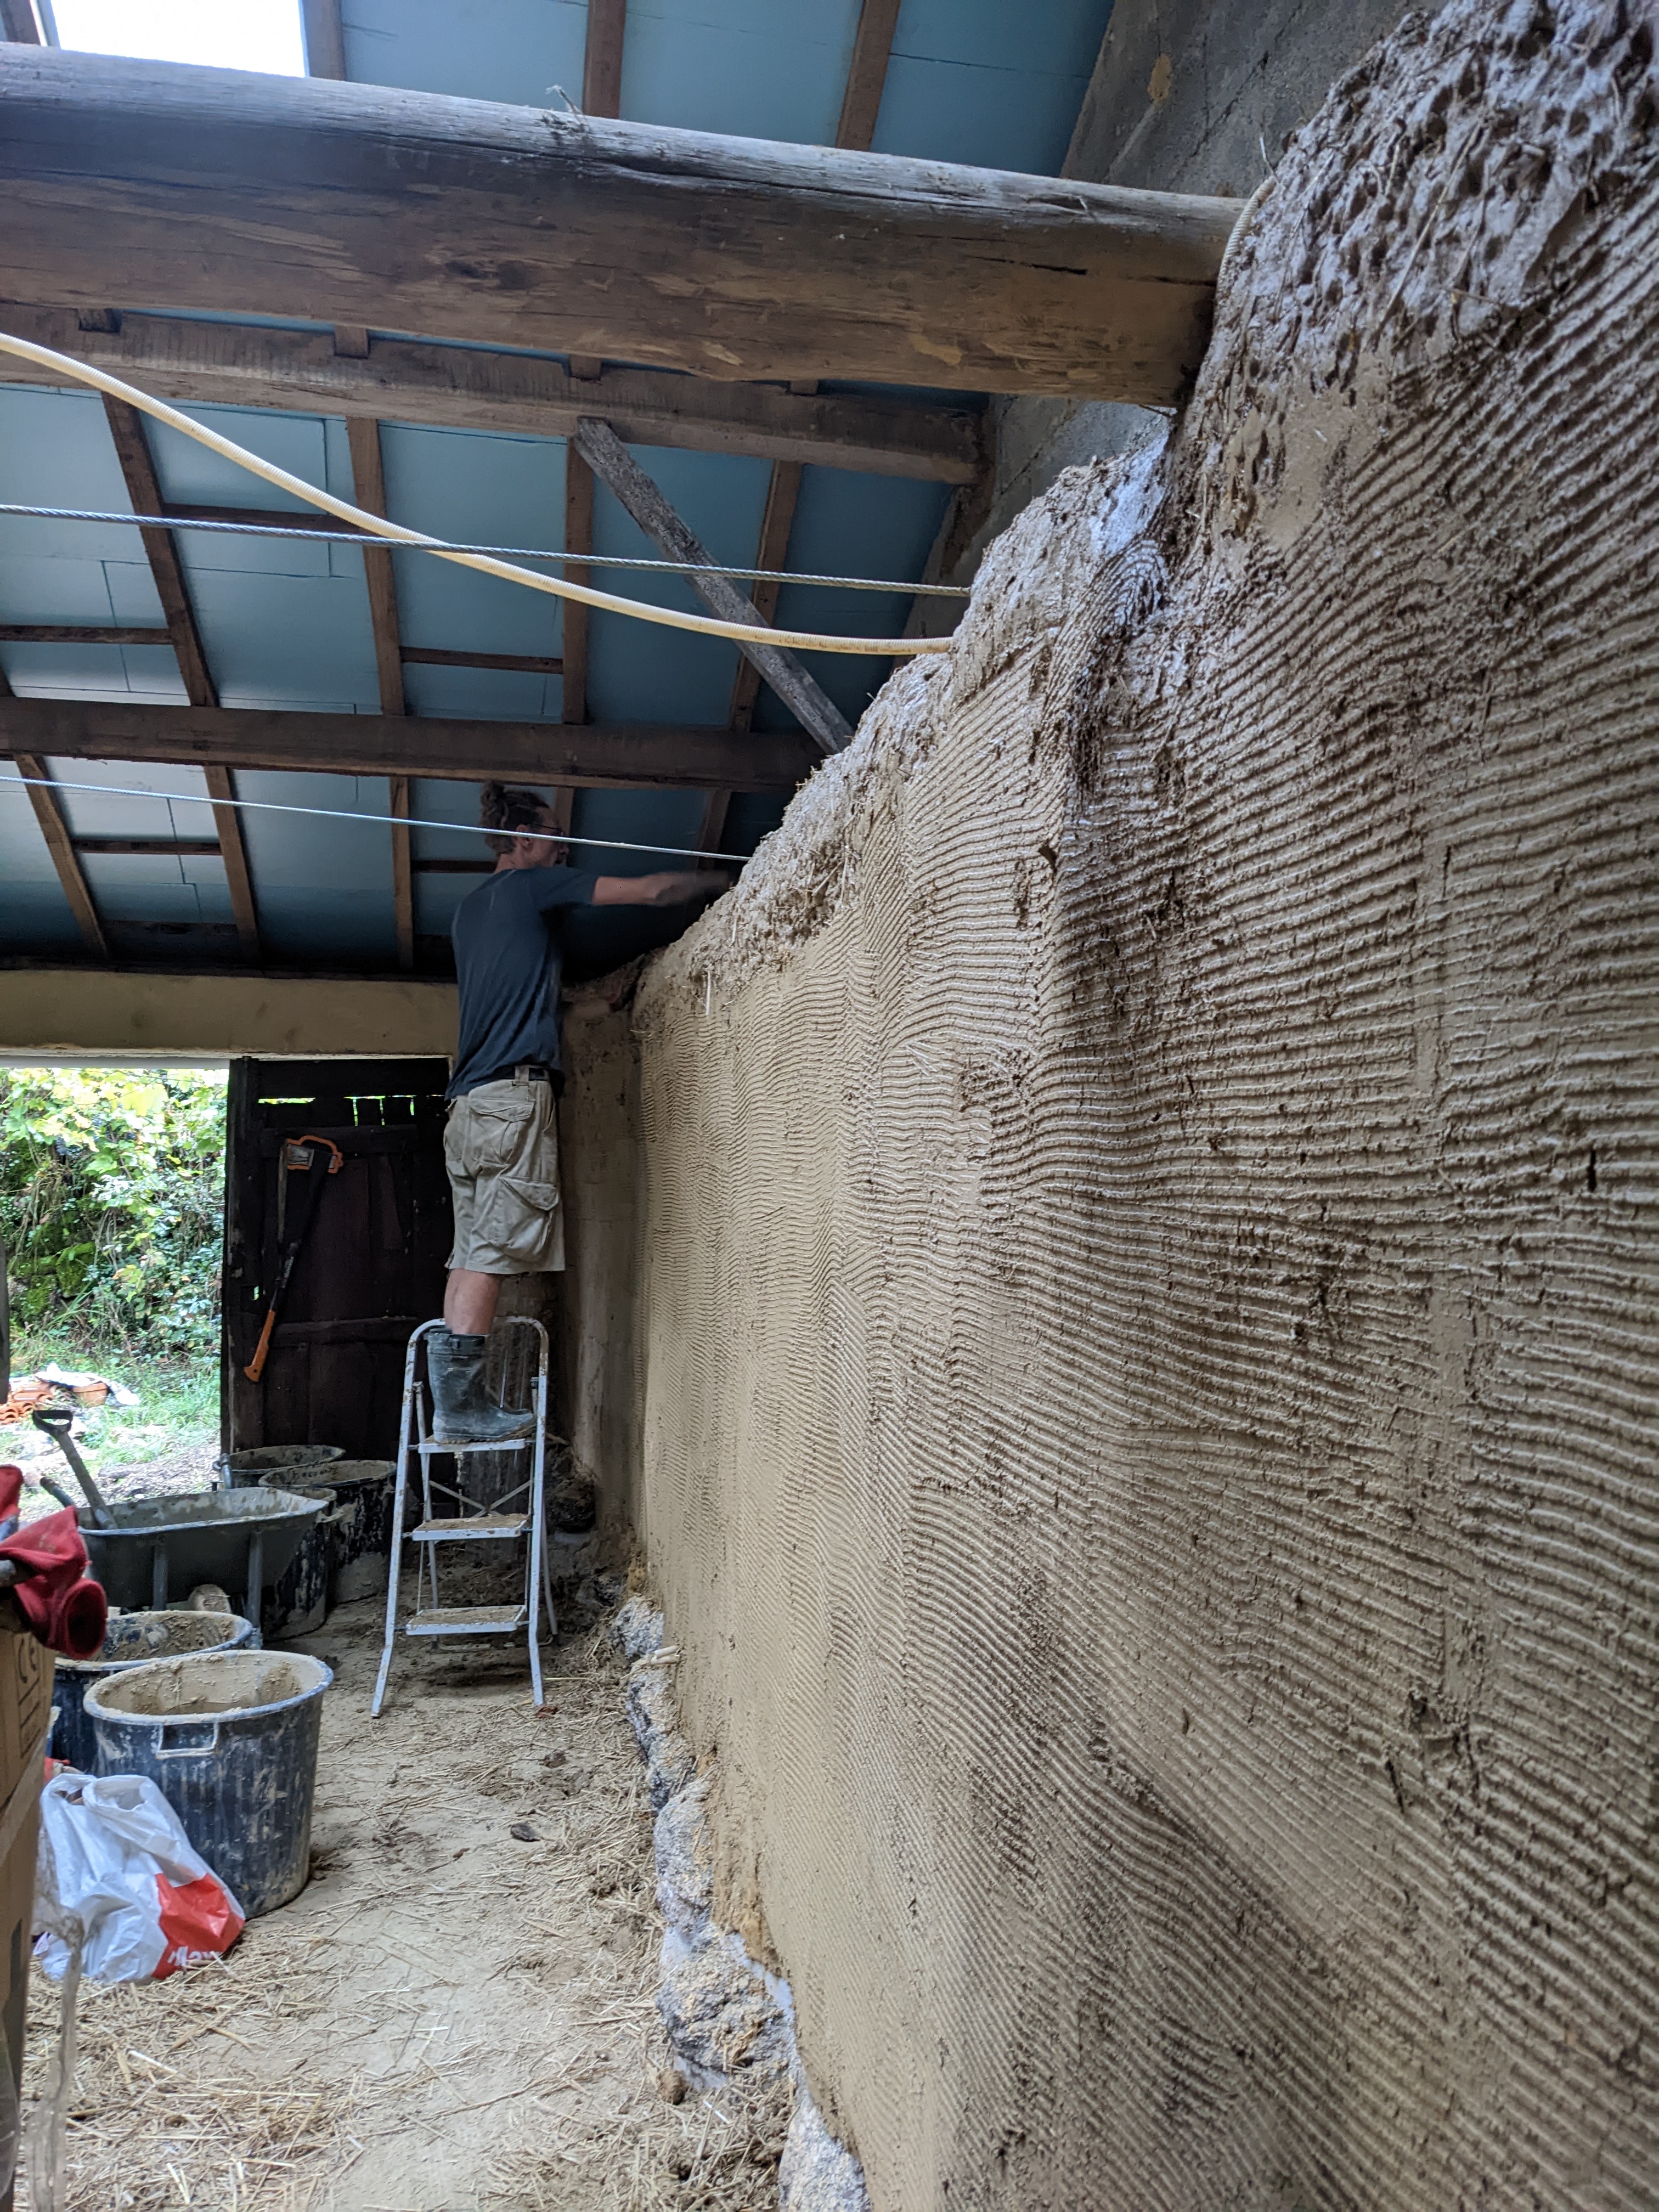
In order to bridge the gap between the balecob wall and the terrace wall, we decided to create a cob arch. First, we installed some relatively rigid fencing on top of the balcob wall, in order to provide additional support for the cob. This created a completely solid wall on top, which will be used for storage and also as a pathway from the ladder to the loft space.
Once we finished adding the cob we plastered both sides with a base layer of plaster, which we will later cover with a finishing plaster. We are still waiting for the walls to dry, before we can complete the plastering.

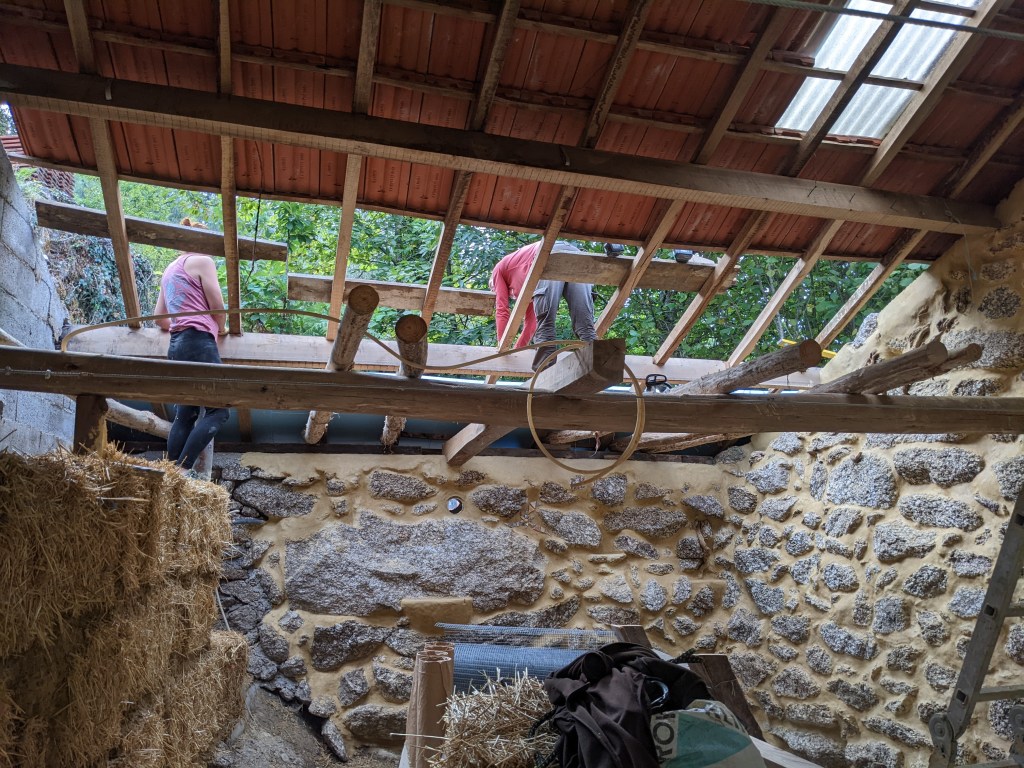
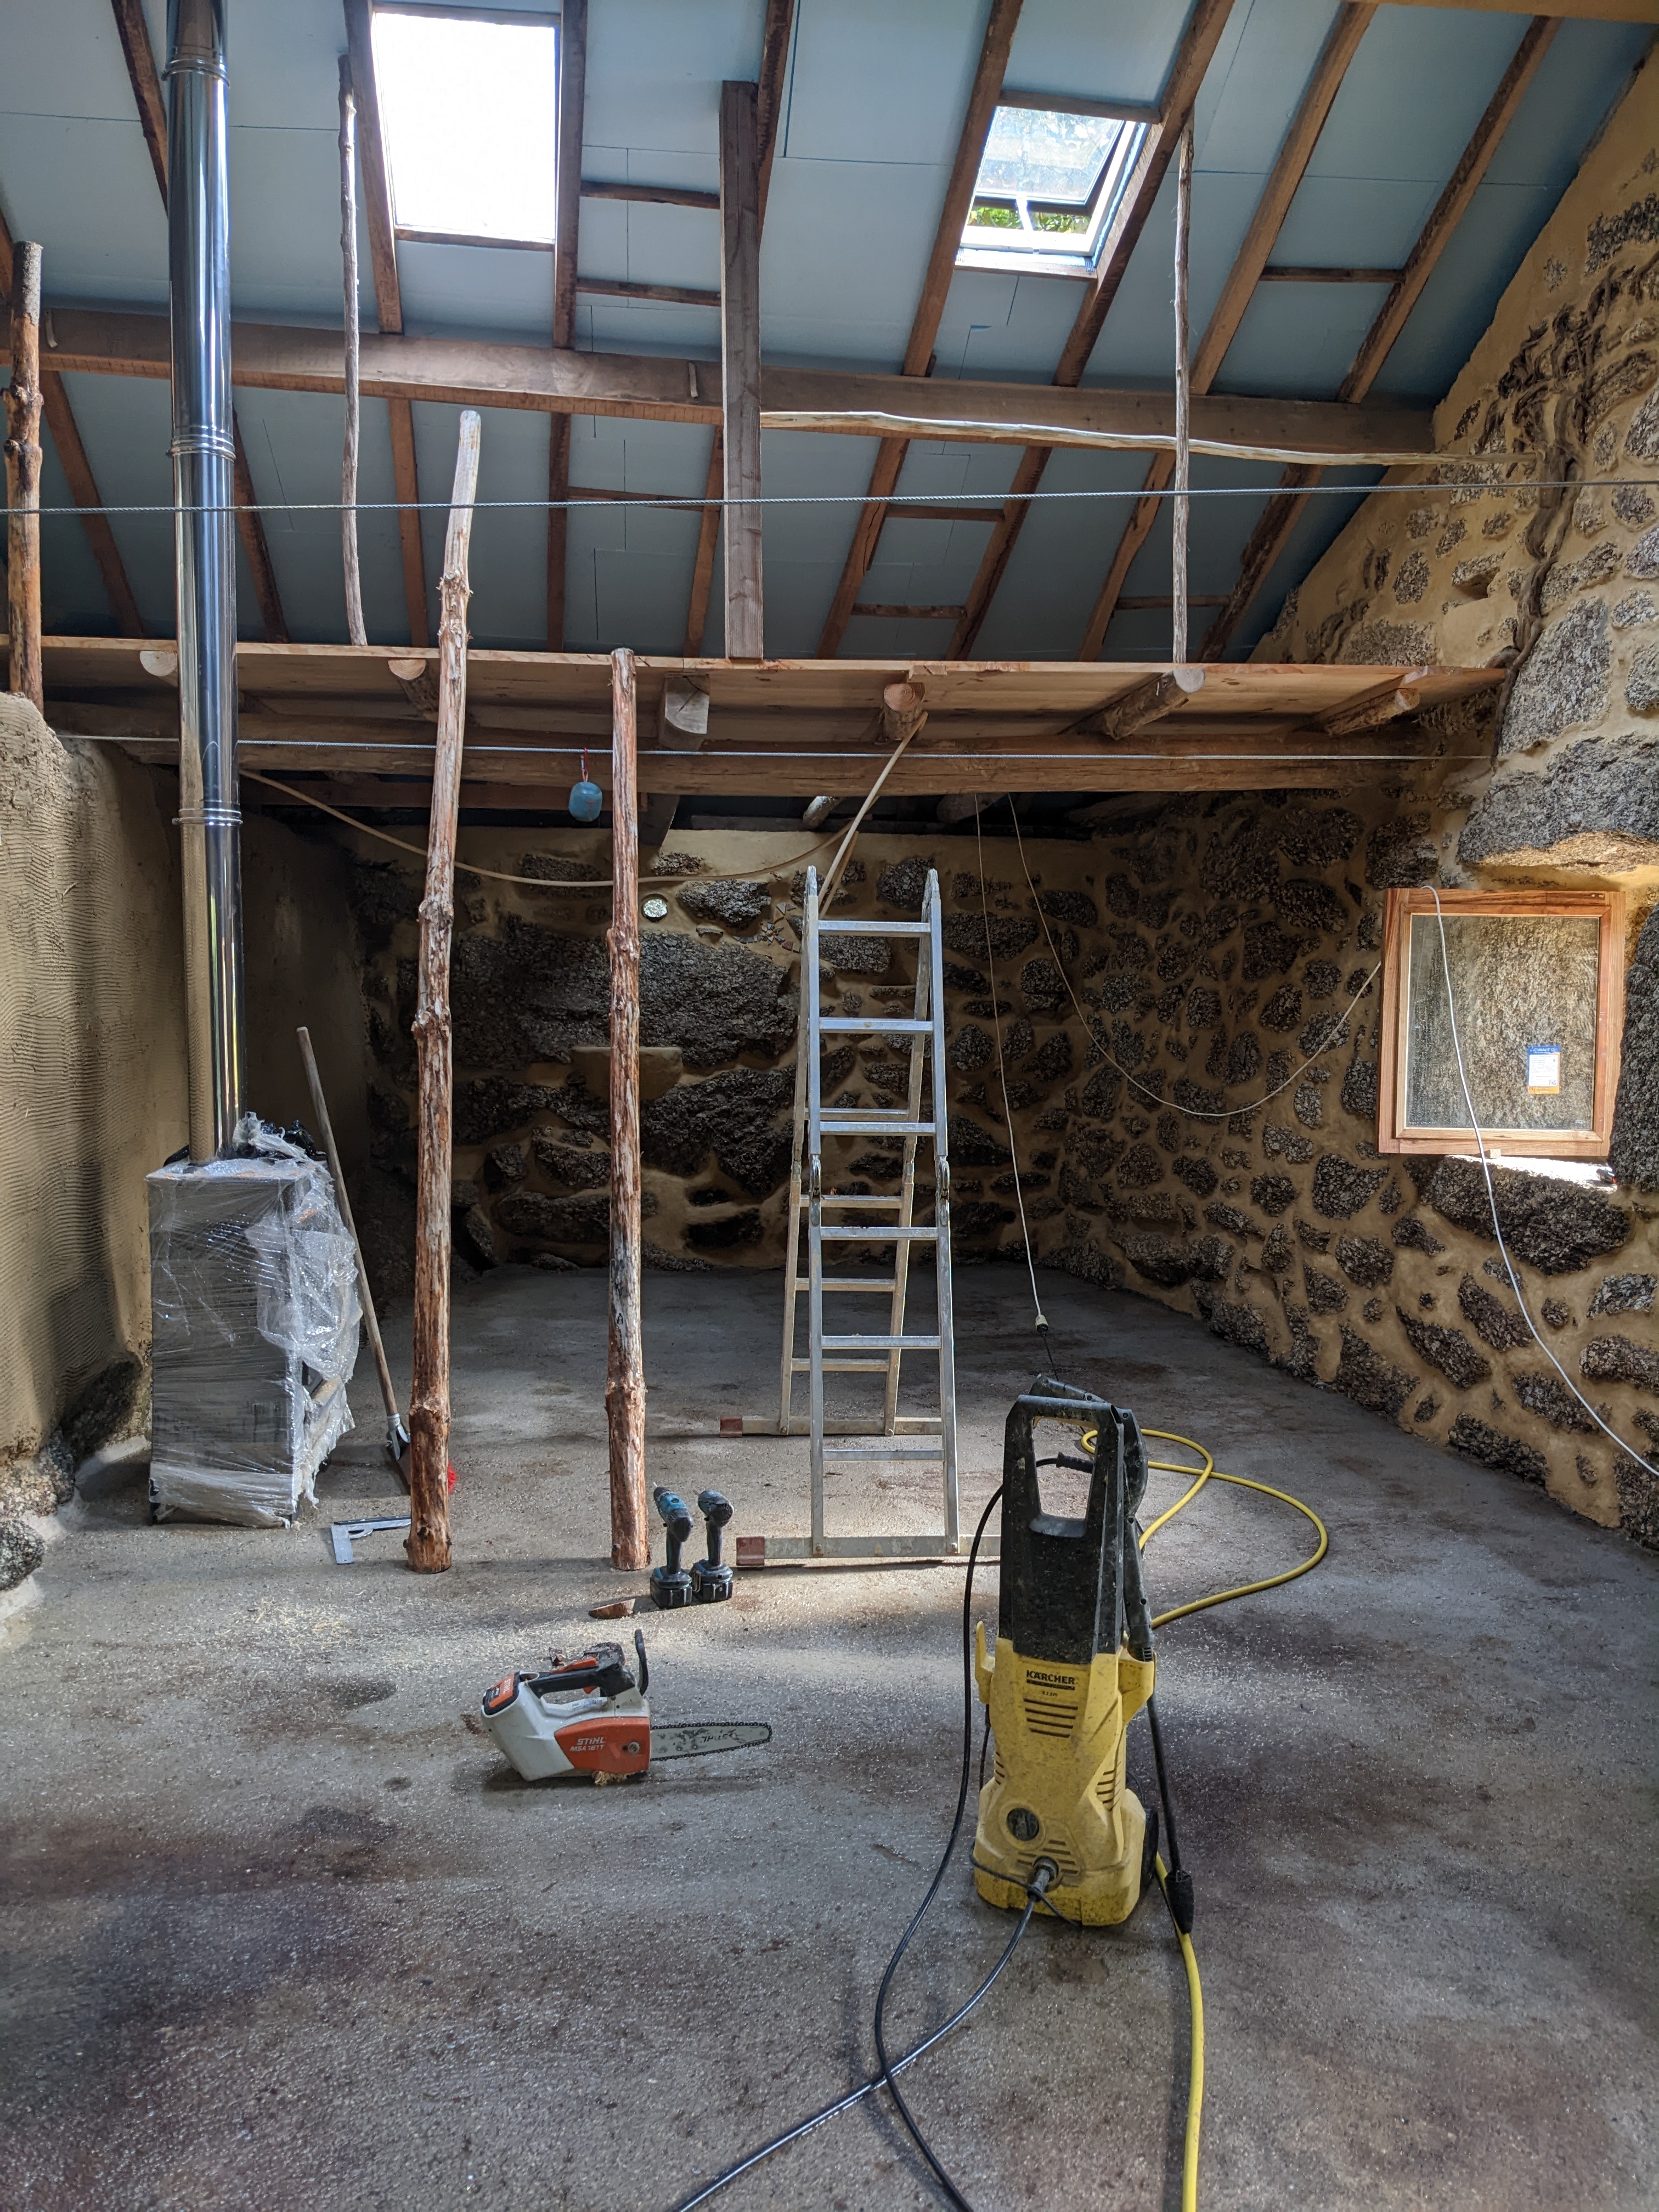
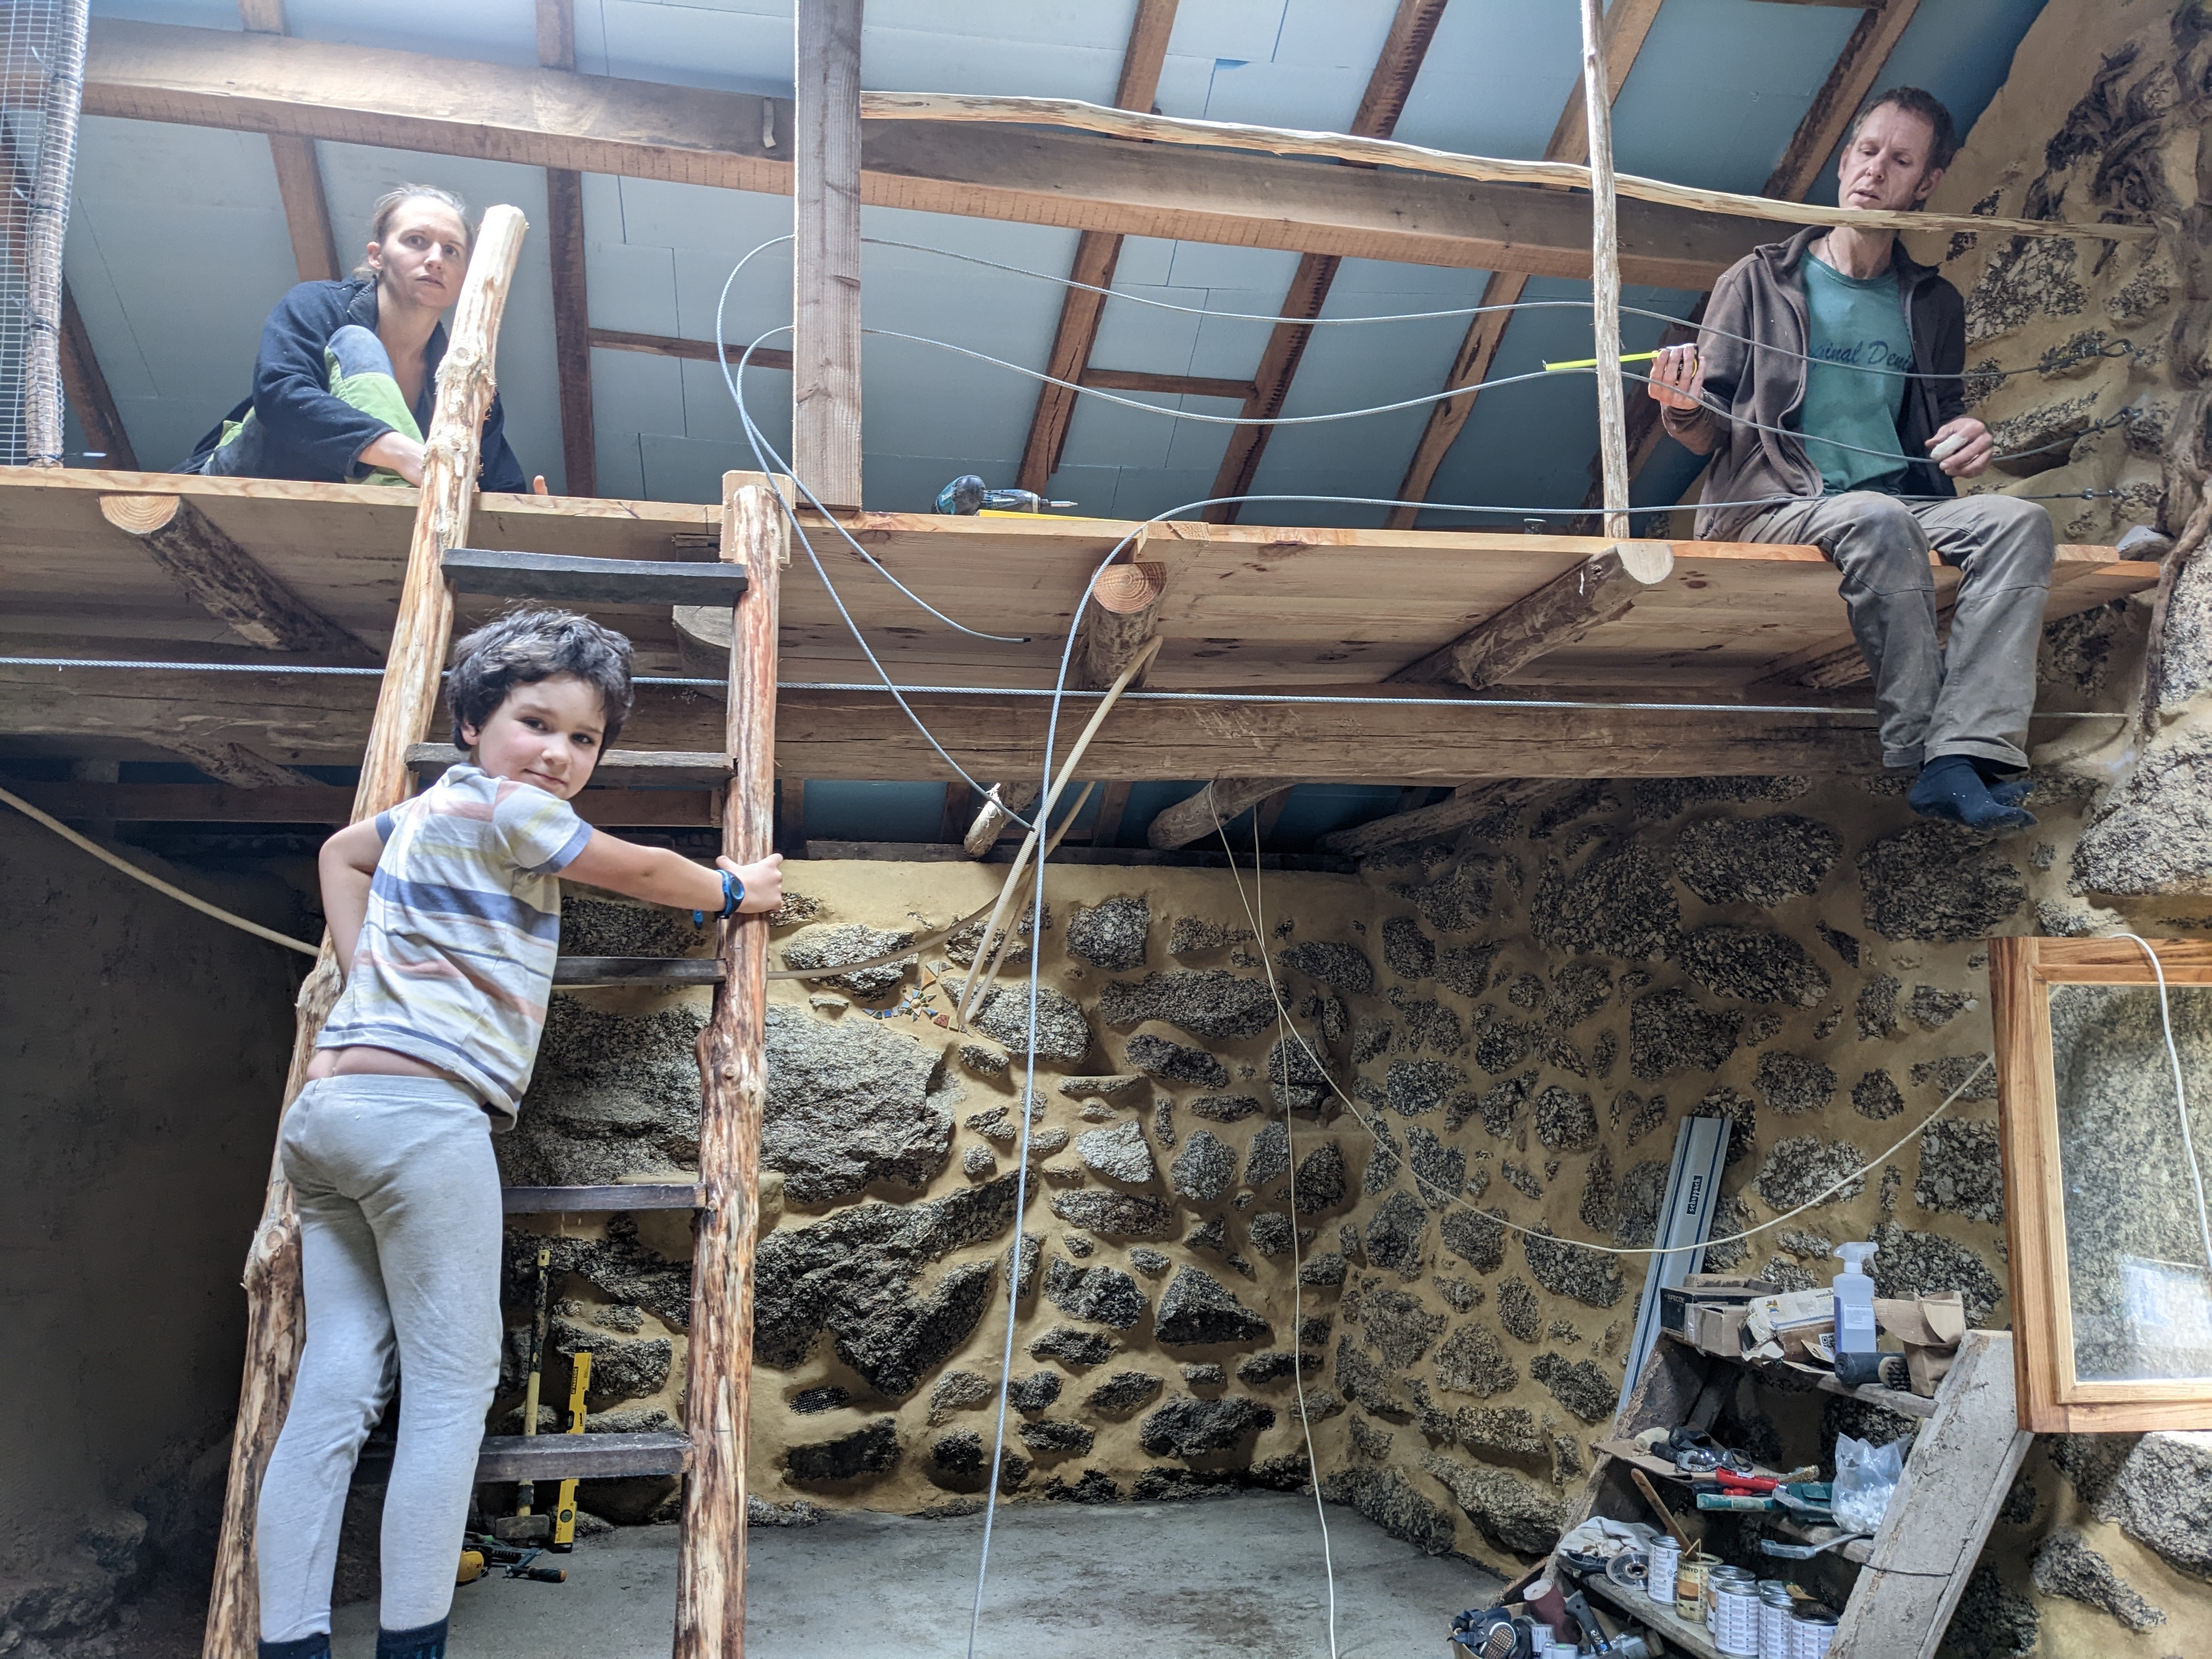
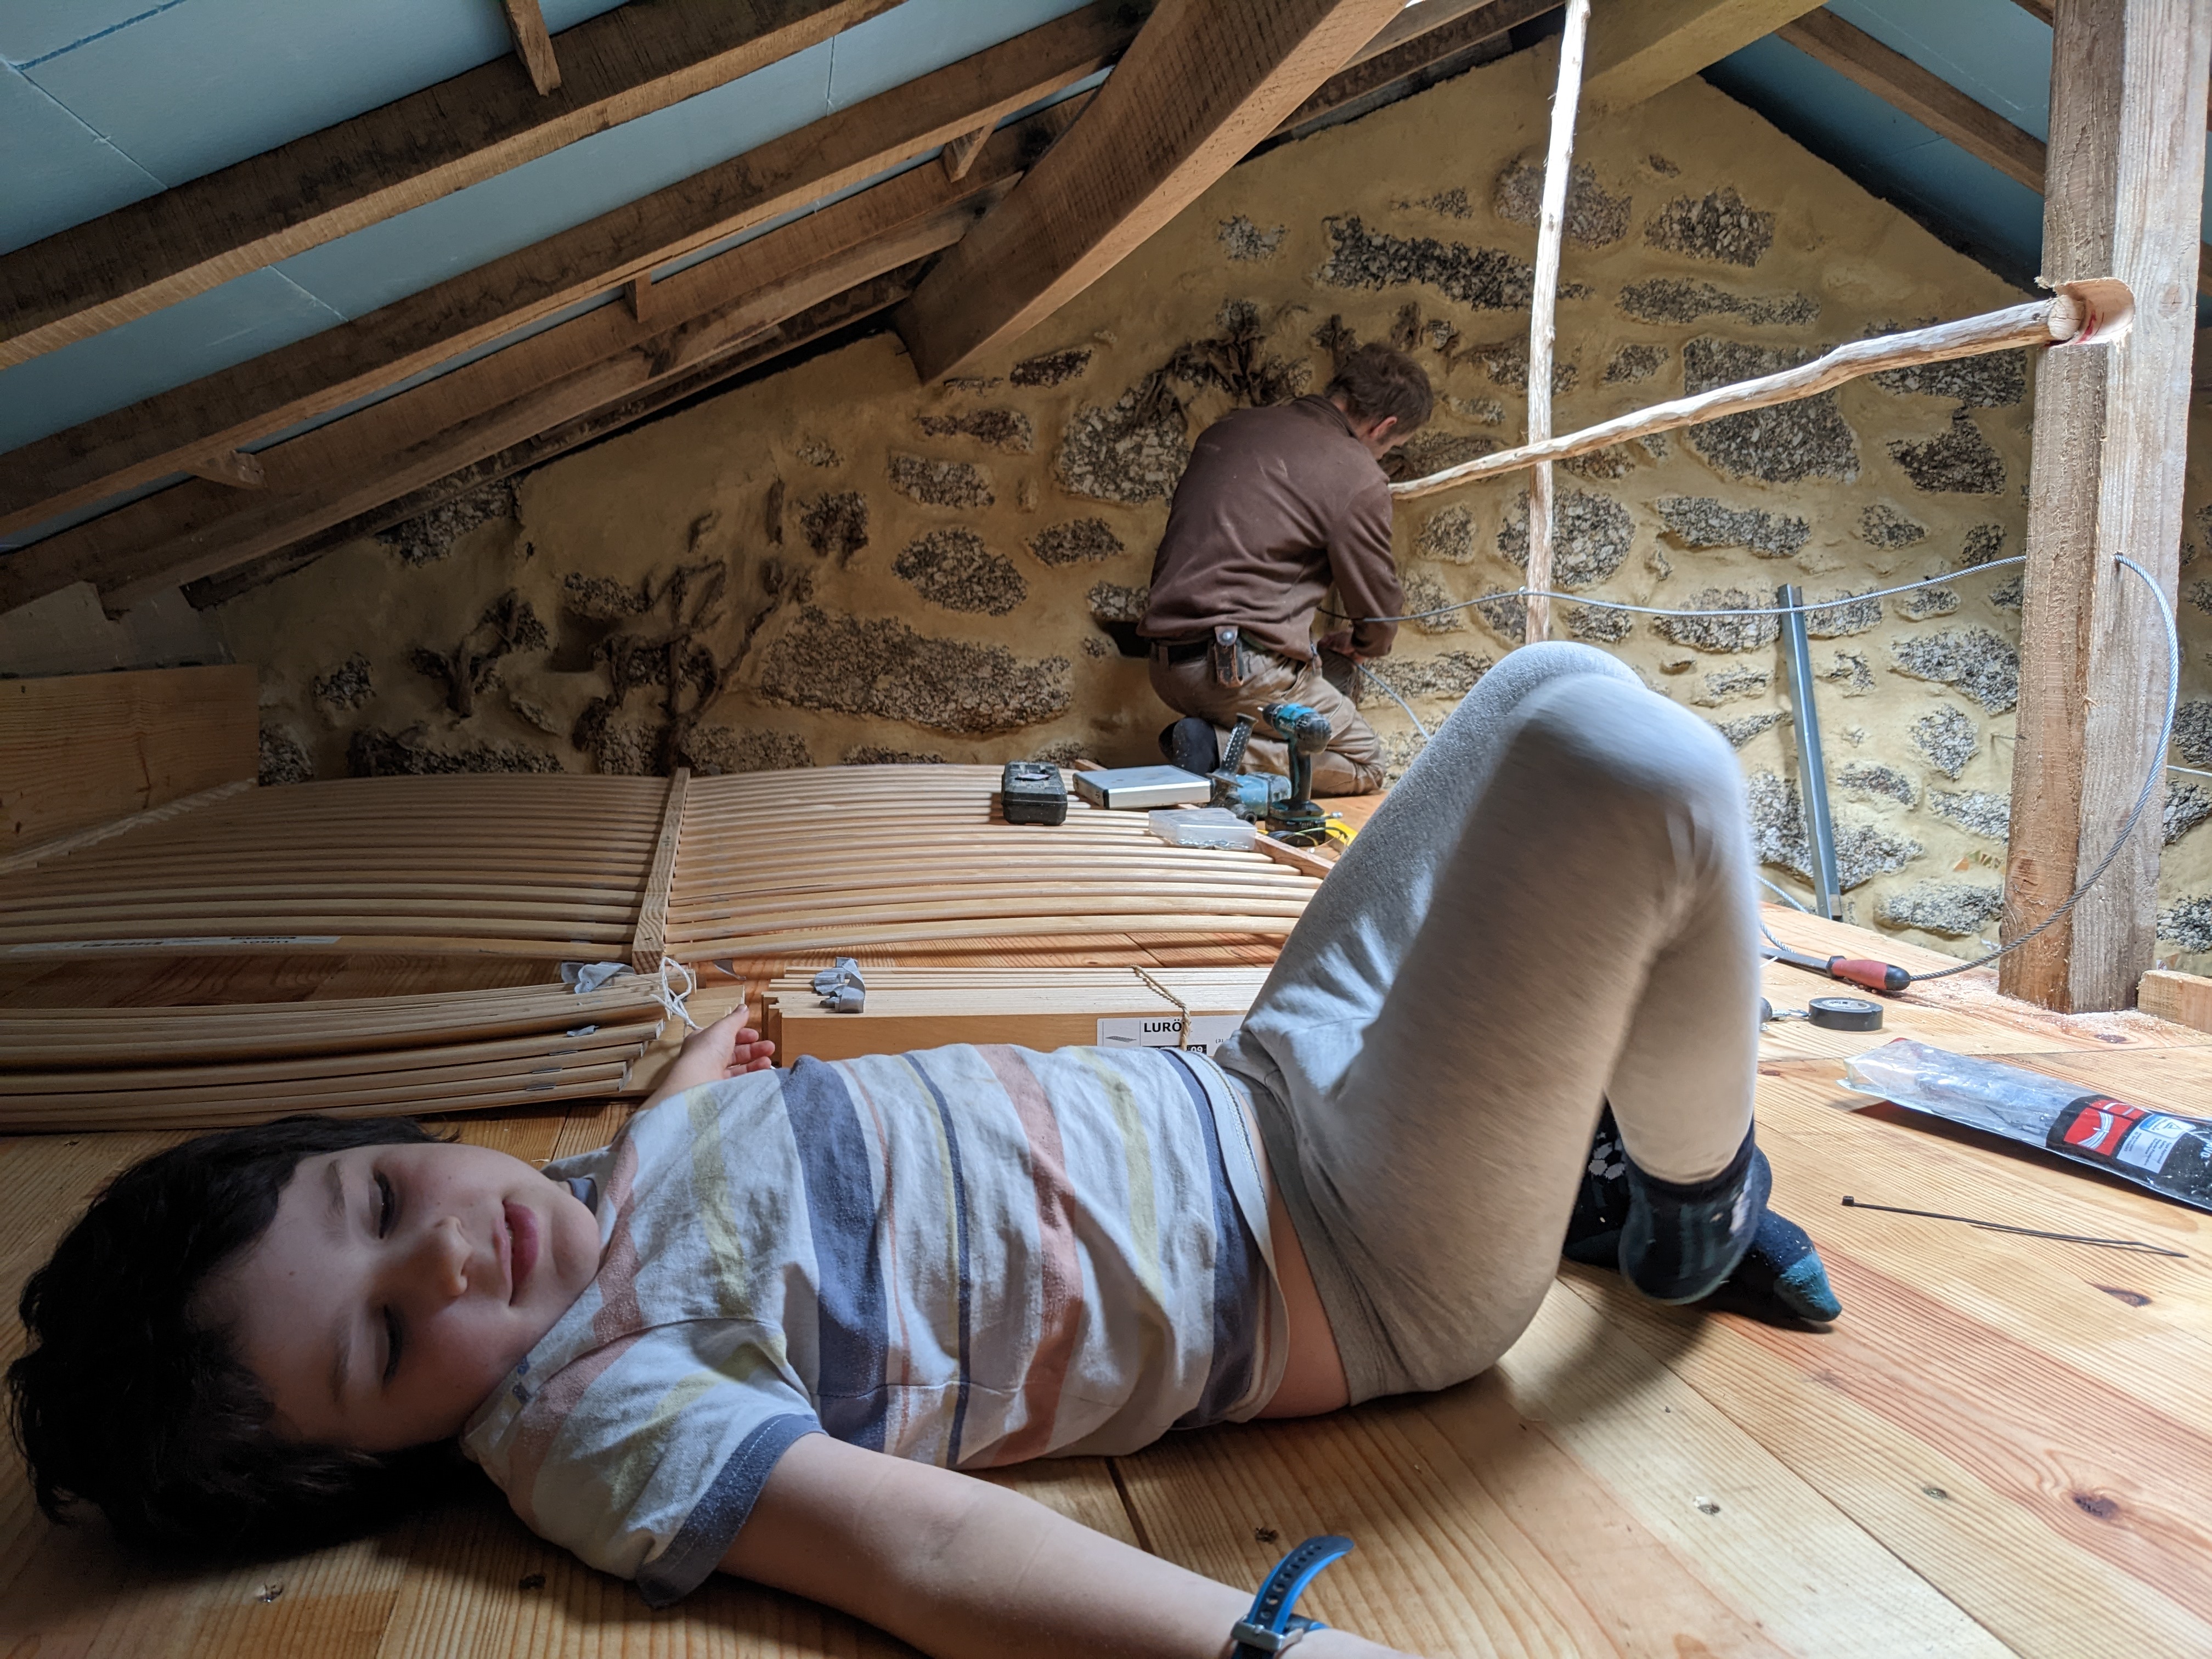
Then, we began working on the loft space. We decided to add a small loft space that could function as a sleeping and storage area. This would also create a cozy sitting area underneath, where we are planning on building a rocket stove mass heated bench in the future.
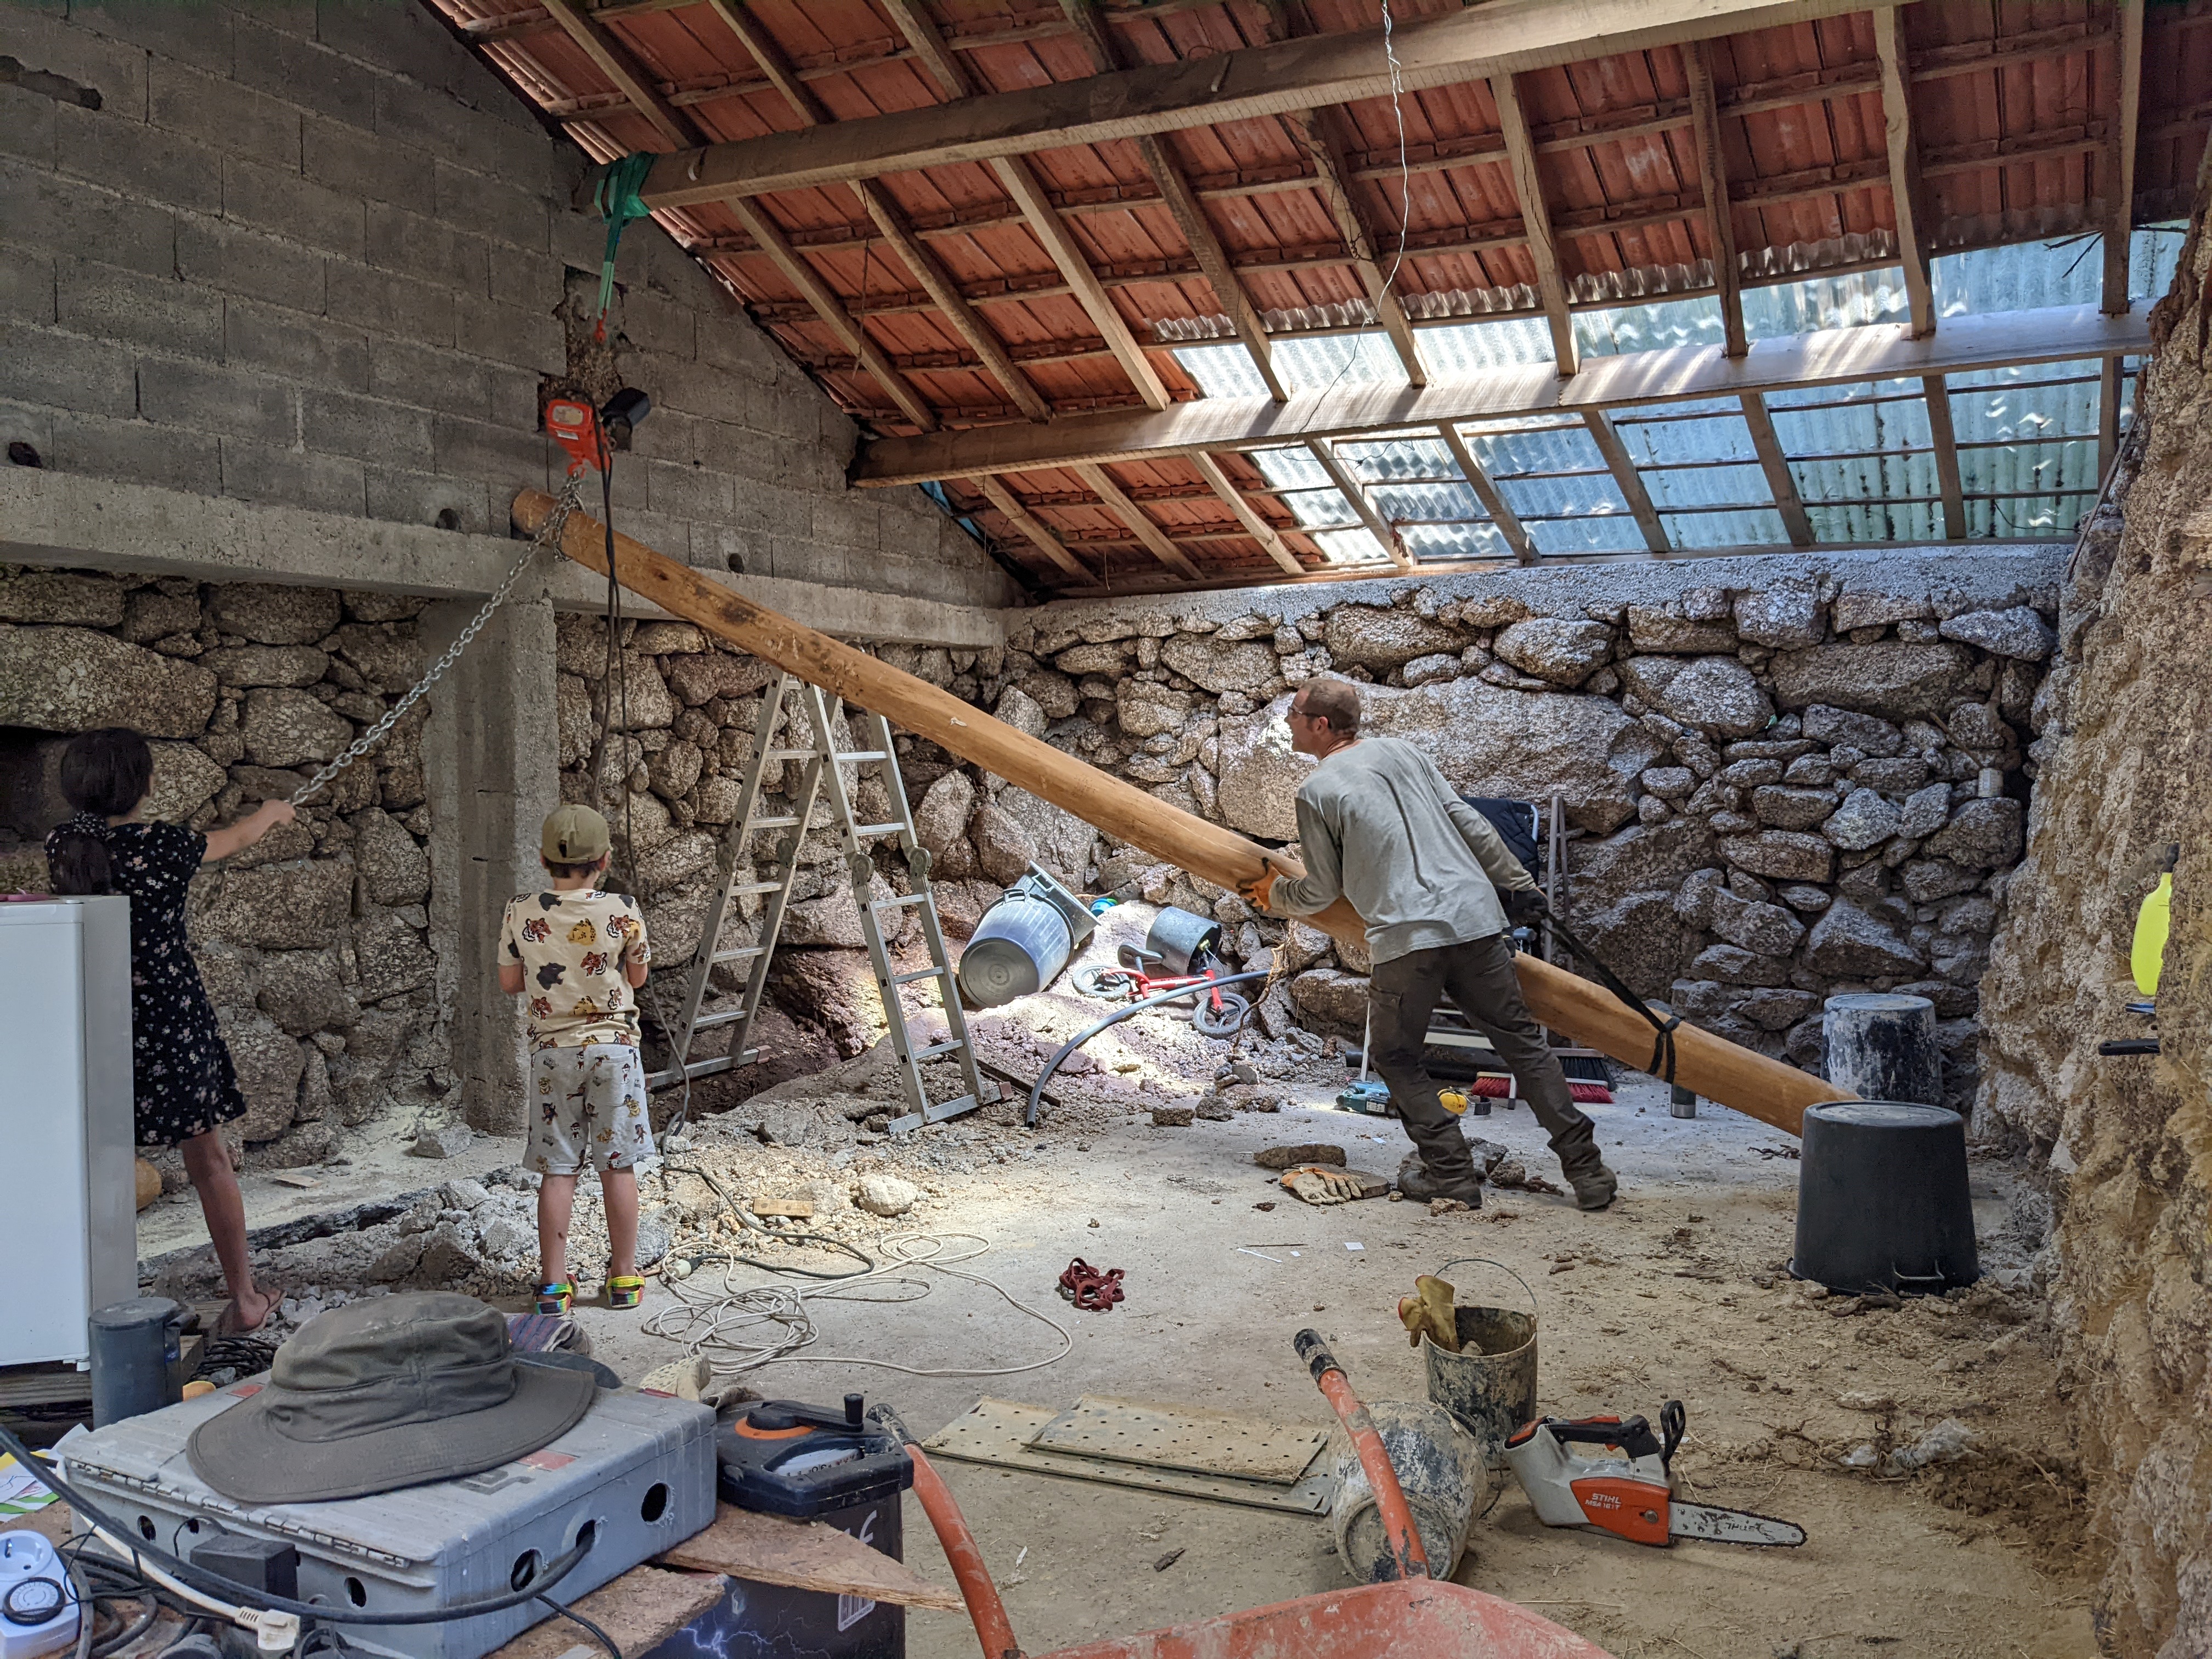
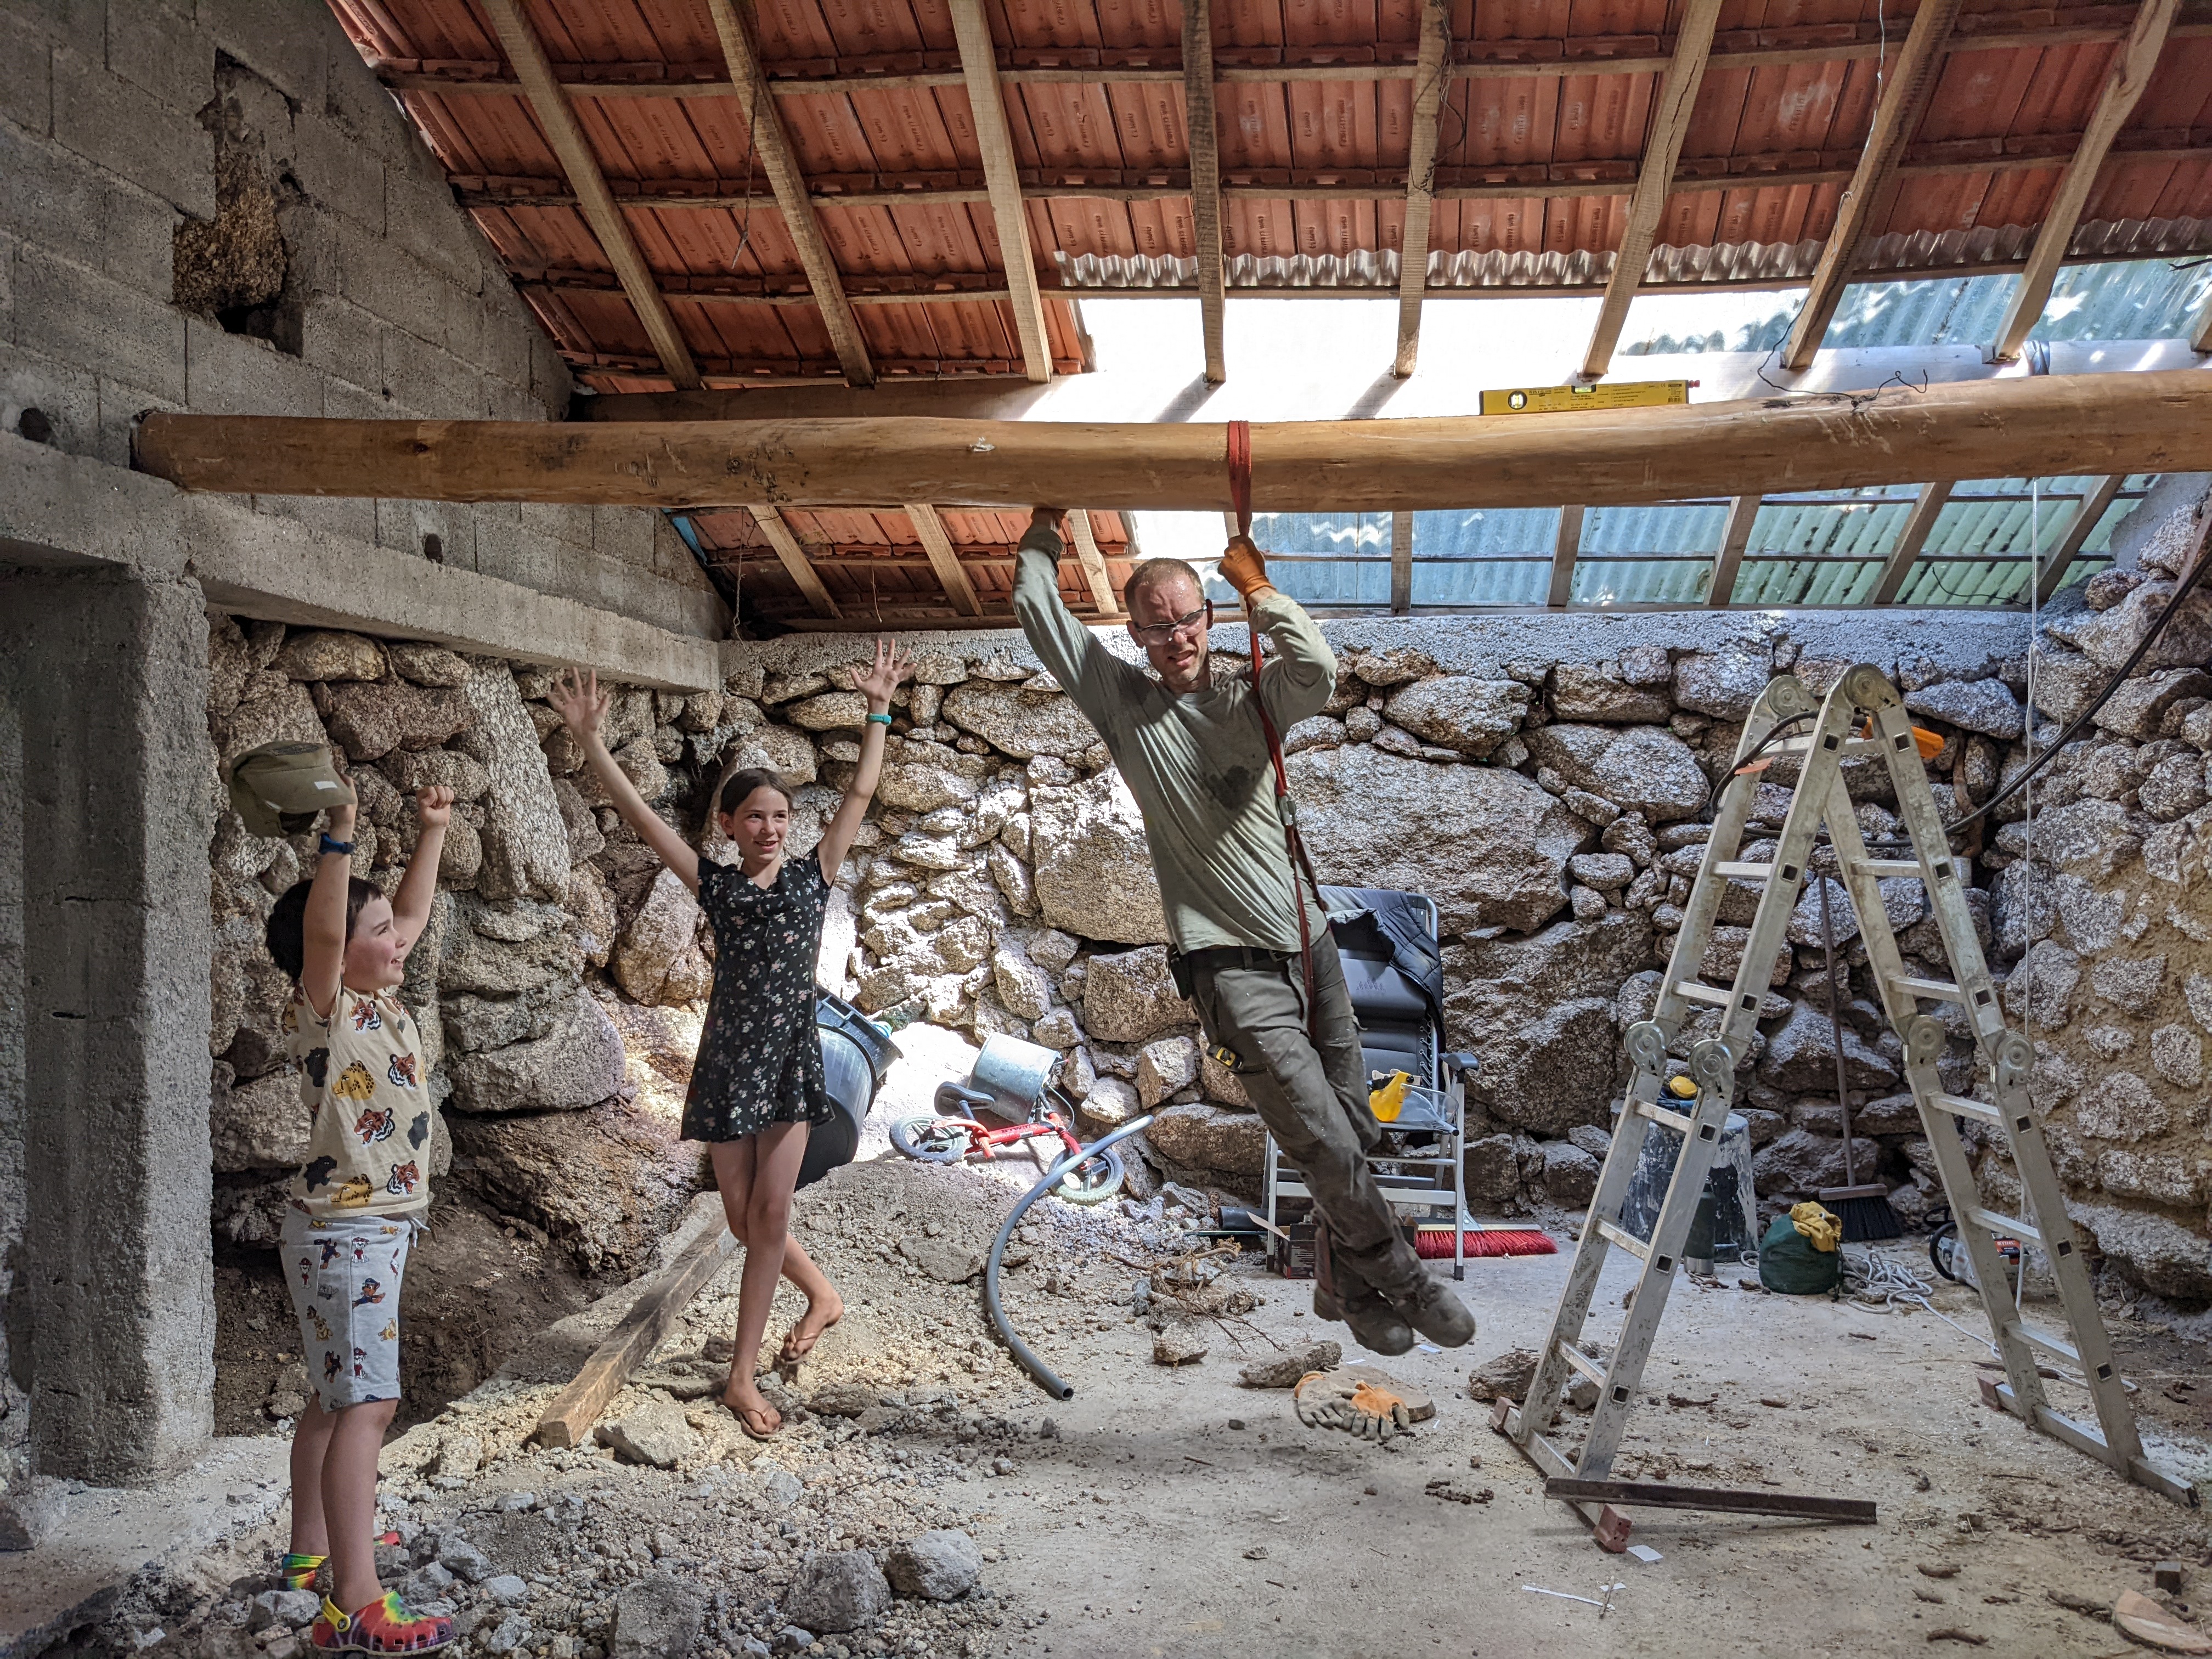
I cut a eucalyptus tree on our land for the main beam, spanning 5 meters and crossing the entire space. I used eucalyptus and pine from our land for the crossbeams. For the deck I had ordered 30cm wide pine boards. With the aid of some gear and our adorable children, we got the main beam in place. From there it was quite simple, and before we knew it there was another space created inside.


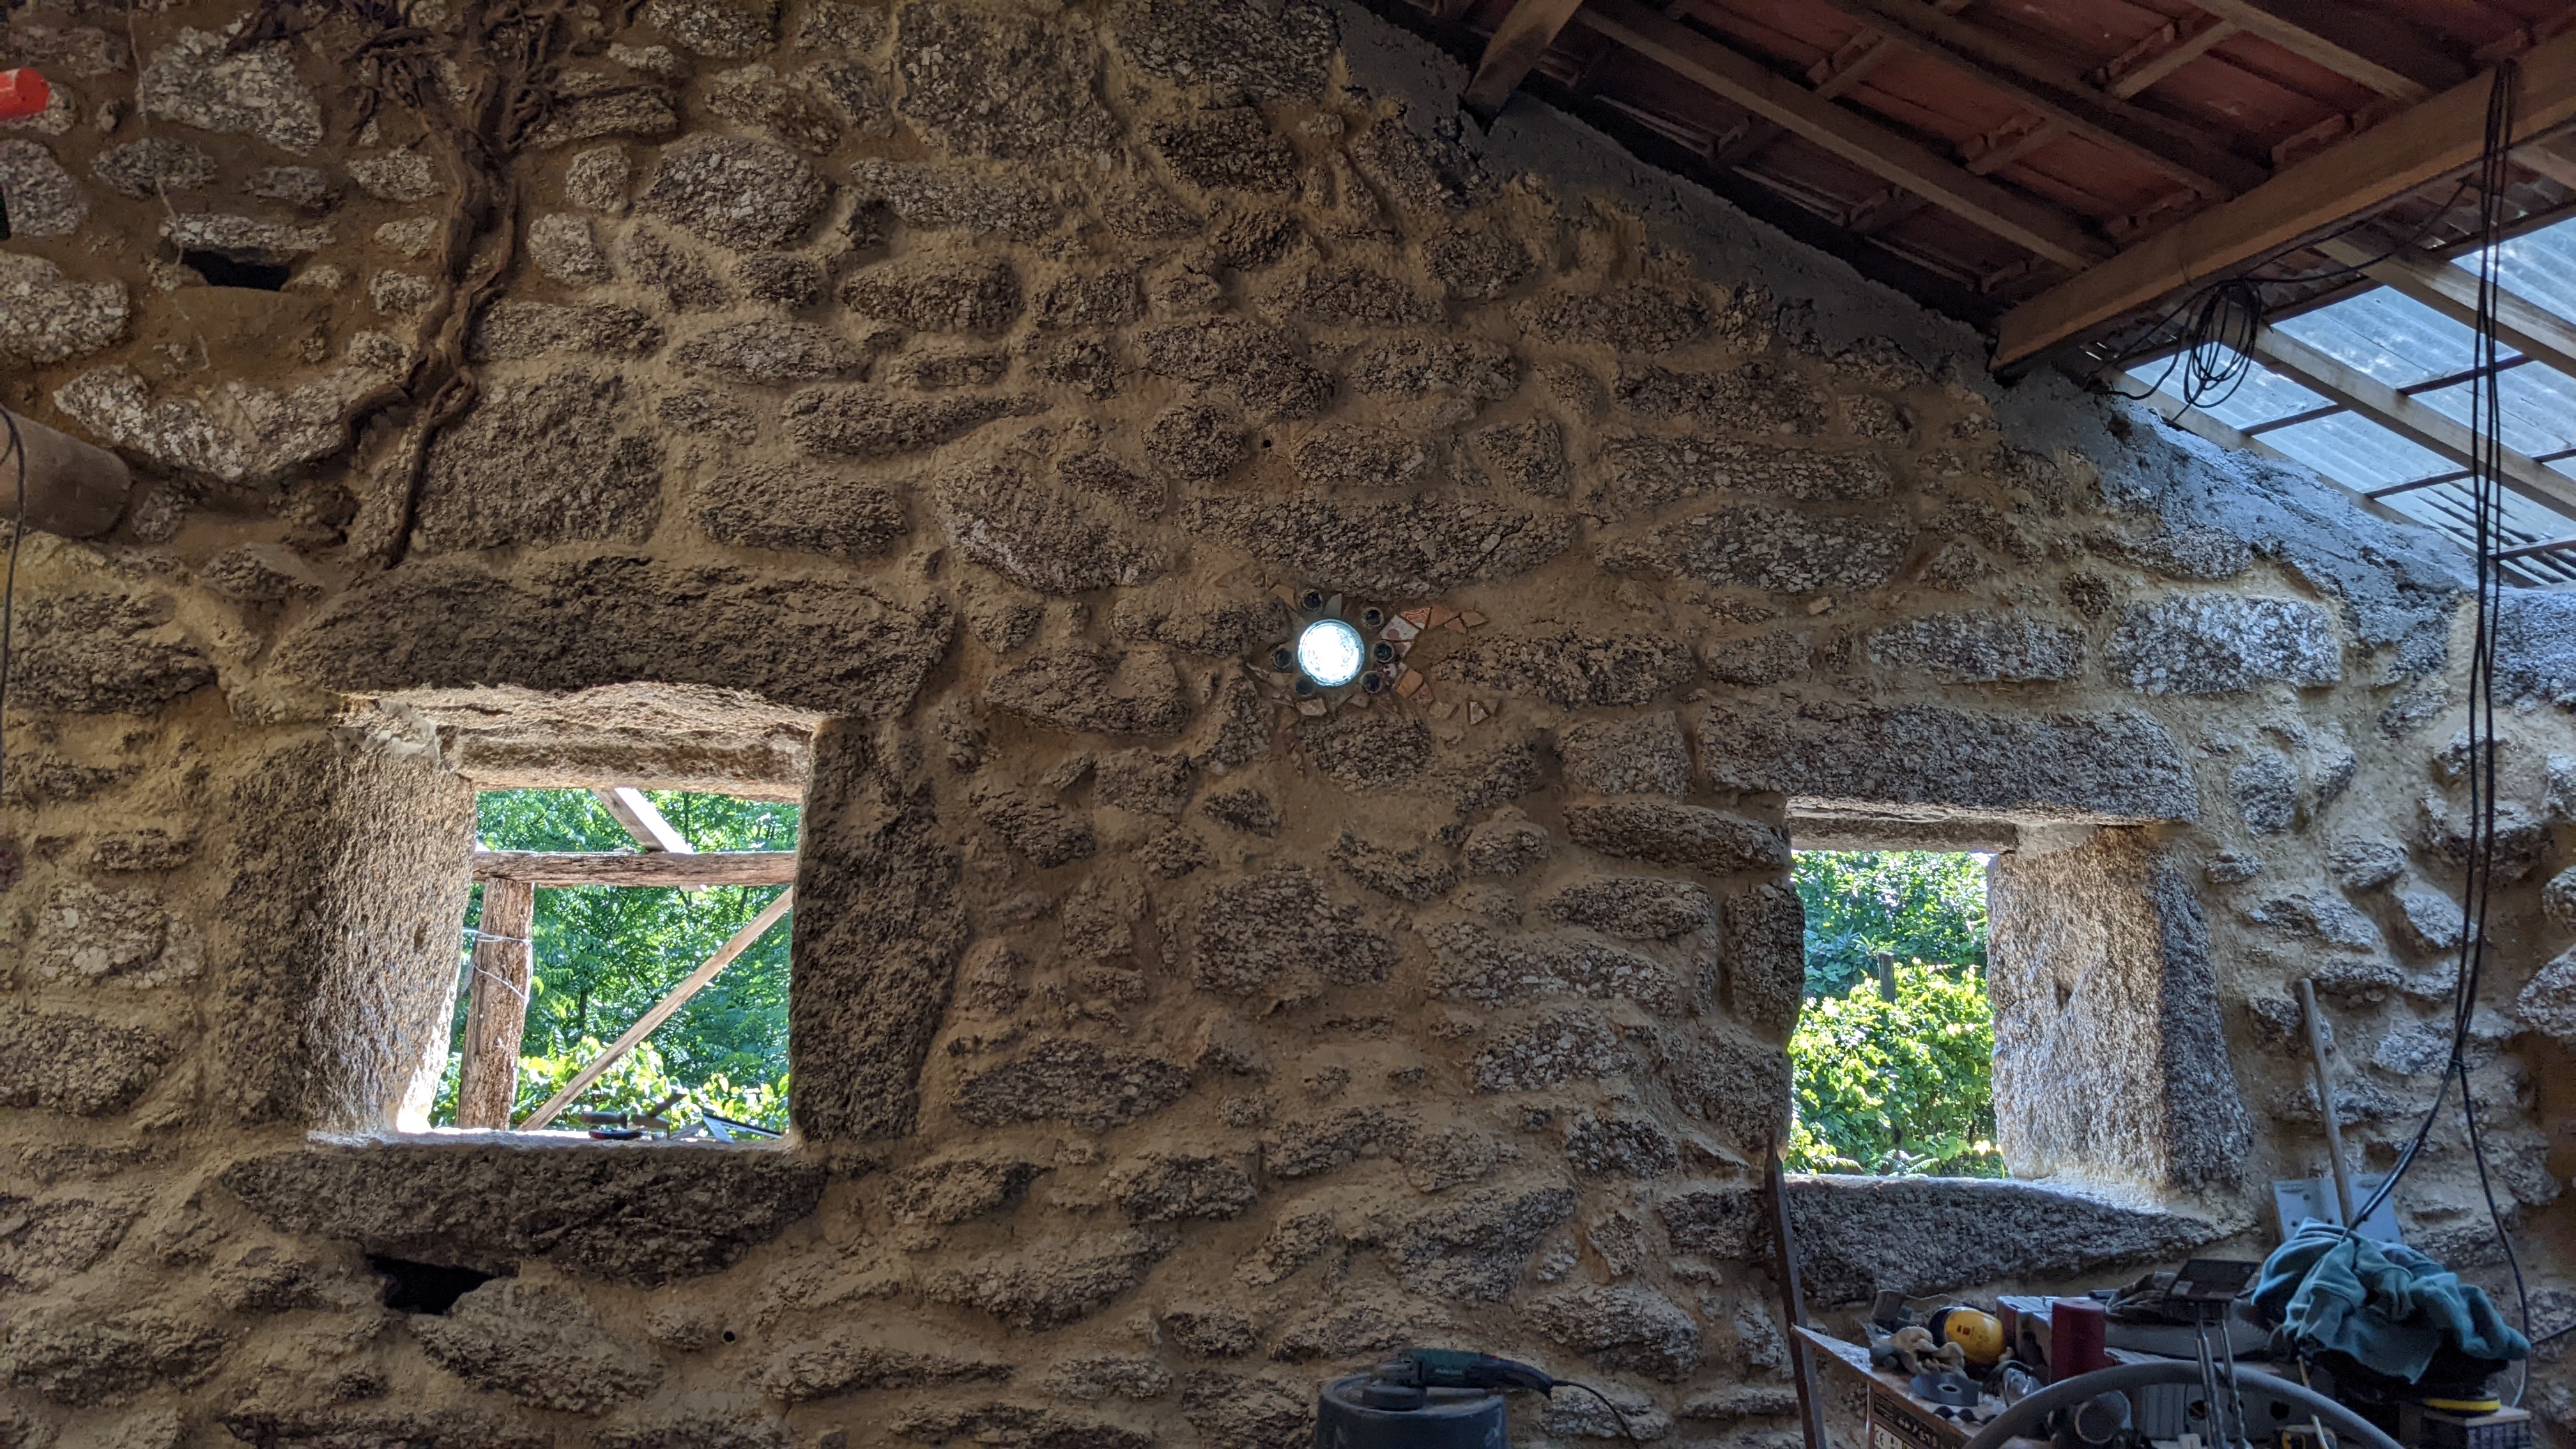
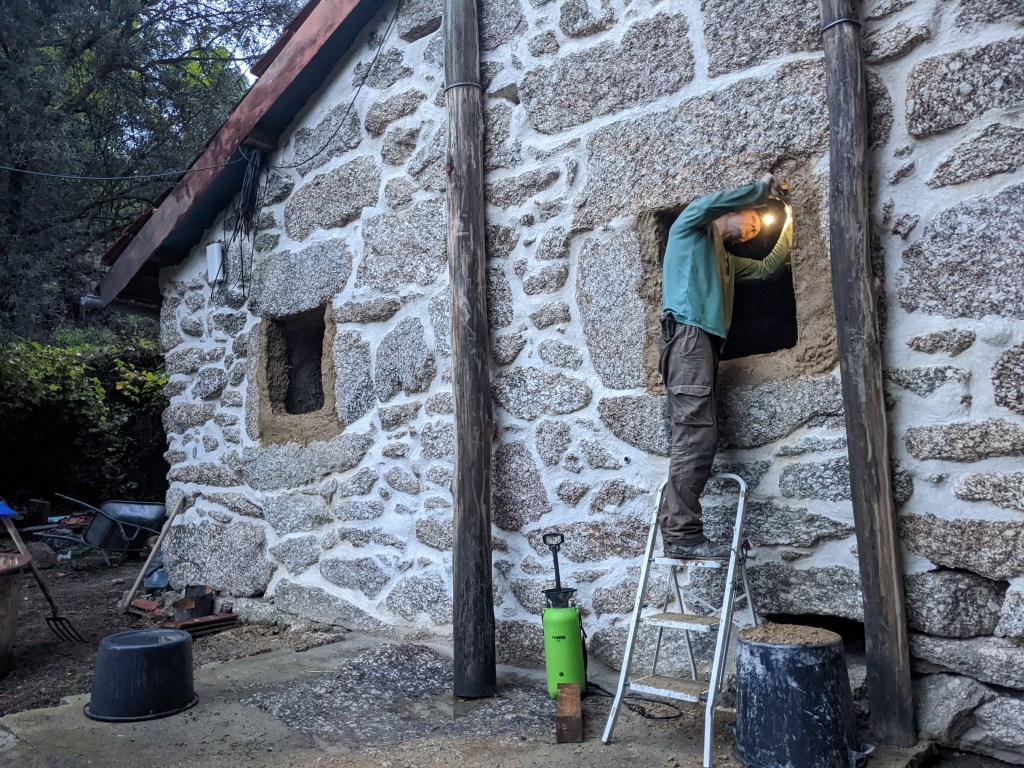
Finally, we needed to insulate the barn’s original doors, as well as fit in windows.
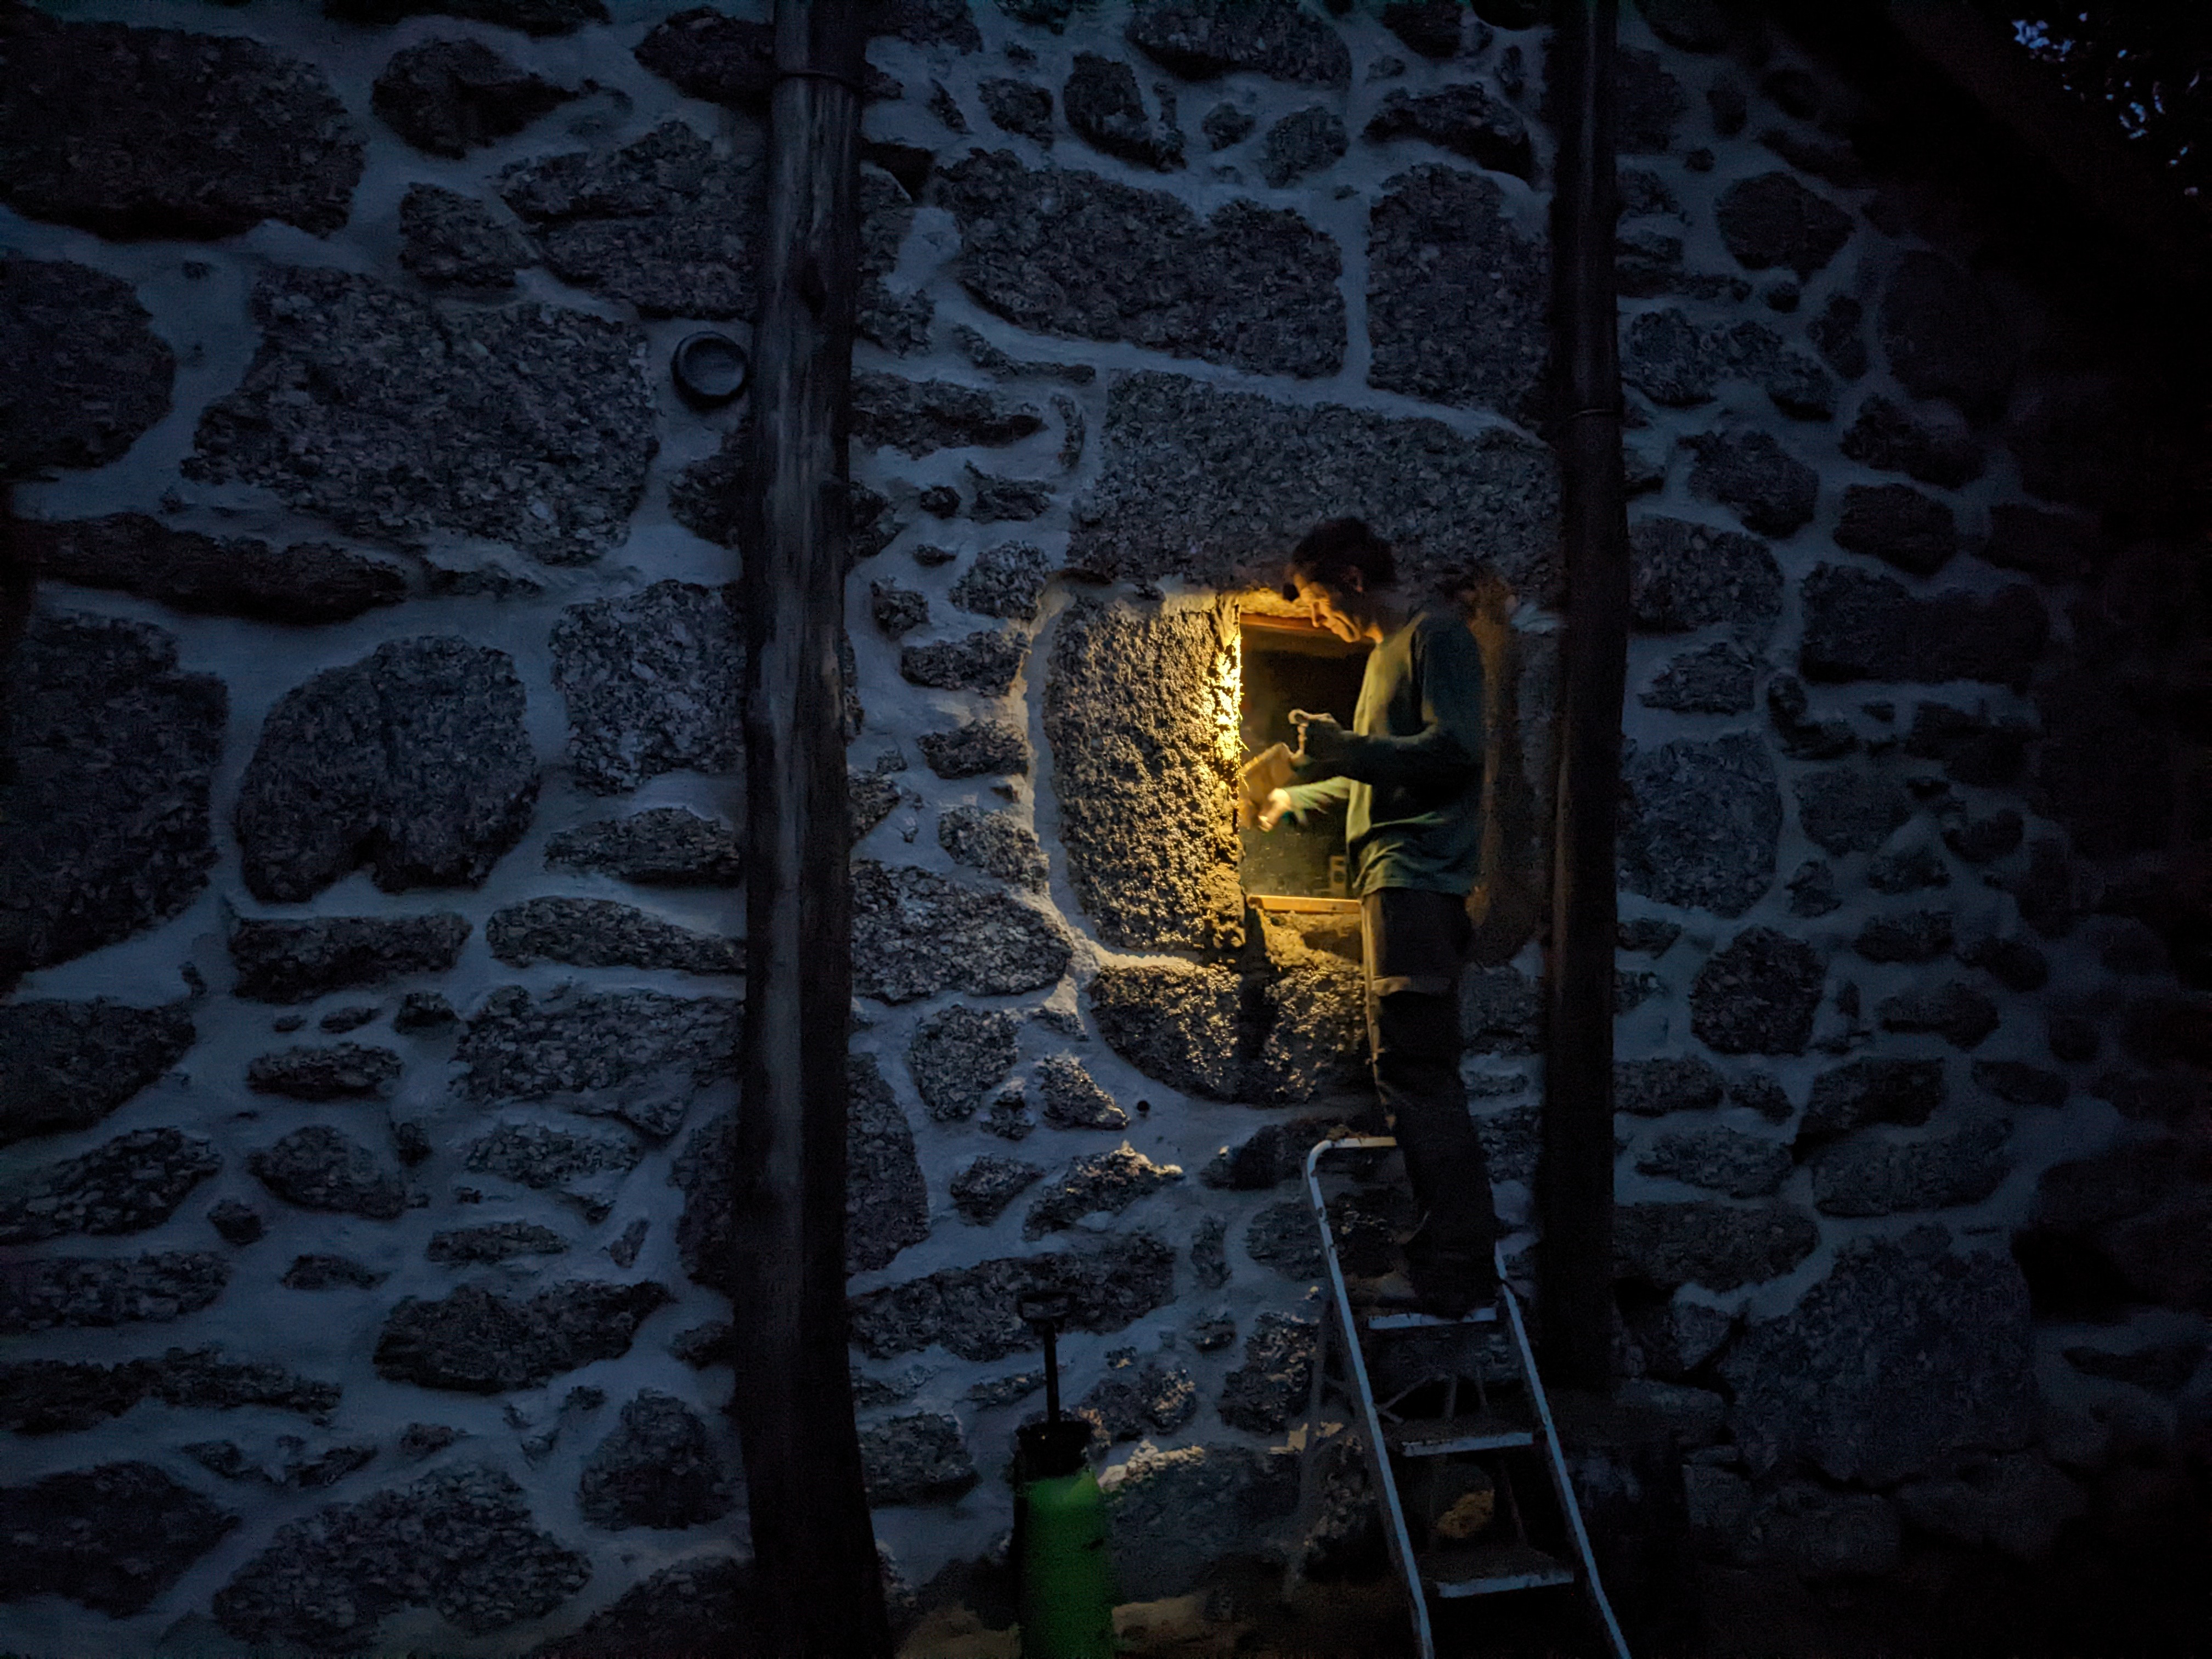
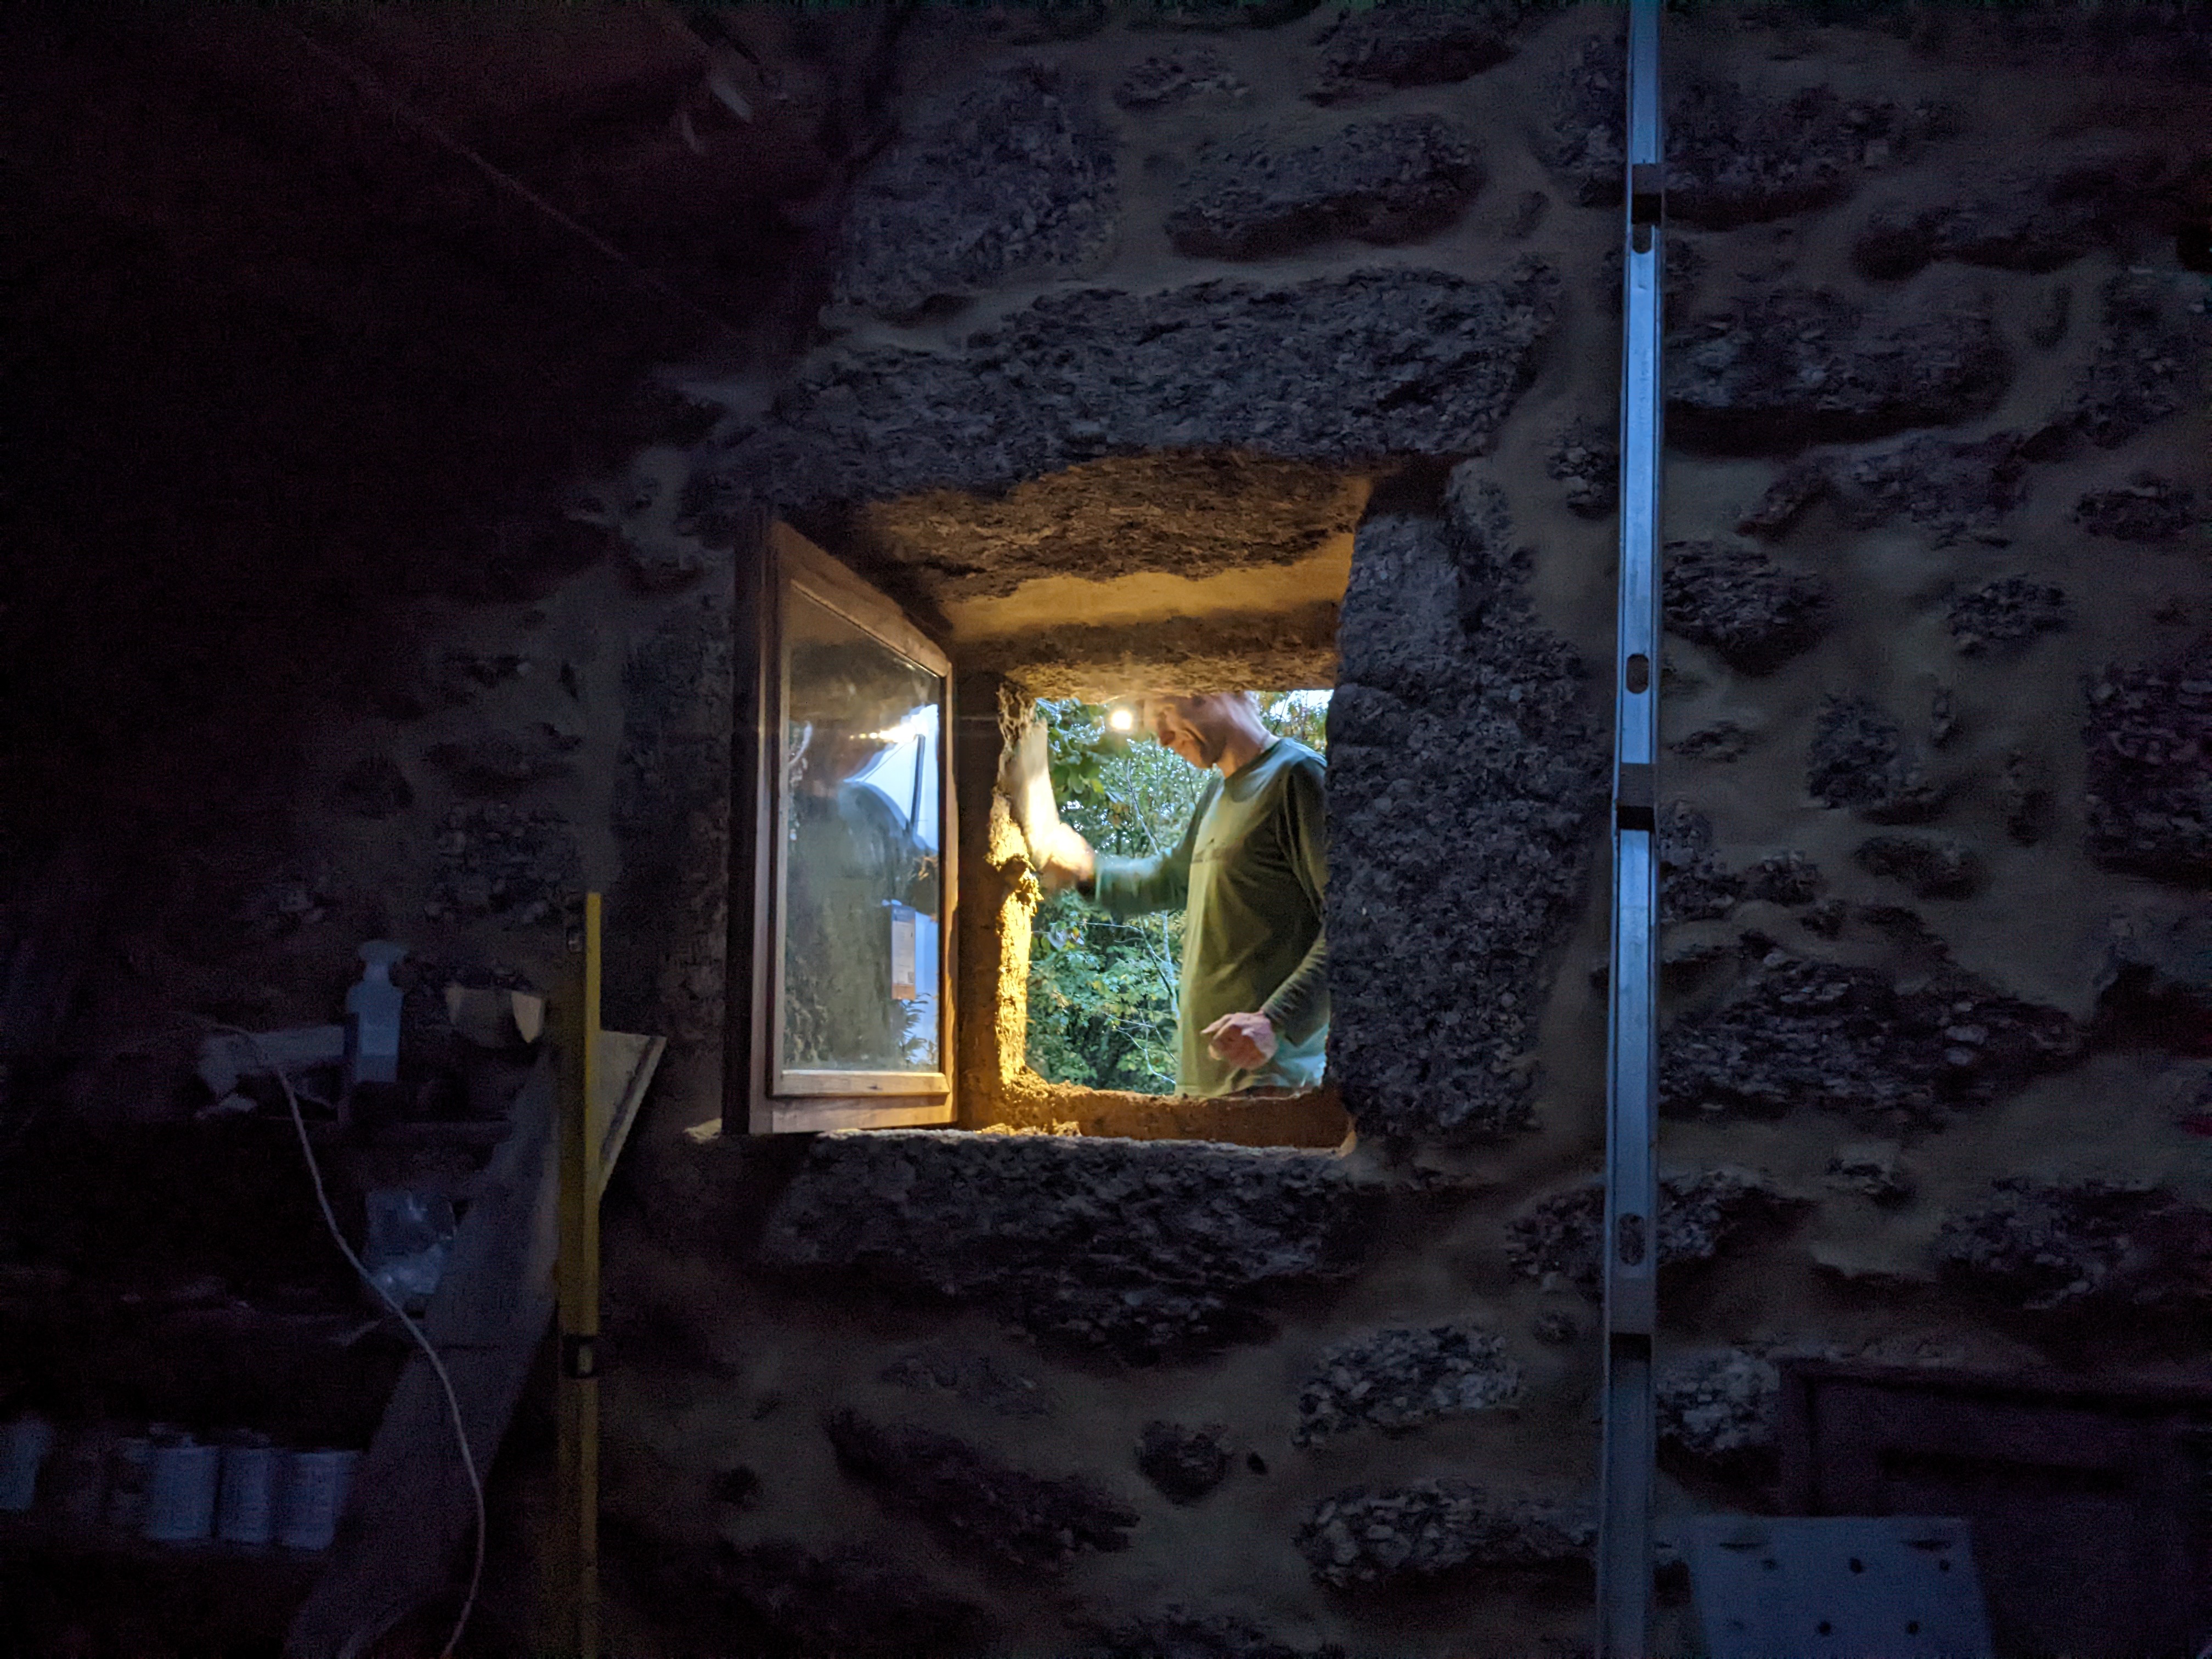
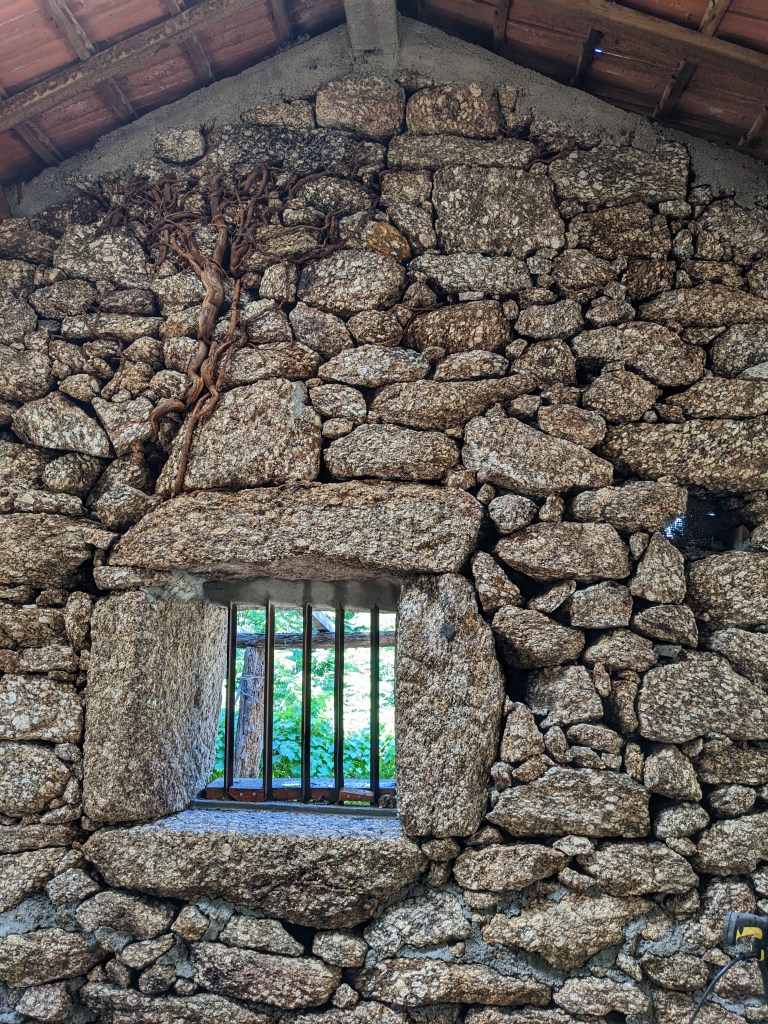
The glass windows had to be inset into an existing , non-standard stone window frame. We decided to fit the window as best as possible, and then fill the outside with cob. This proved quite effective, although we found out through trial and error that we needed to use clay slip on the stone first in order for the cob to adhere properly.
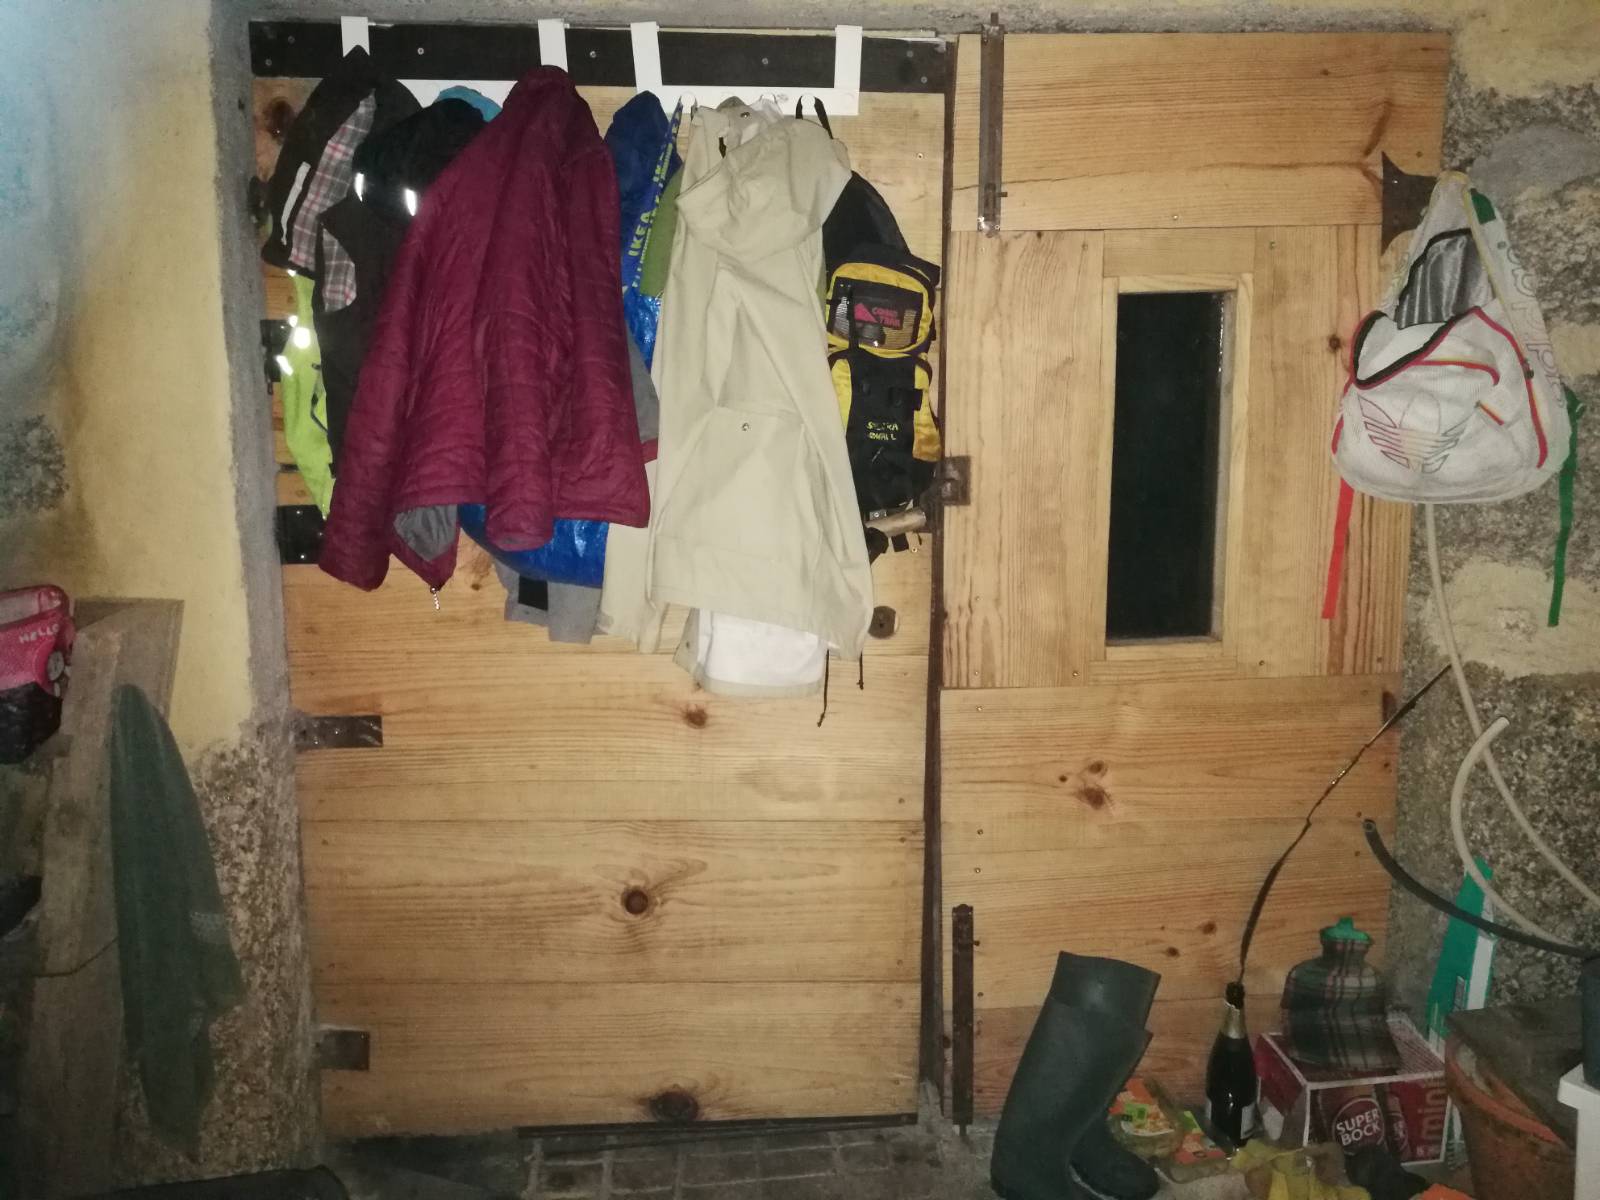
We refurbished the original barn doors, adding insulation and wooden planks on the interior side. We cut one of the door horizontally, into a Dutch-door, and added a window in the other.
We also added a wood stove for heat. We plan on replacing this with a rocket stove in the future.
This brought us to late October, just in time for our friends to move in. There is still some plastering work to be done once the balecob wall is dry and our friends move out, but for now the barn is habitable, at least for hardy Swedes!