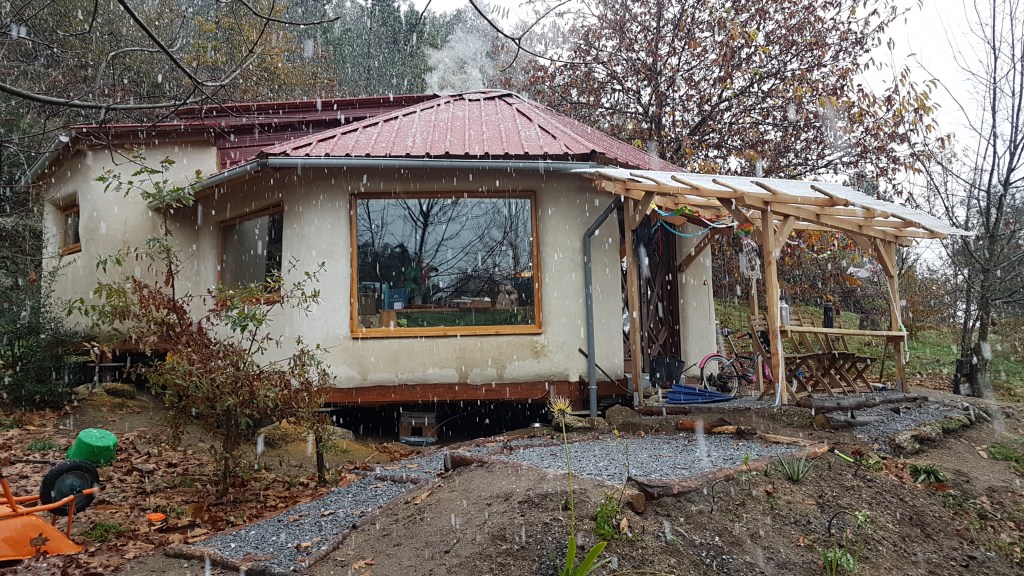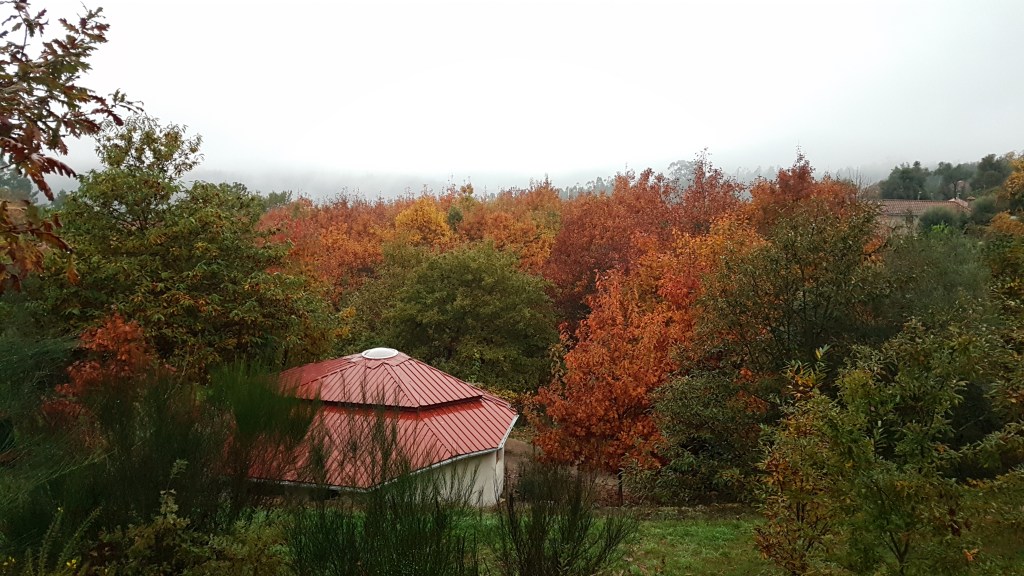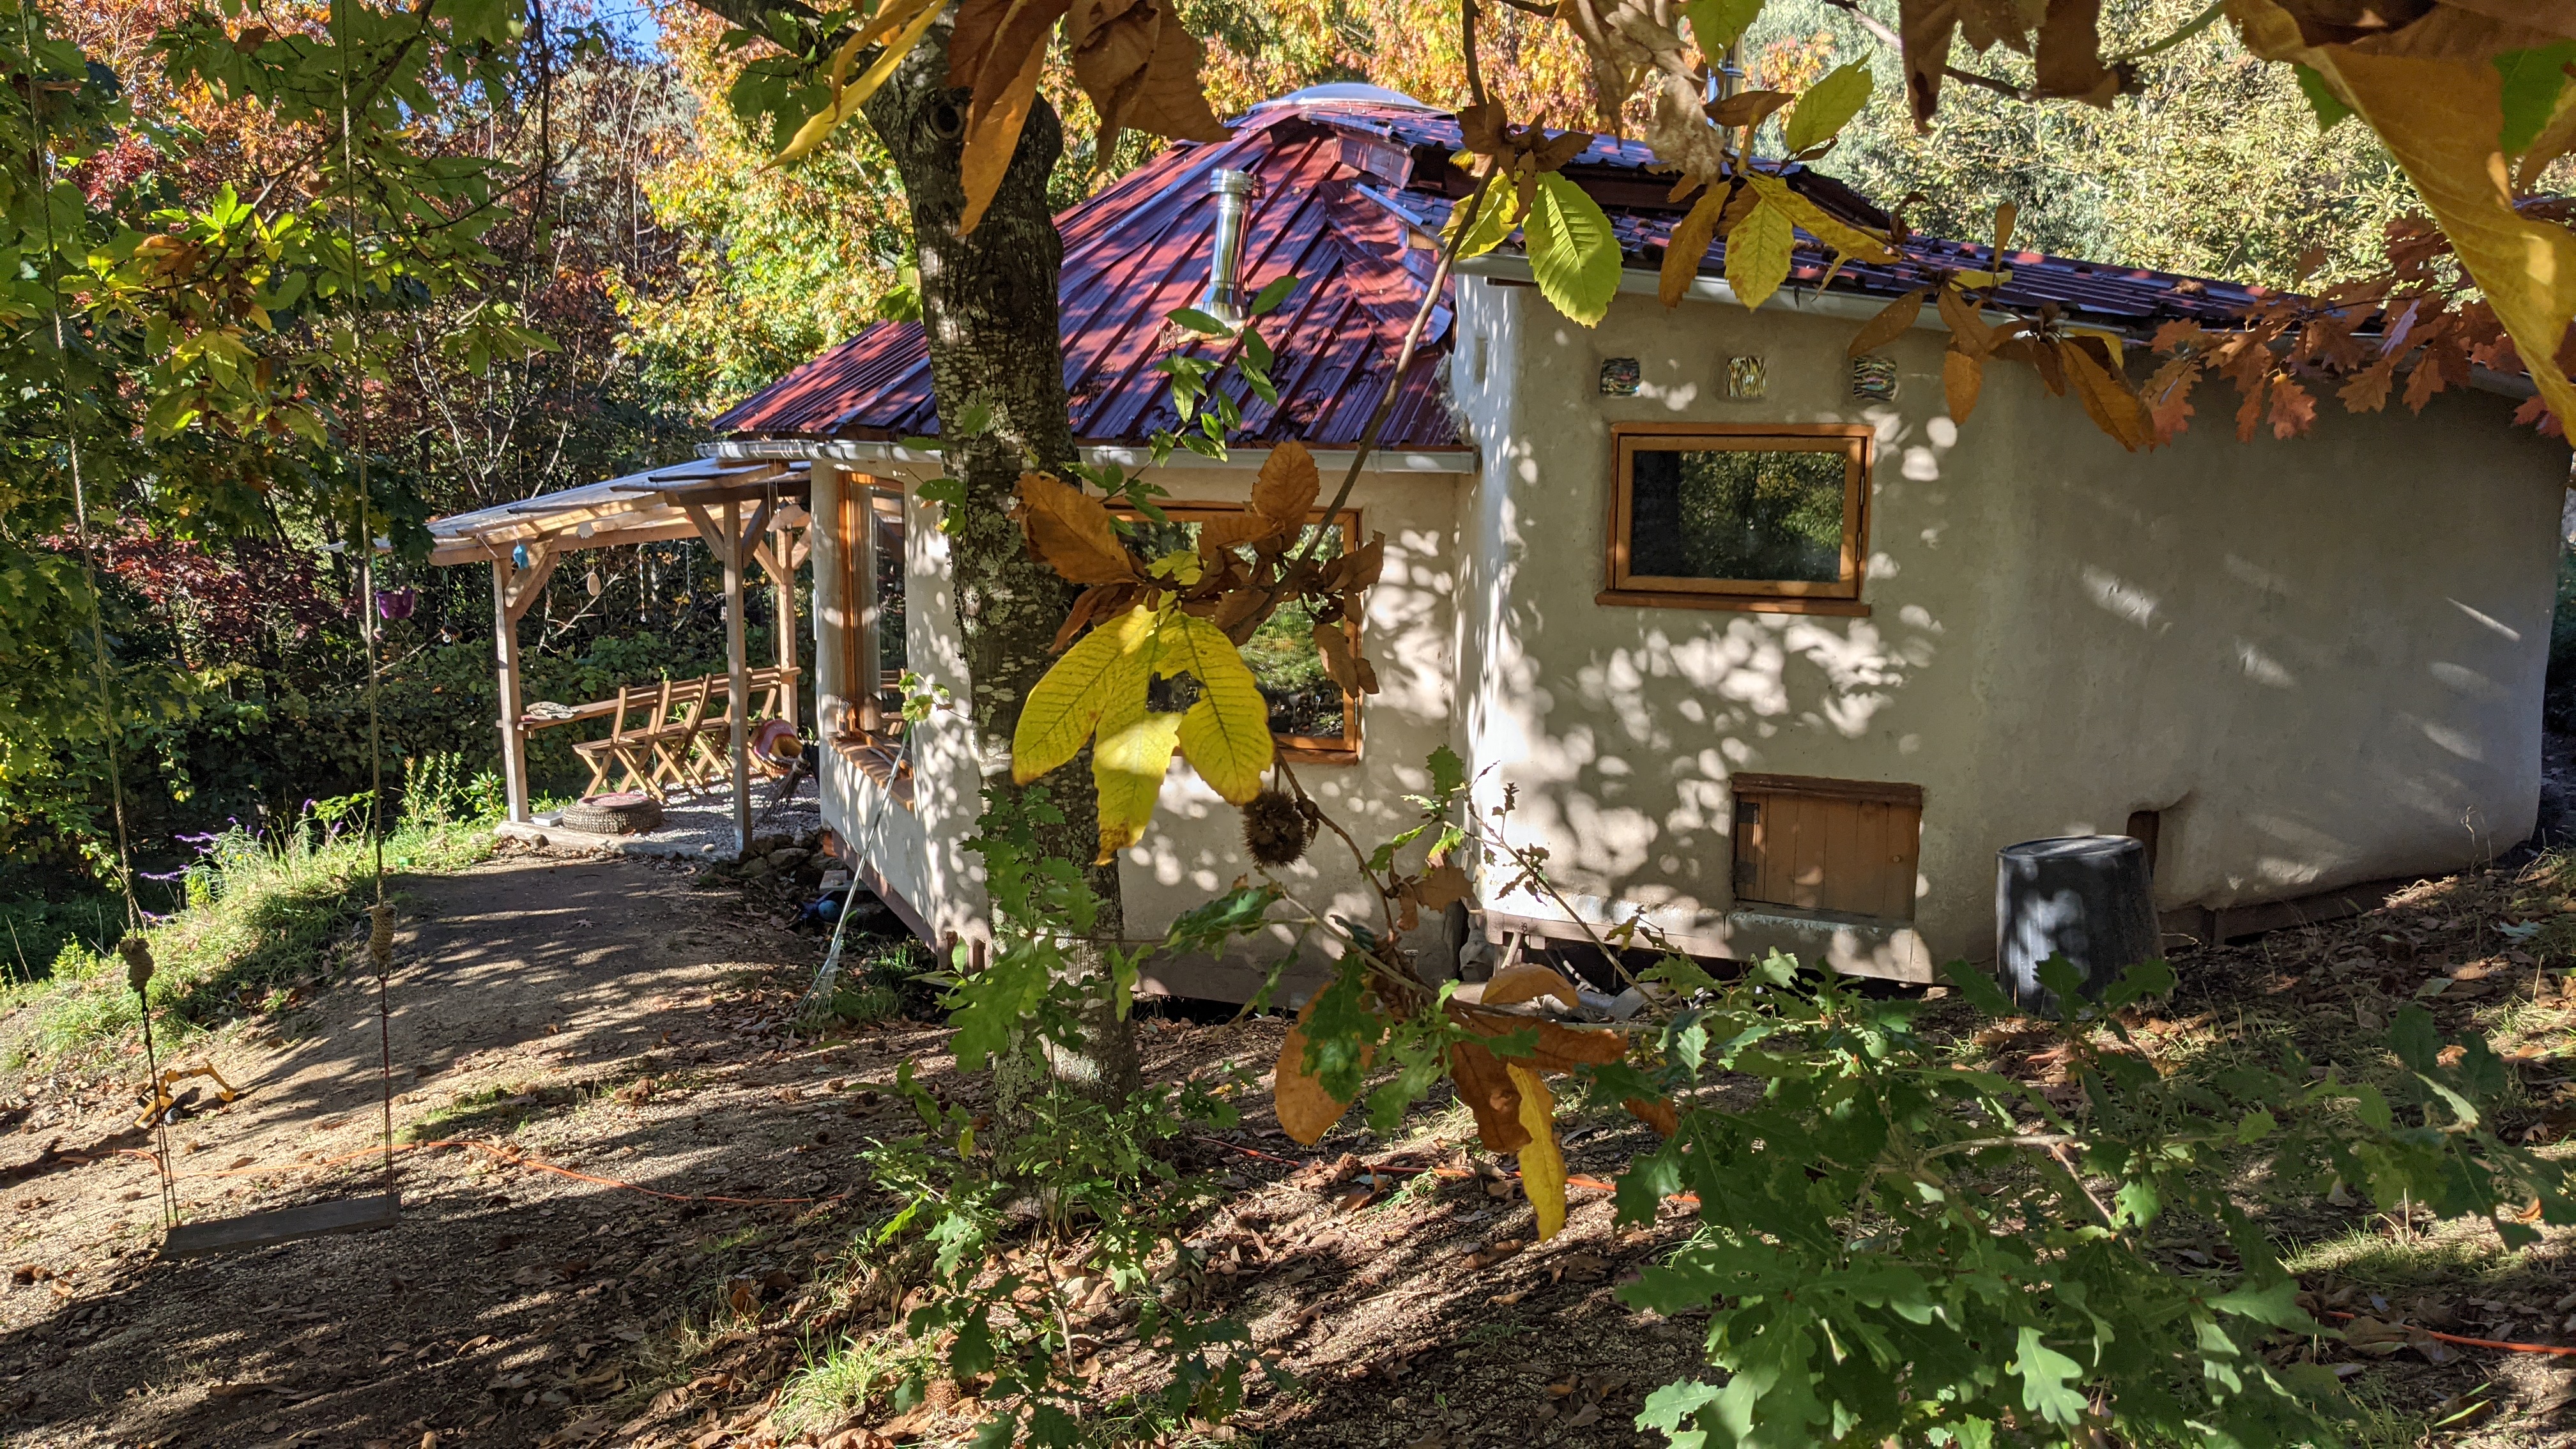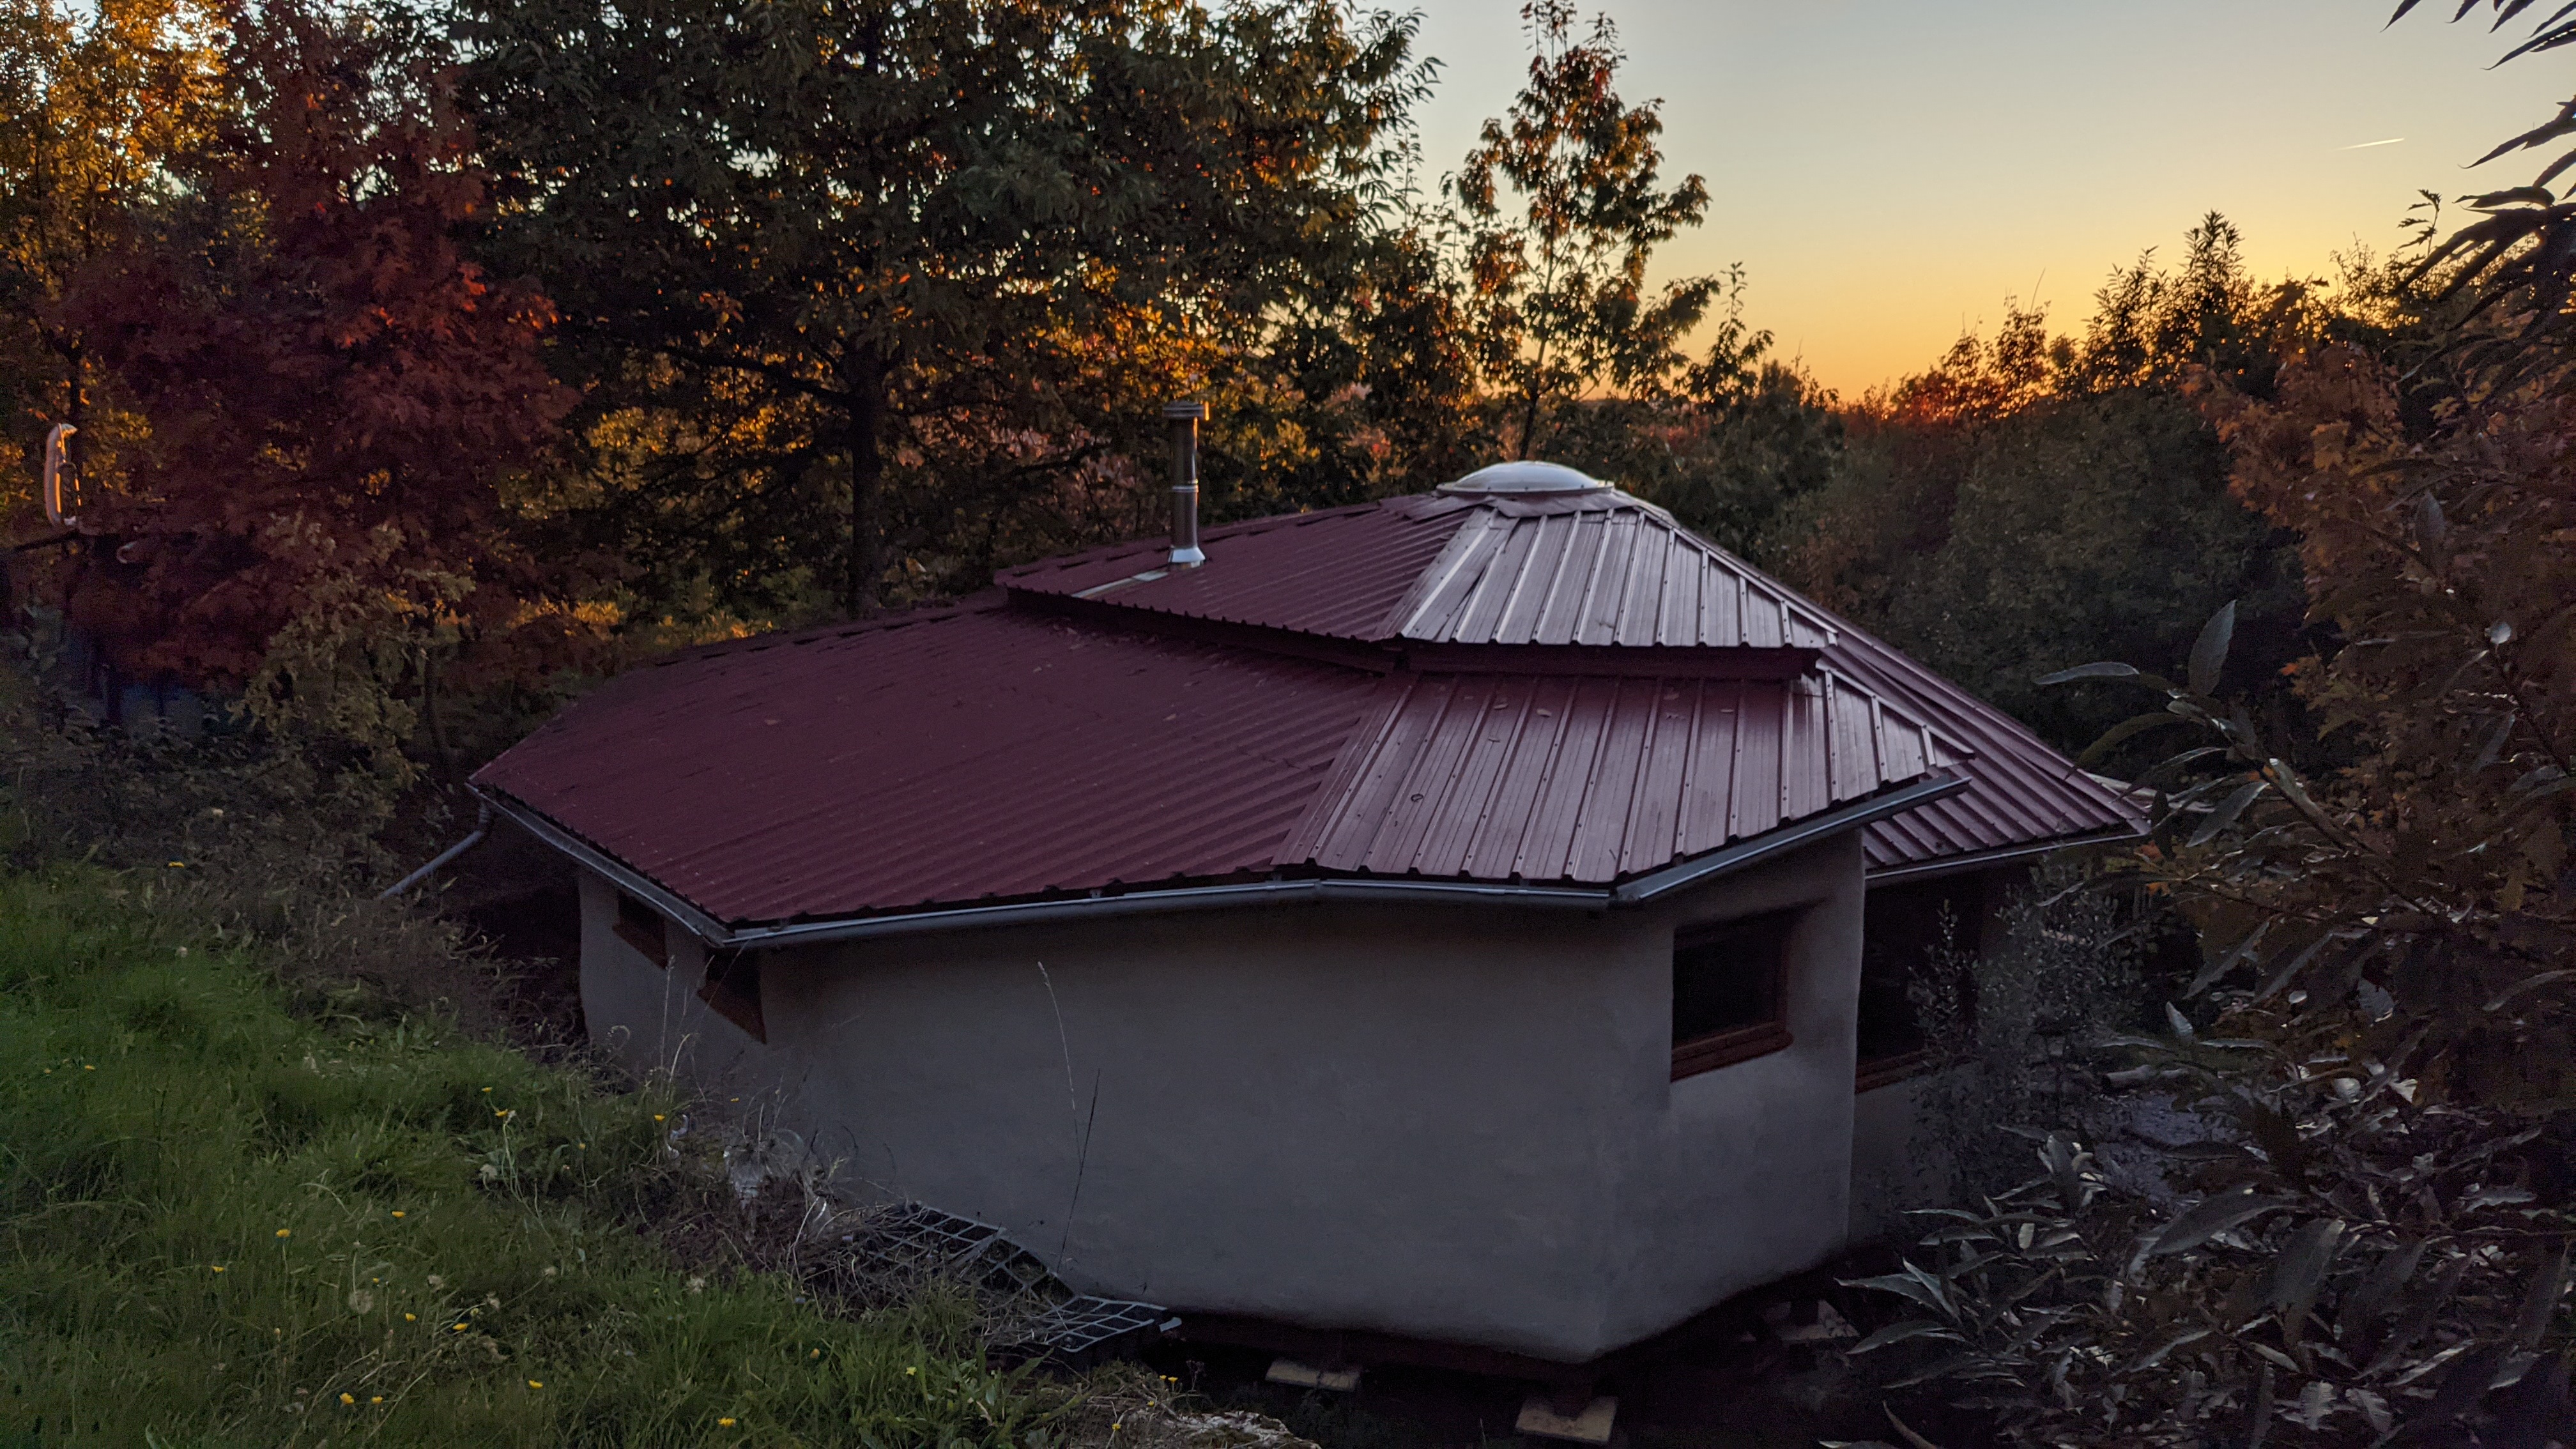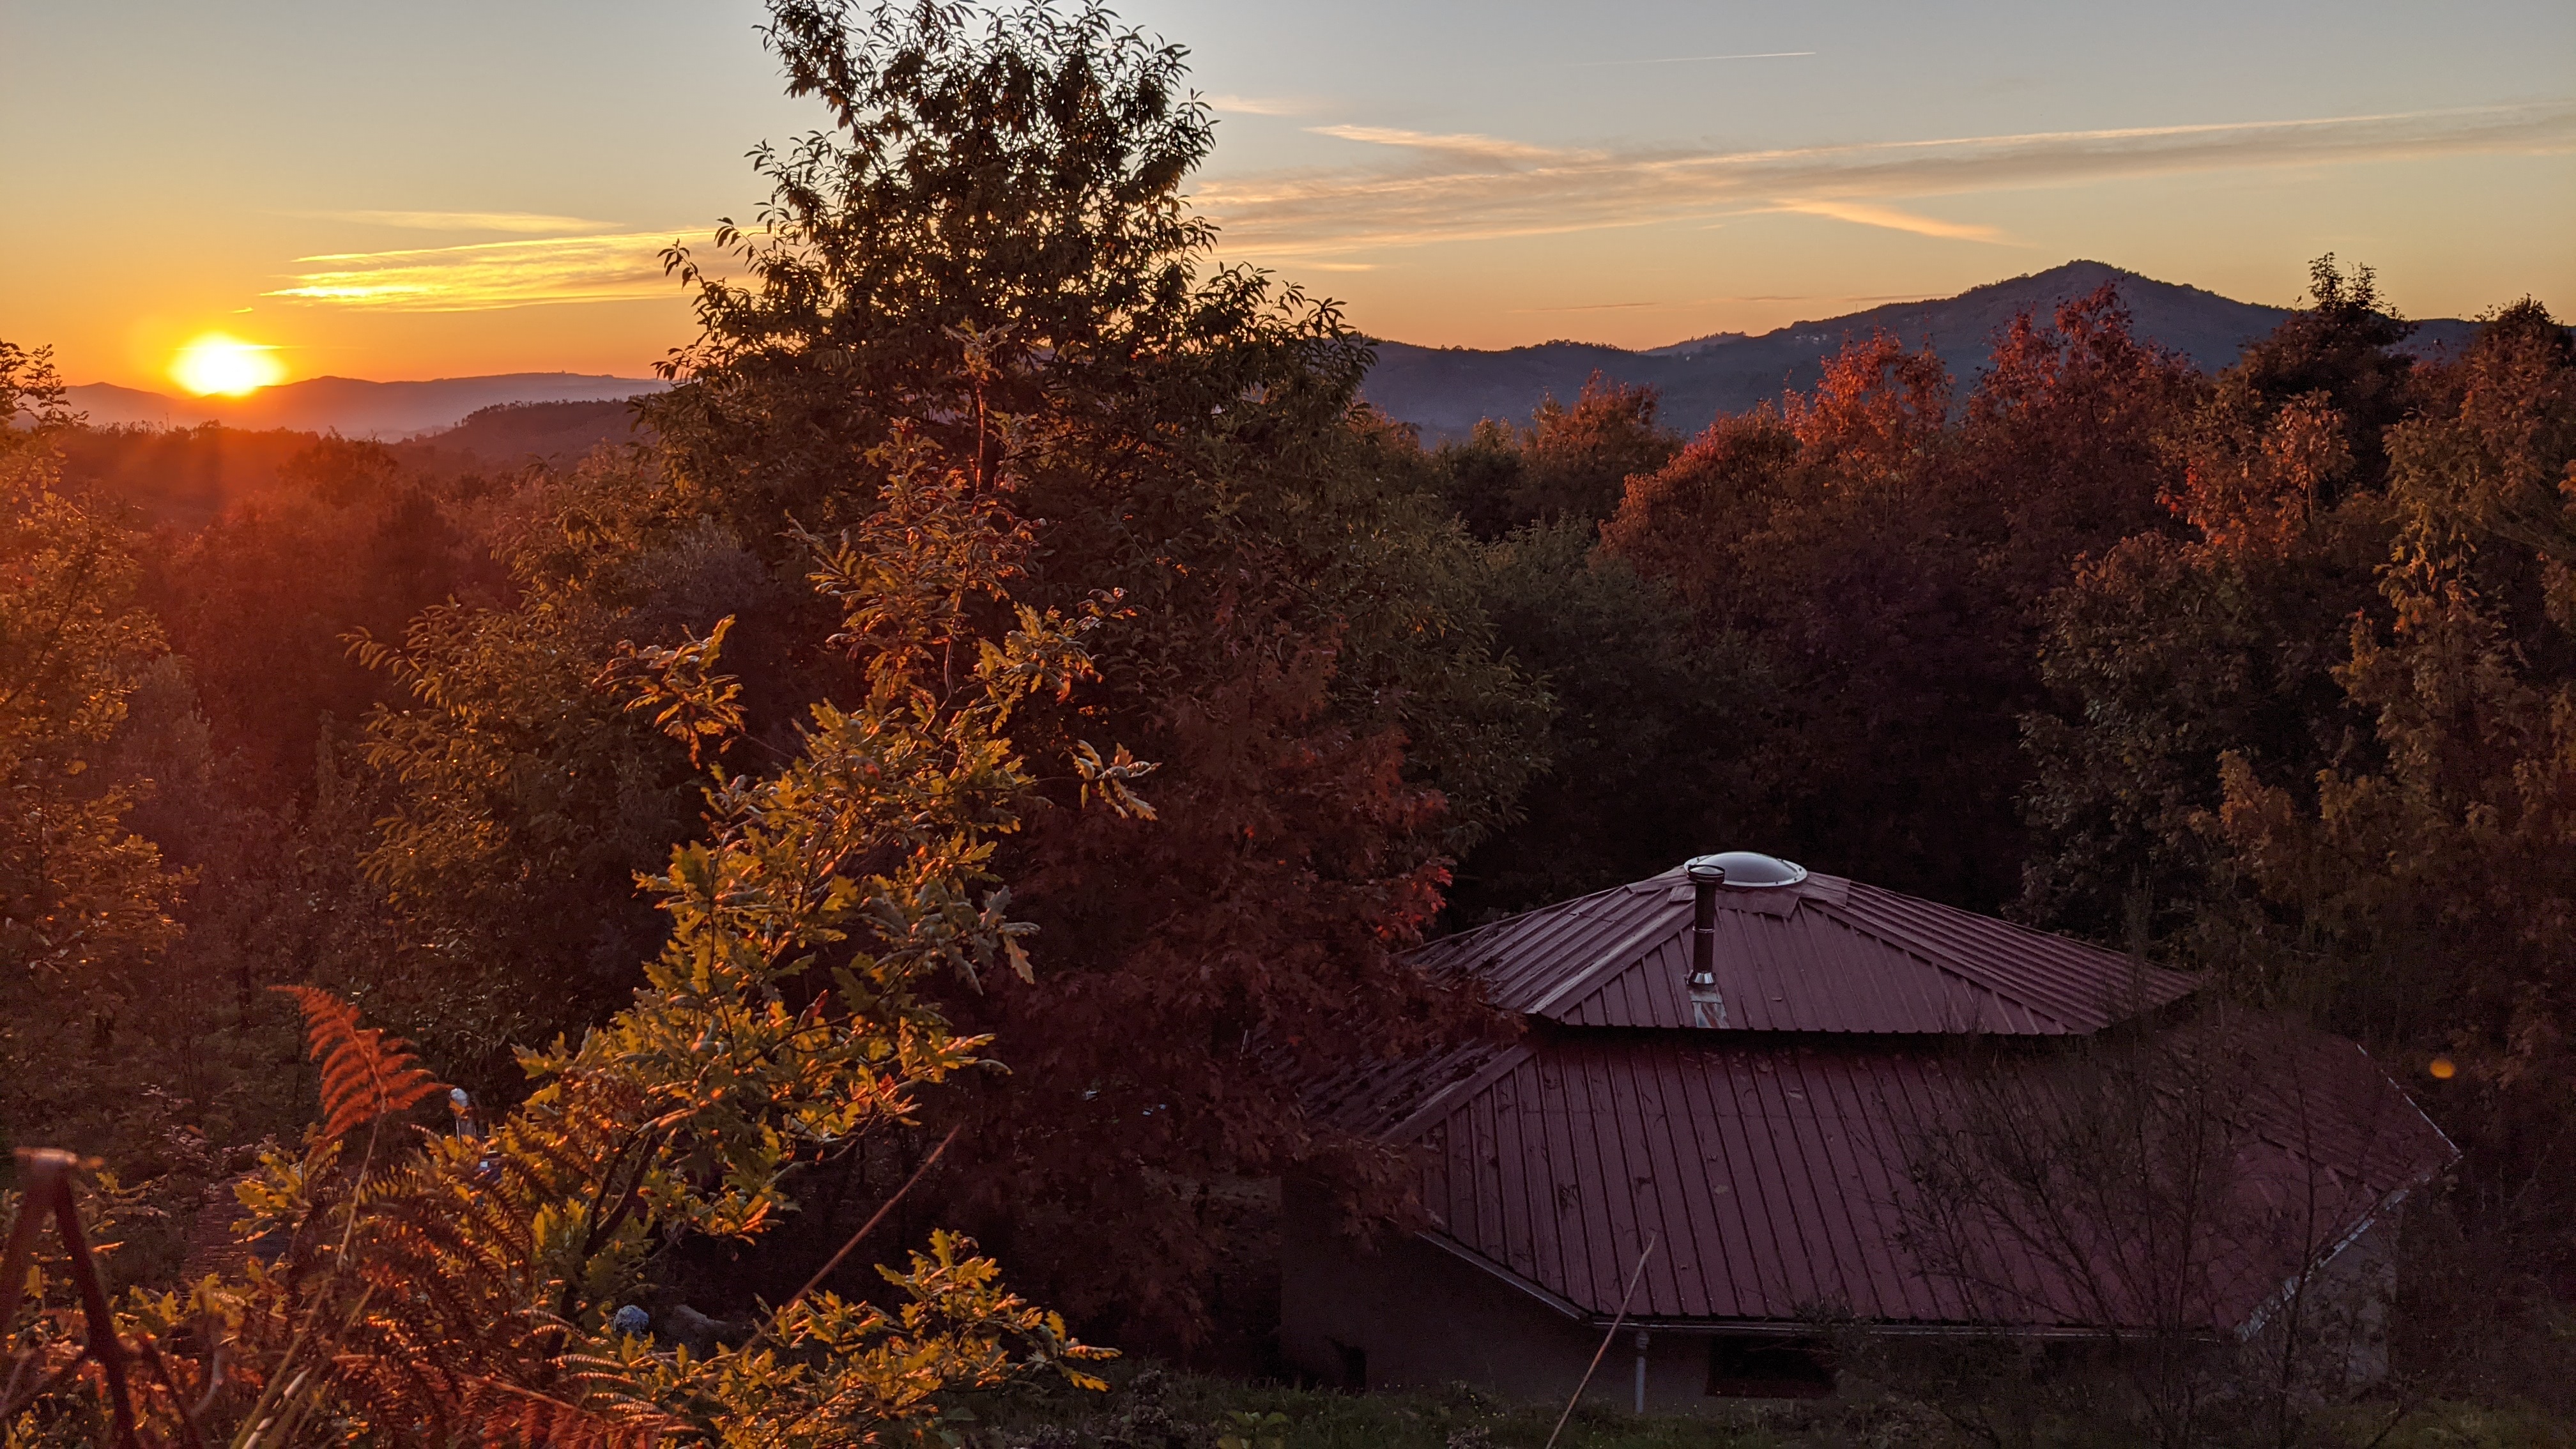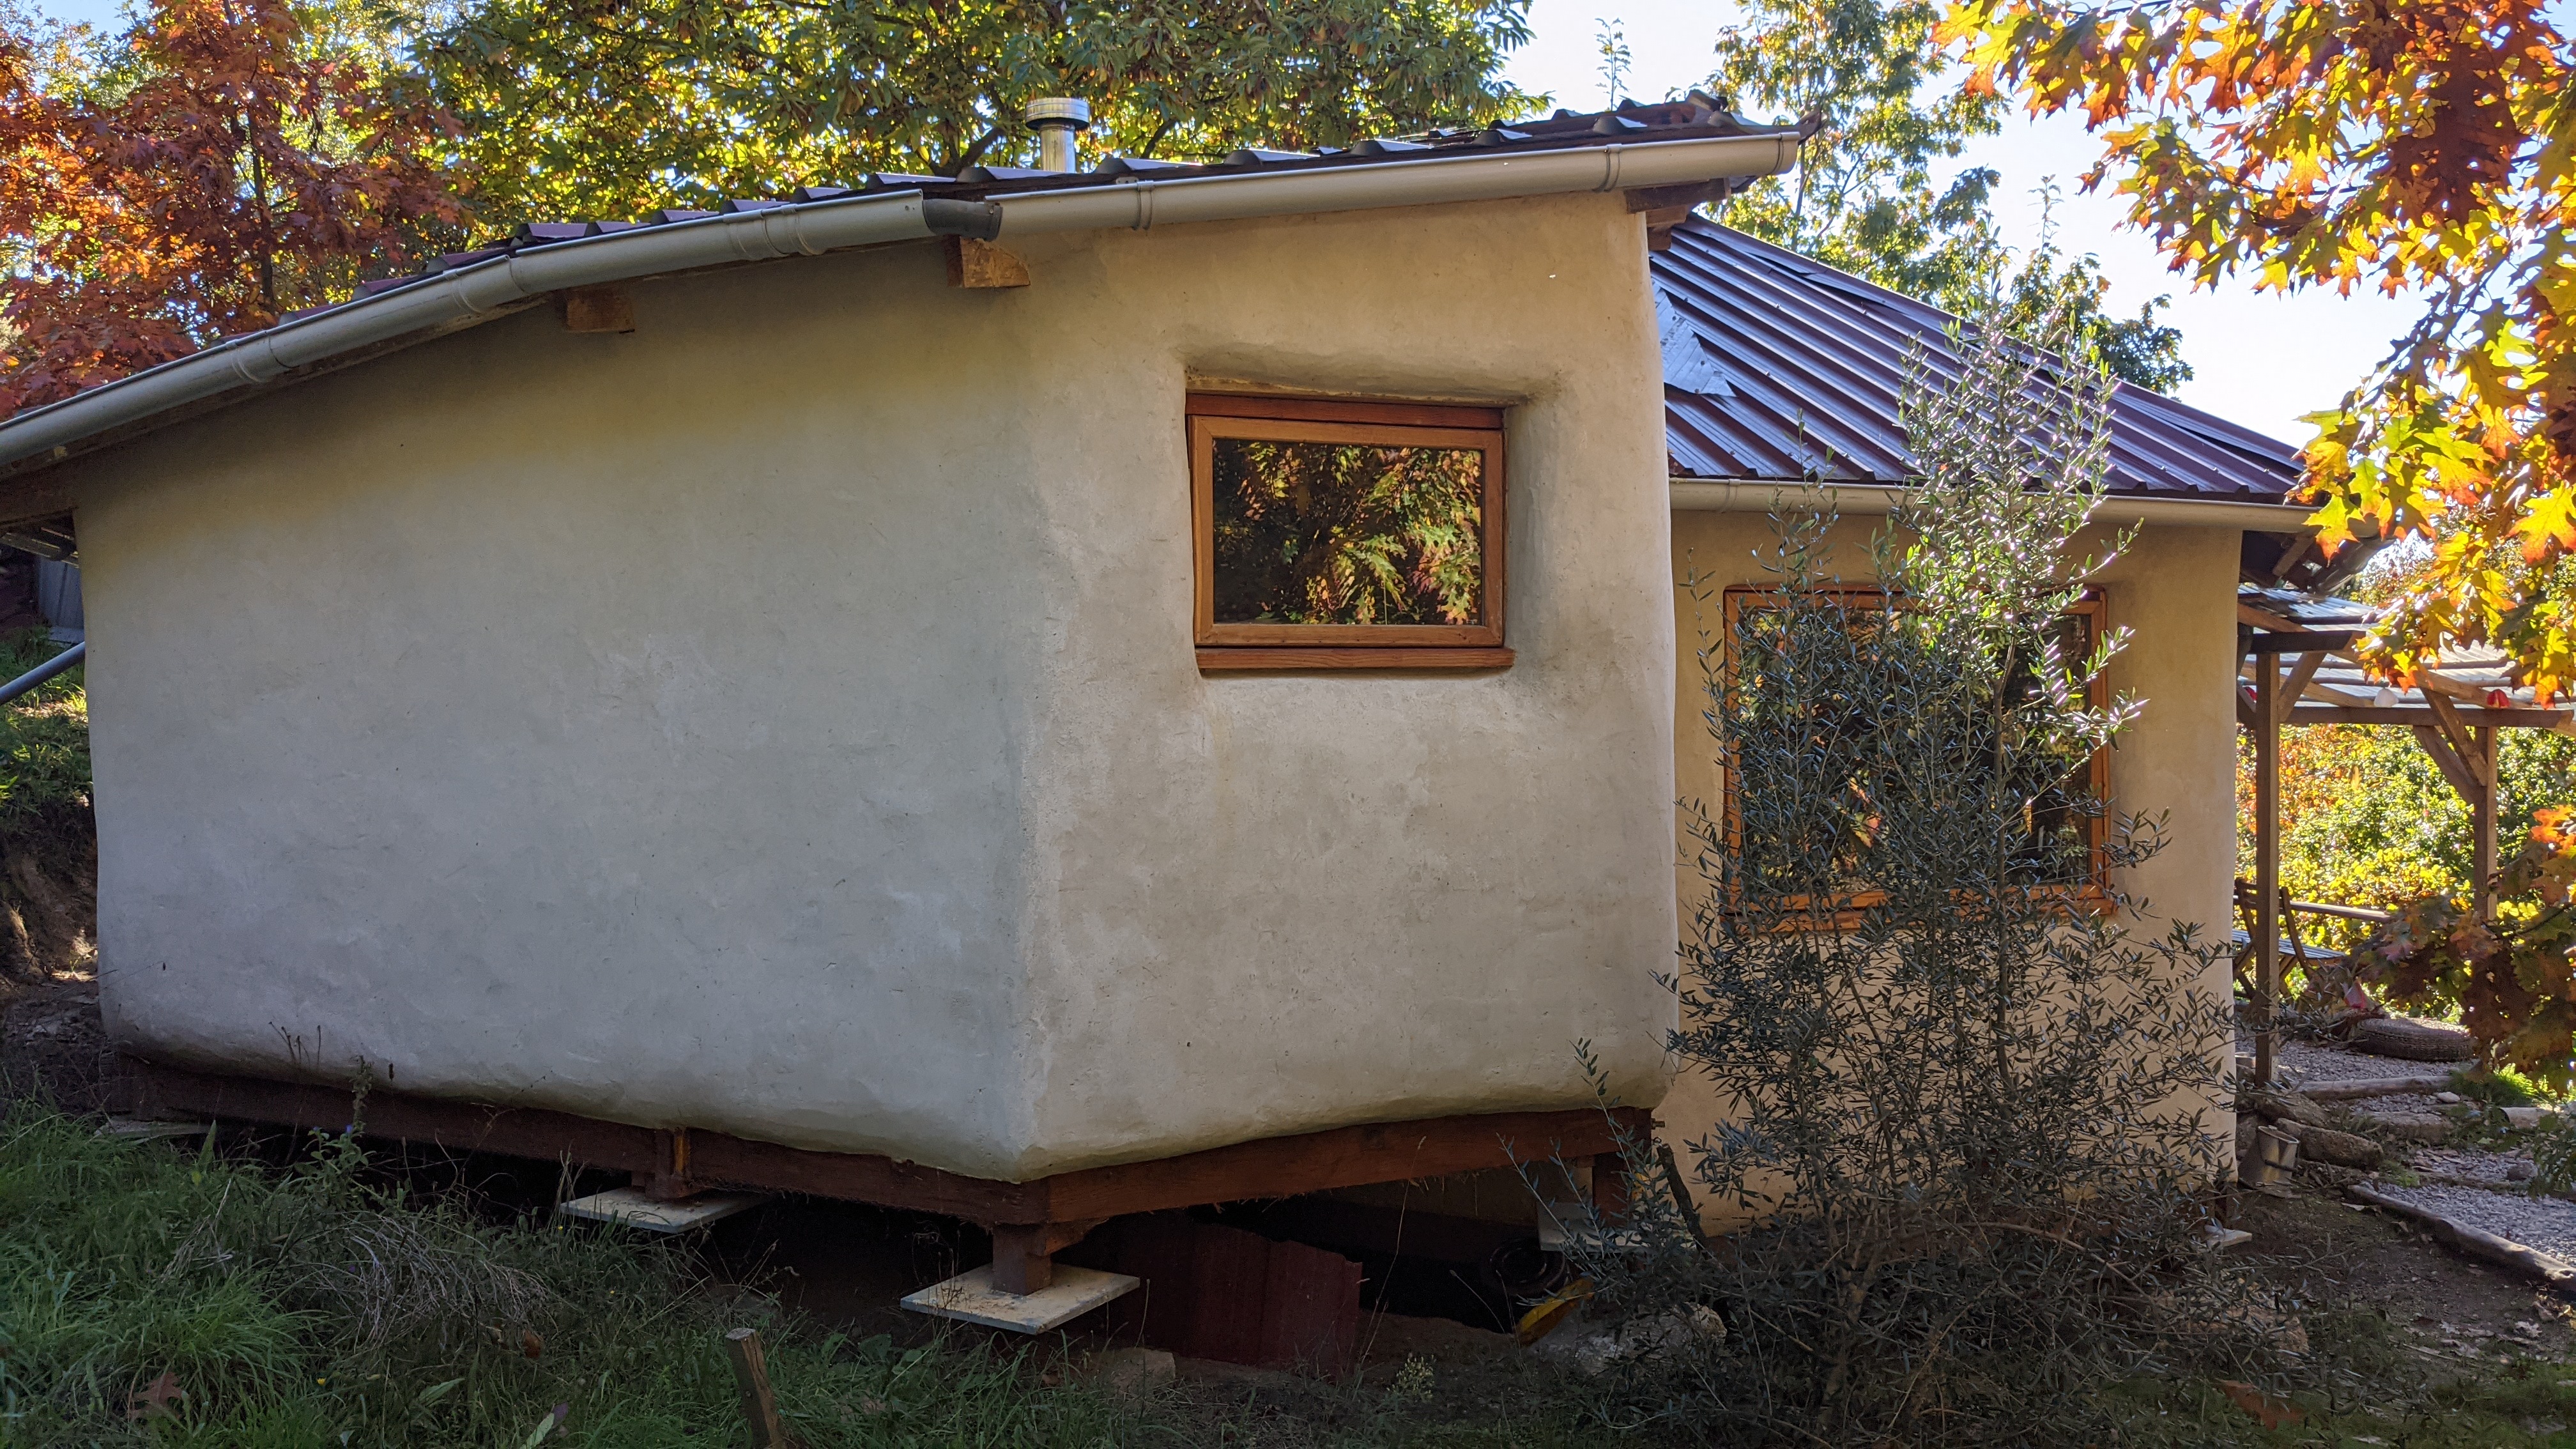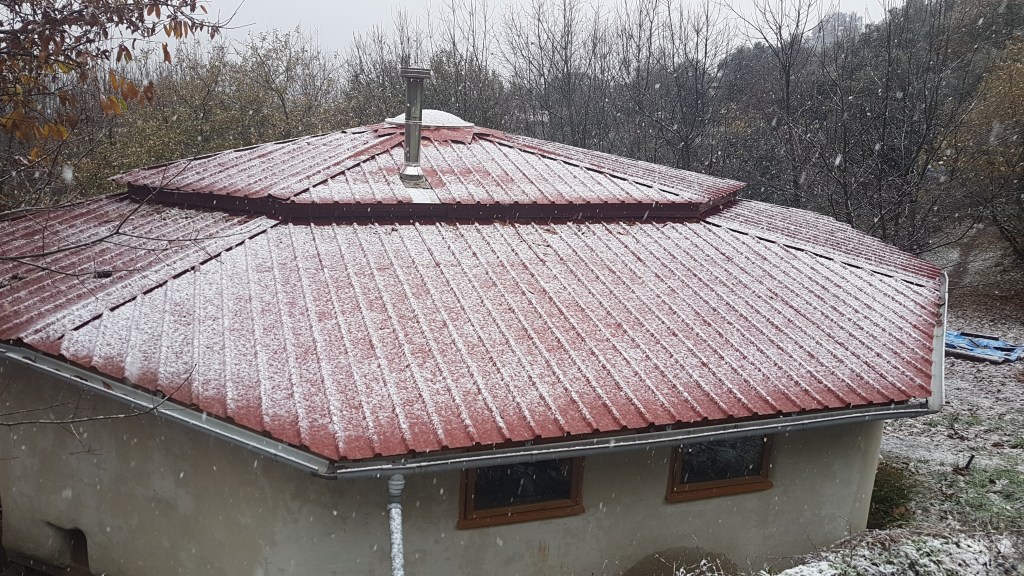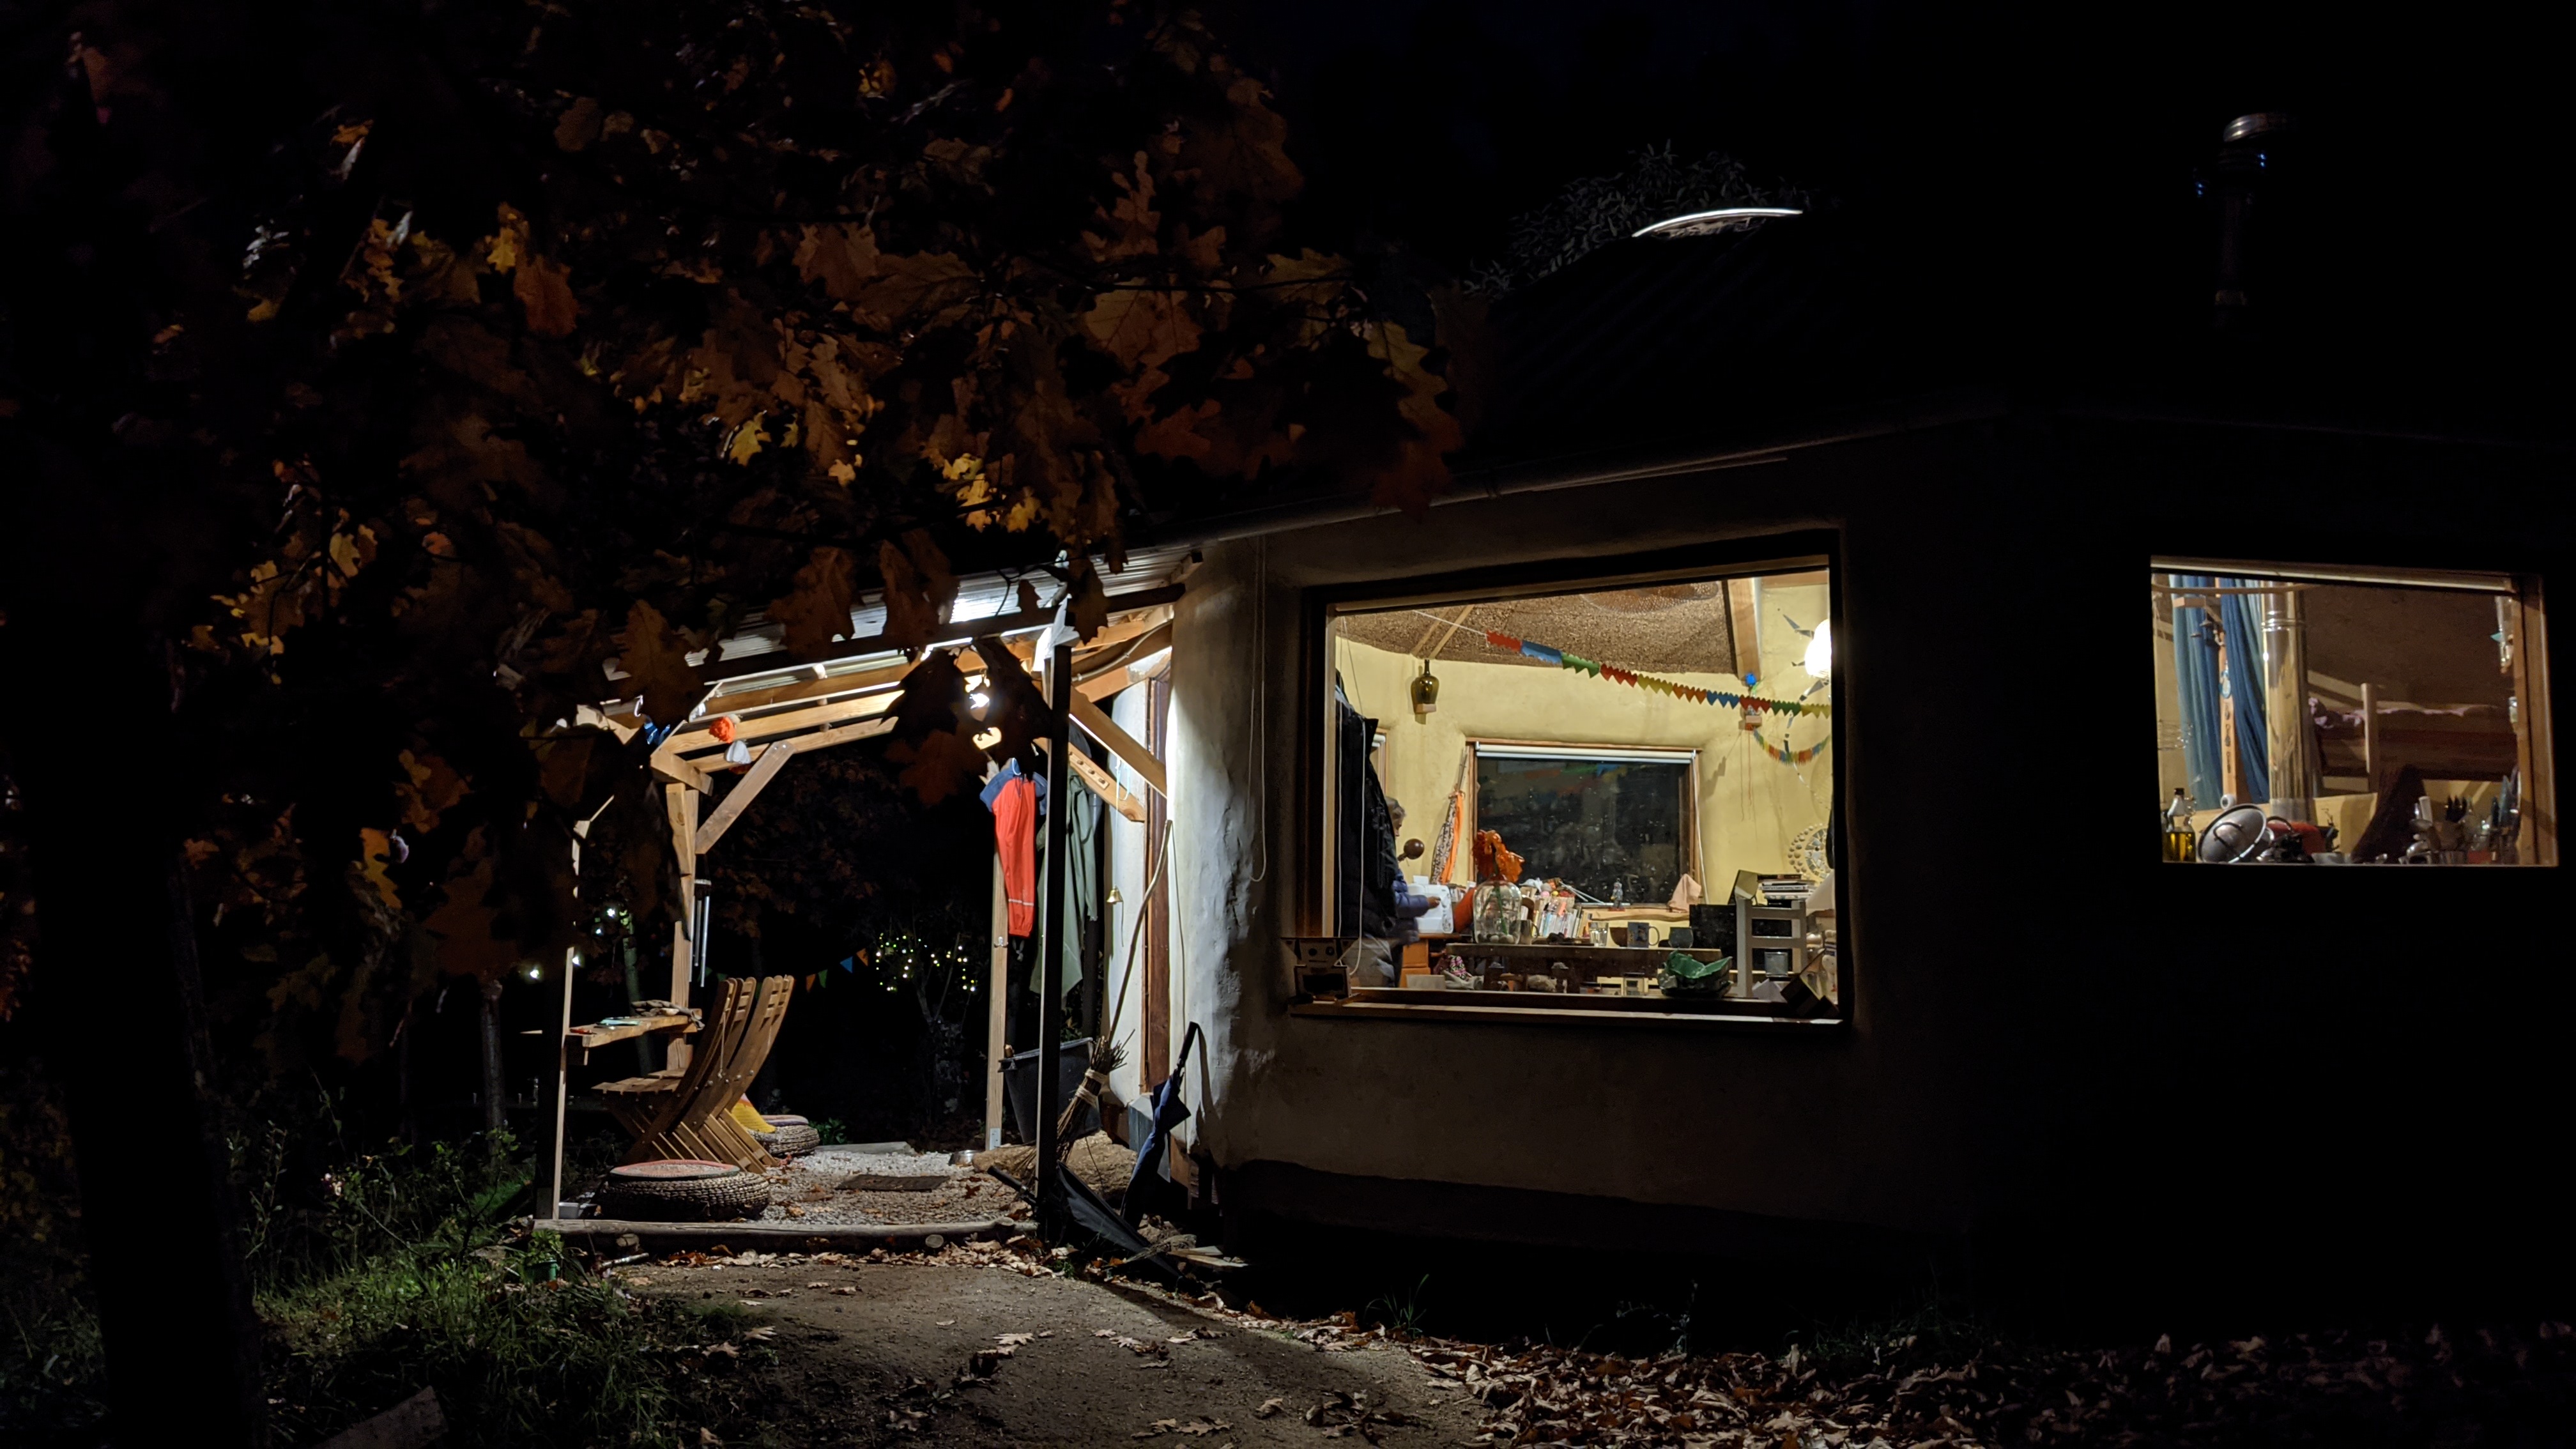

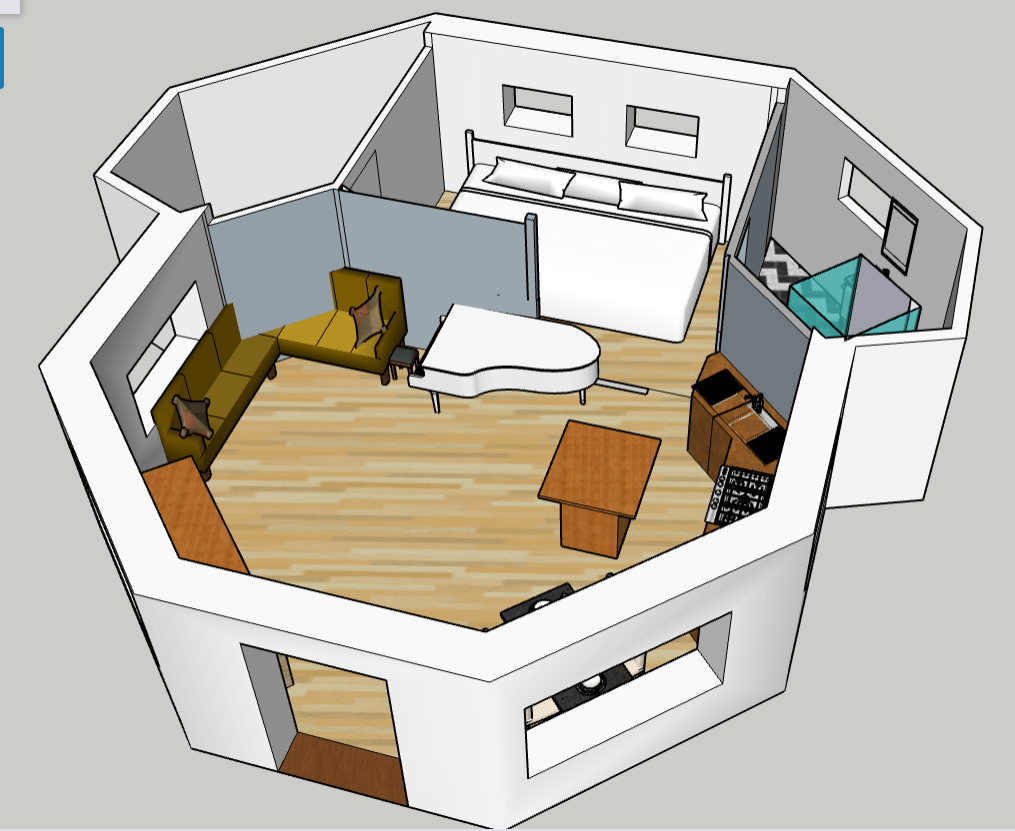
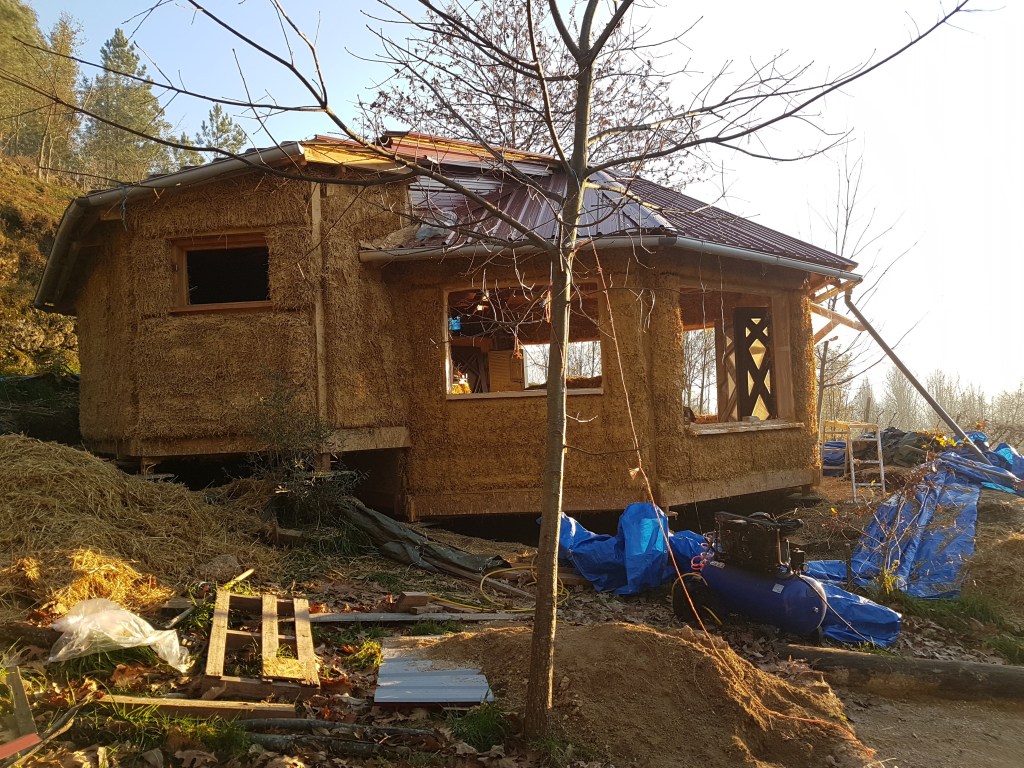
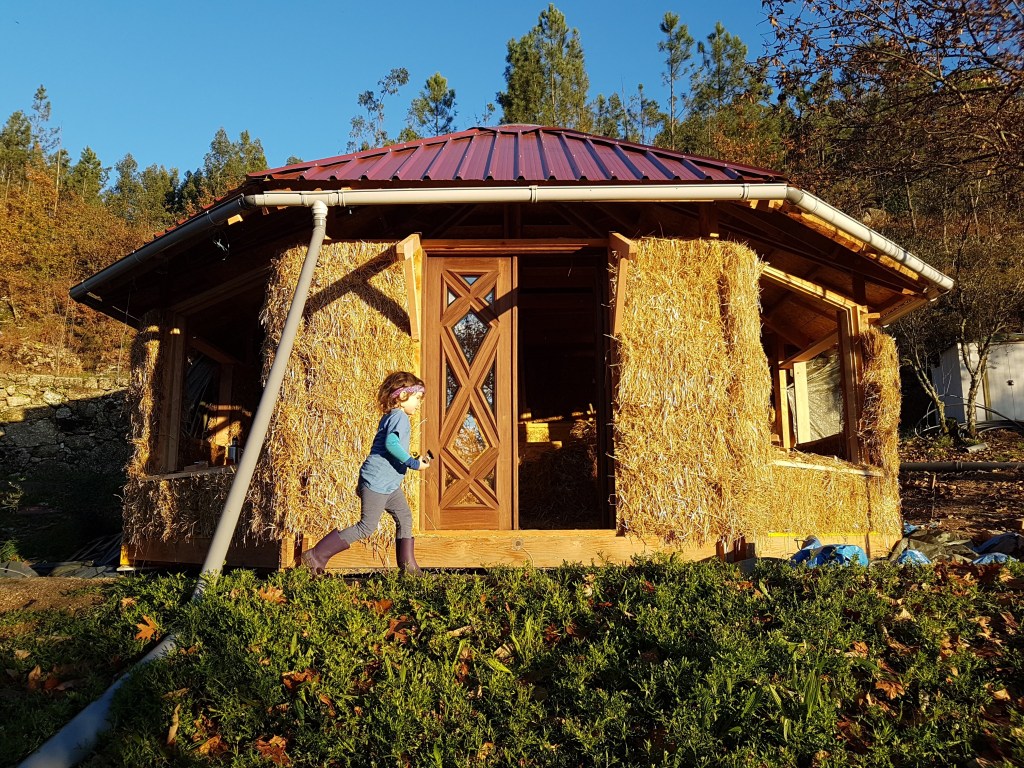
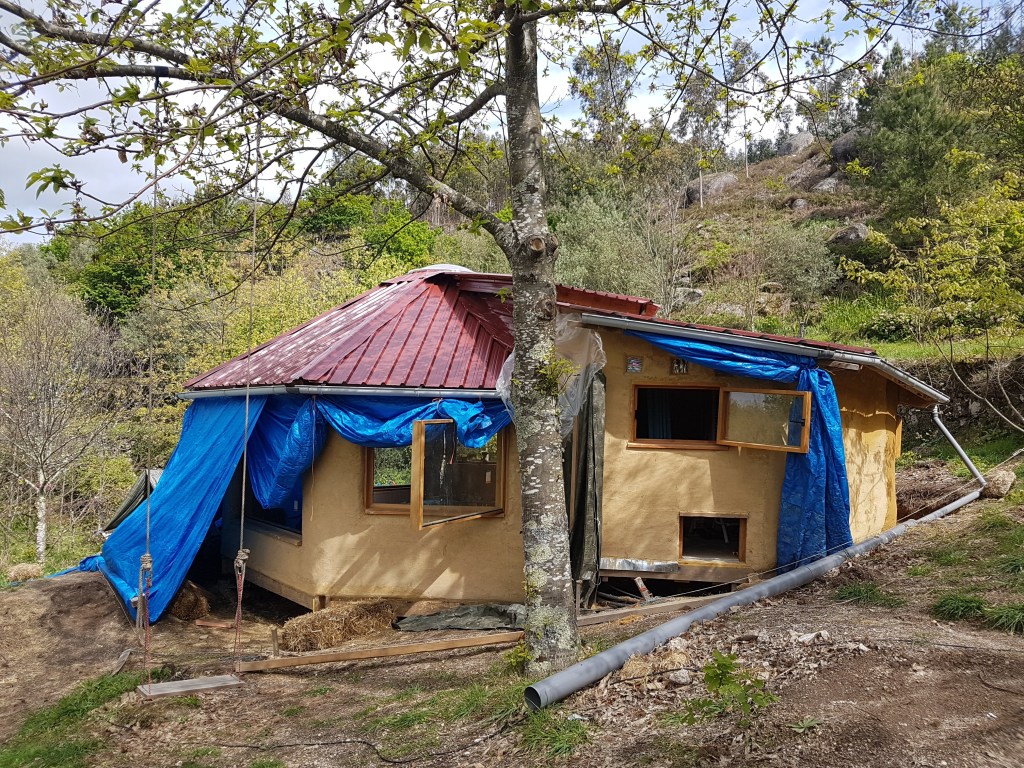
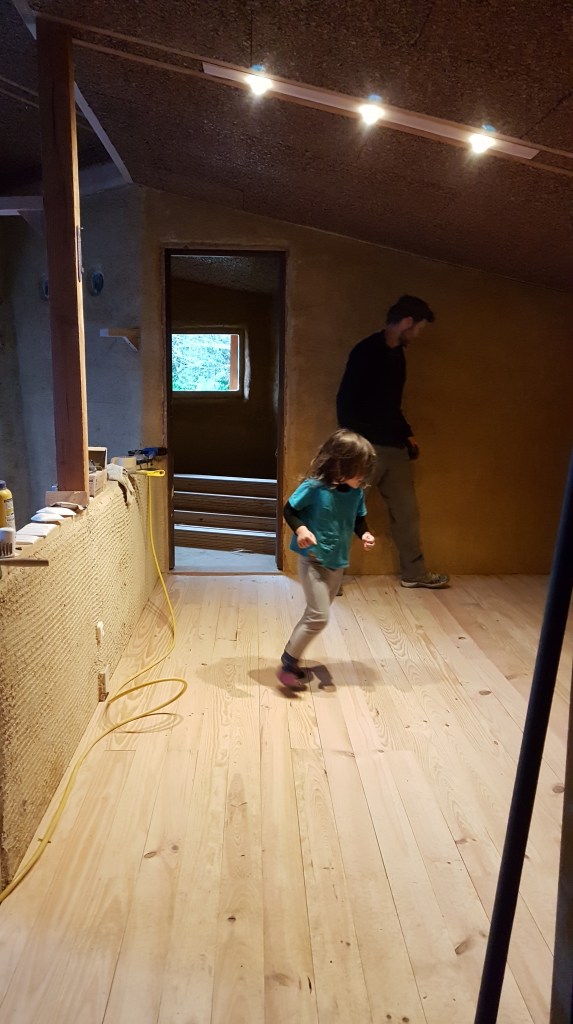
The Octagon is an eight-sided strawbale structure built on a raised wooden frame. It has been our beloved home for nearly two years.
It was our first big project on the land, initiated – and incredibly, also concluded – before finalizing the purchase of the land. That is as much a testament to our good faith, as it is to the sheer tenacity of Portuguese bureaucracy.
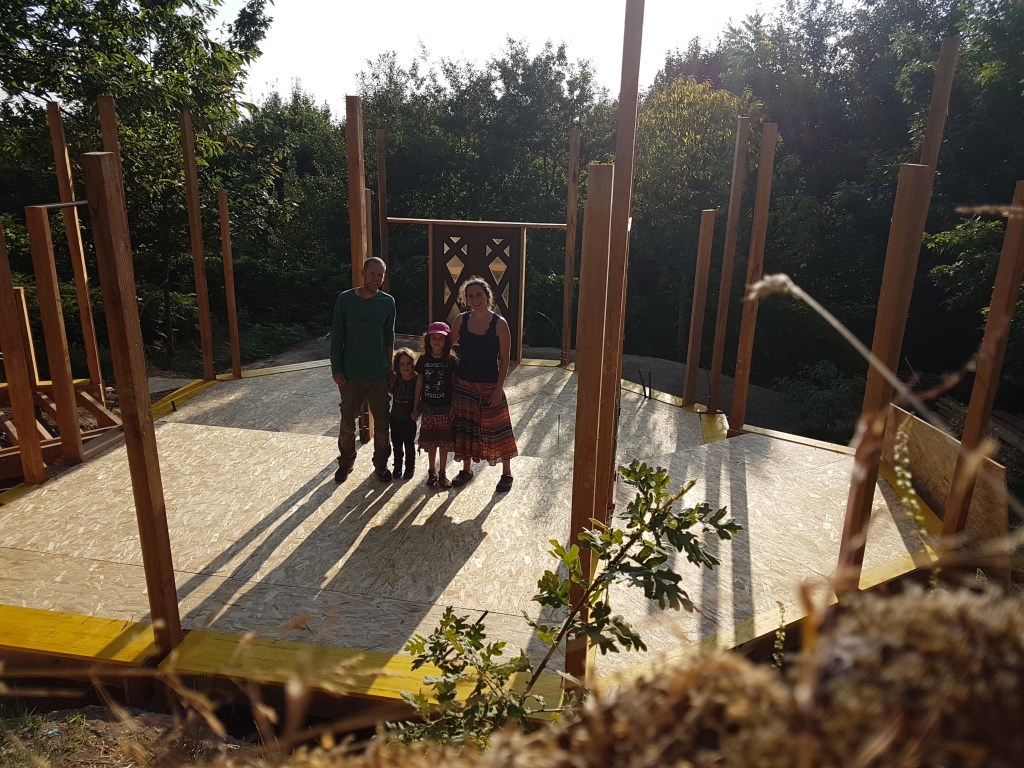
Haffy dreamt it into being, but it was designed by both of us and vetted by Tal’s architect father (Thanks, Abba Uri!). The design was inspired by a yurt and holds the structure’s final purpose as a guest house in mind, while also fulfilling its interim role: providing shelter for us (and our grand piano) while we build our dream abode.
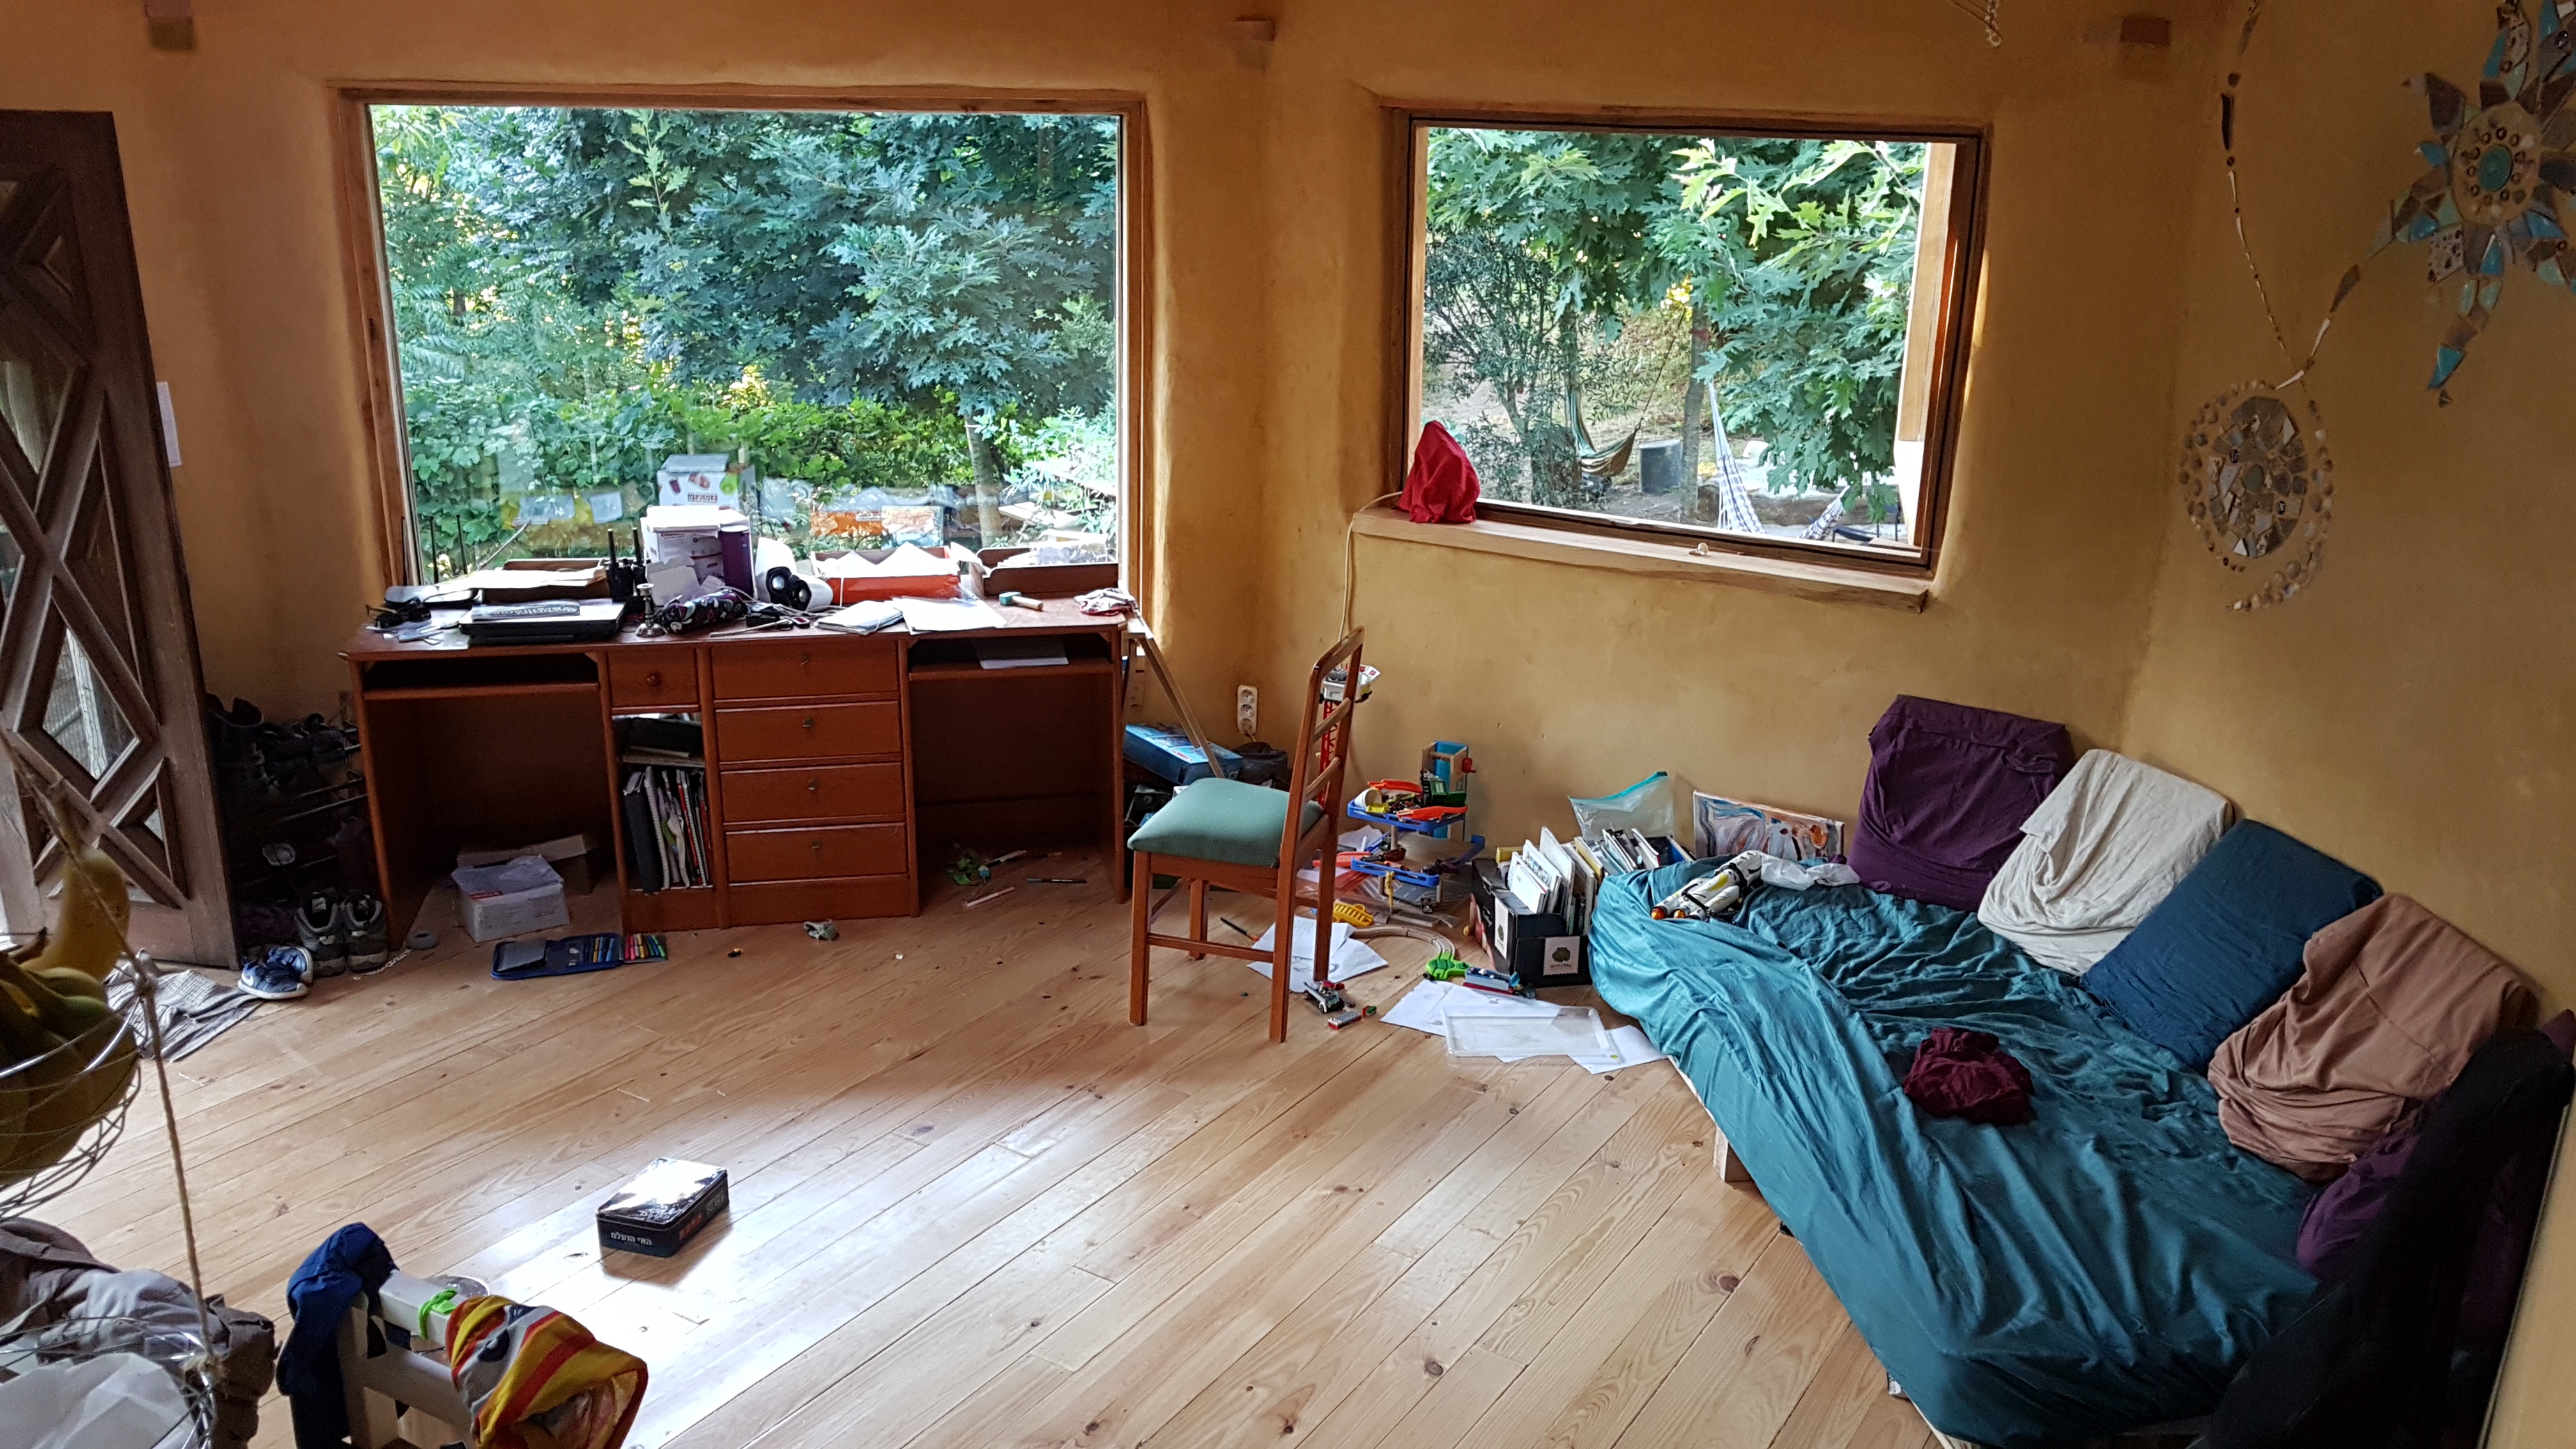
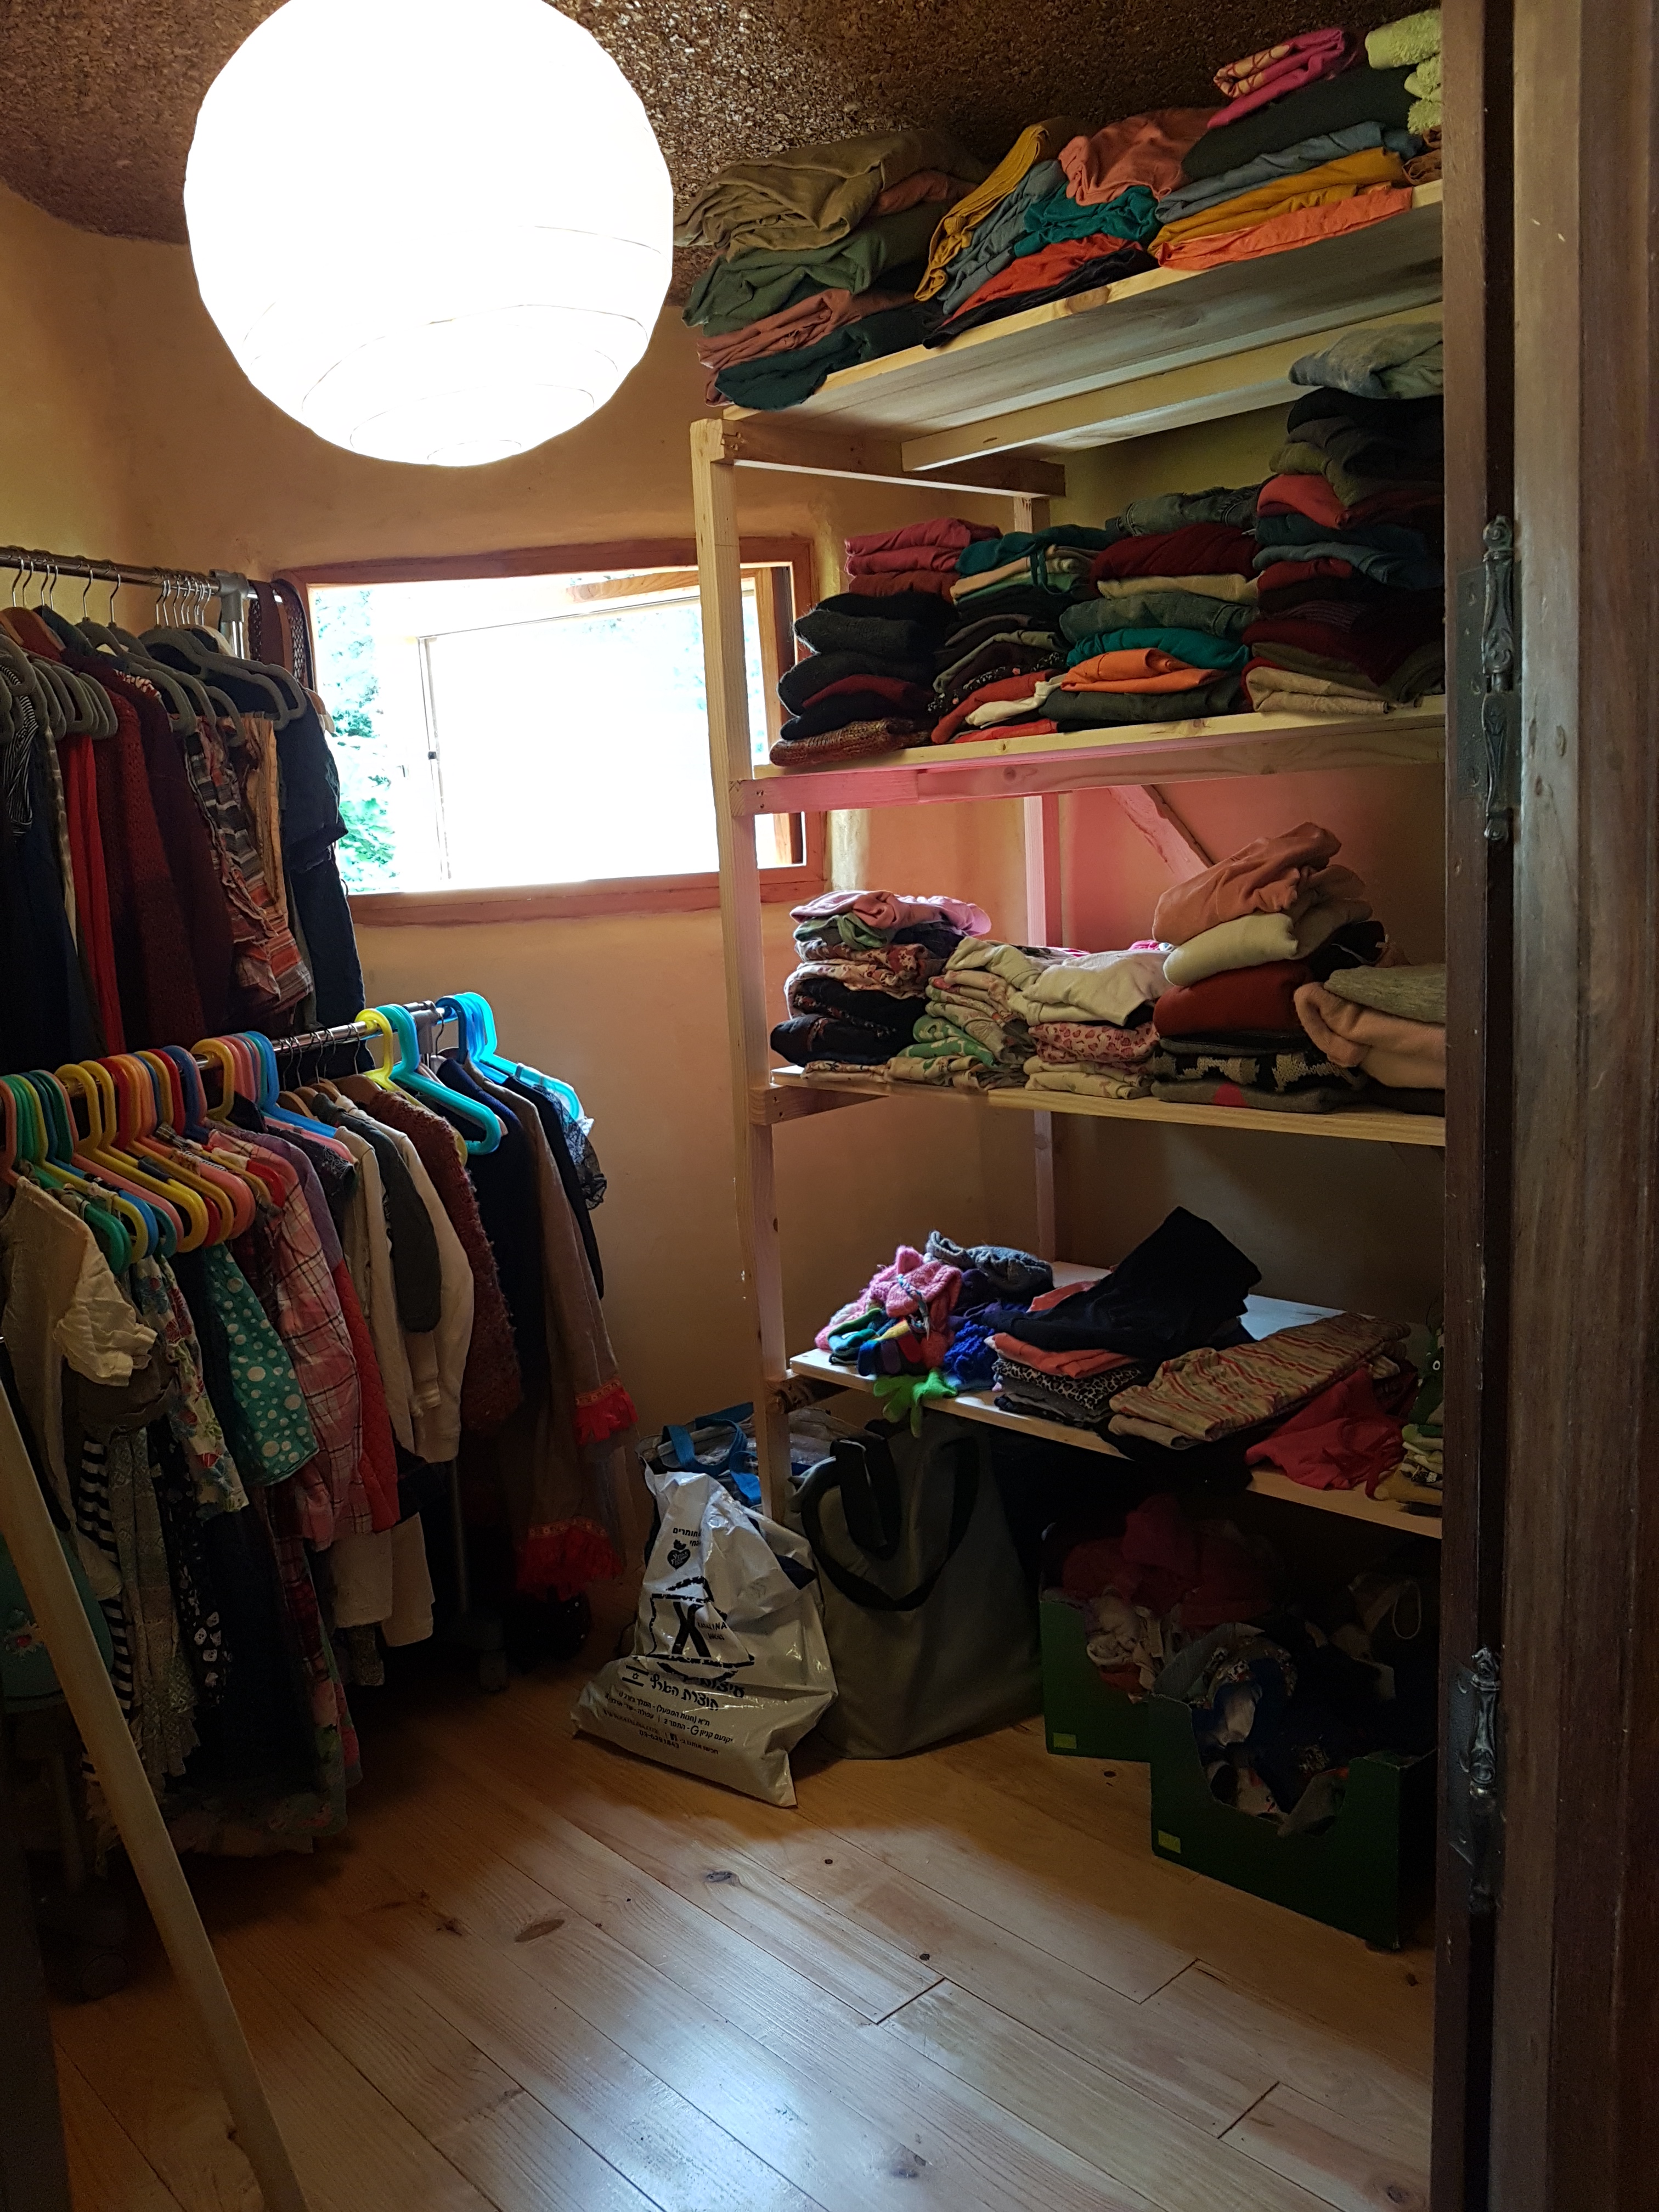
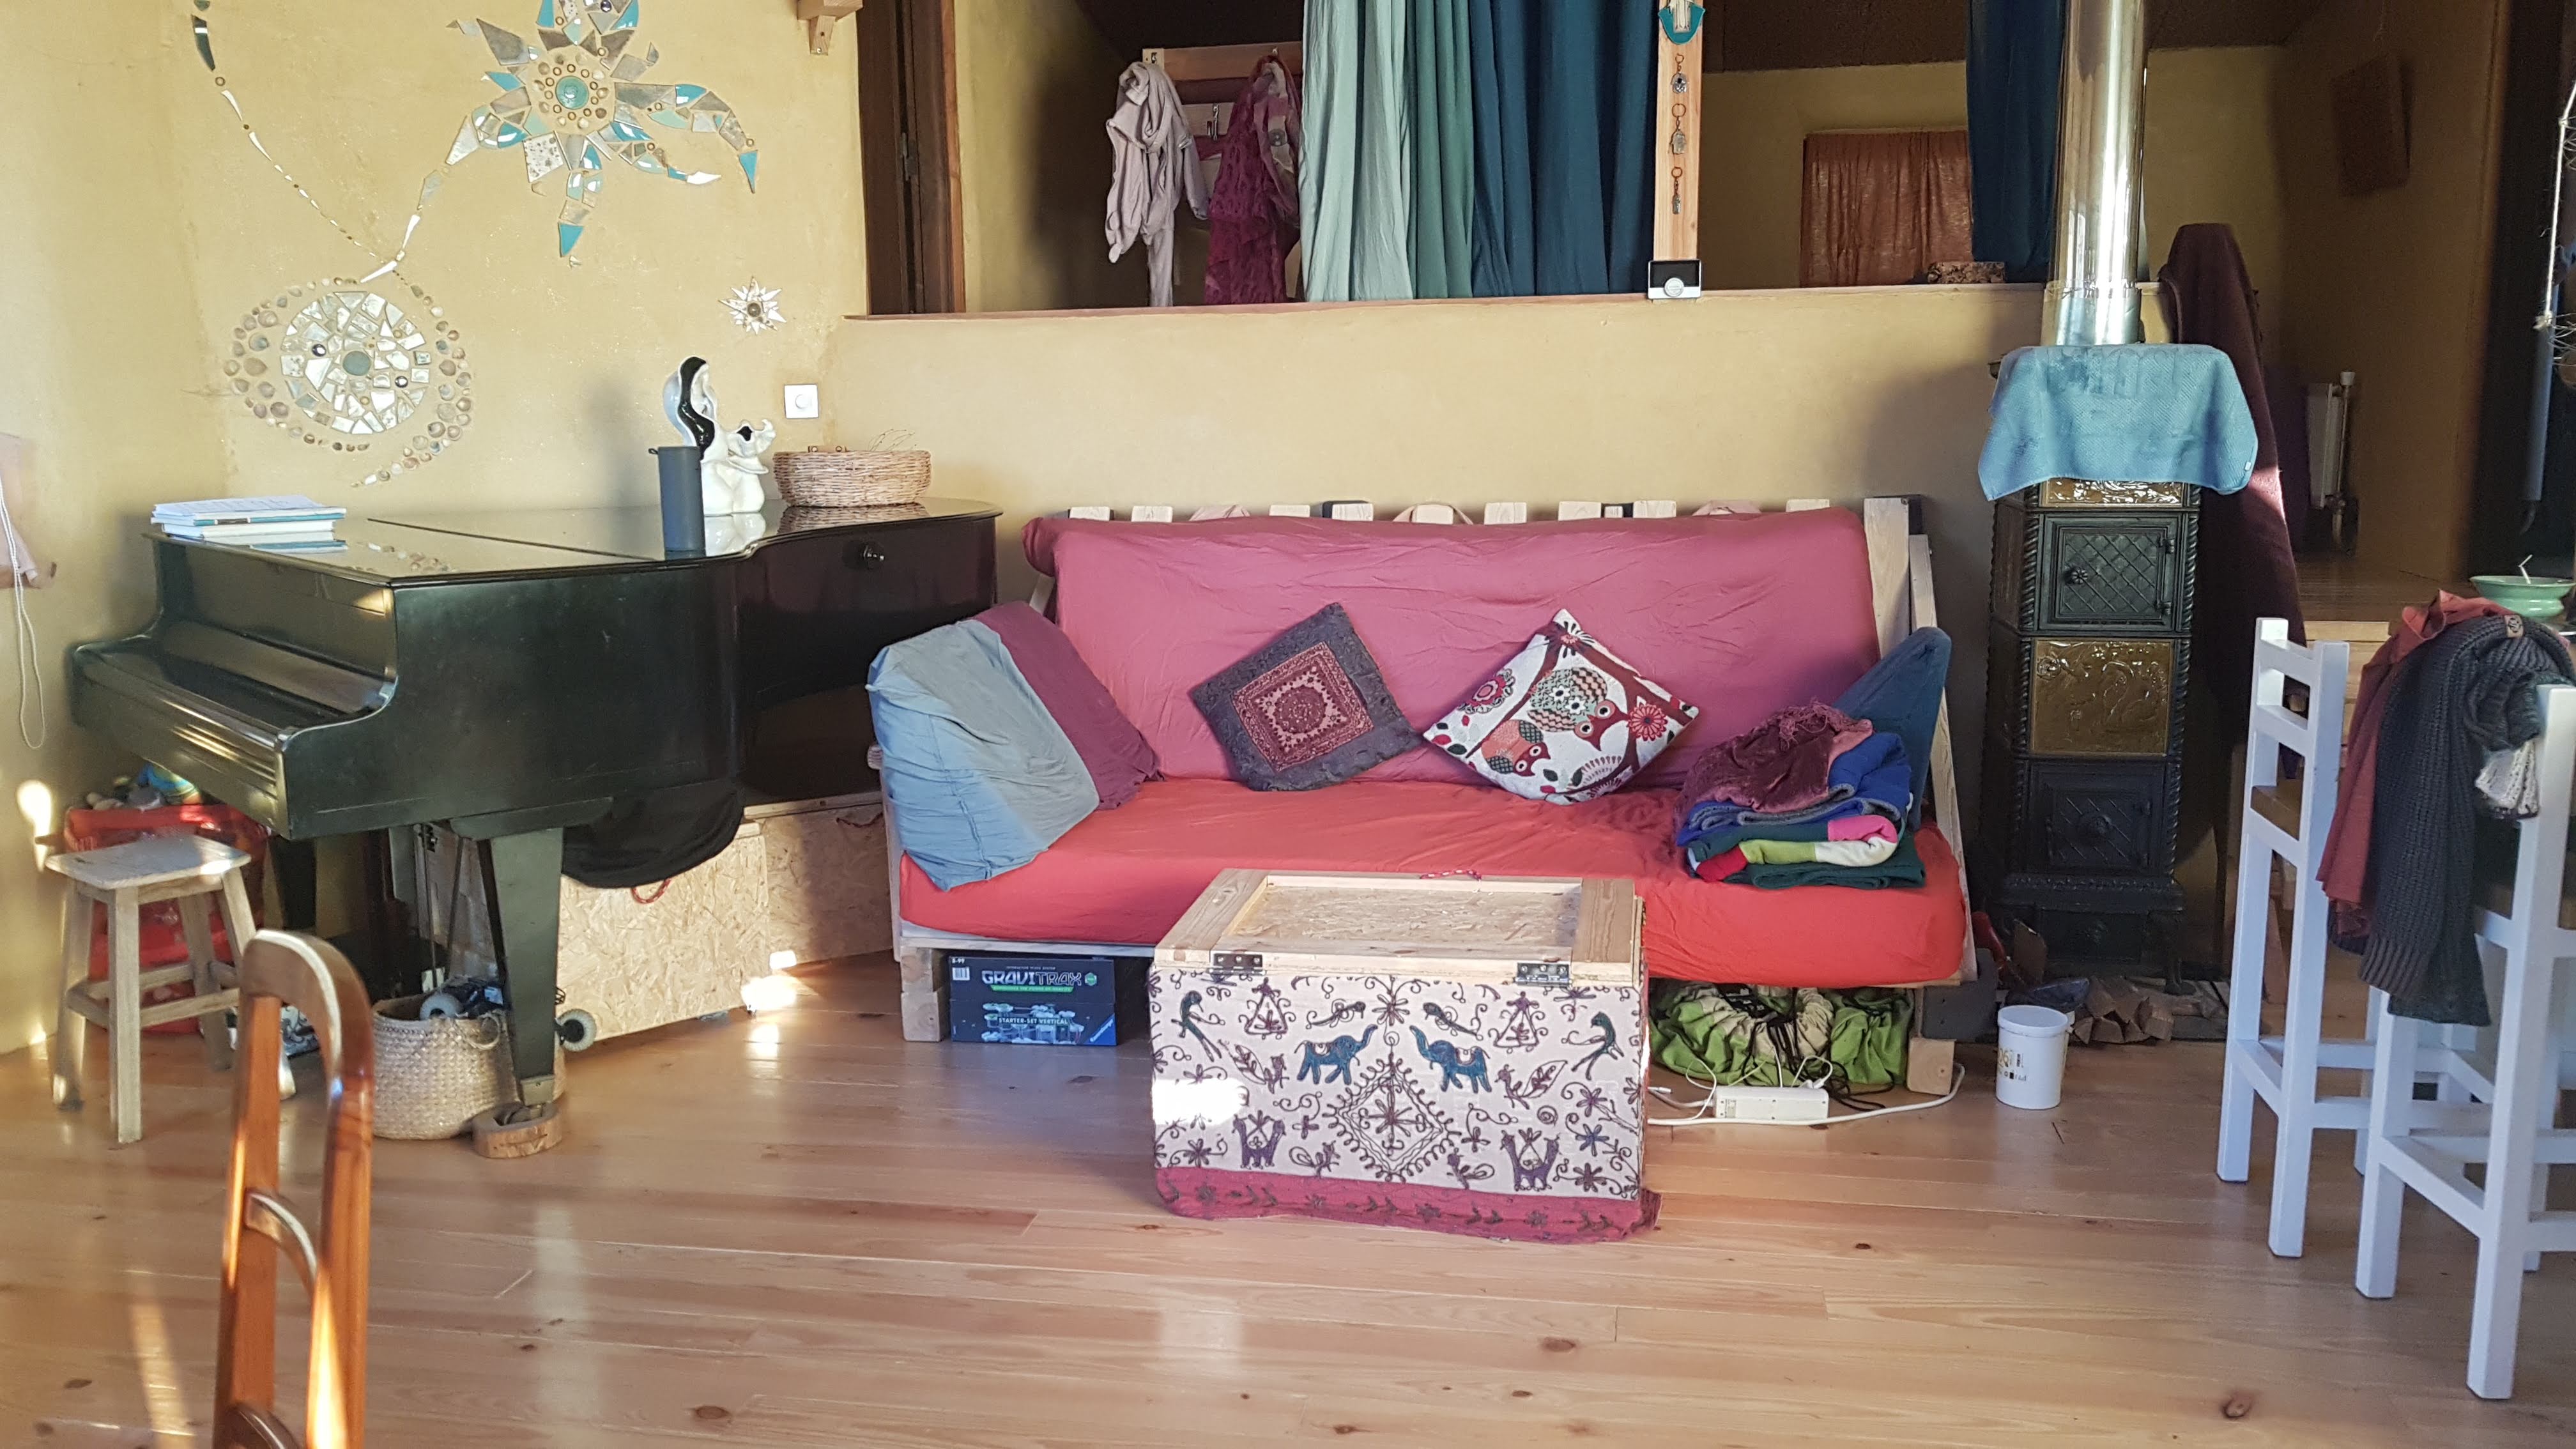
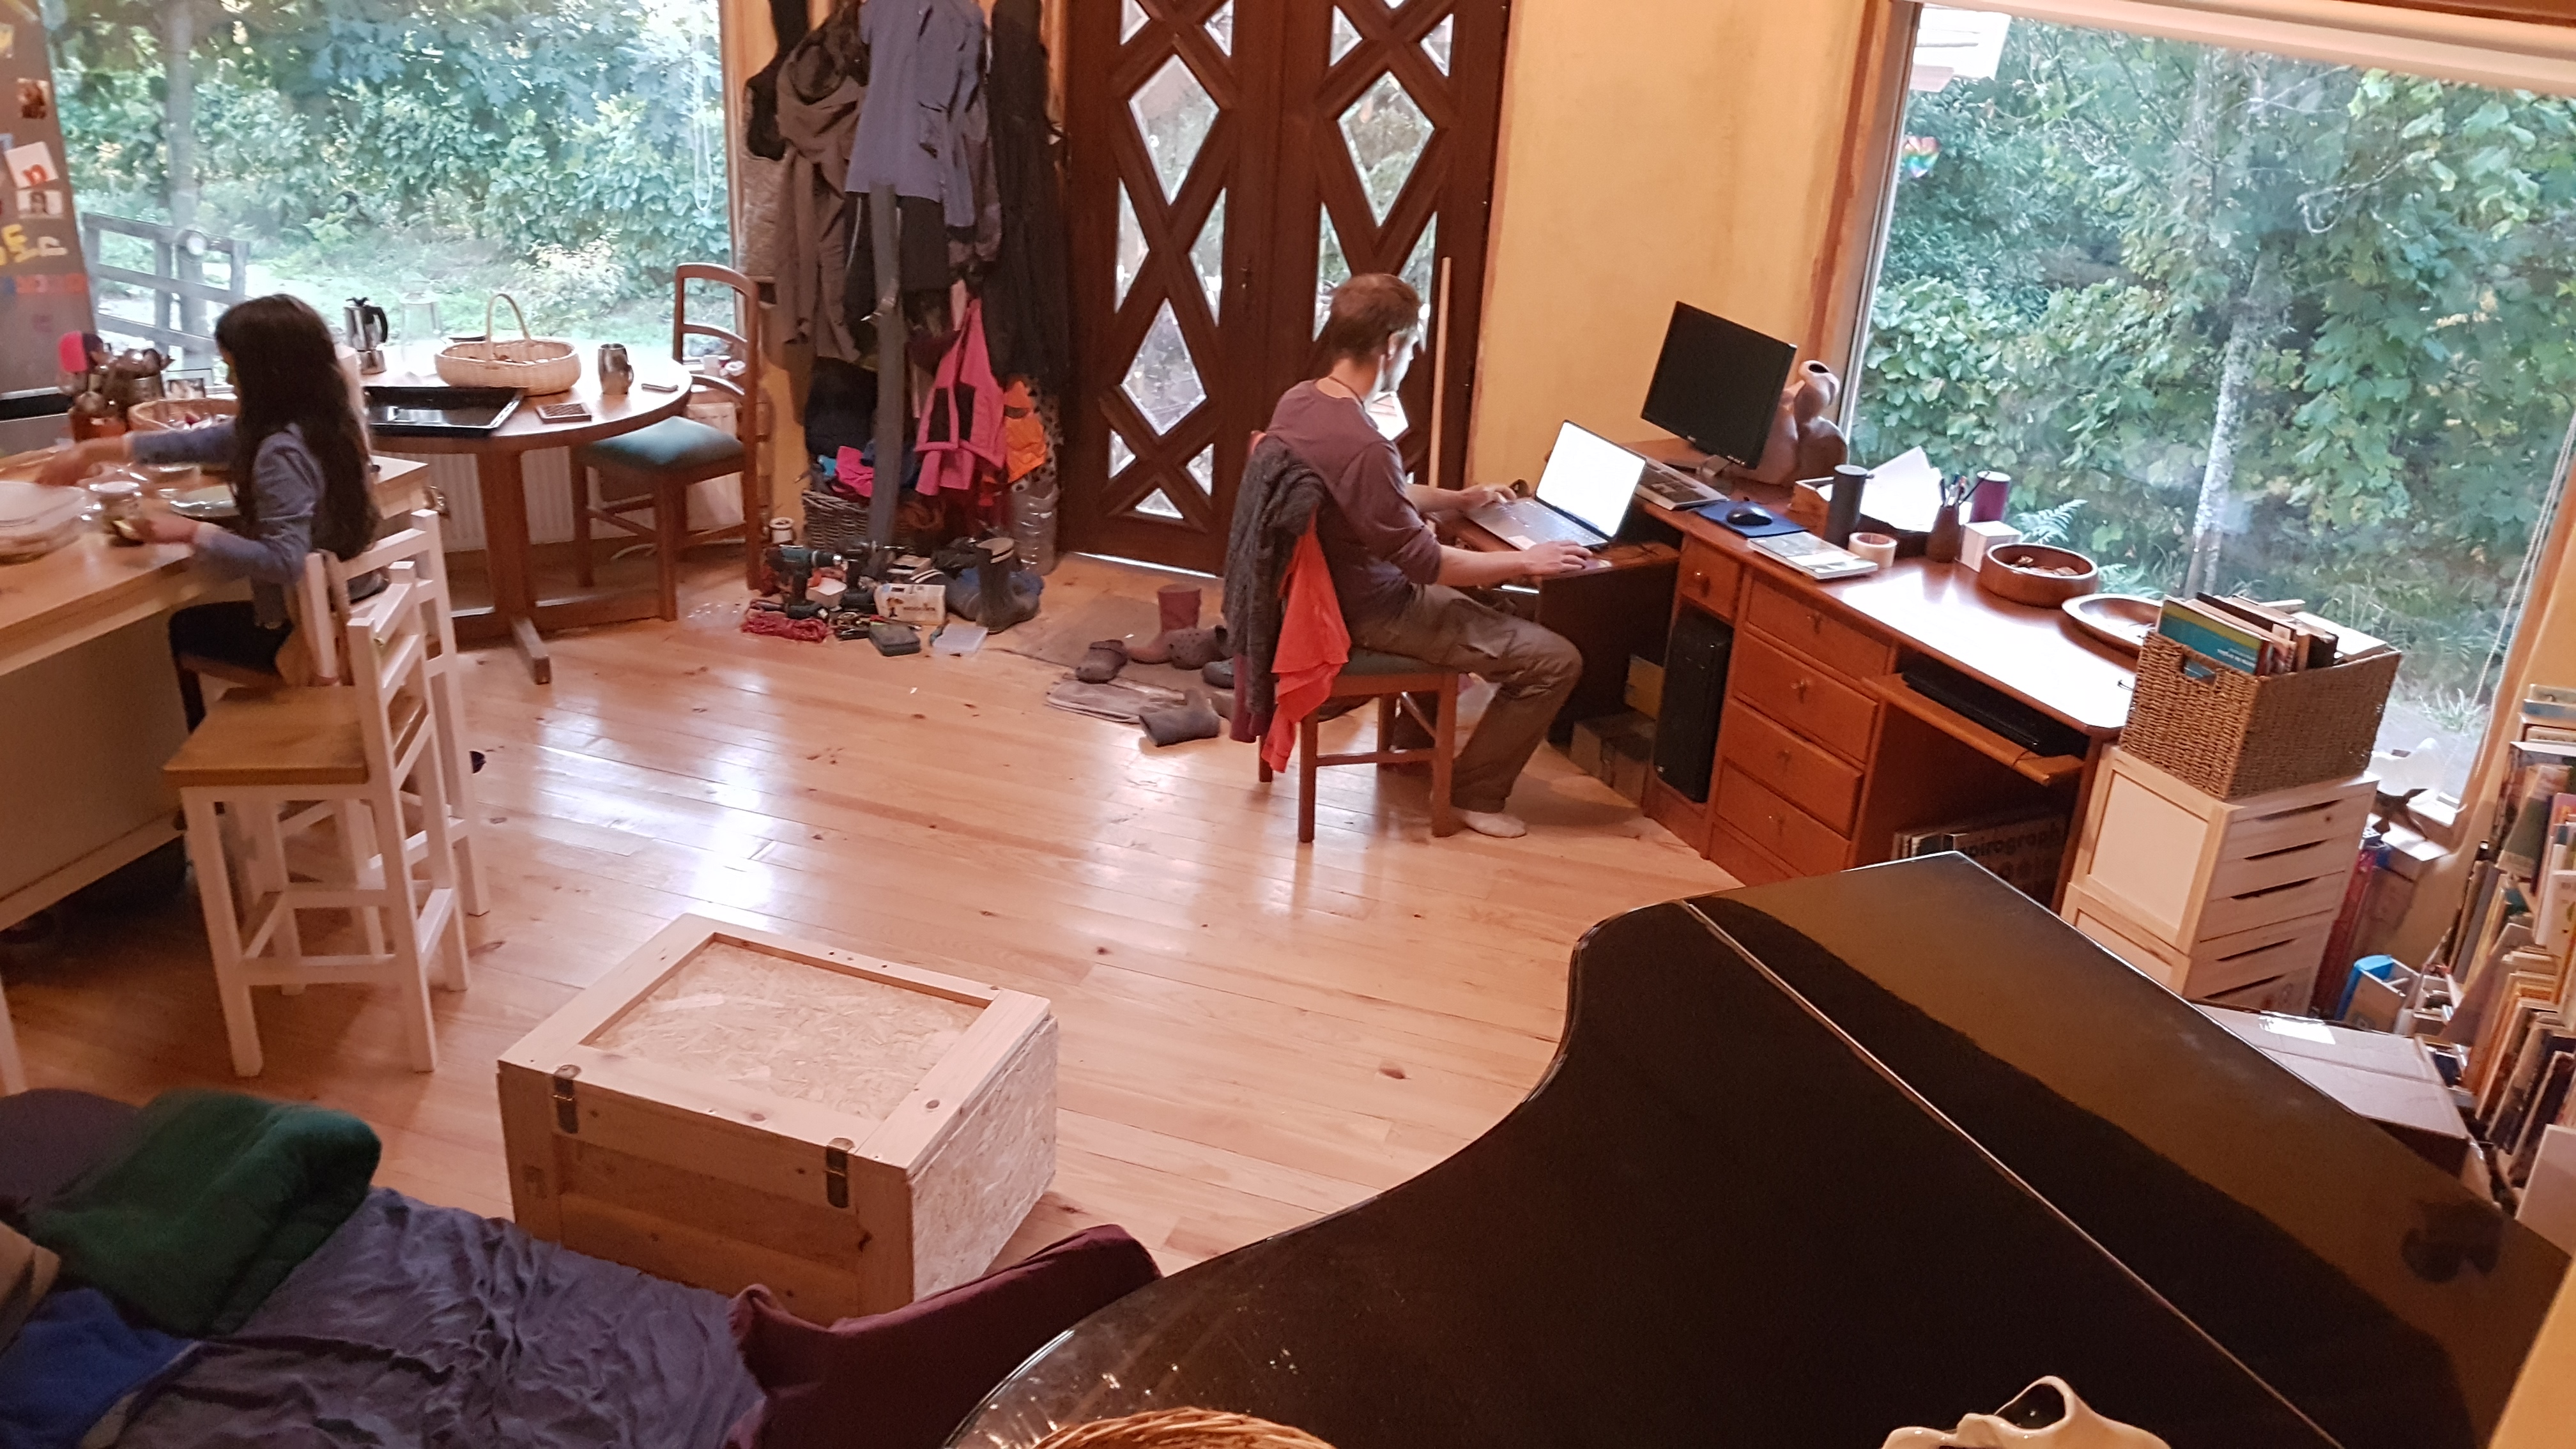
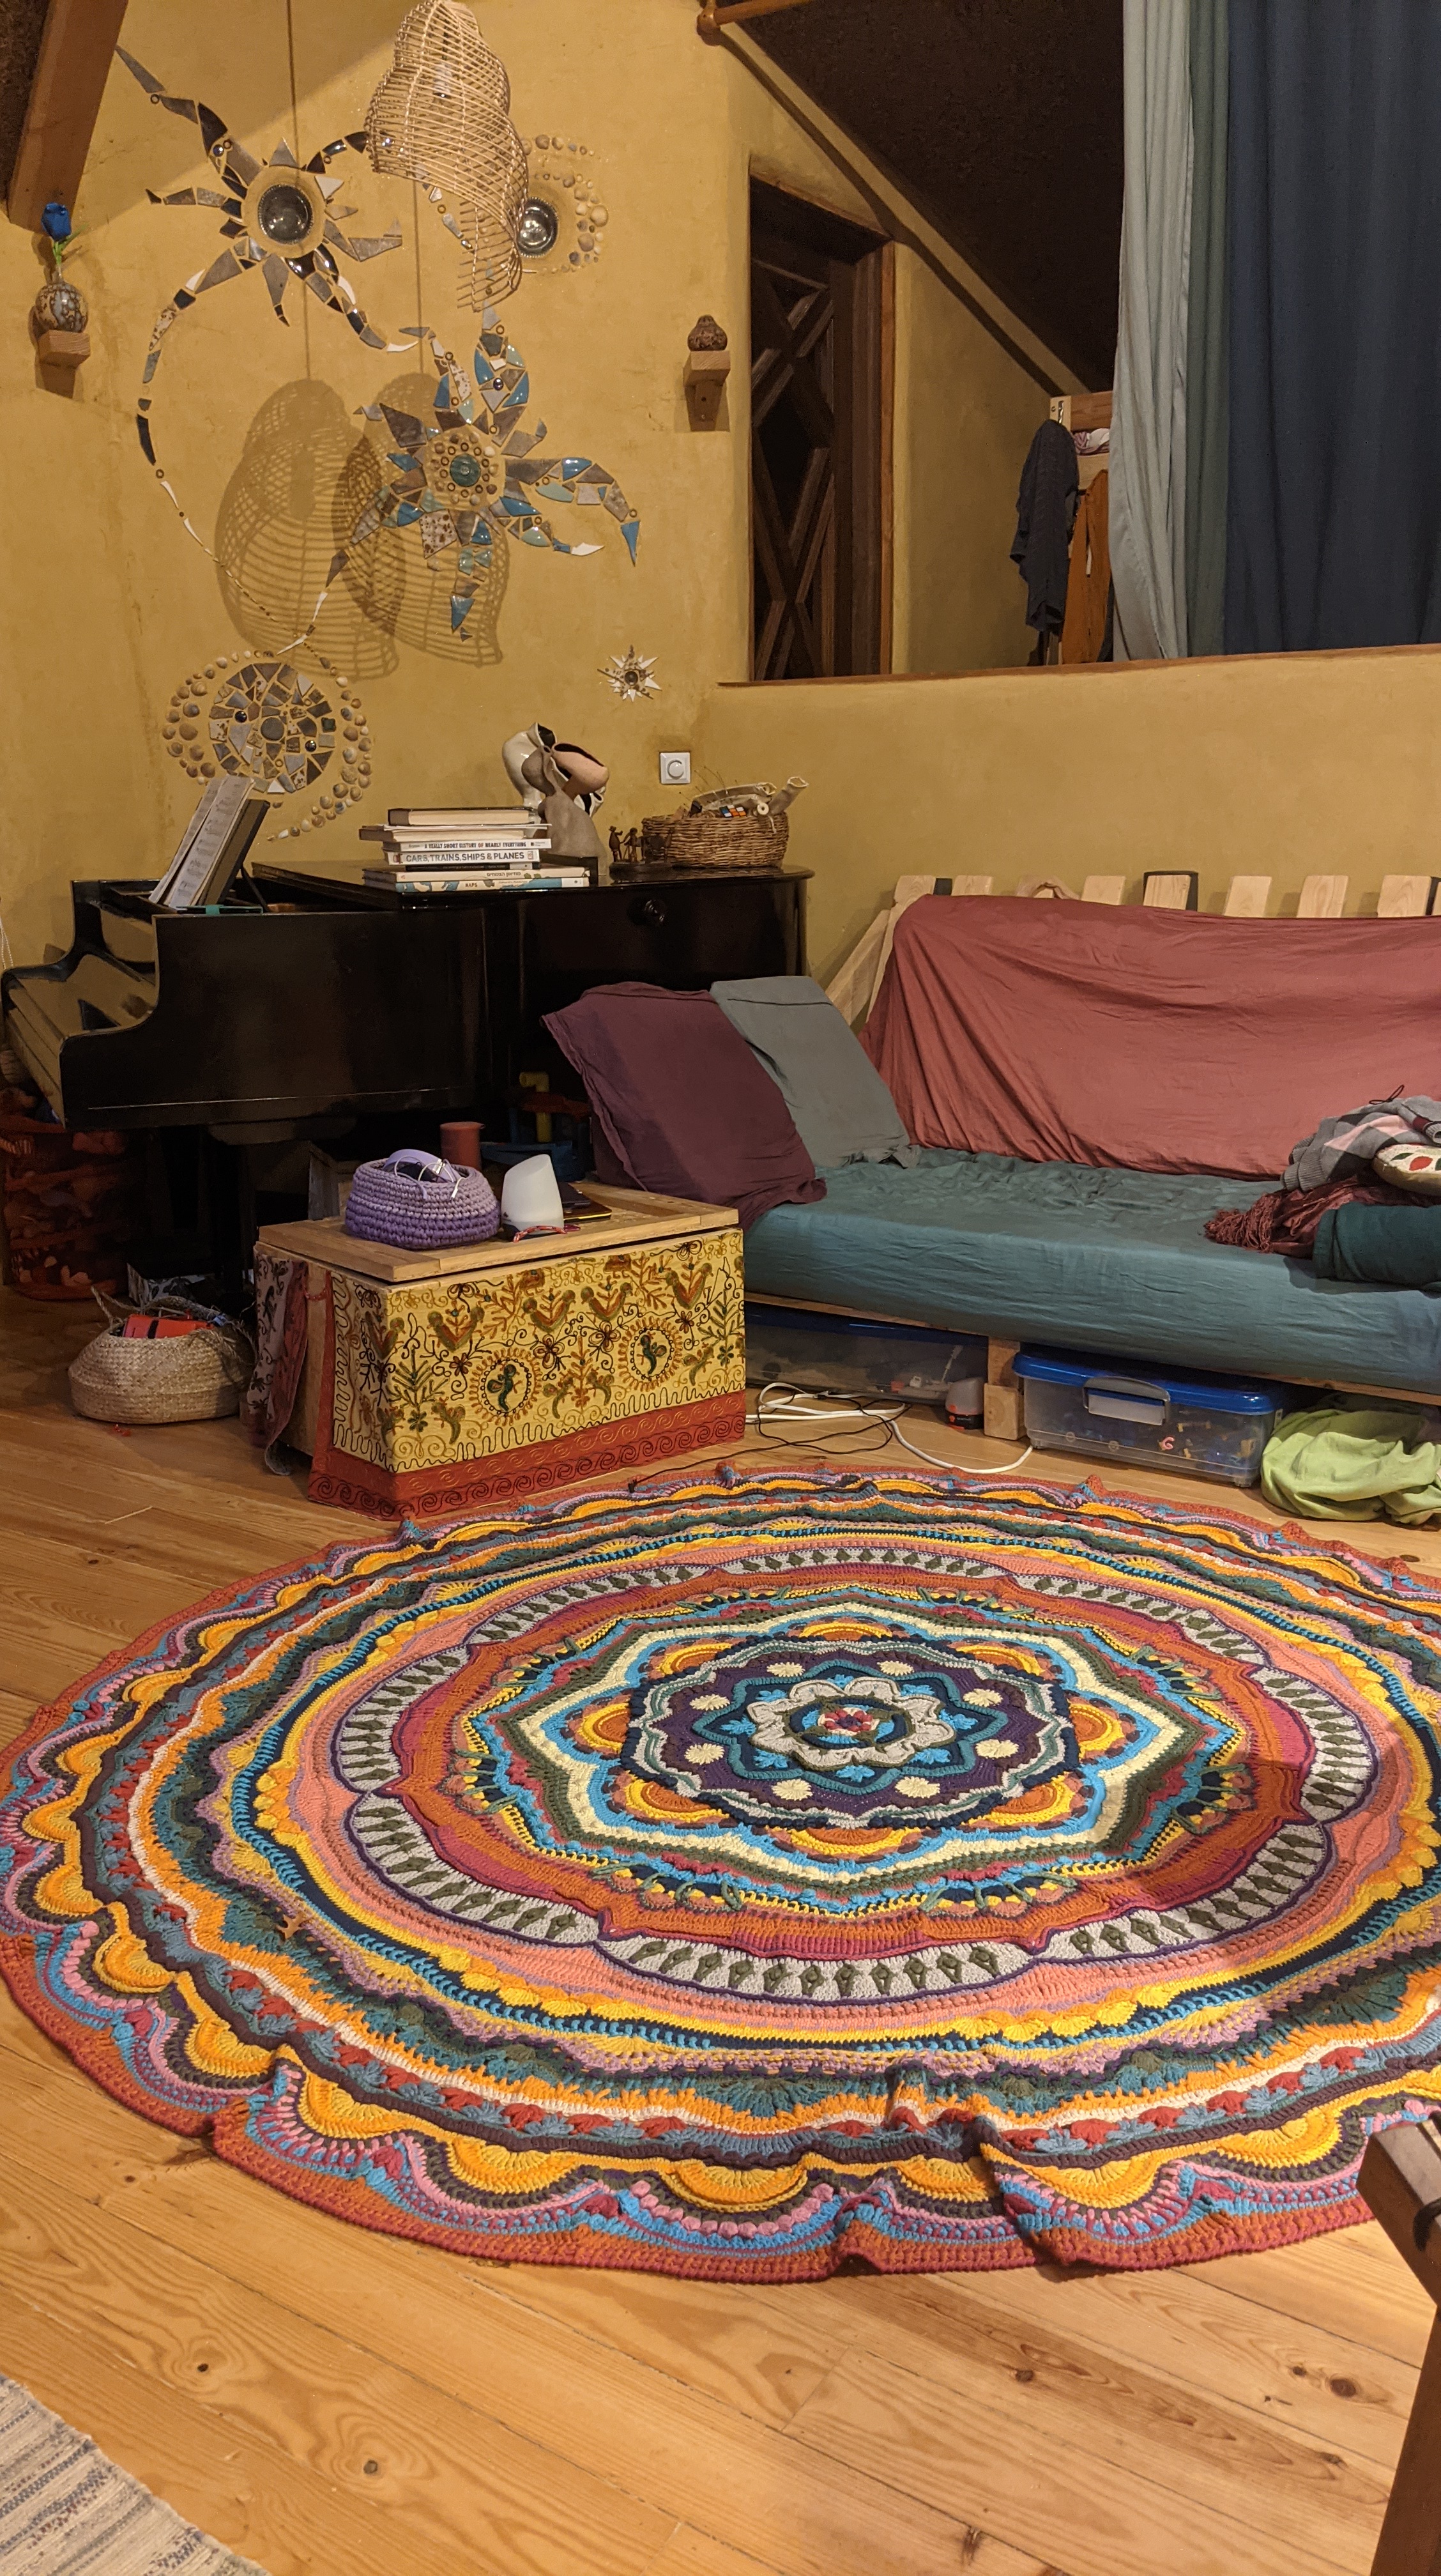
It measures about 55sqm in total, and is comprised primarily of an open-plan living room and kitchen, and an elevated space with a bedroom, bathroom and storage room. It feels spacious due to its open design and the structure’s constant dialogue with the outside – through large, surrounding windows, a skylight, and the pitter patter of rain on its roof.
It took us nearly one year from start to finish, including a couple of months away on Tal’s cancer misadventure, as well as some weather- and supply-related delays. It was a rather solitary experience for both of us: Tal spending most of her time caring for the kids and the family’s well-being, and Haffy building the entire house on his own (except for a couple of extremely helpful visits from his parents – thank you papa Leo and mama Carla! – and occasional help from friends). But it was also a defining experience, a rite of passage that forever bonded us with this land, home, and way of life.
Following is a photographic account of the project with some elaborations by Haffy.
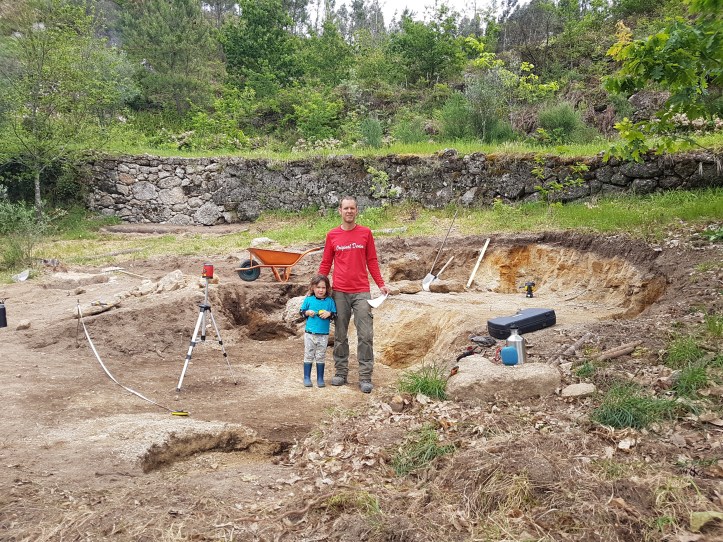
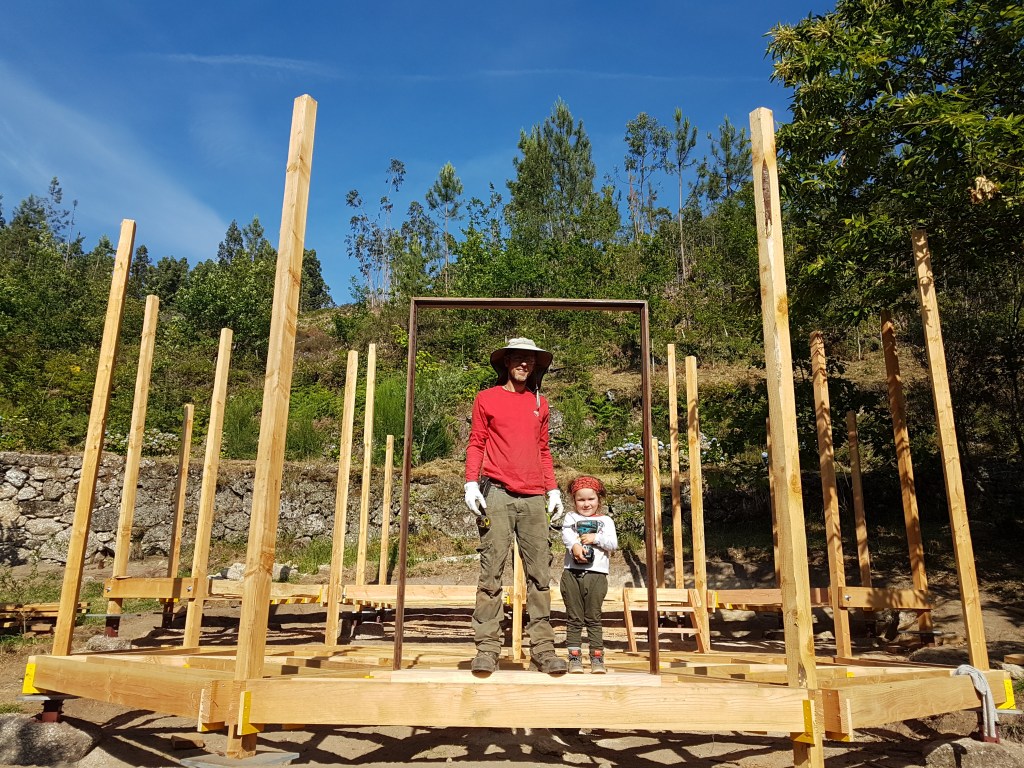
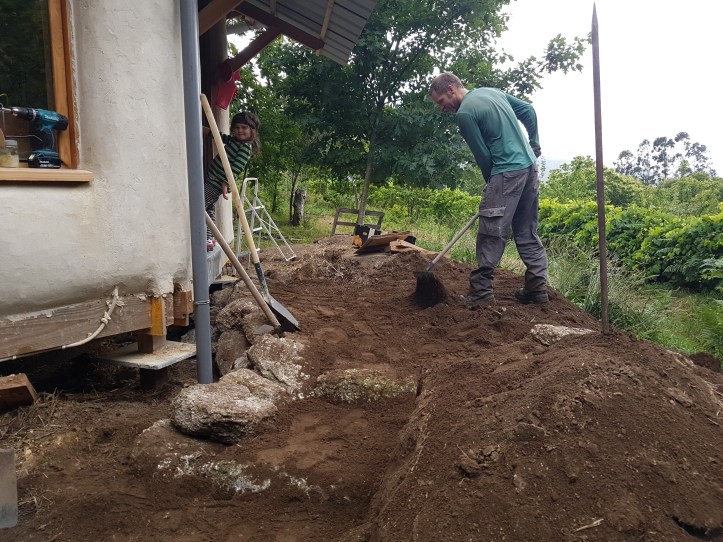
Digging
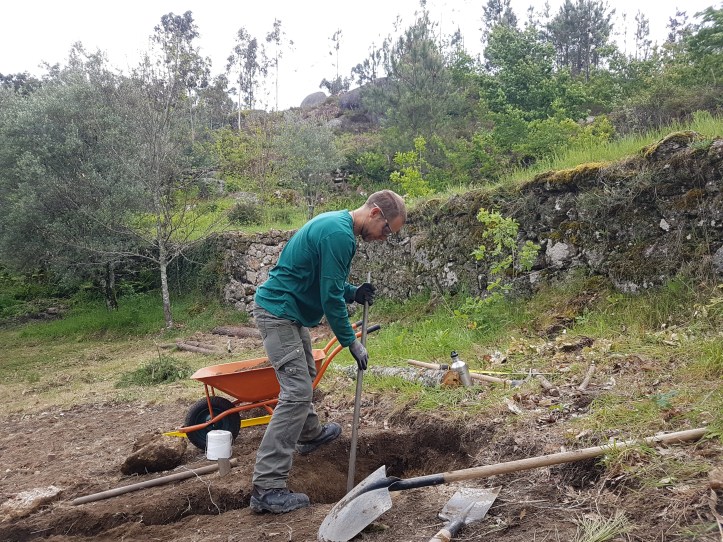
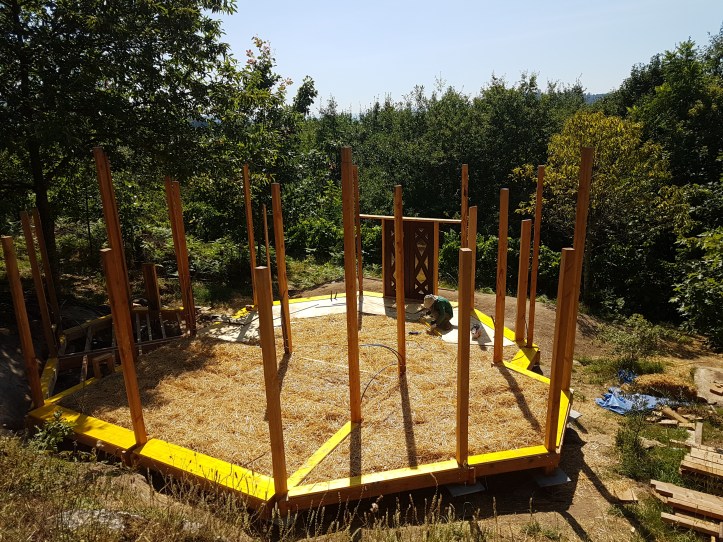
In an effort to have minimal impact on the surroundings, the house rests on large rocks that were set directly onto the subsoil. Where the subsoil was elusive I dug down to find it, added gravel up to ground level, and then placed the rocks. These I used in order to place the posts and start the wooden frame.
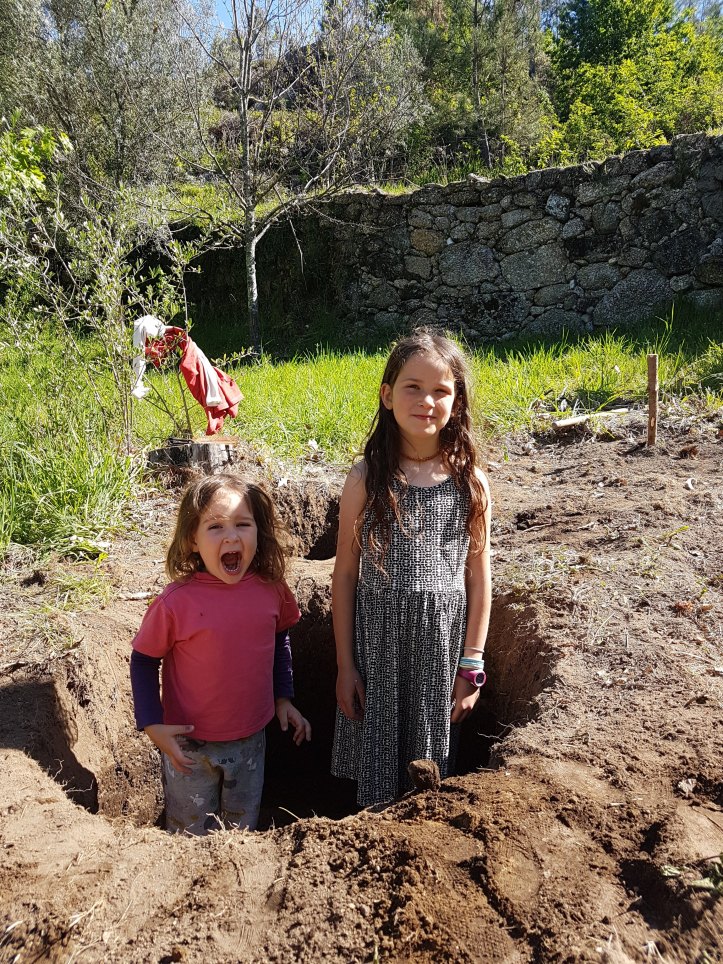
In principle the entire house can be removed and all that would remain is the terrace. I dug everything by hand, with some help from the kids!
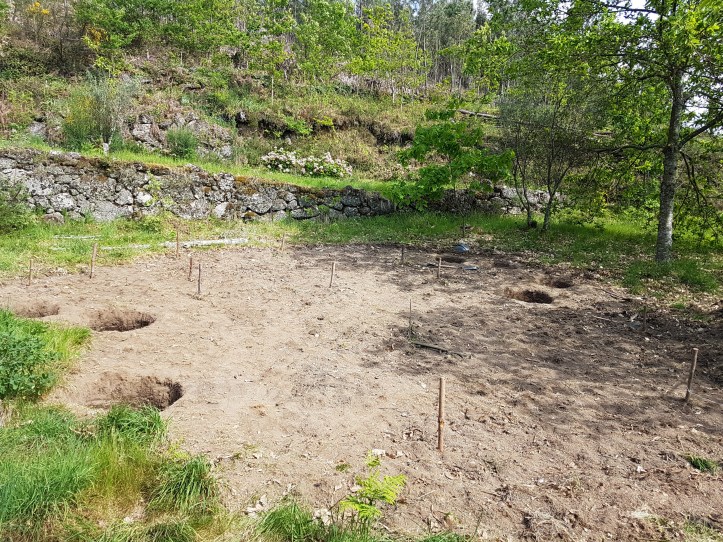

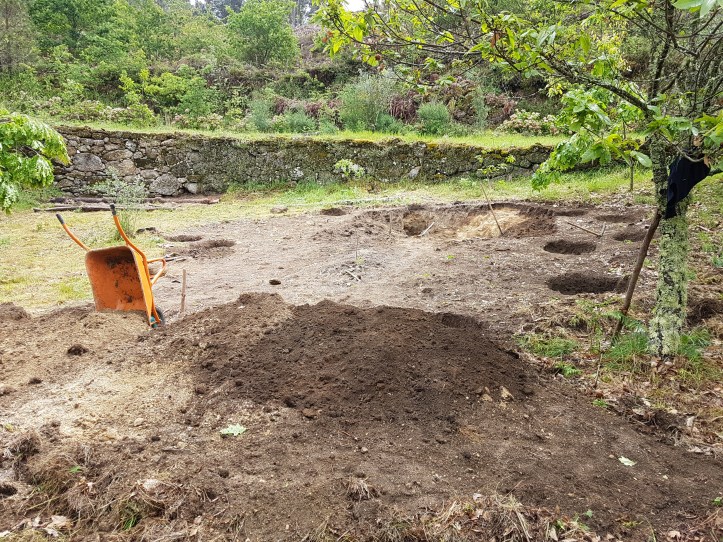
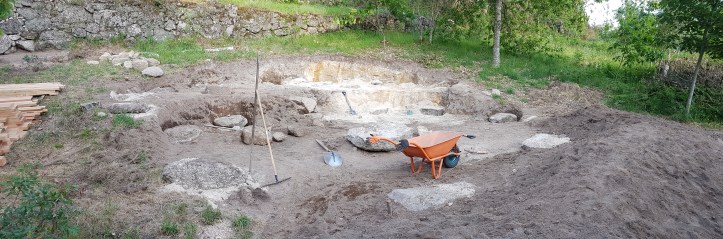

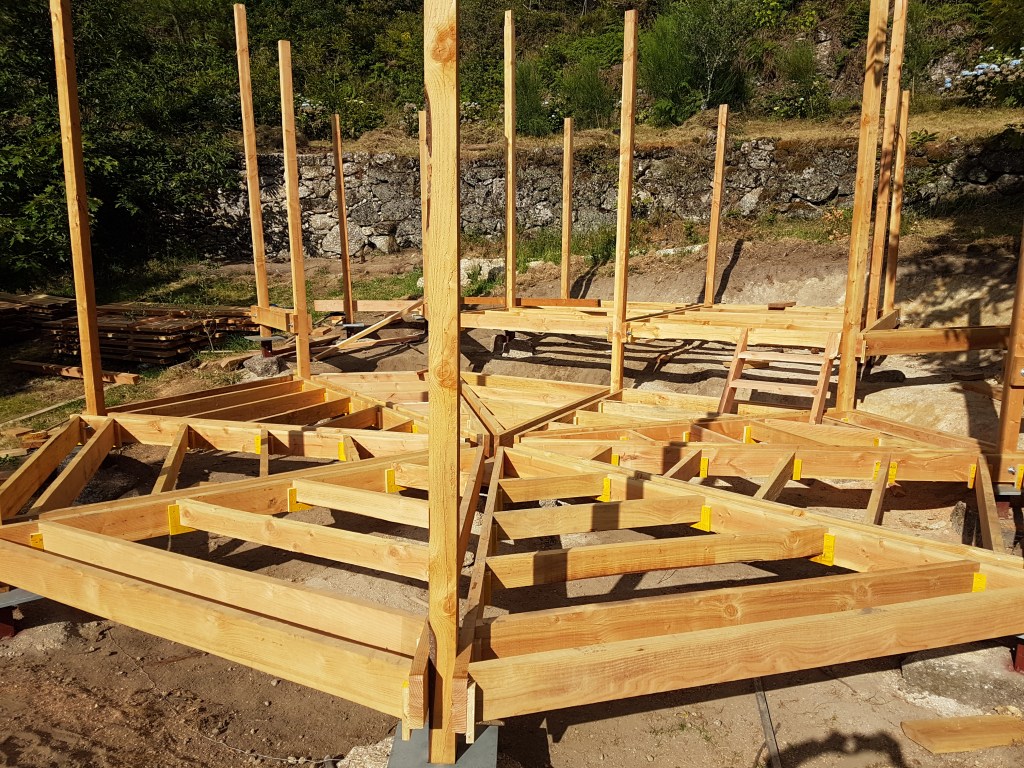
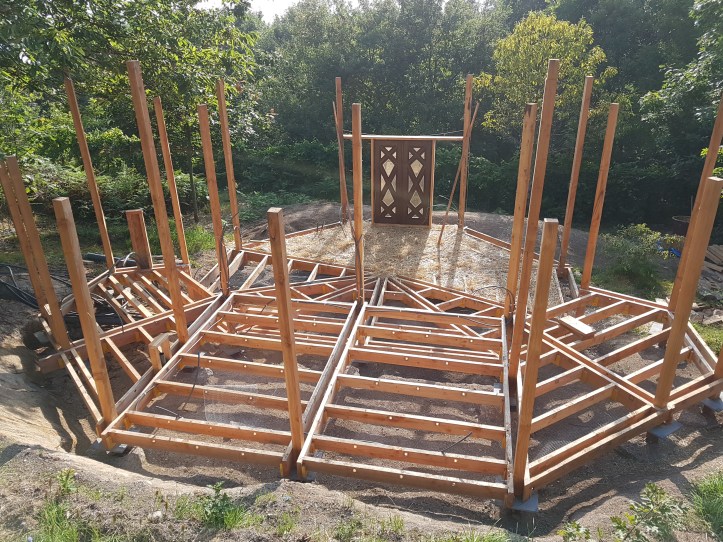
As the work progressed it became clear that the Octagon needed two levels. The subsoil at the top was too close to the surface to allow for one level, and additionally, a two-level structure seemed to blend into the landscape more seamlessly.
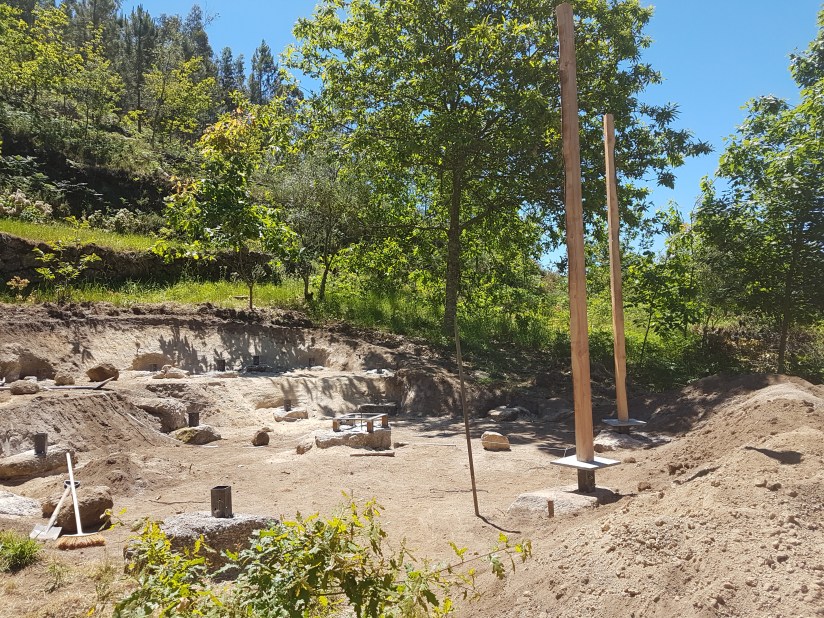
The brackets for the posts and the frame that supports the center of the floor were custom-made by the local metal worker. I used a laser level to place the rocks, mounted the brackets onto those rocks, and extended the frame from there.
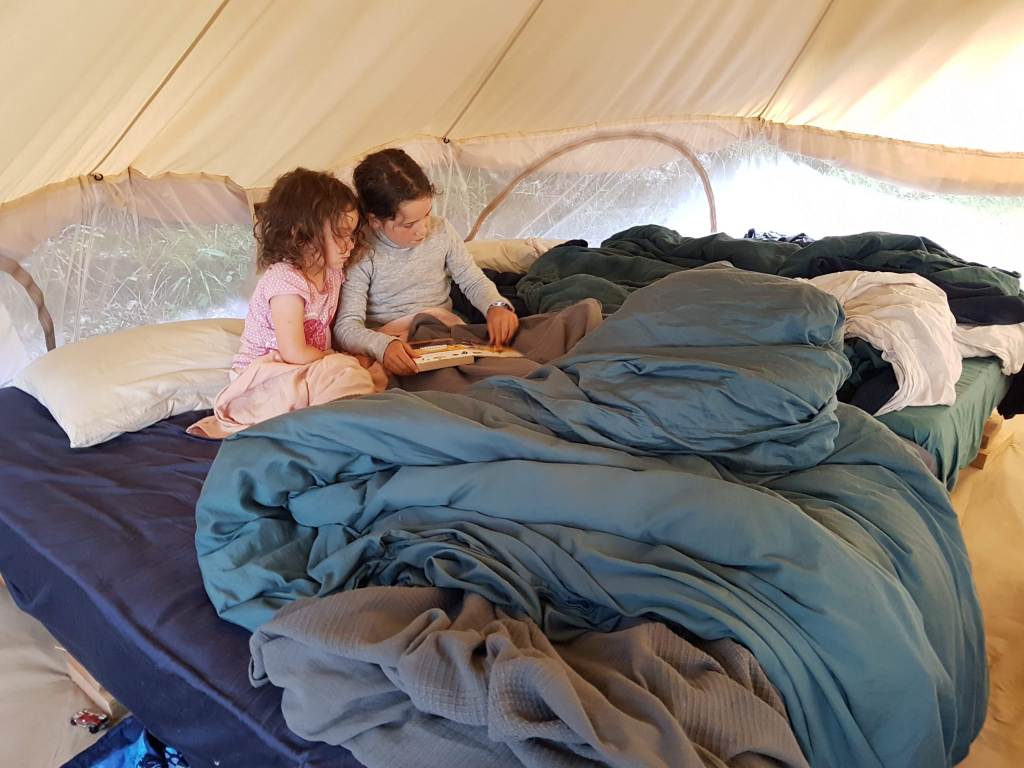
Staying on the Land
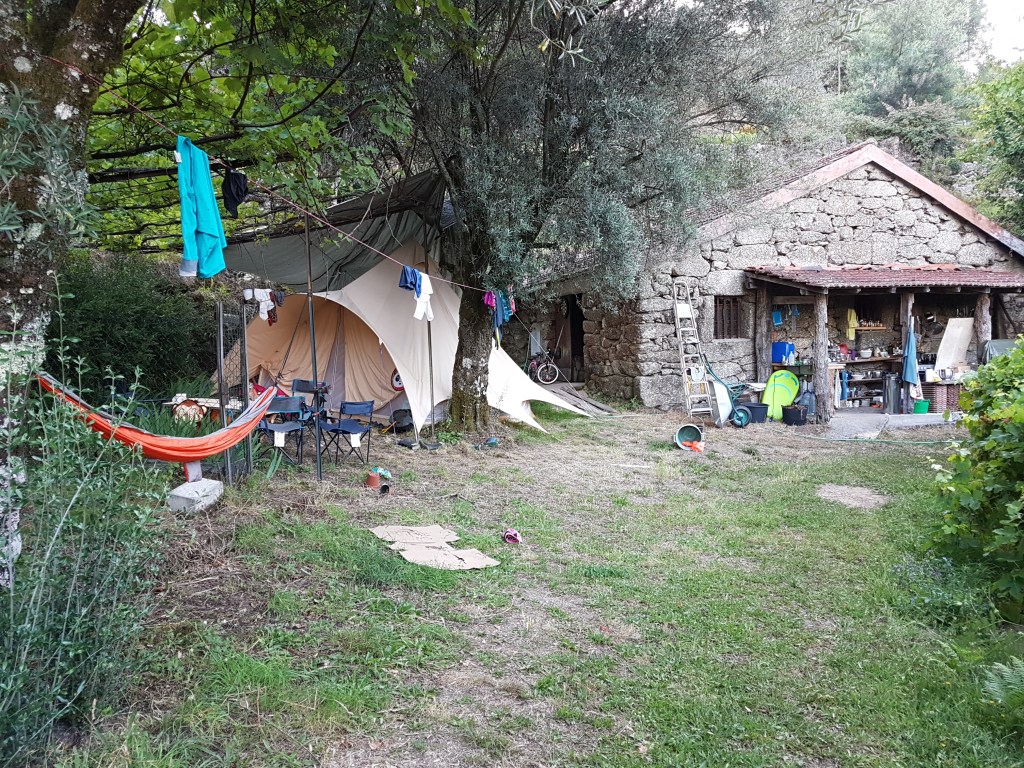
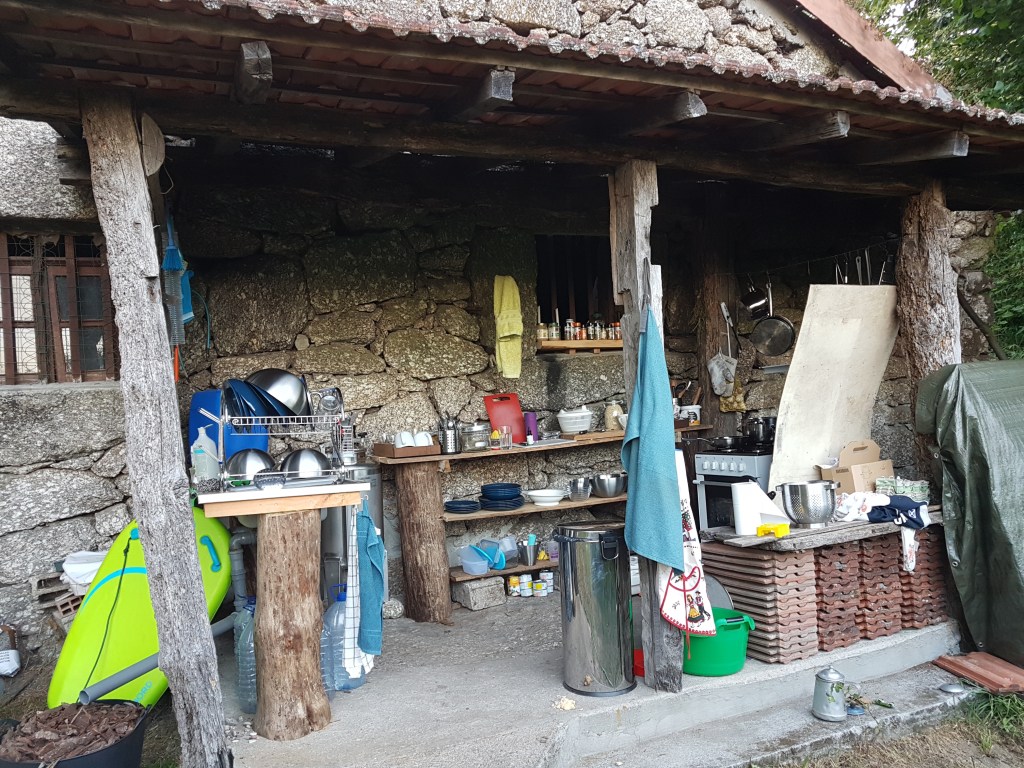
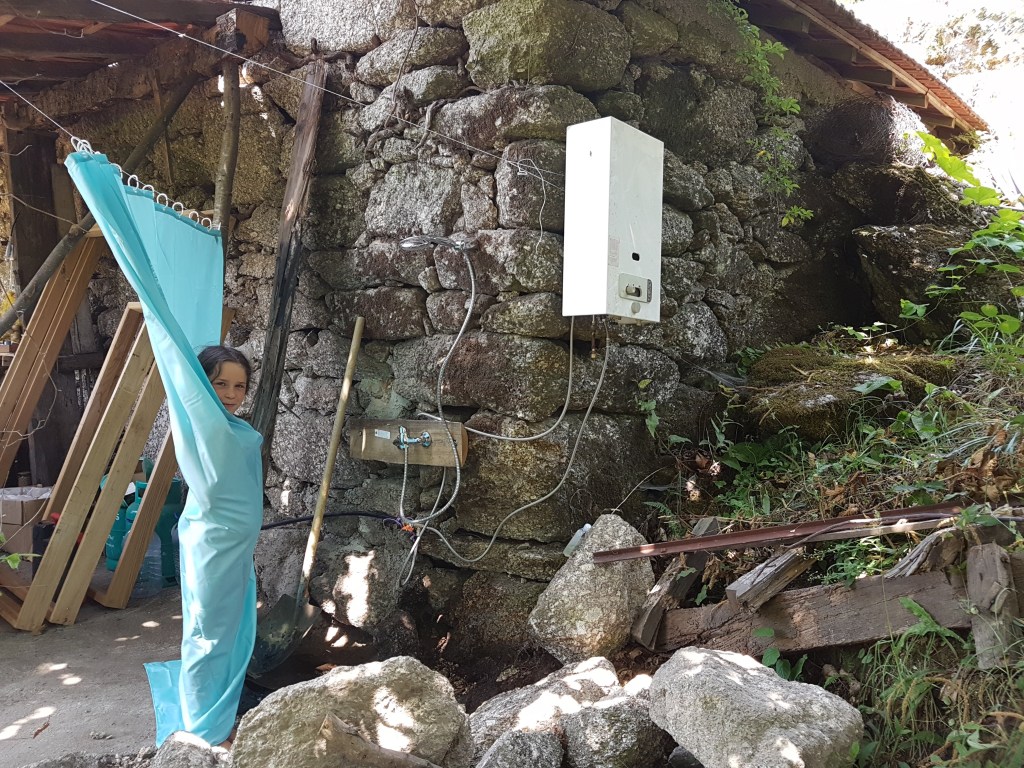
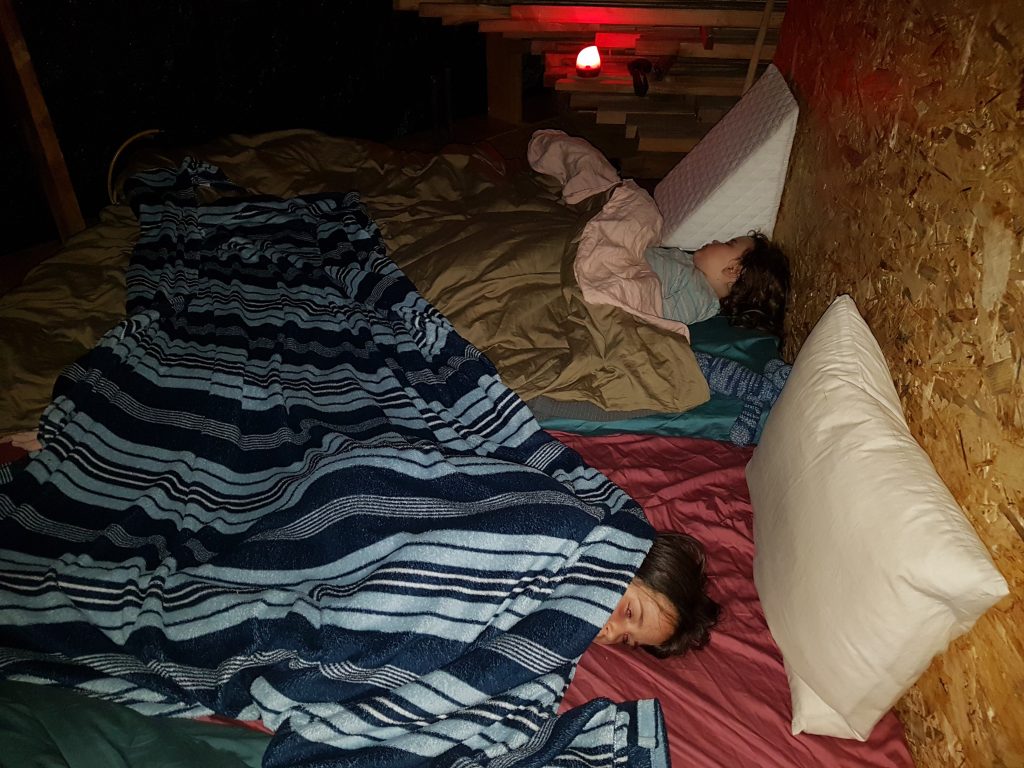
For the first few months of the building we were living in our neighbors’ downstairs apartment. Once the weather got better we moved into our own bell tent. We pitched it next to our barn, where we set up an outdoor kitchen, a watering-hose shower, and a compost toilet. The kitchen had no running water, so Tal had to carry water up daily. We got drinking water from our friends’ spring, a 15-minutes drive away.
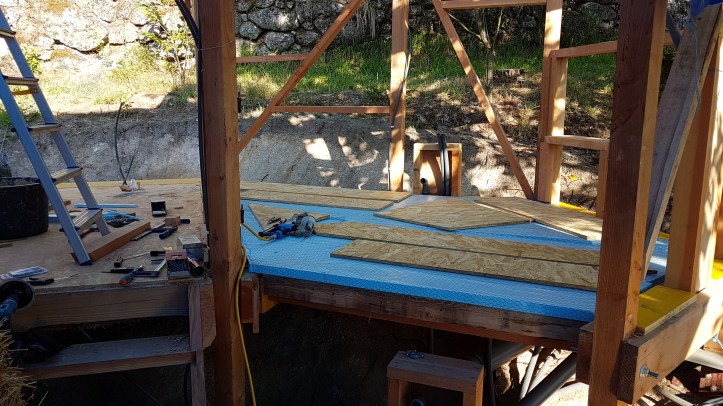
Floor & Floor Insulation
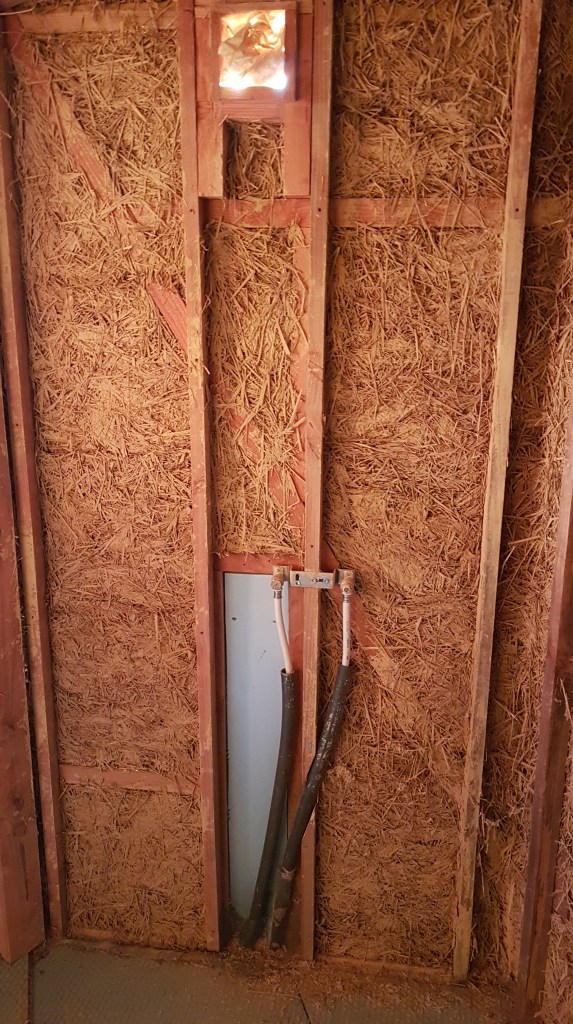
Soon it was time to put in the floor and insulation. We stapled chicken fencing on the bottom of the floor beams and inlaid the first 3 cm with light clay/straw, for fire resistance. Then we added loose straw. The top layer is simply air, connected by holes drilled through the floor supports. Everything is covered with metal insect screens.


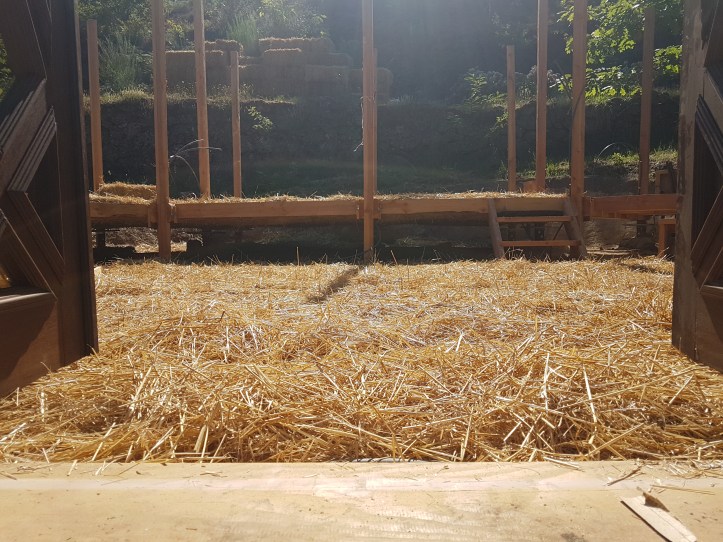
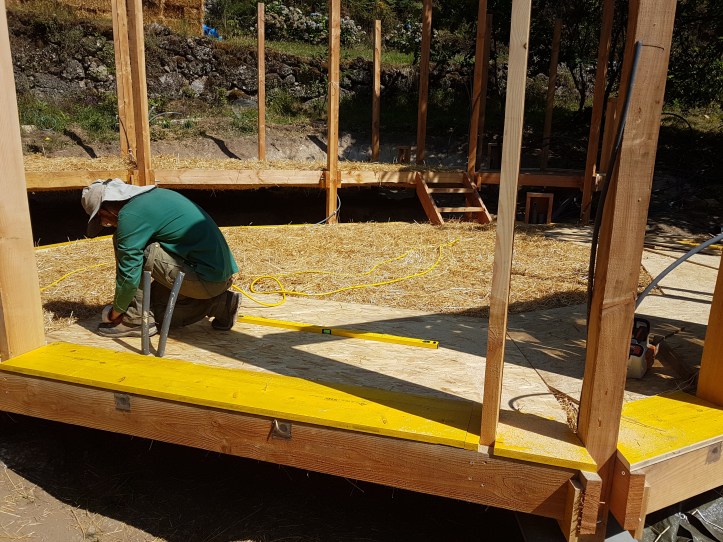
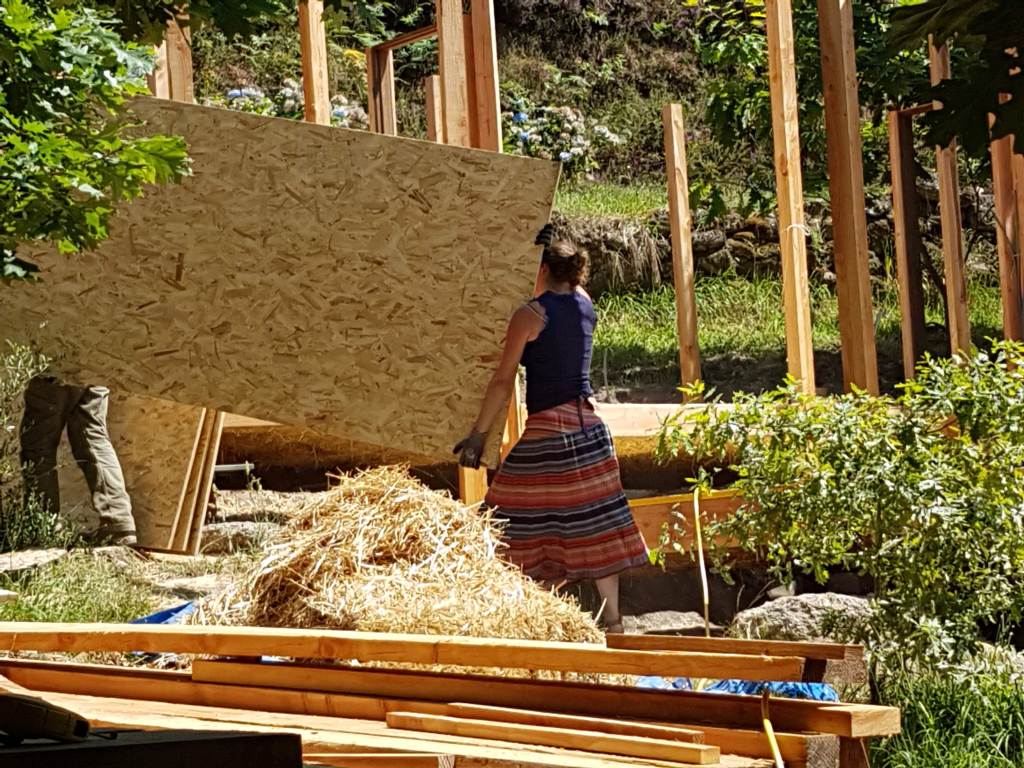

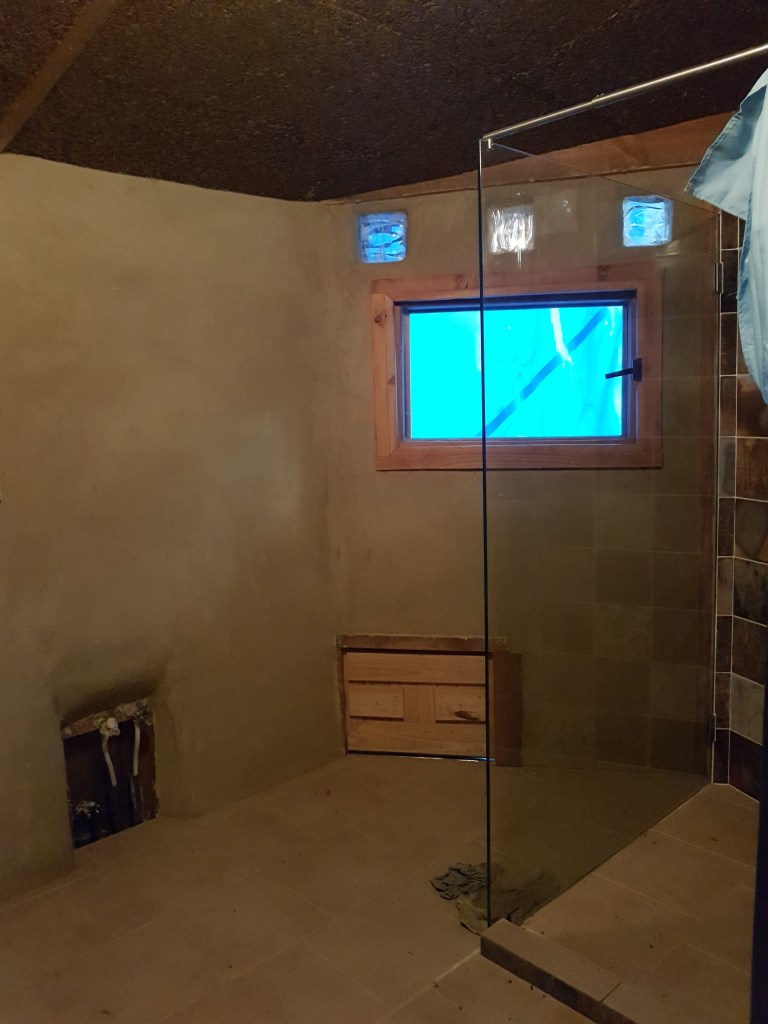
The shower floor is the only place with conventional materials, in order to avoid water problems in the insulation. I used XPS board for insulation and support.
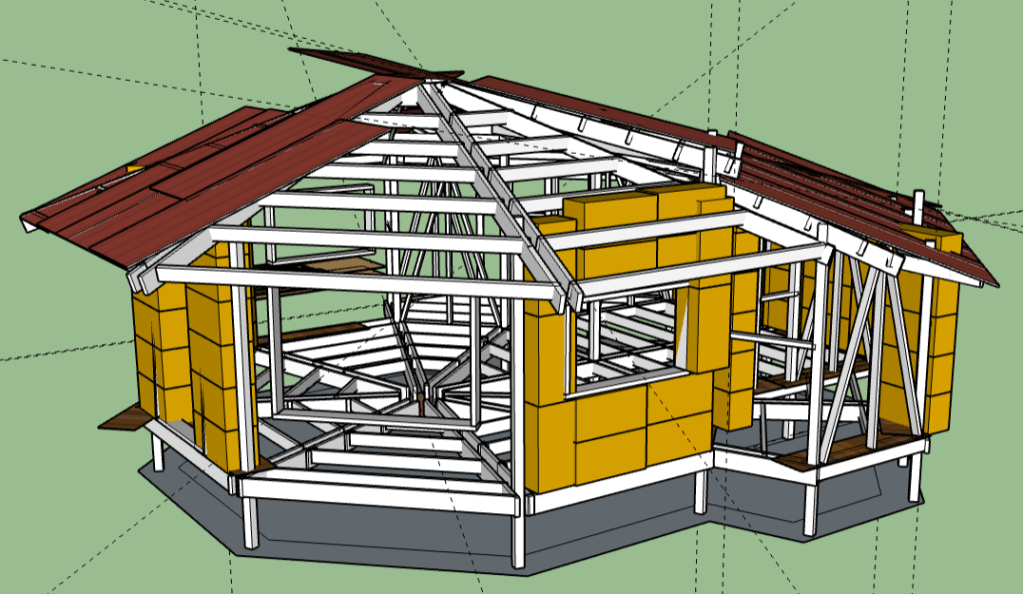
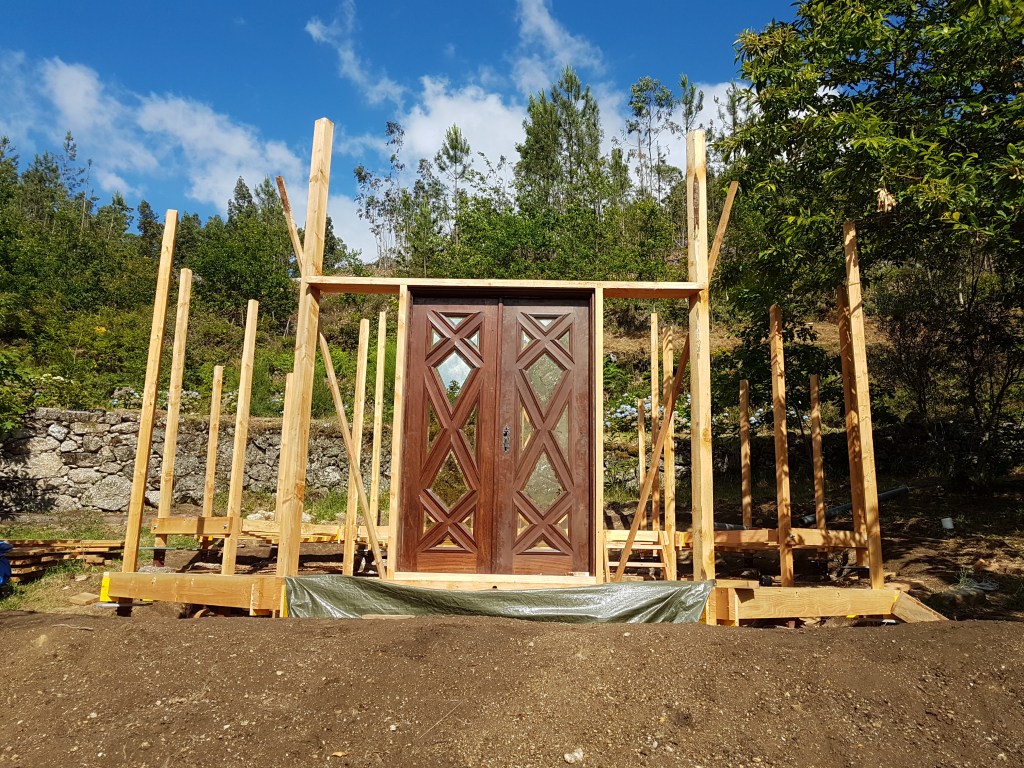
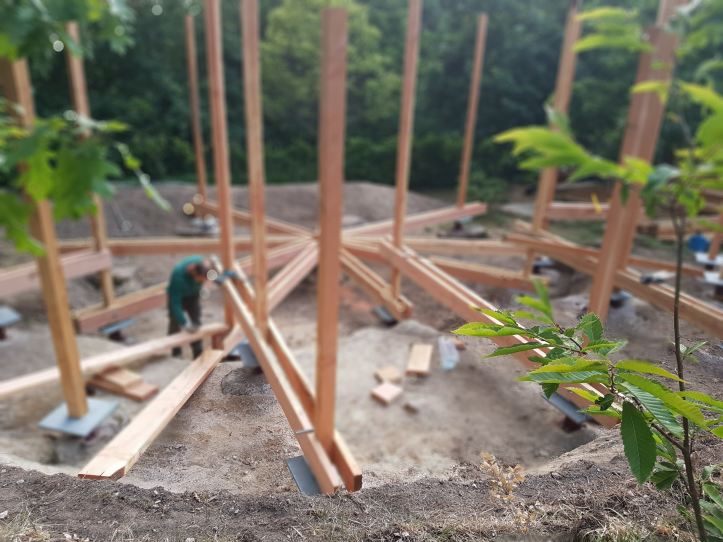
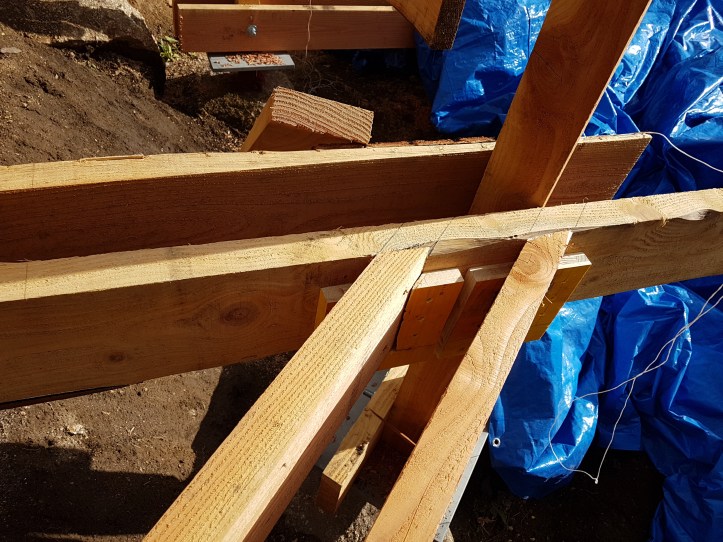
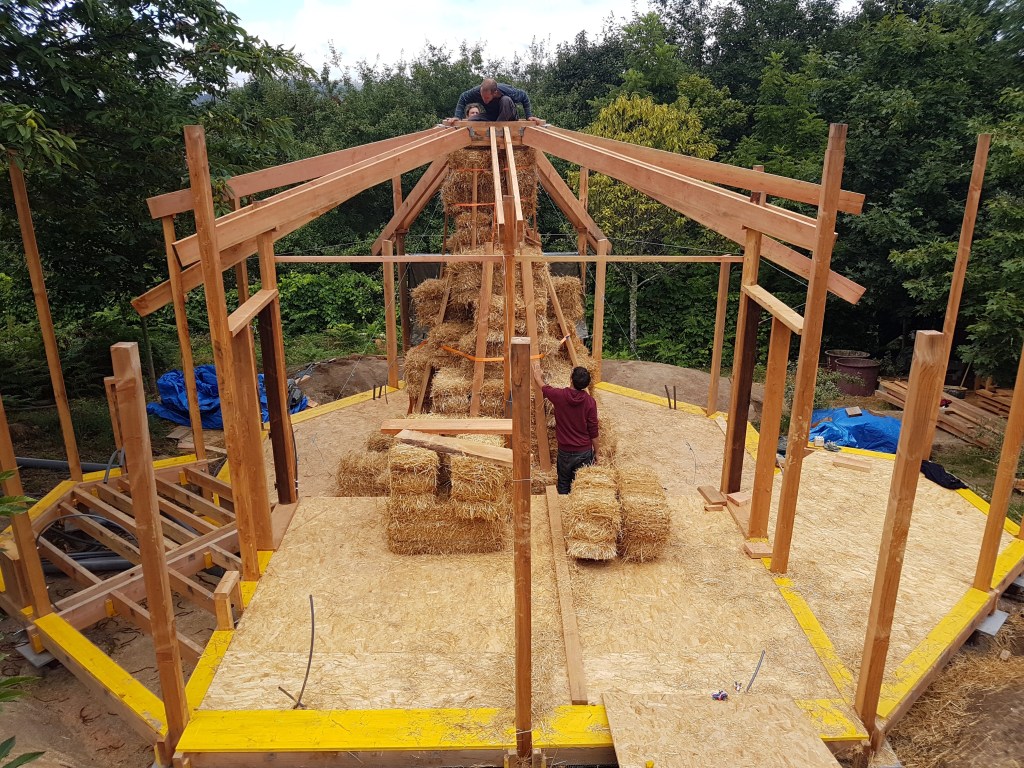
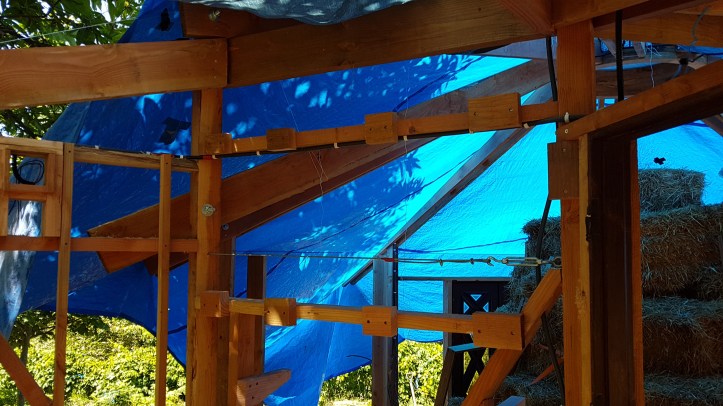
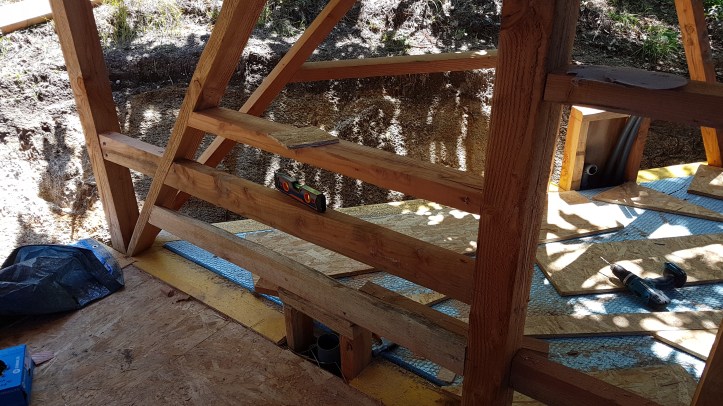
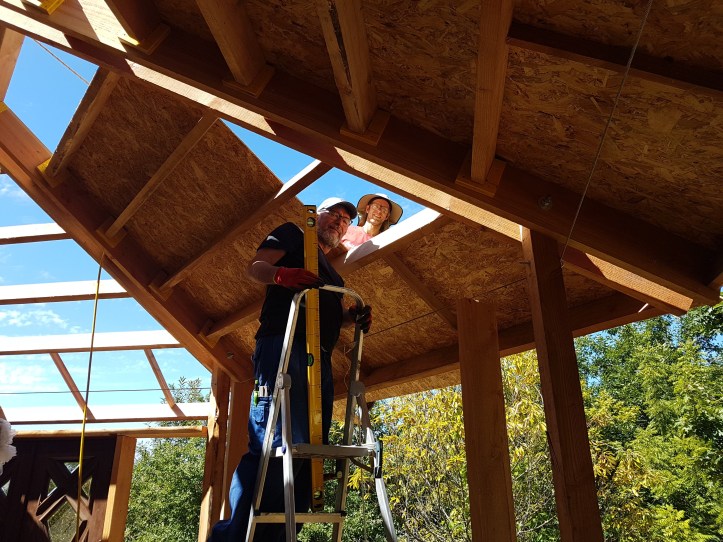
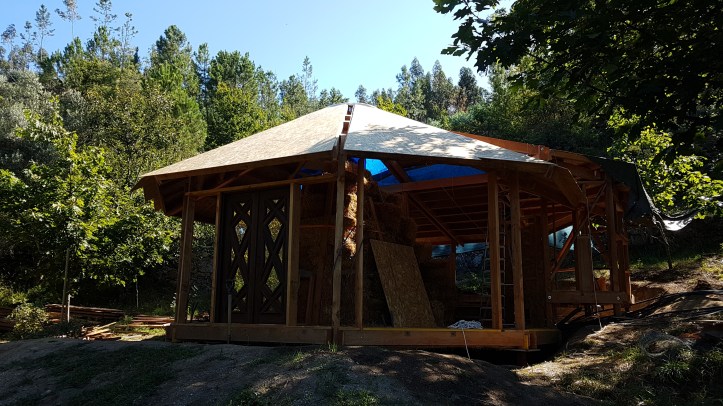
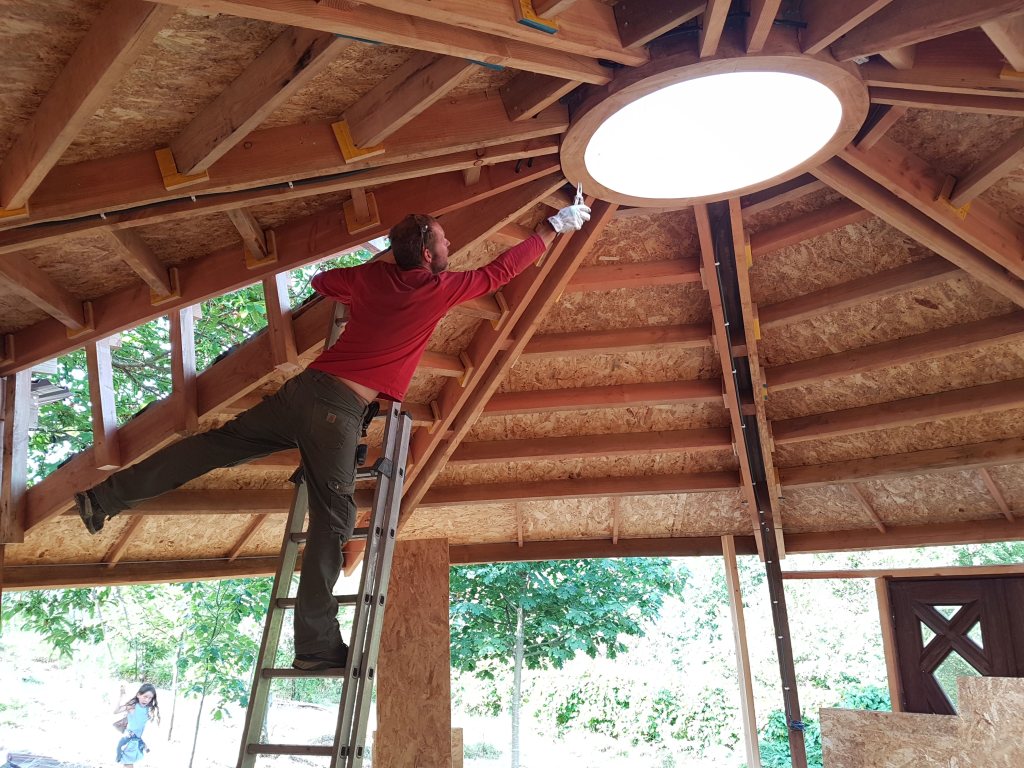
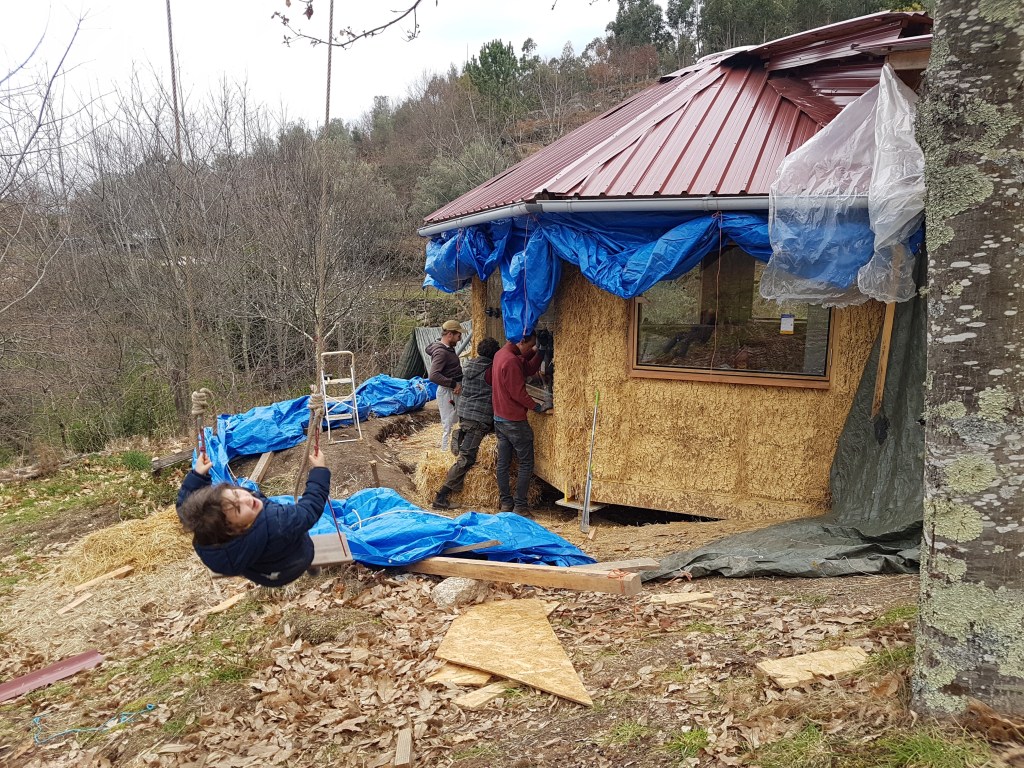
Roofing, Wall Supports and Electricity
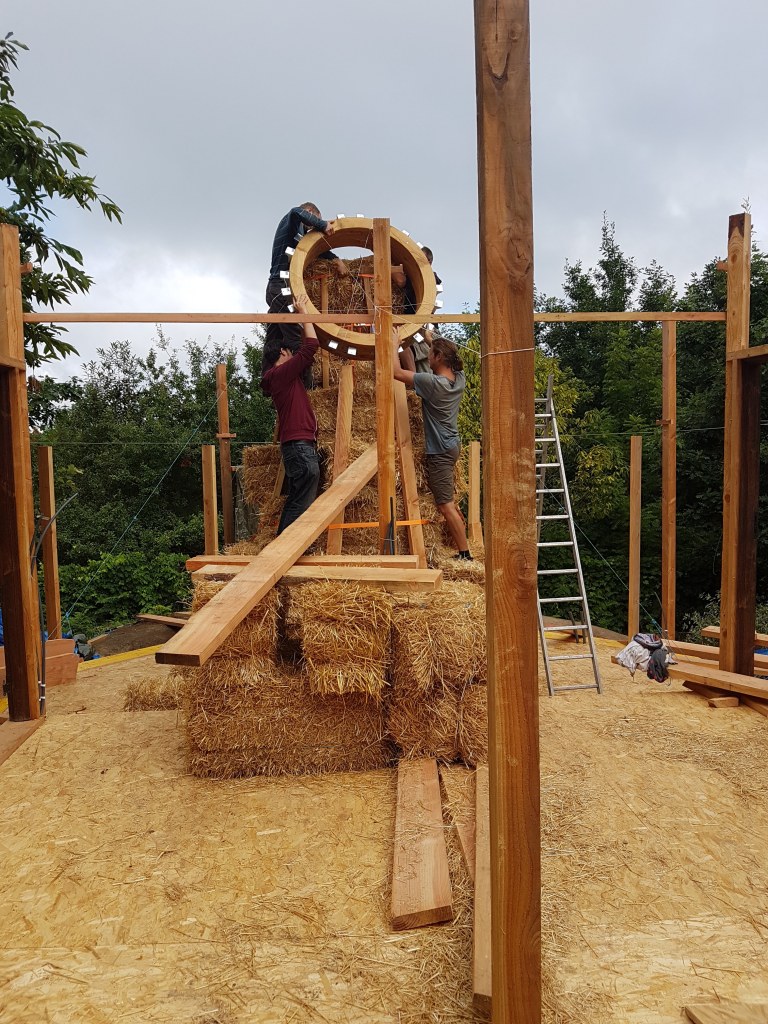
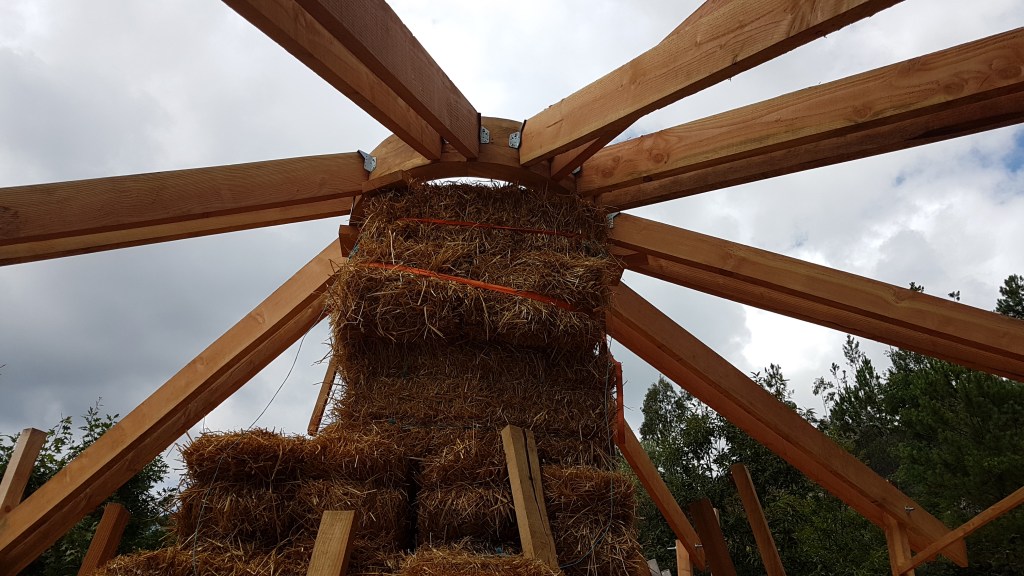
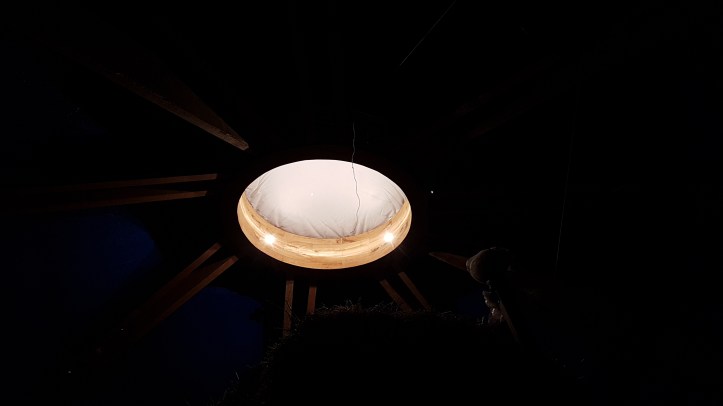
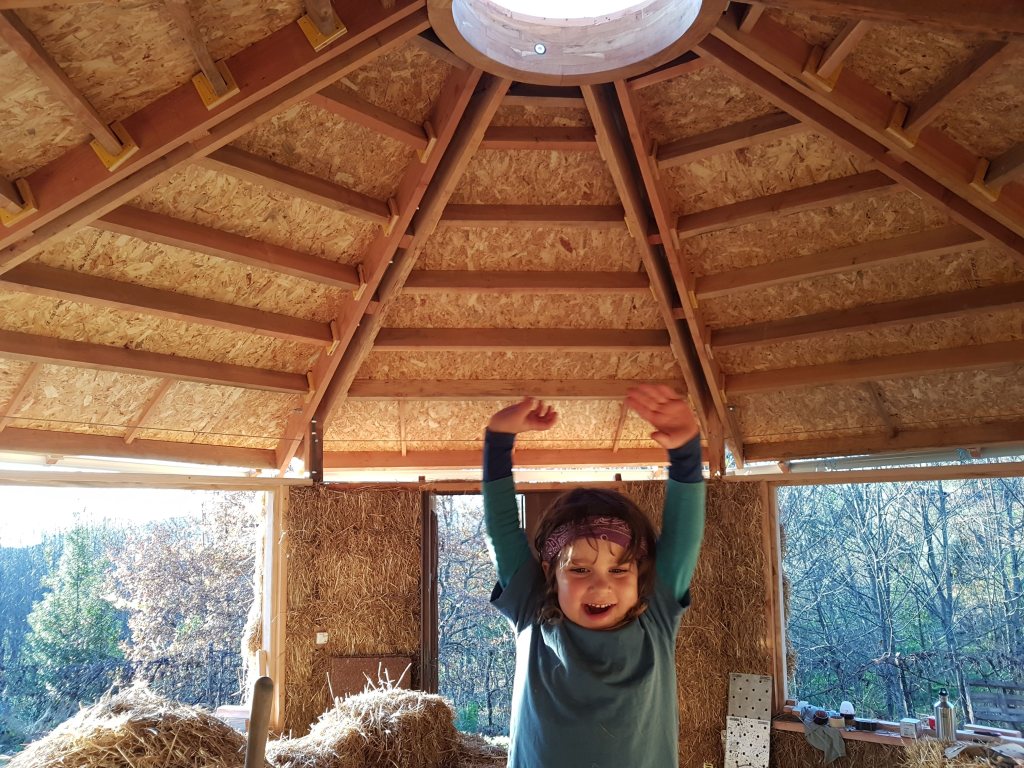
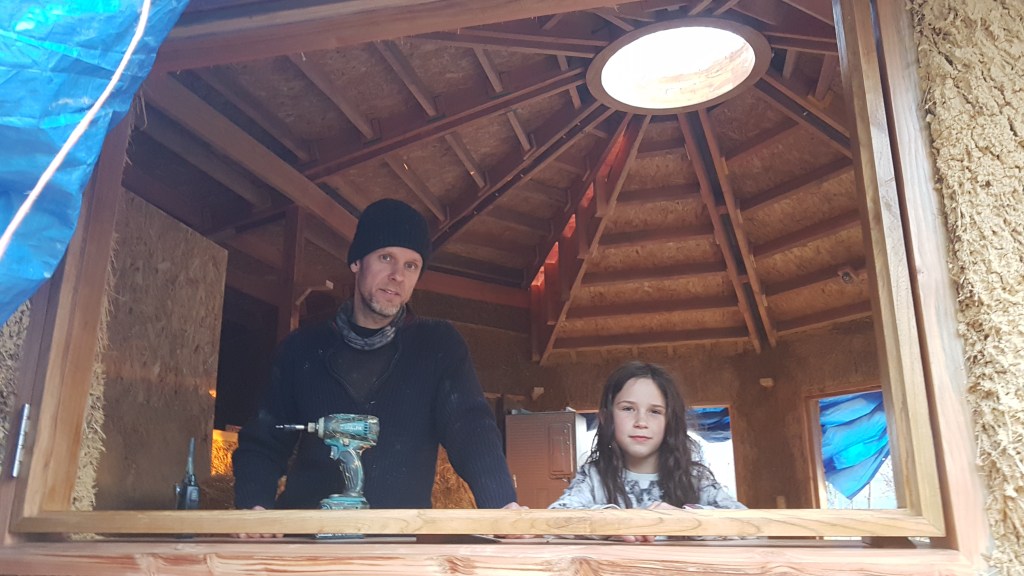
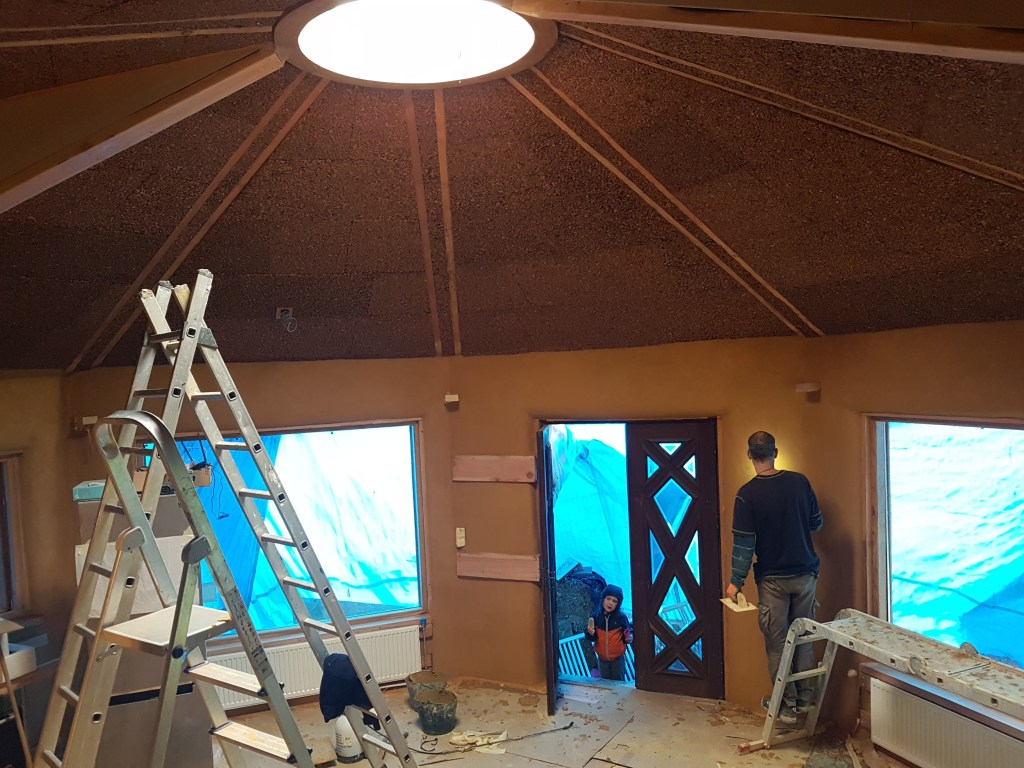
Next up was the roof. We decided to use a wooden center (compression) ring with a skylight. We custom-ordered the chestnut ring from a local carpenter, who also made our window frames.
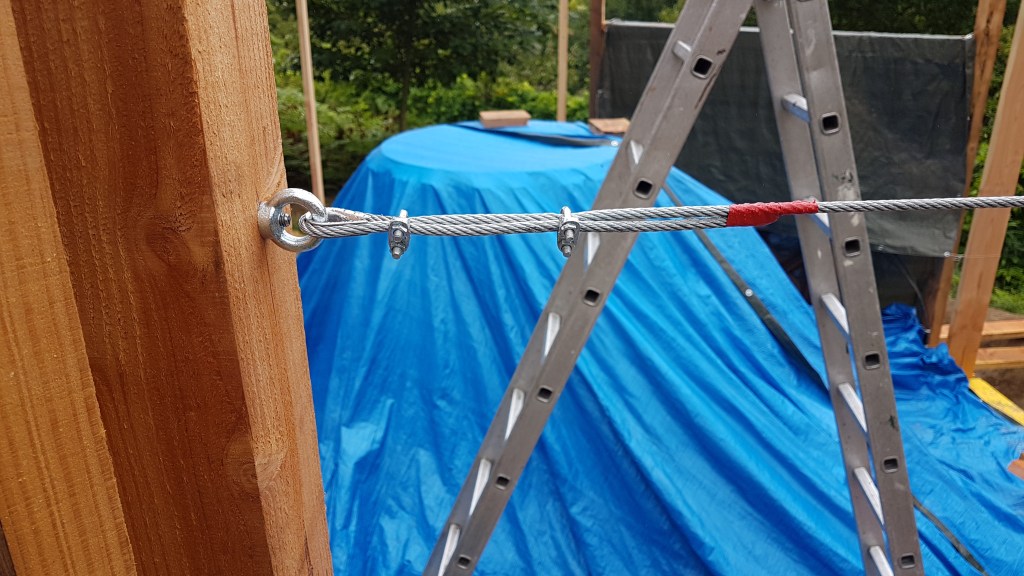
Getting the ring into place was an interesting exercise: I first put the ring at chest level so I could place all the brackets, and only then lifted the ring into the correct position on the straw. I also installed a tension cable along the roof posts.
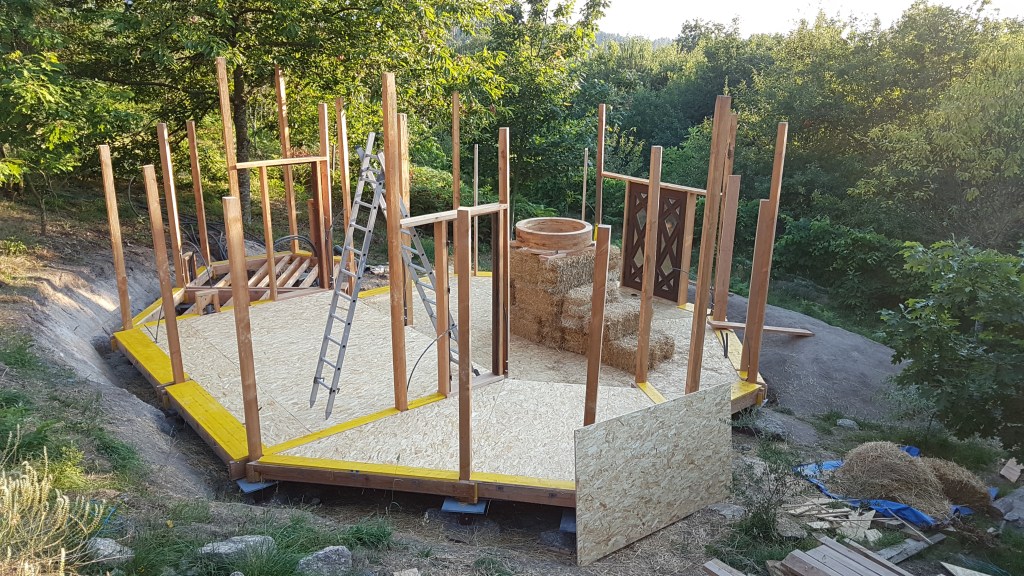
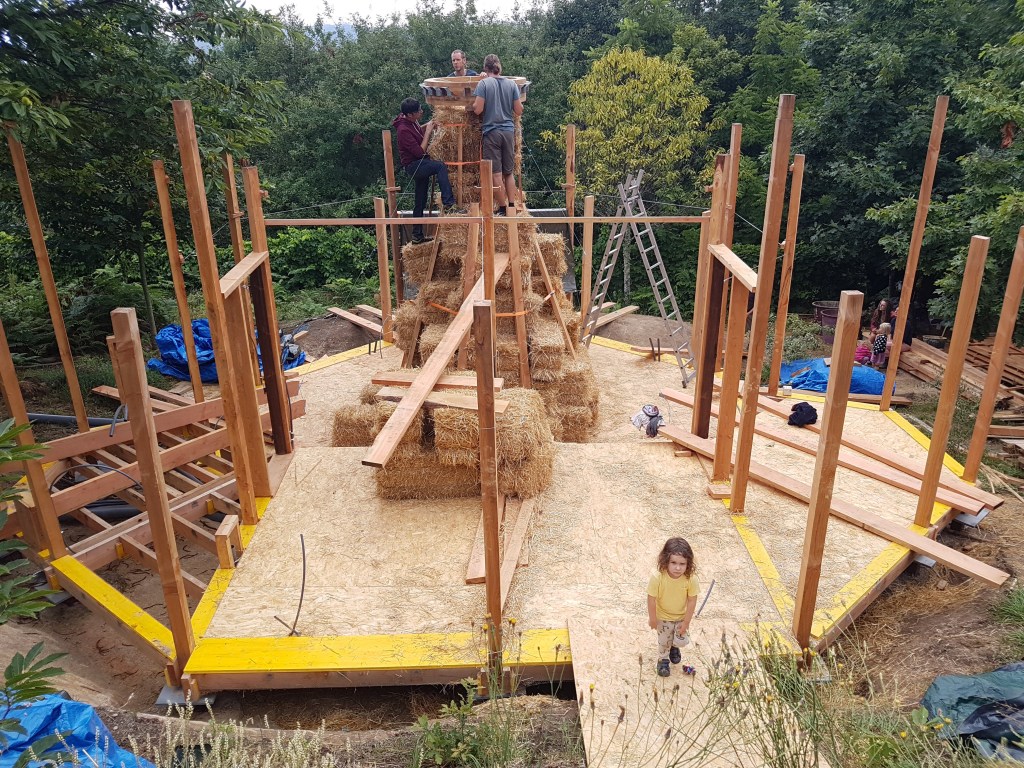

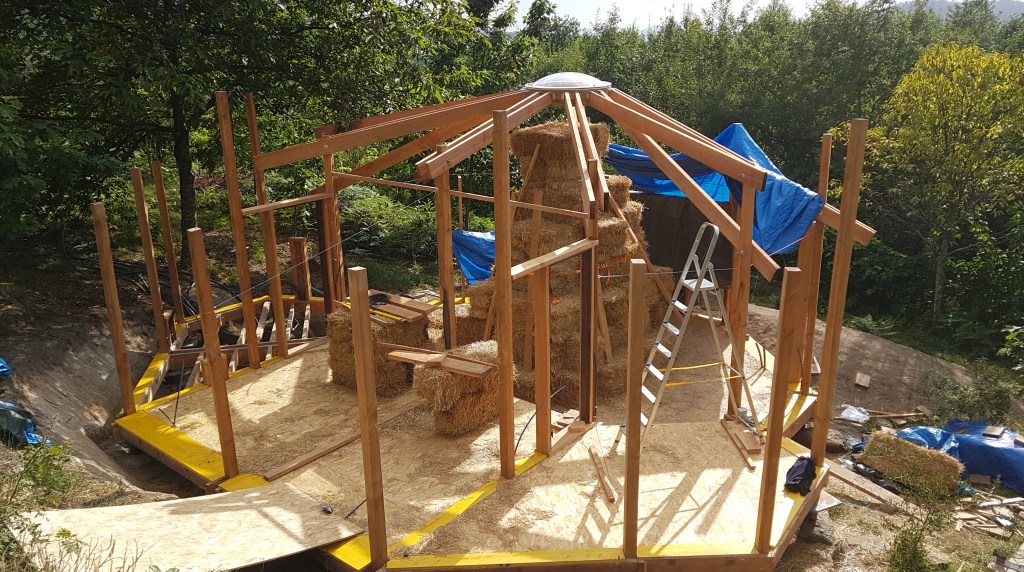
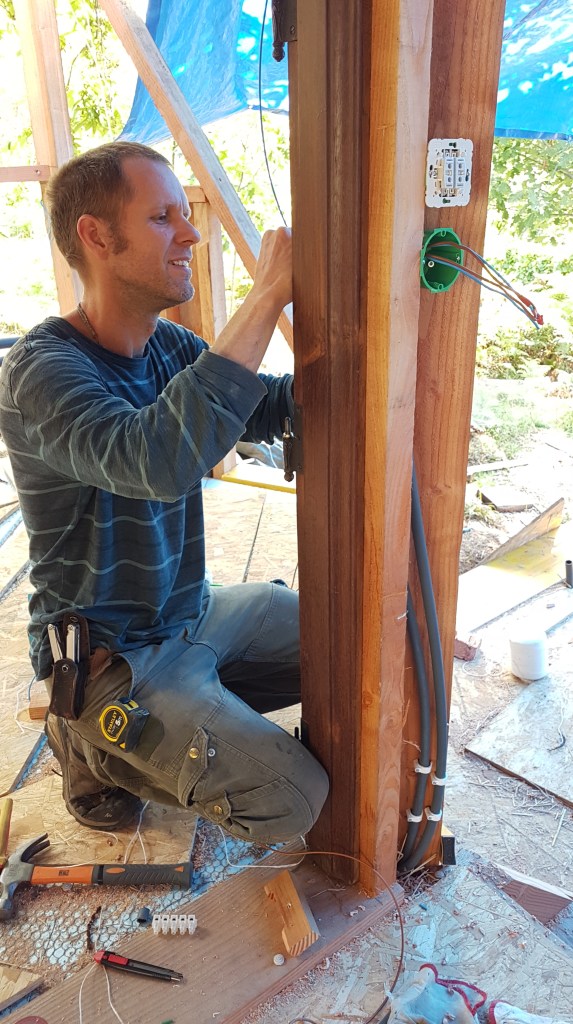
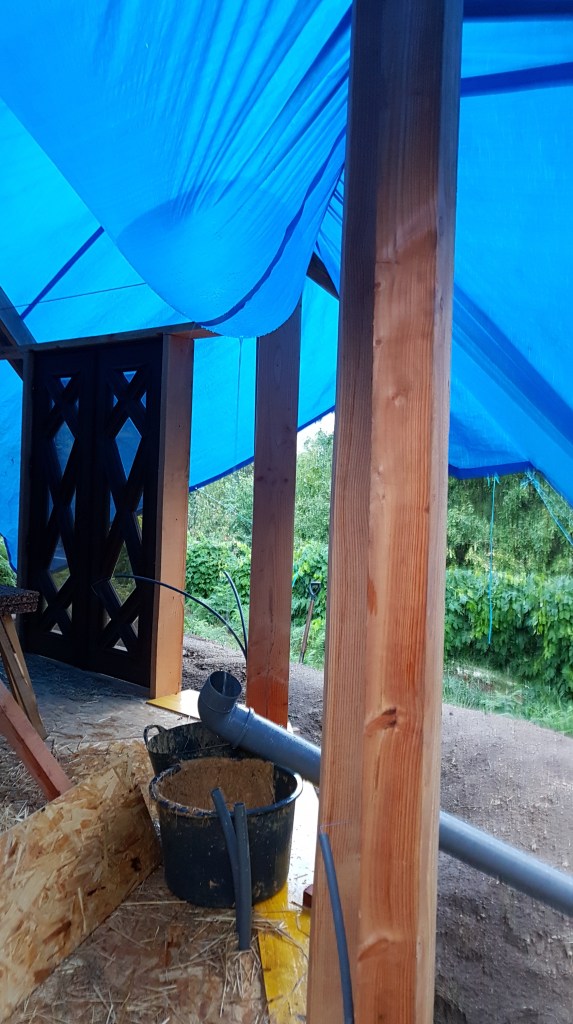
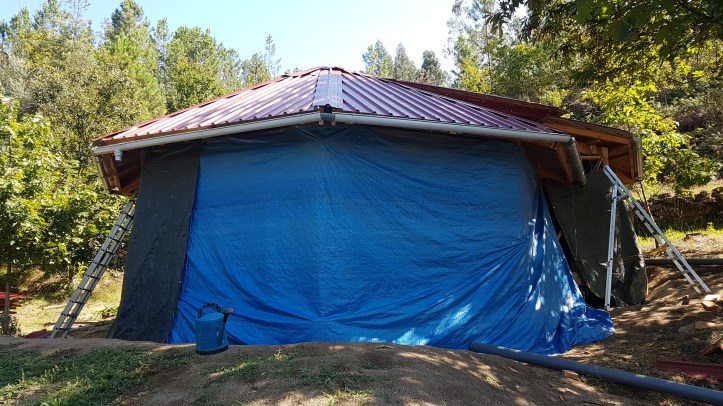
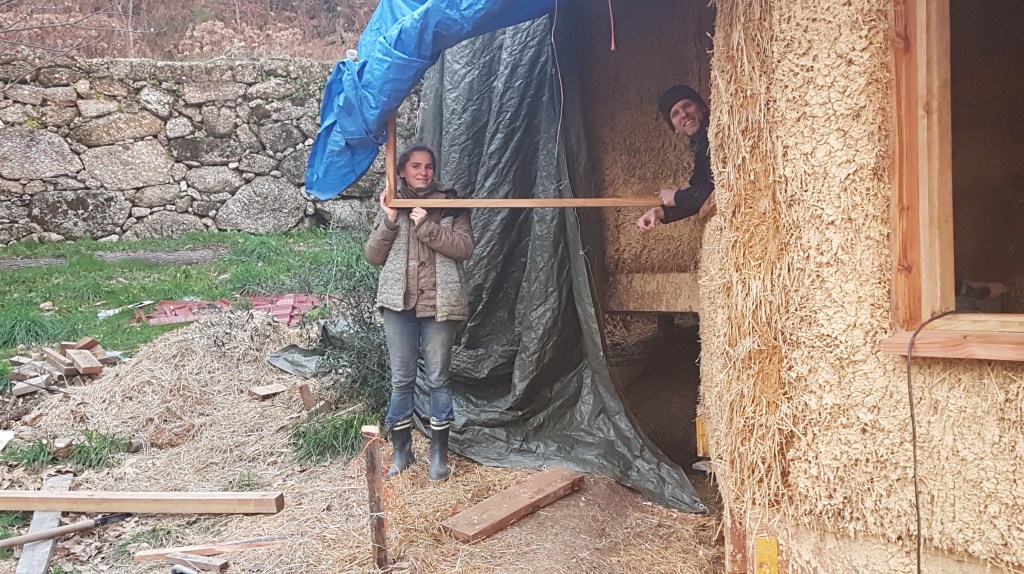
With part of the roof up, I added tarps and started on the wall supports and electricity.
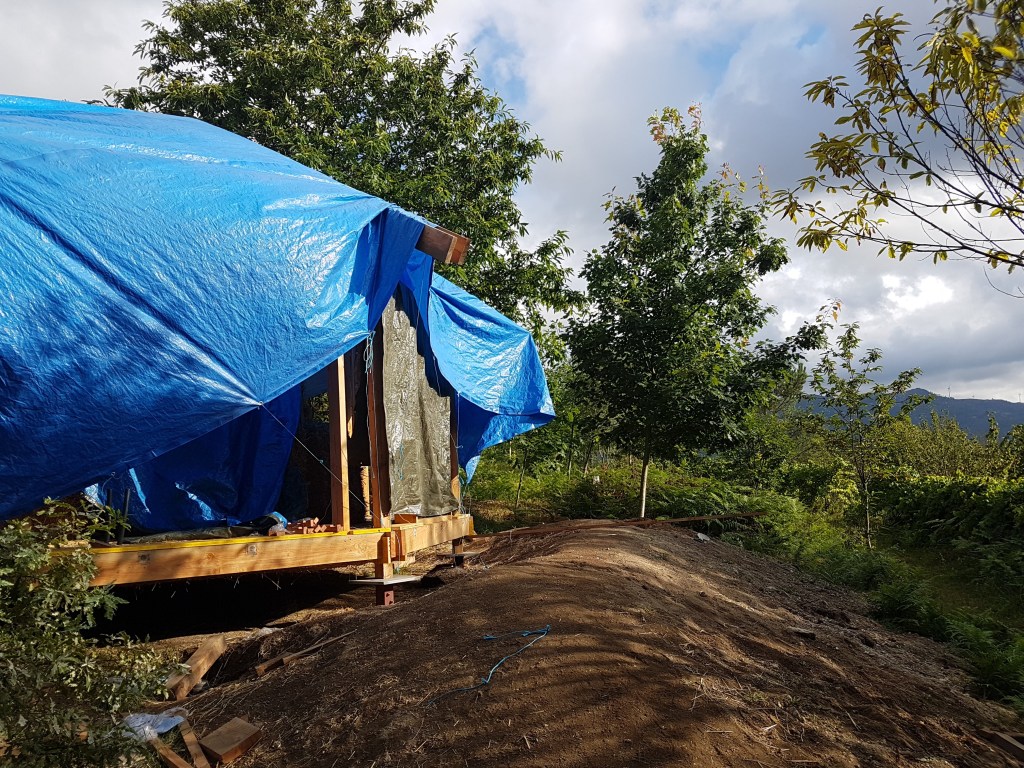
At this point my father and I were working hard to finish the roof, so that we could leave for Tal’s surgery in Israel. We had a heavy thunderstorm come through and it transformed the tarps into large water balloons. Luckily we managed to get rid of the water with the floor staying mostly dry and there was no long-term damage.
Just before flying to Israel we slept our first couple of nights in the Octagon, since we wanted to put the tent away before it started raining. I wrapped the Octagon with tarps for walls, which held amazingly for the two rainy months we were gone, and only failed once we were back to repair.
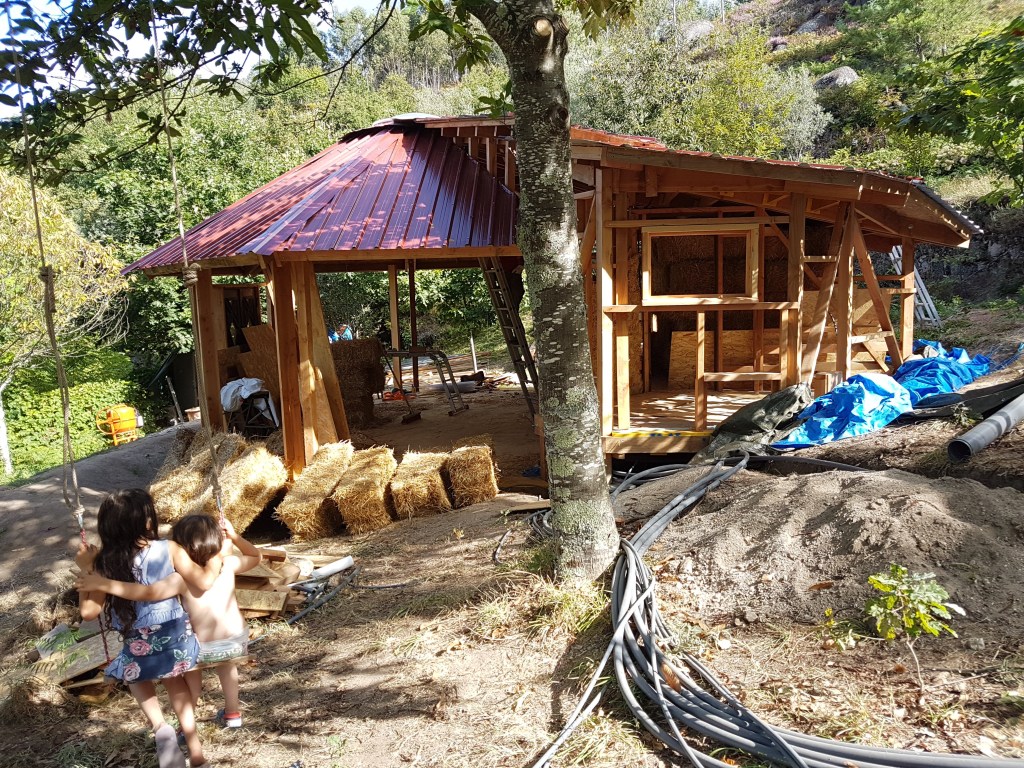


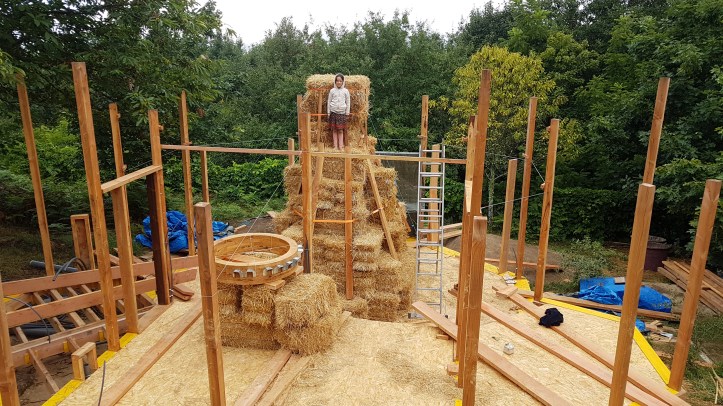
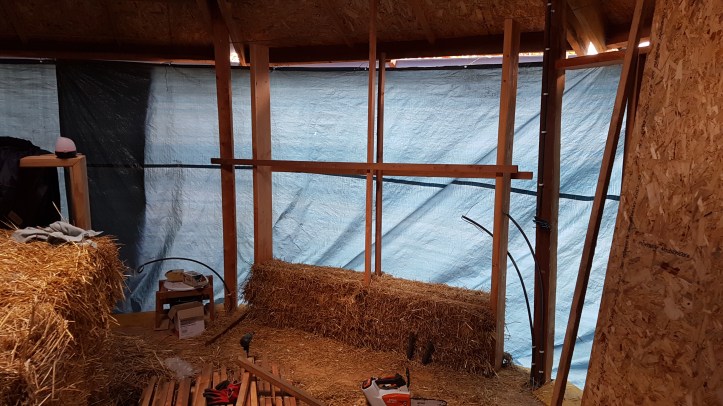
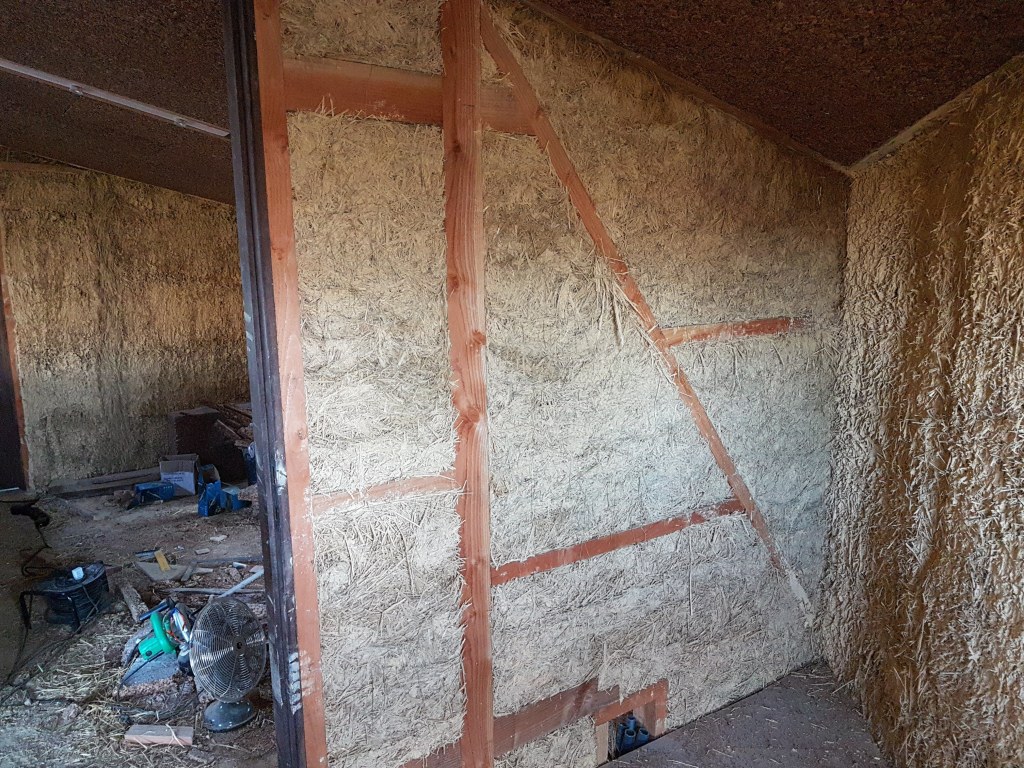
Straw Bale Walls
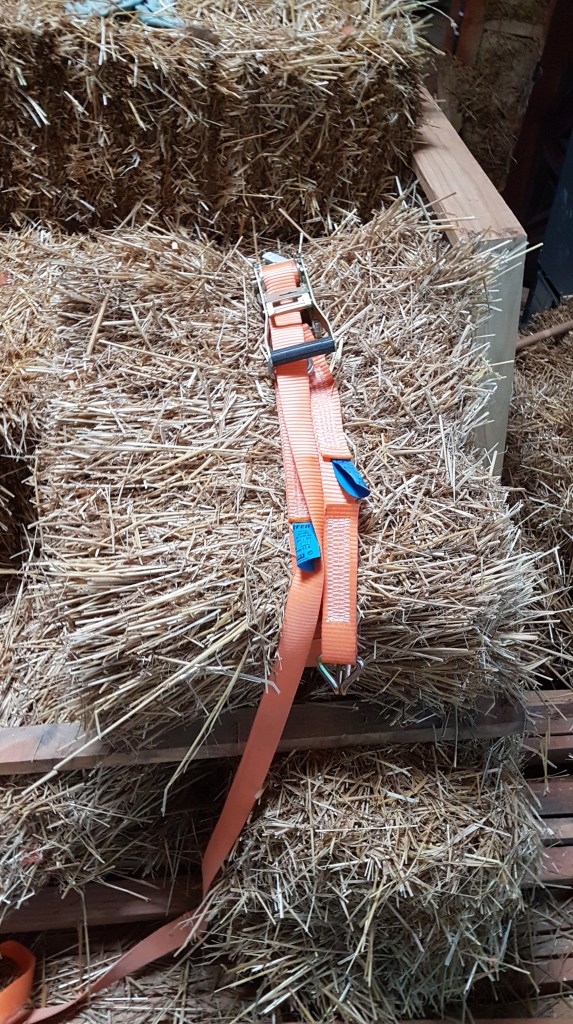
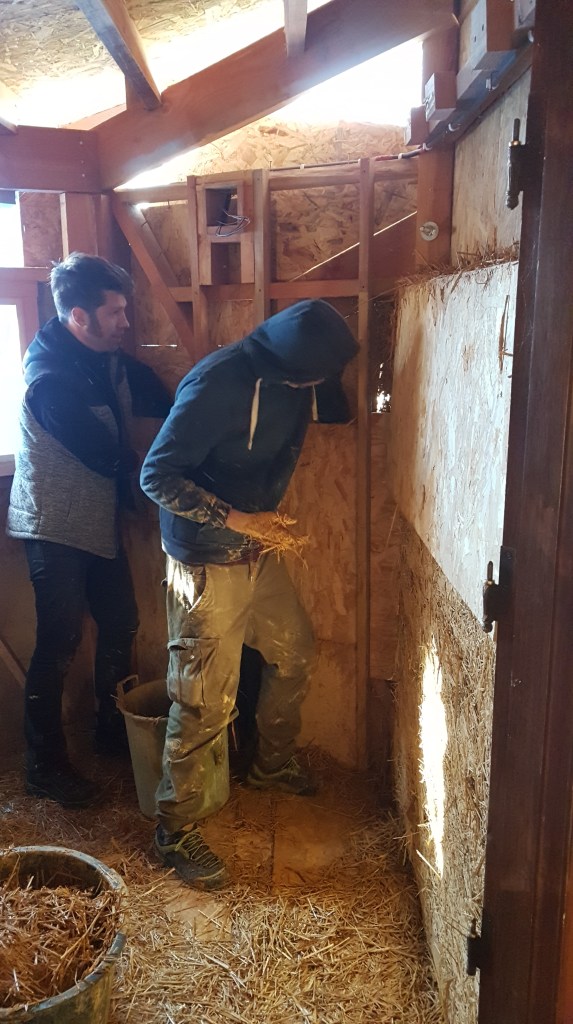
Once we were back from Israel, it was time for the straw bale walls. I applied the Cell Under Tension (CUT) technique developed by Tom Rijven: essentially every bale is inserted in-between wooden posts and is then secured from the top by wood as well. That way, the entire bale is surrounded by wooden slats and becomes a cell. Once all bales are in the wall you can cut the strings and the wall becomes a whole. These types of walls are actually load-bearing, even though I did not use them as such.
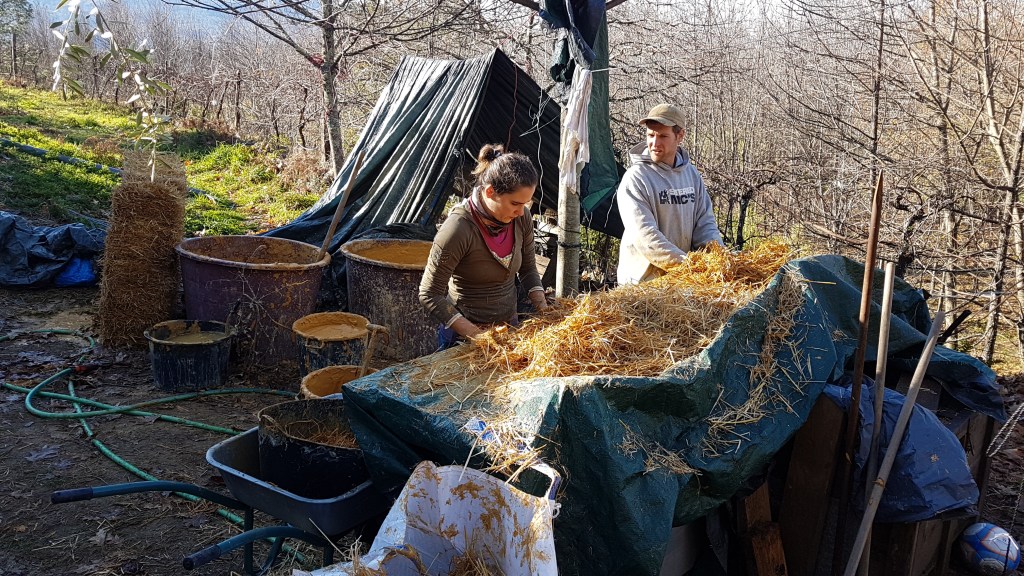
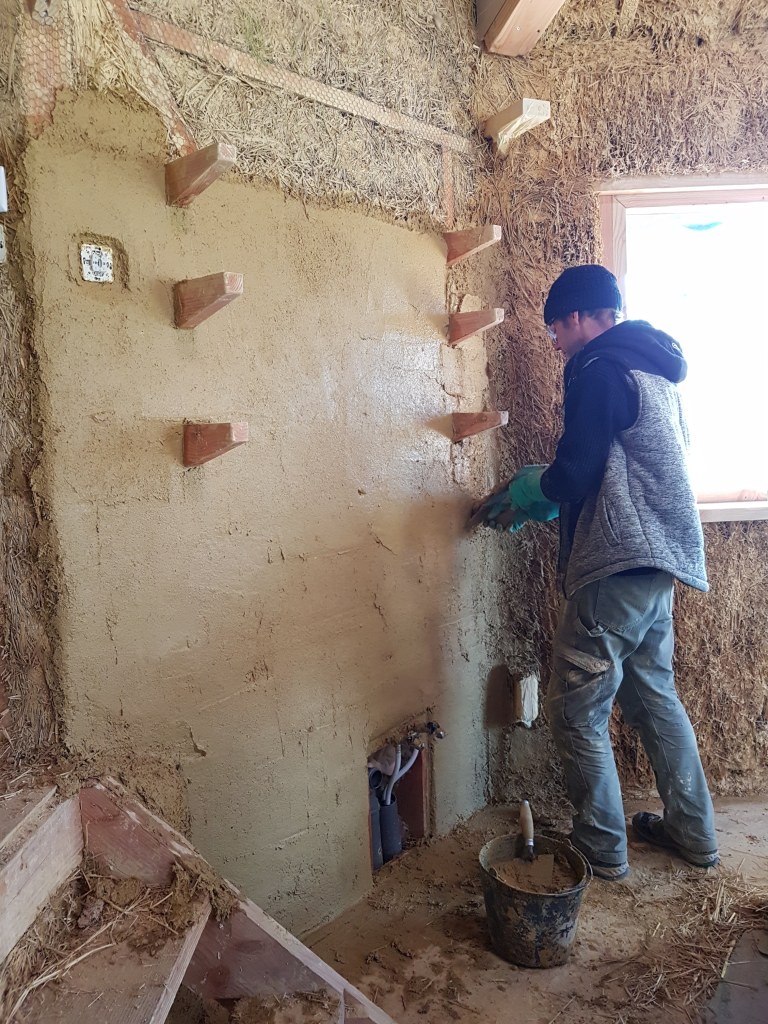
Slowly but surely it was time to get muddy. We decided to use light straw/clay for our interior walls. We did not enjoy working with the light straw/clay medium that much, since it is very time consuming and tedious. Still, the end result is nice.
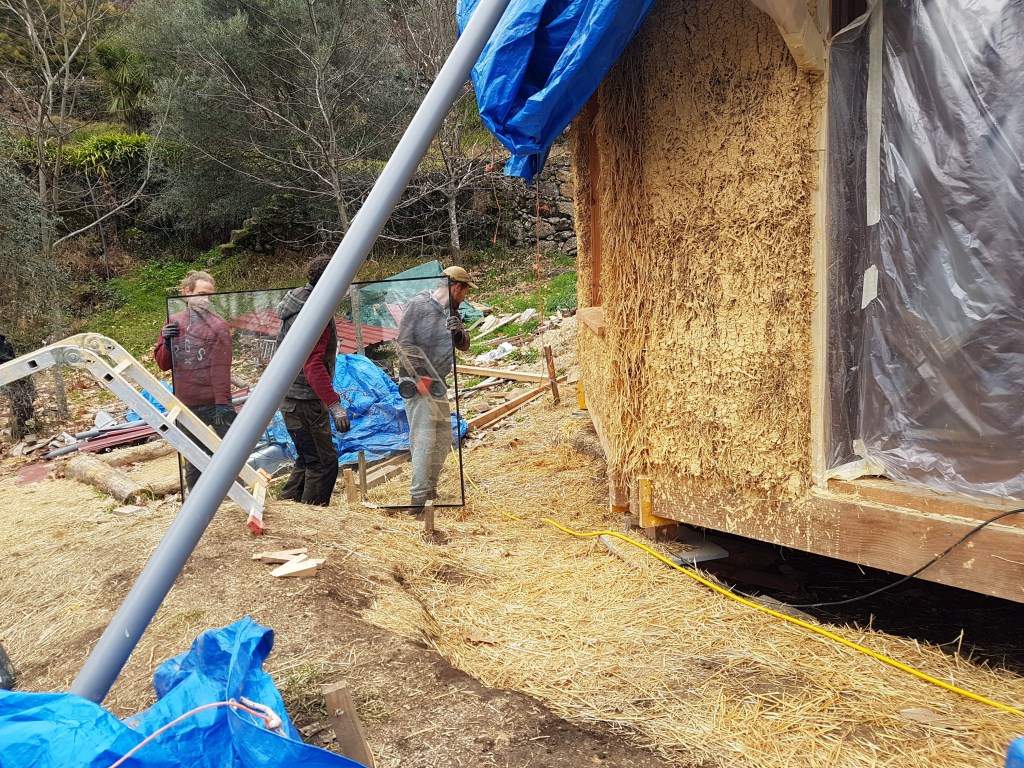
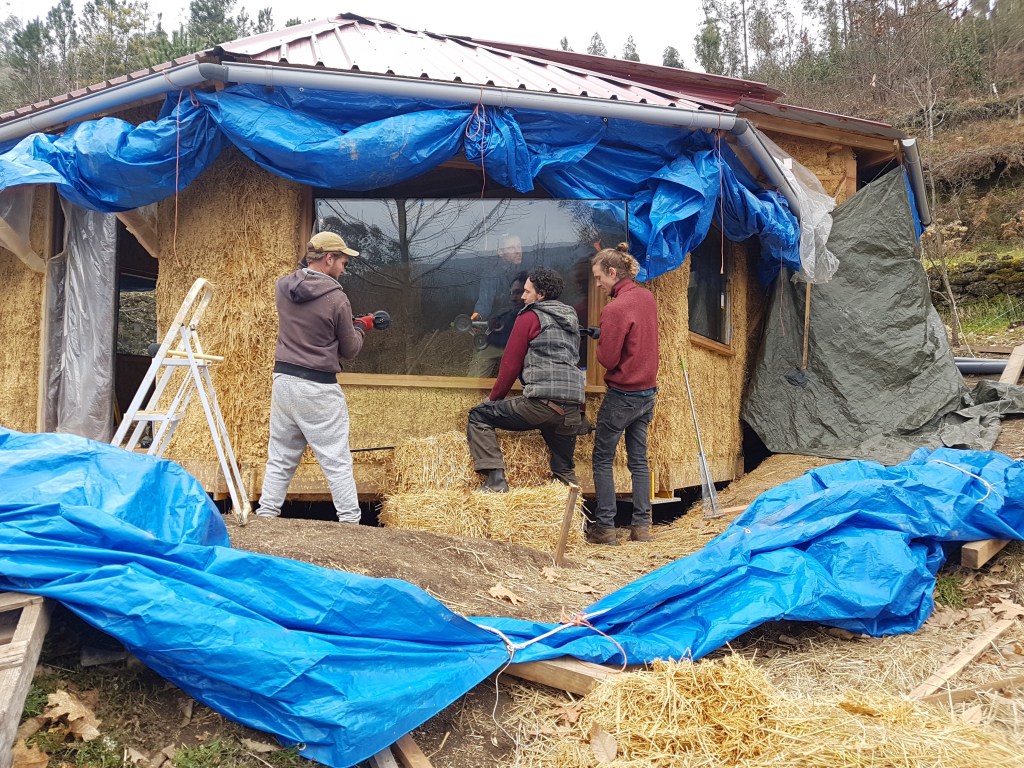
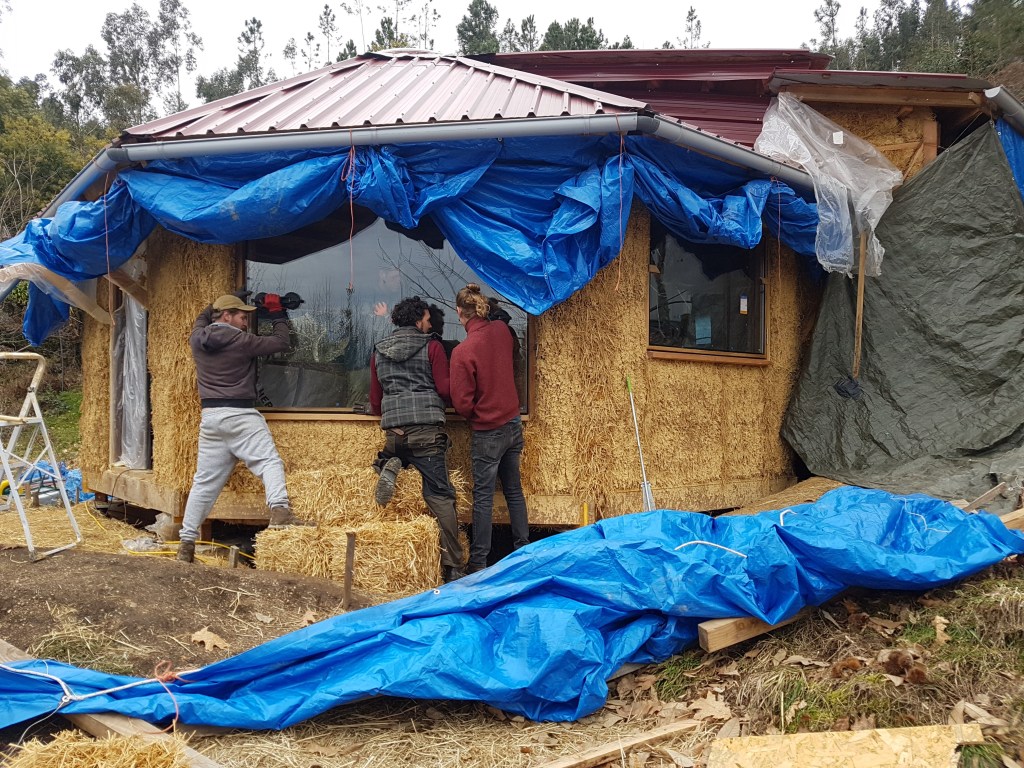
Windows
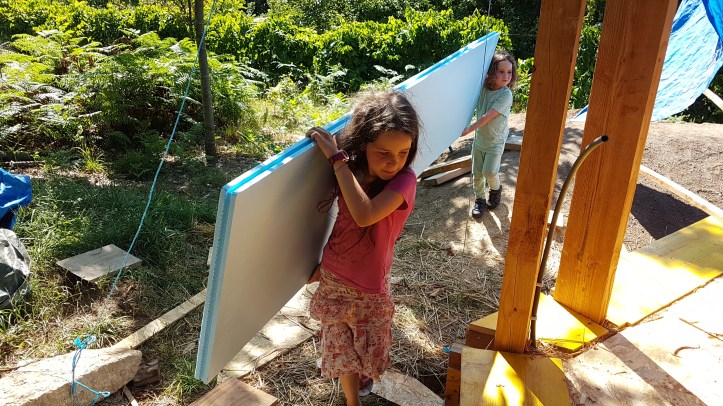
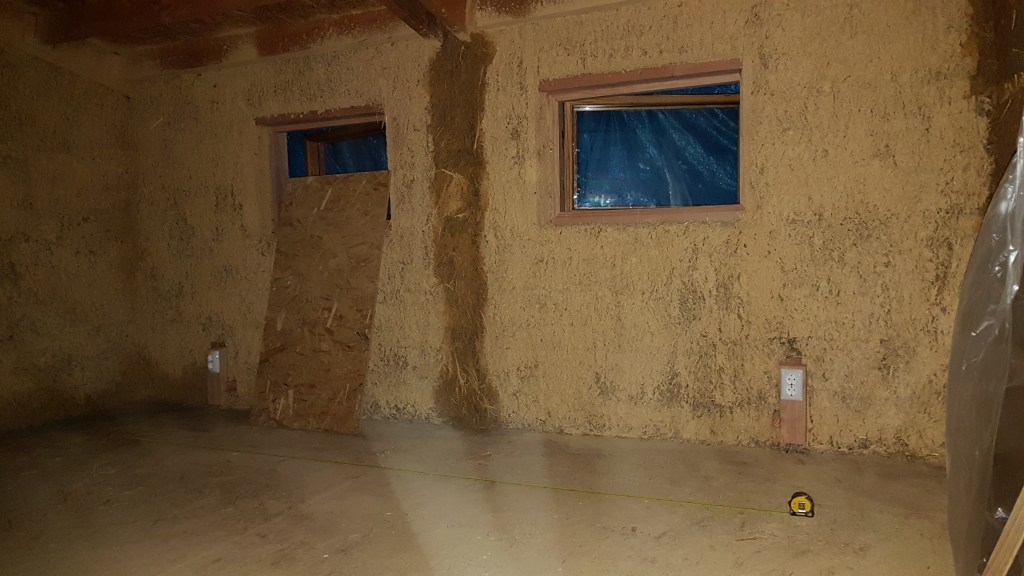
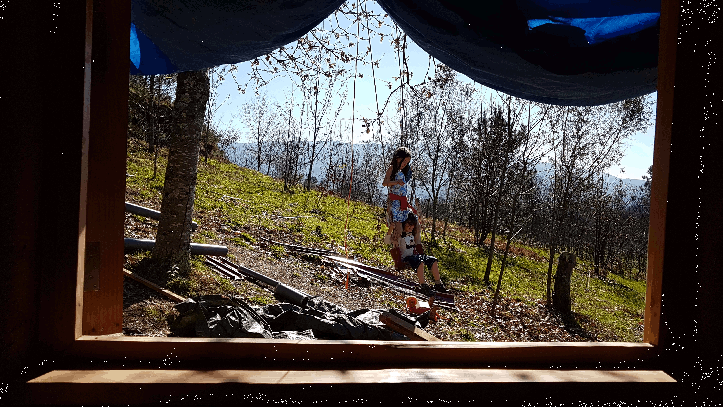
We installed the window frames and windows and started spraying the straw bales with clay slip in order to prepare them for the plastering.
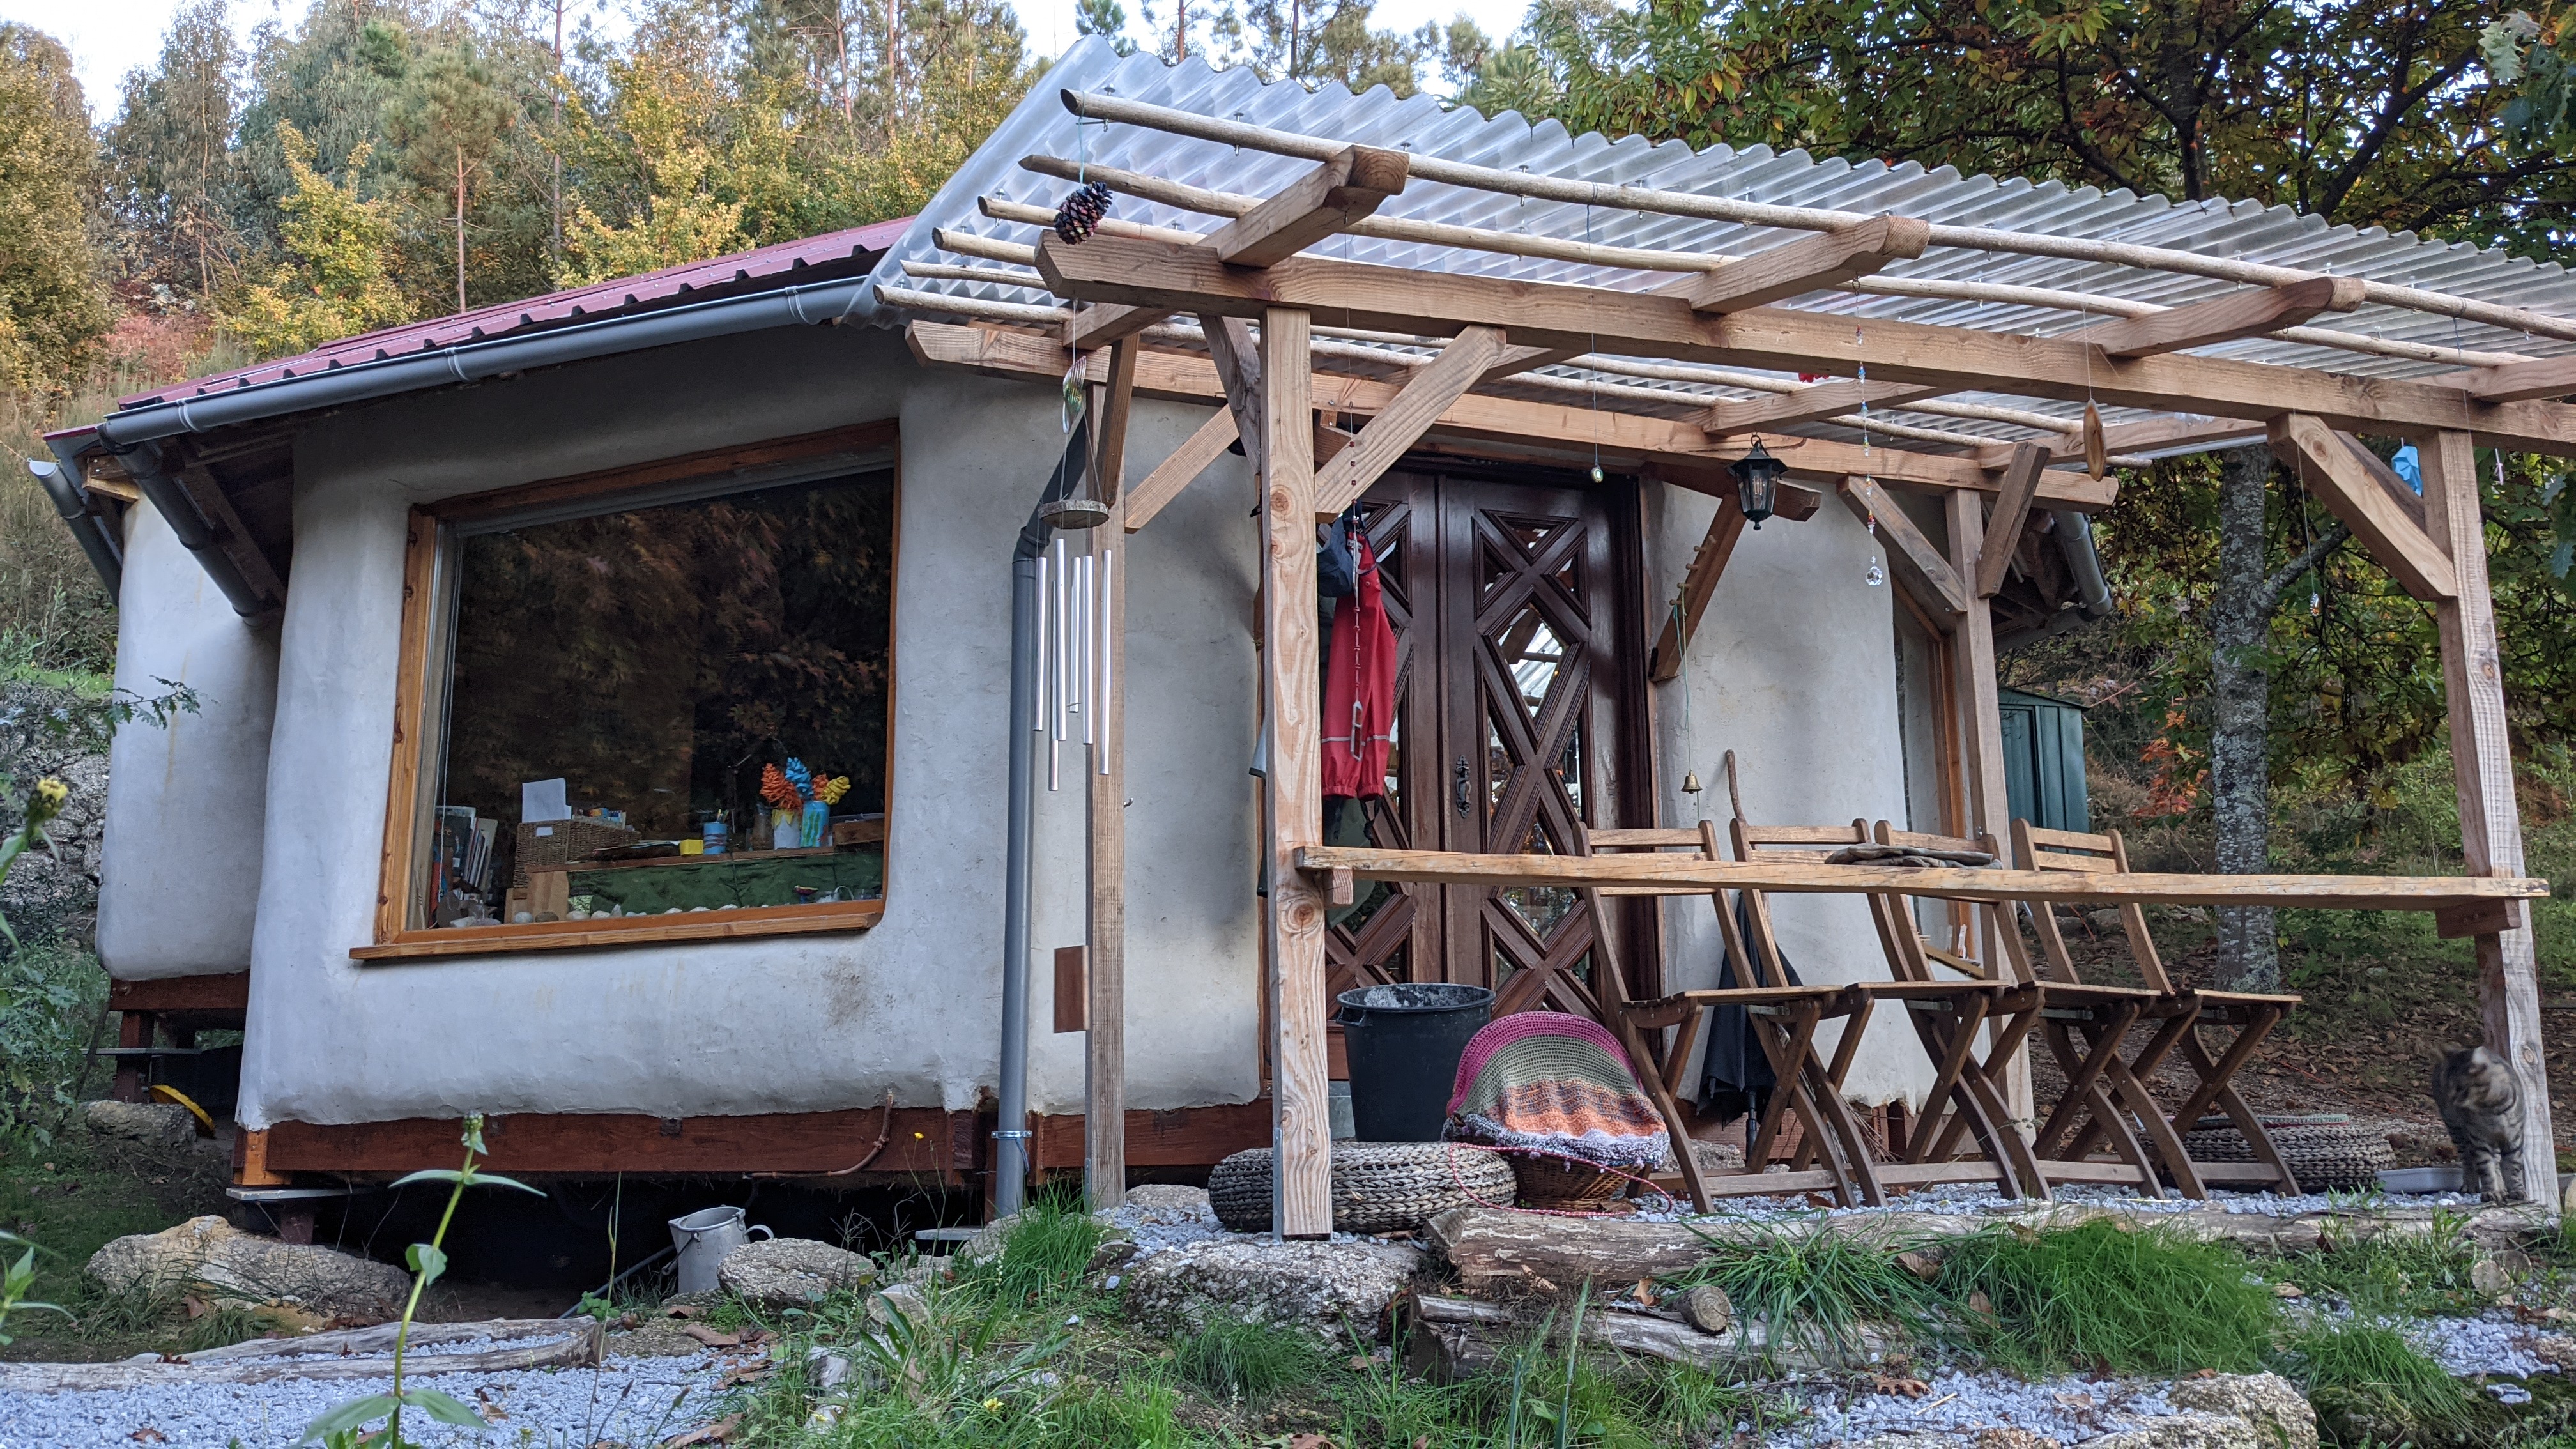
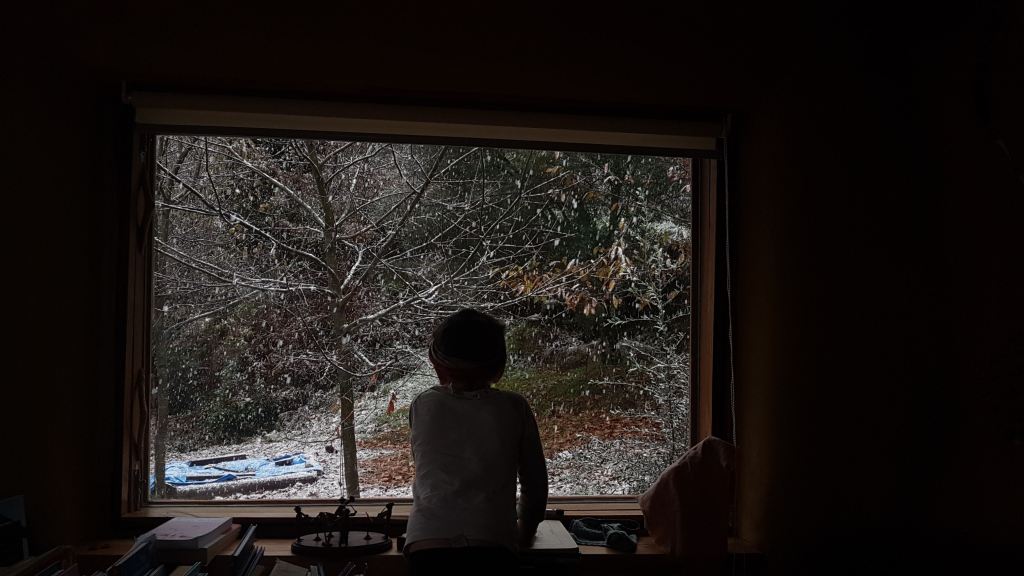
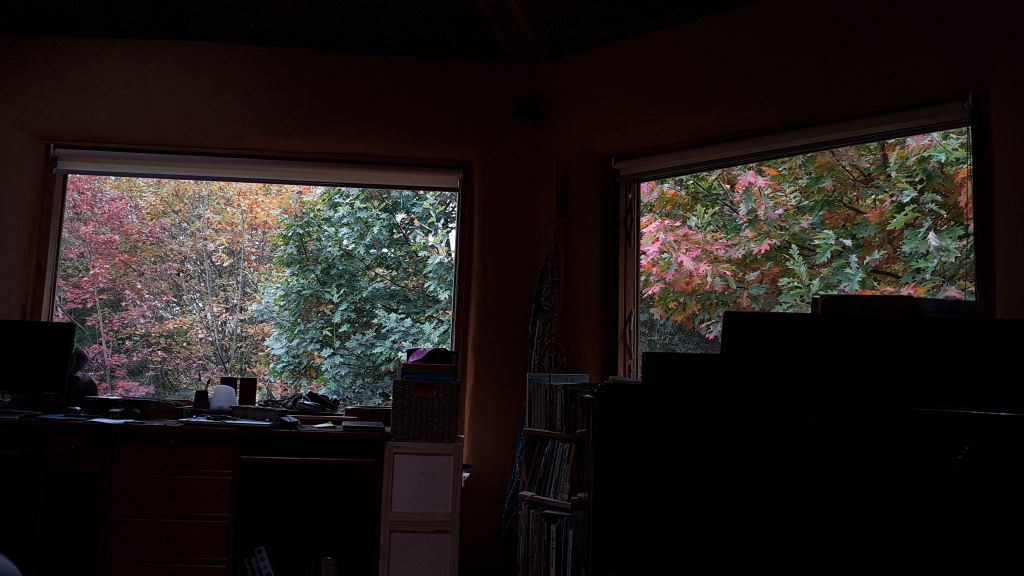
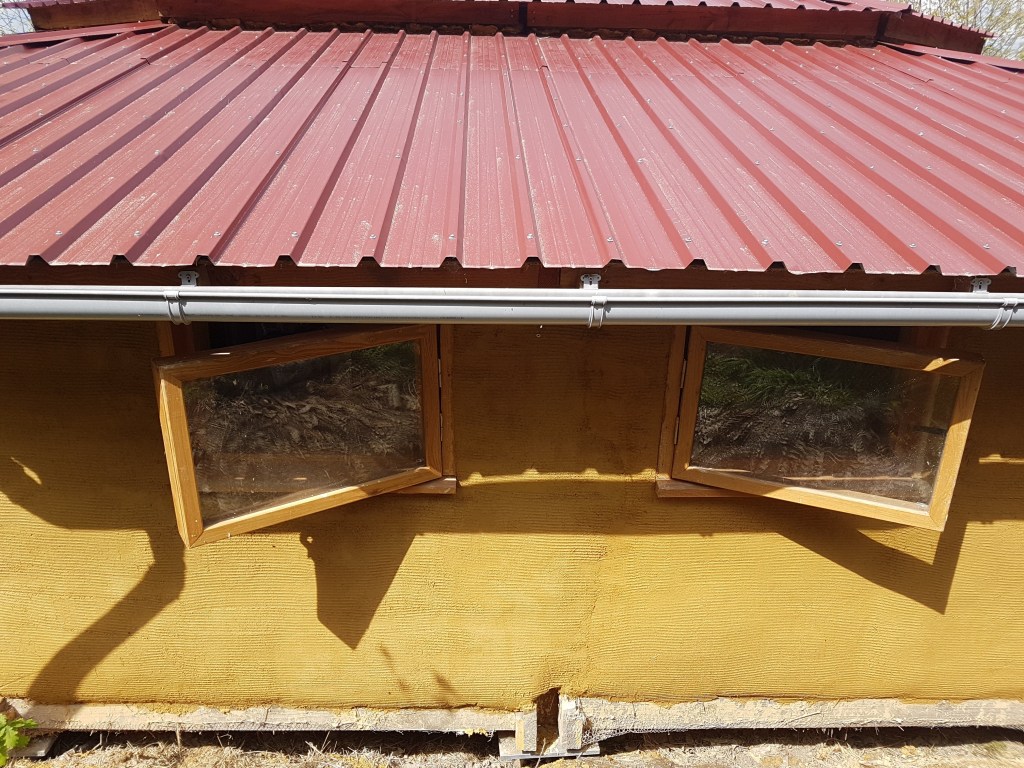
We opted for large windows so we would experience the outside even when we are inside. Looking back we are very happy with this decision. We feel very connected with the nature as it changes throughout the year, even when the weather doesn’t permit much outdoor time.
The two largest windows (200x150cm) cannot be opened, but all the others can – including the 150x100cm windows. This gives a wonderful breeze in summer and helps cool off the house.
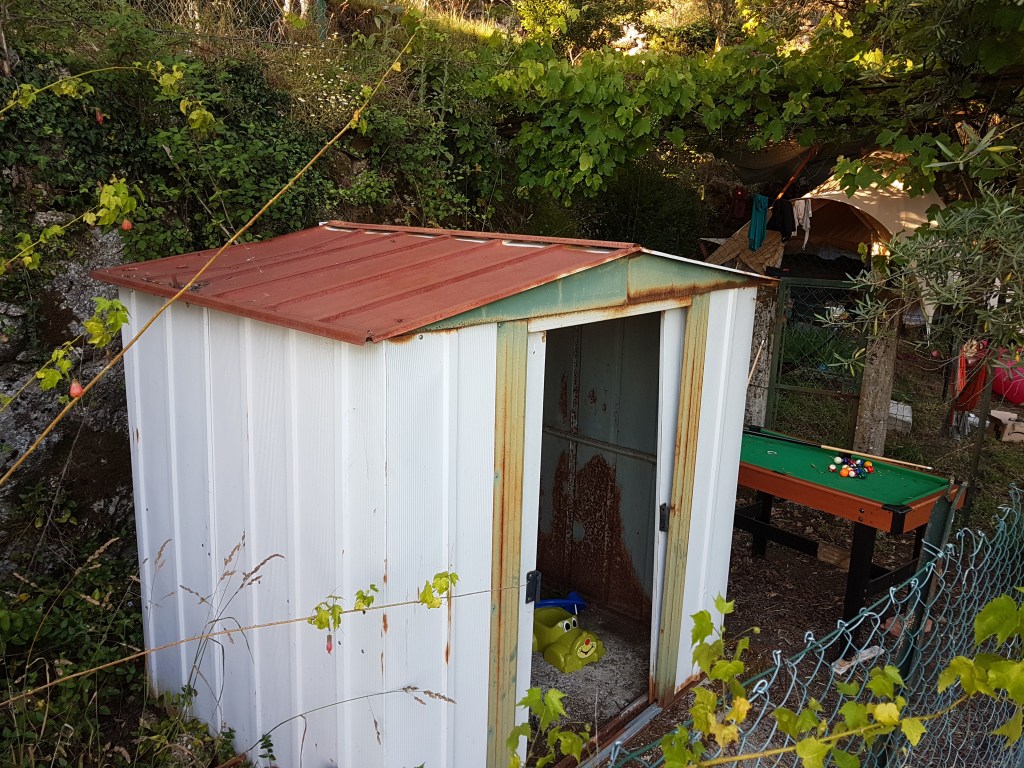
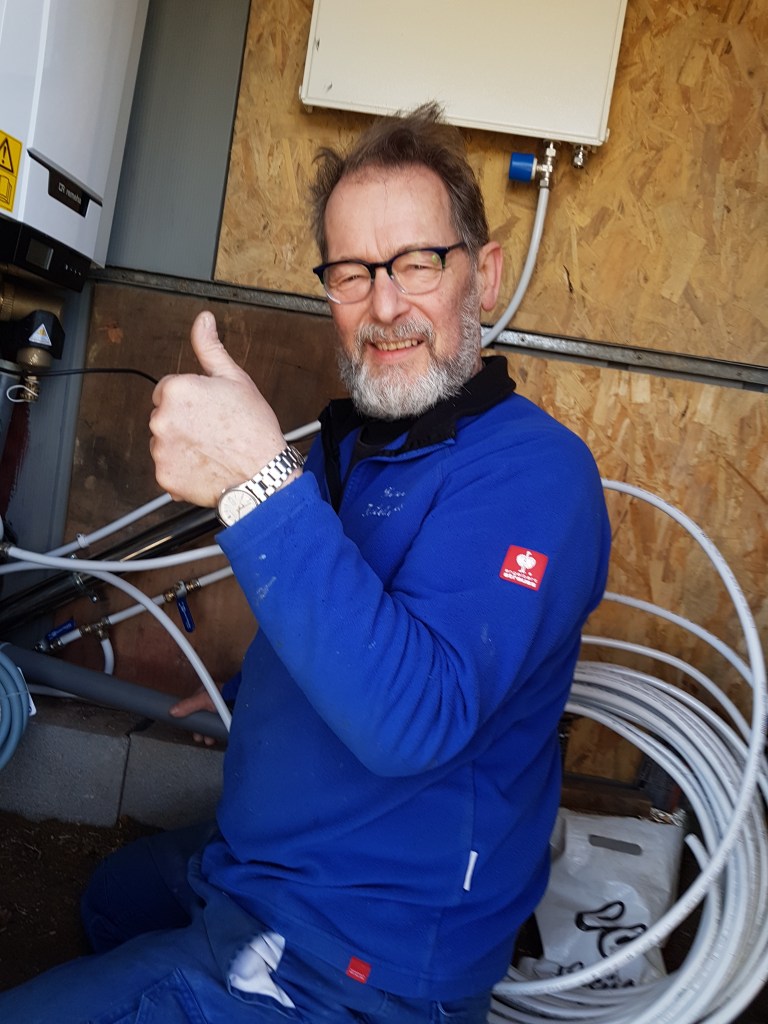
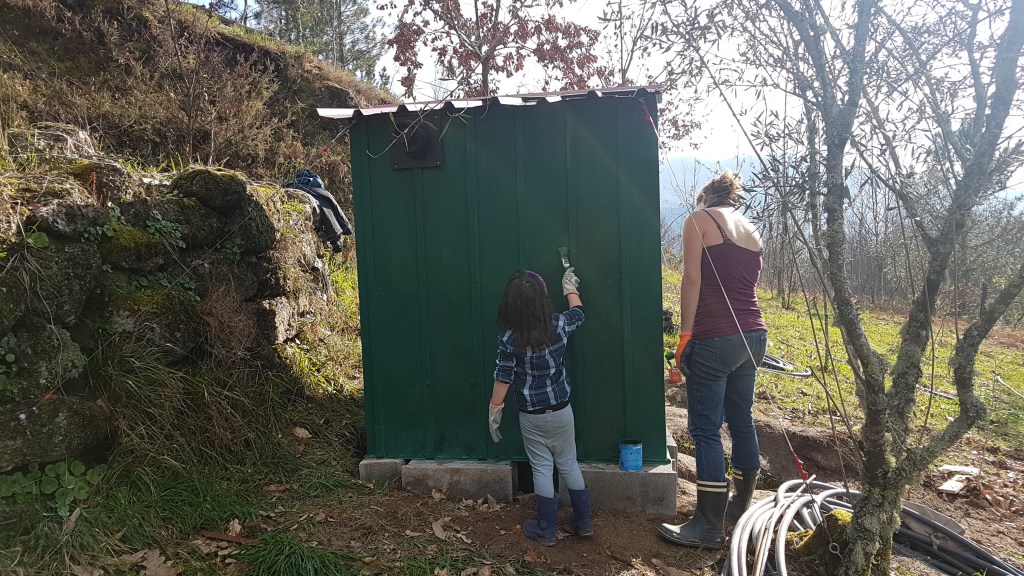
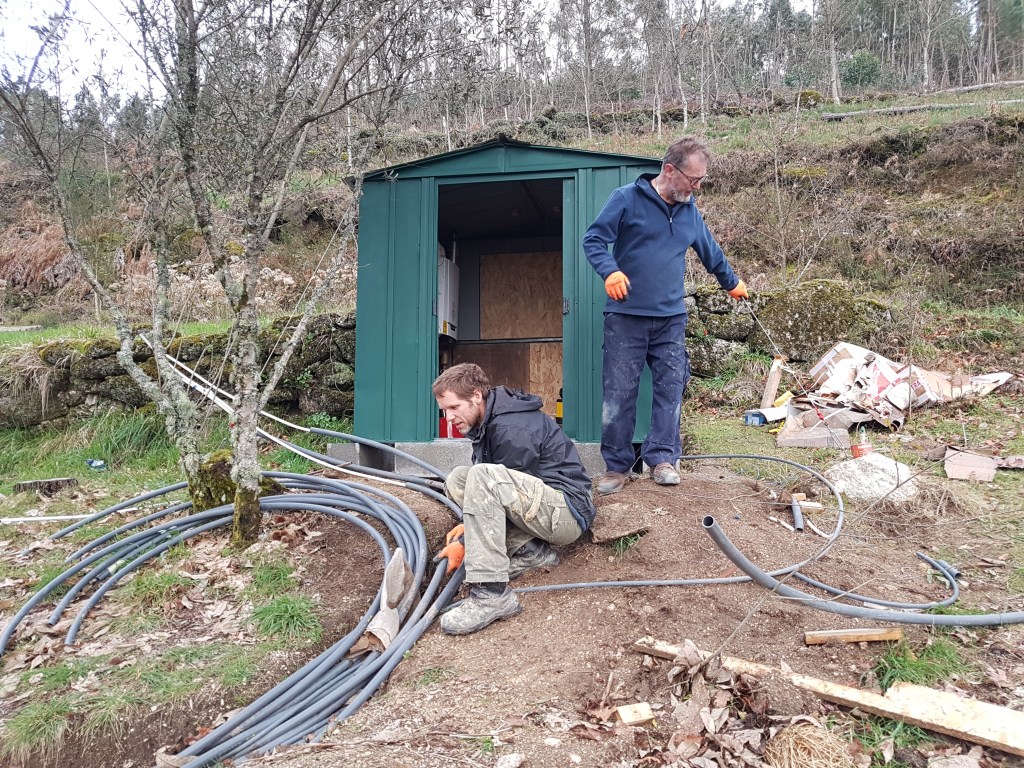
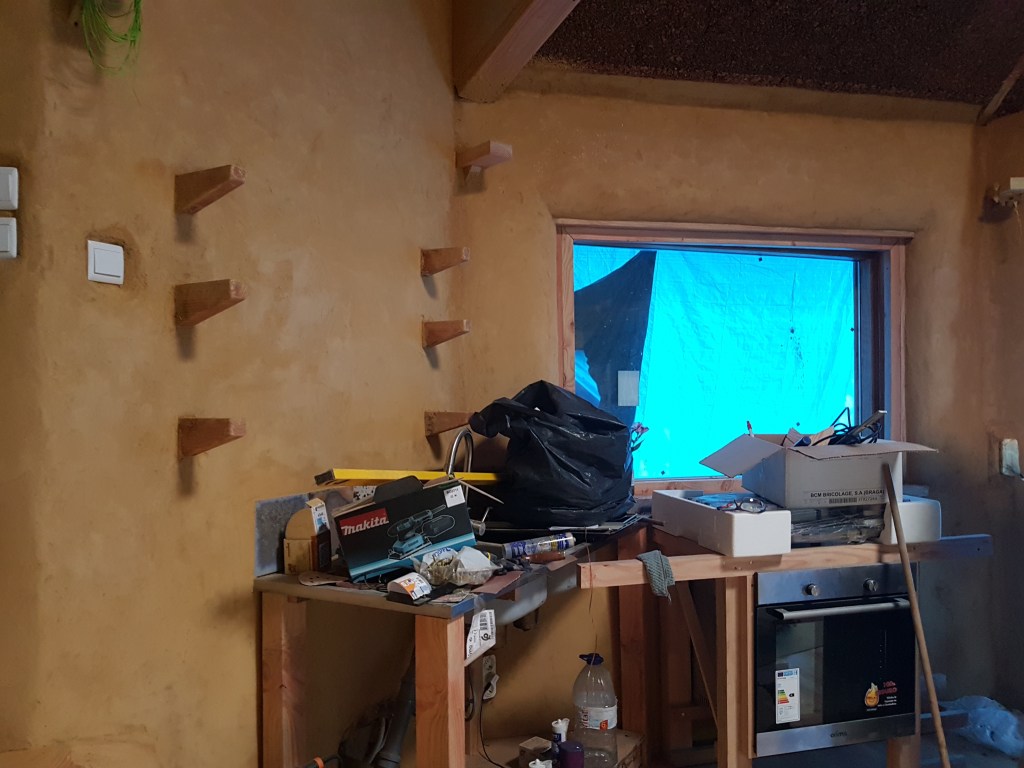
Utilities
For our utility shed, we renovated an old metal shed that was on the land. The shed houses our water booster pump, UV-filter, solar system and water heater.
We also started on our bathroom.
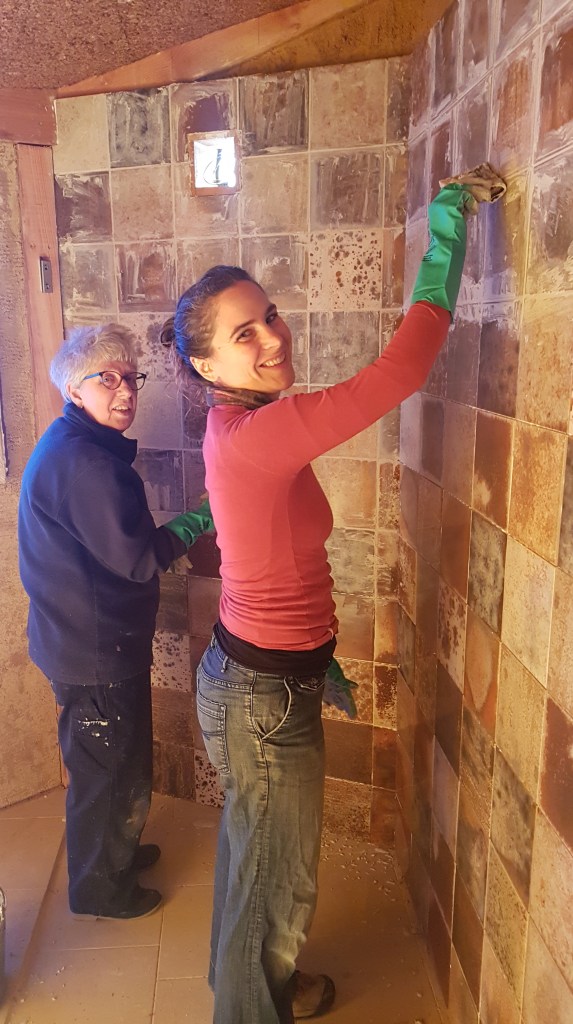
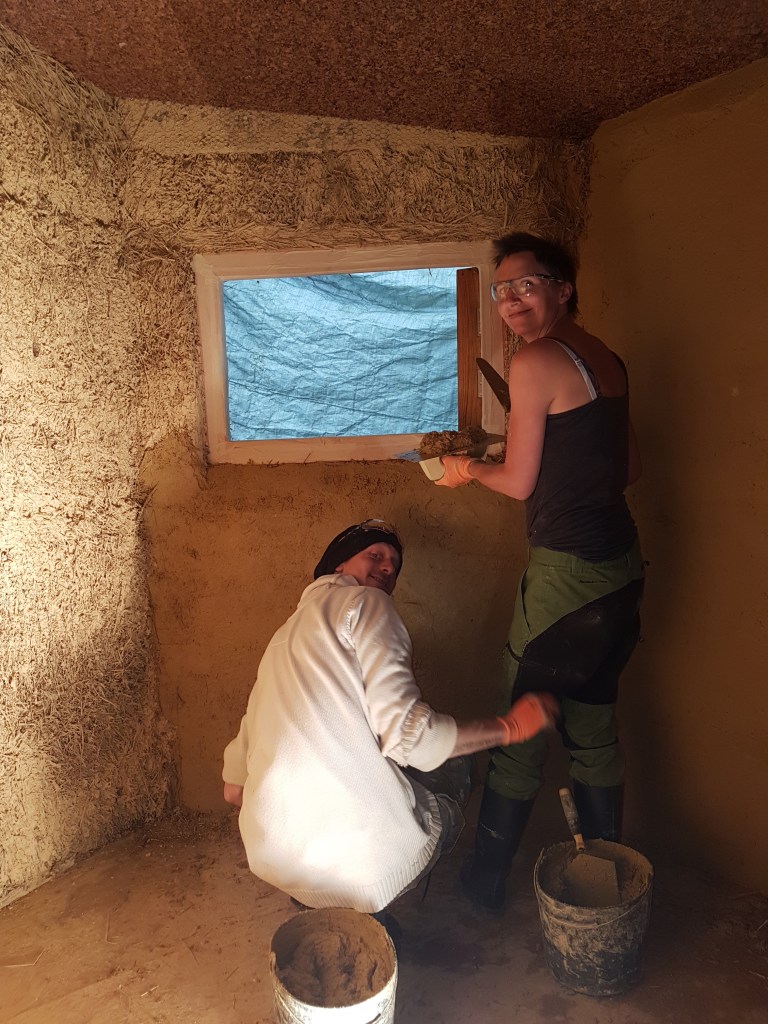
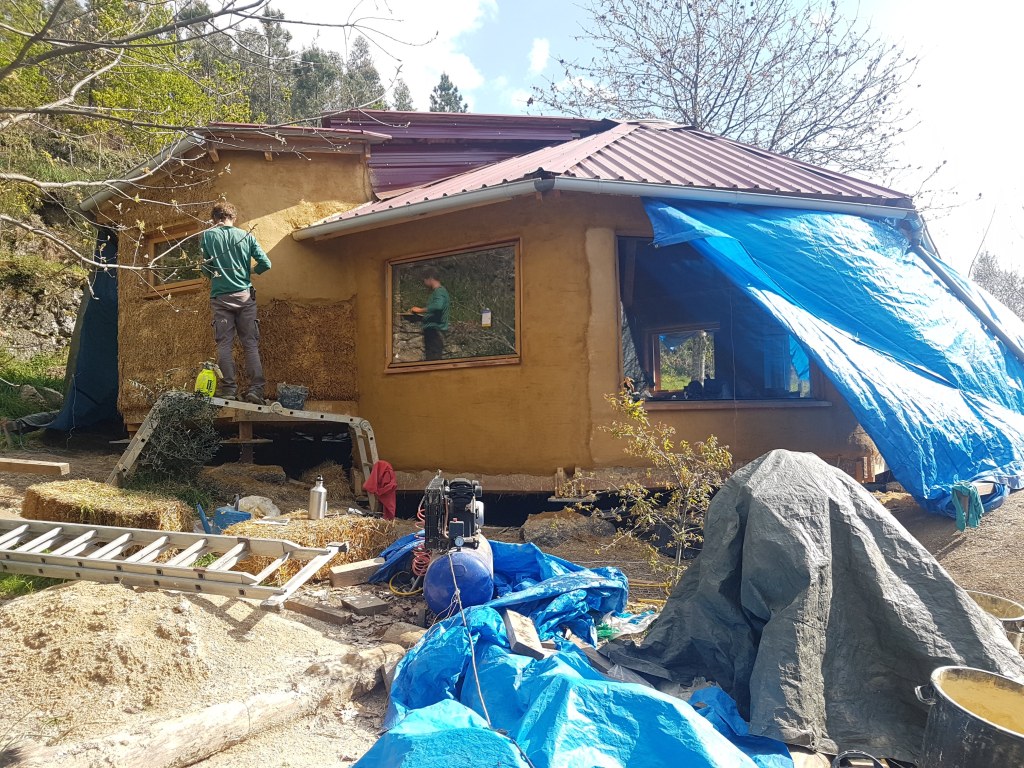
Plastering
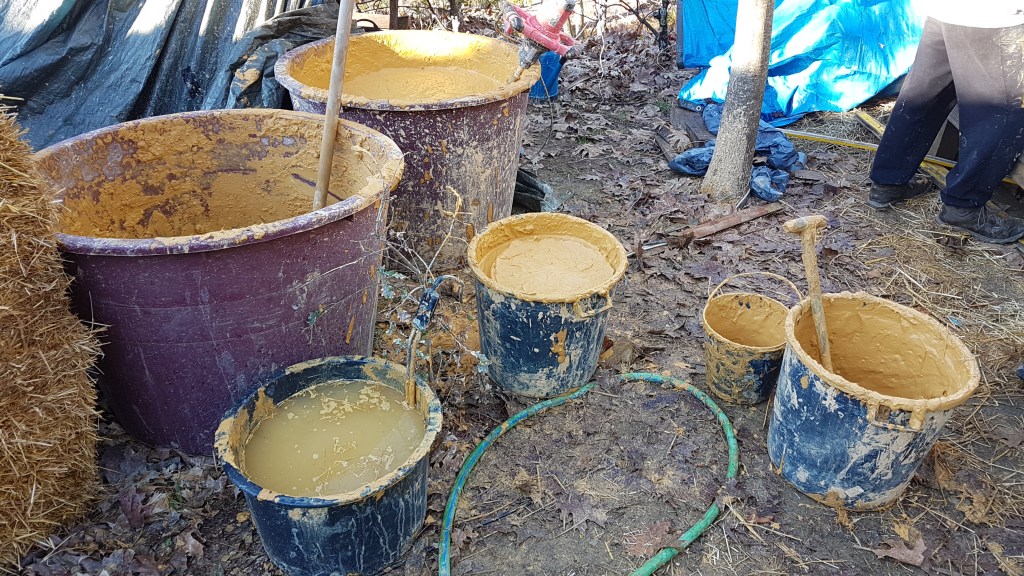
We opted for lime stabilized earth as the first layer for both the inside and outside plaster. For the outdoor plaster I used a finishing layer made of sand, slaked hydrated lime, clay and cow manure (gathered from cows around our land). The finishing layer on the inside is made of fine sand/clay/quark (the latter to add casein).
We love the golden sand color of the indoor plaster, but have found it to be too fragile. It could probably use another layer of clay alis to reduce the crumbling.
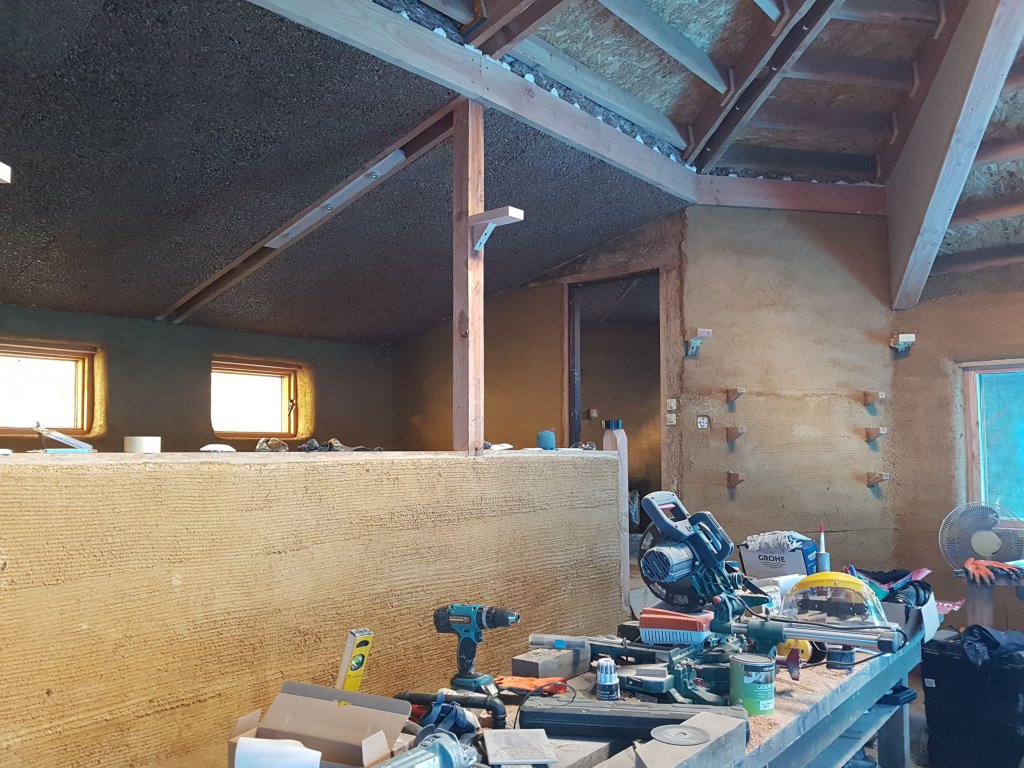
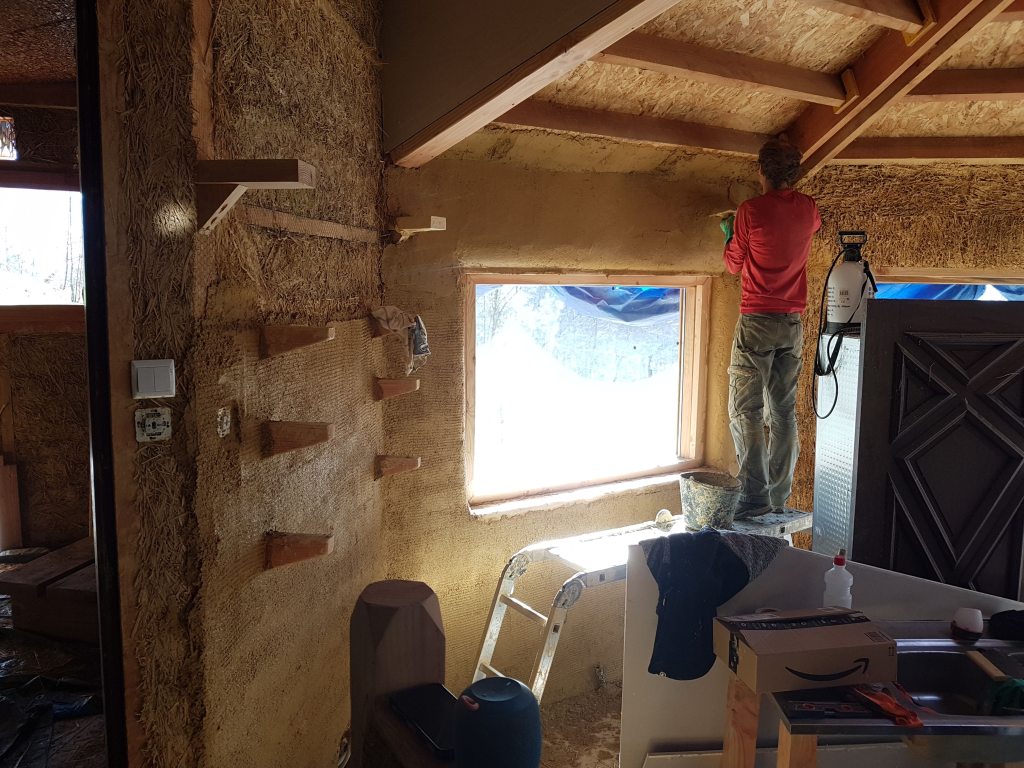
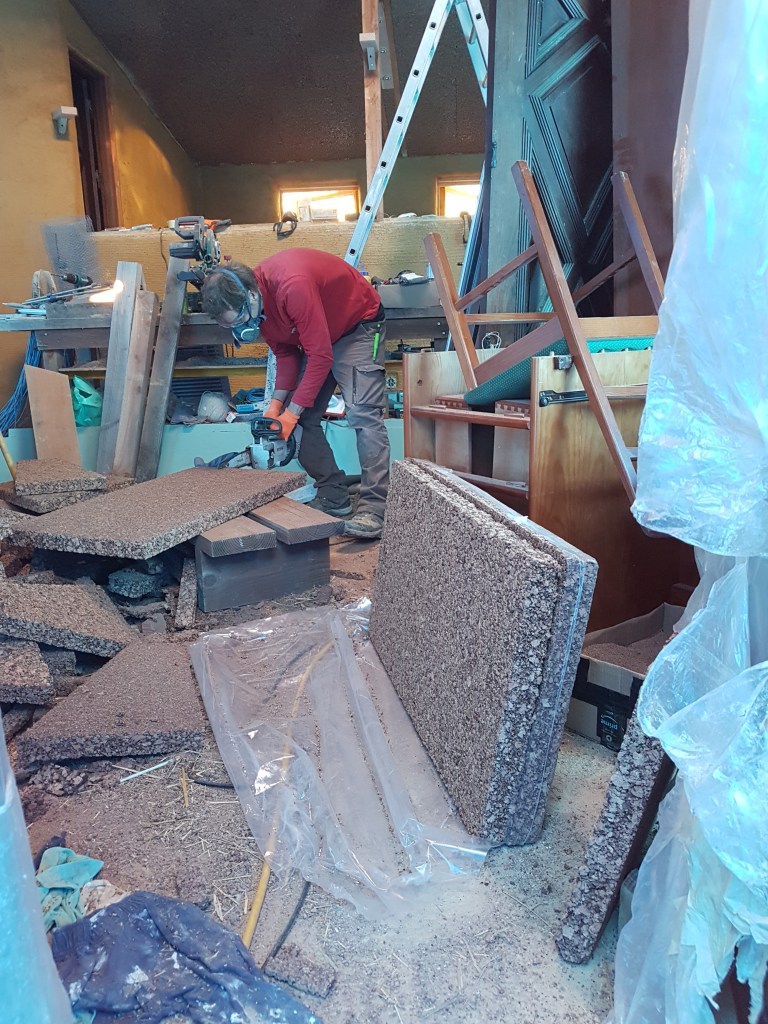
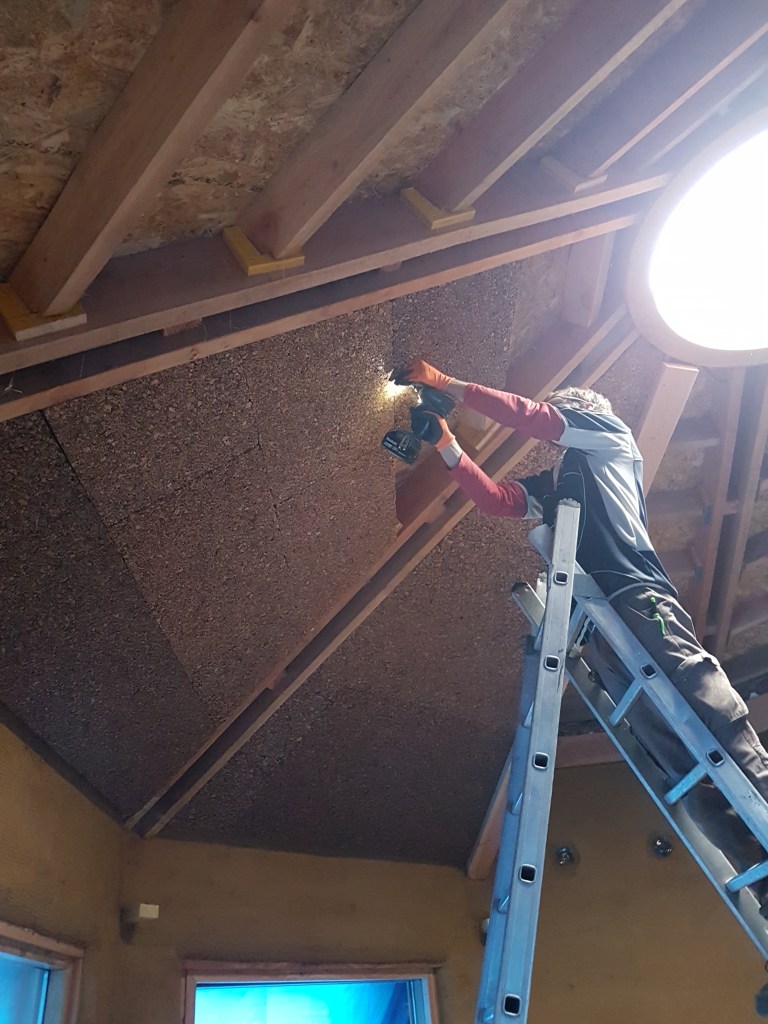
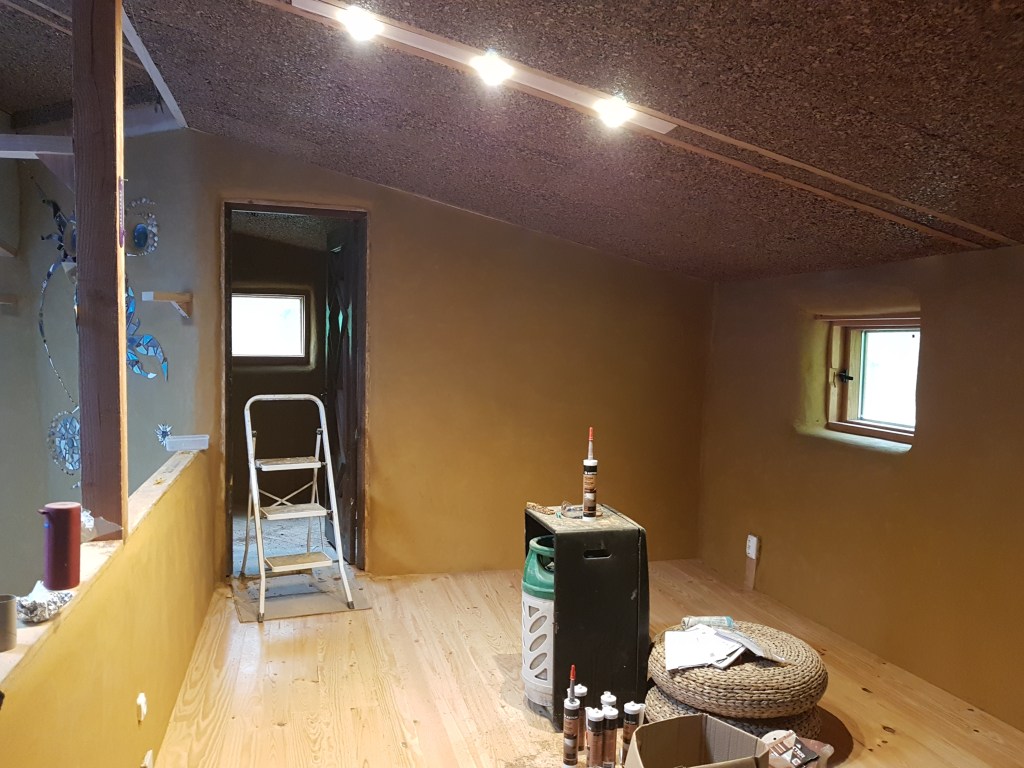
Ceiling and Gray Water
After the inside plastering I connected the gray water system and started with the ceiling. We used cork panels for insulation and ceiling, since we like the aesthetic effect.
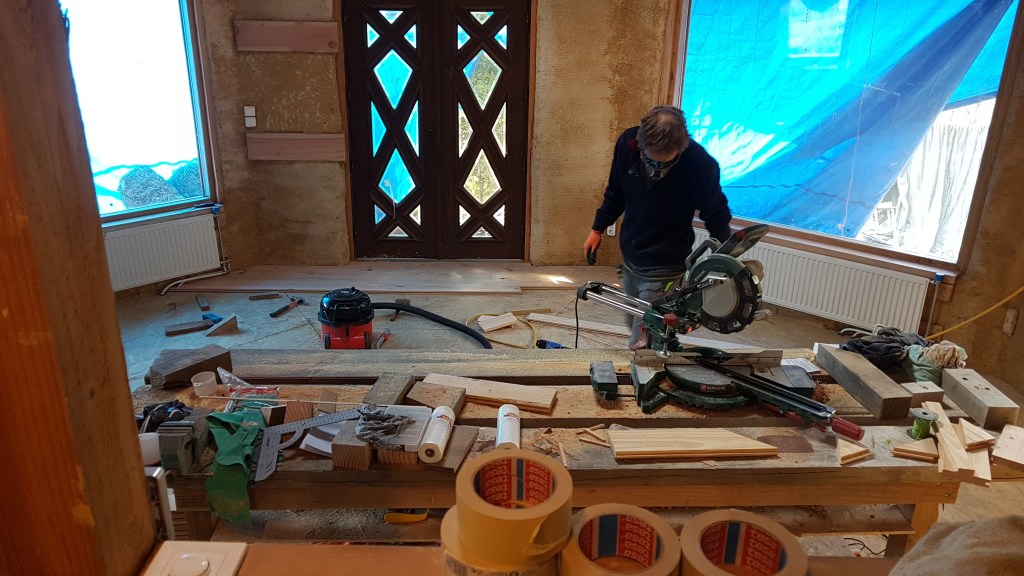
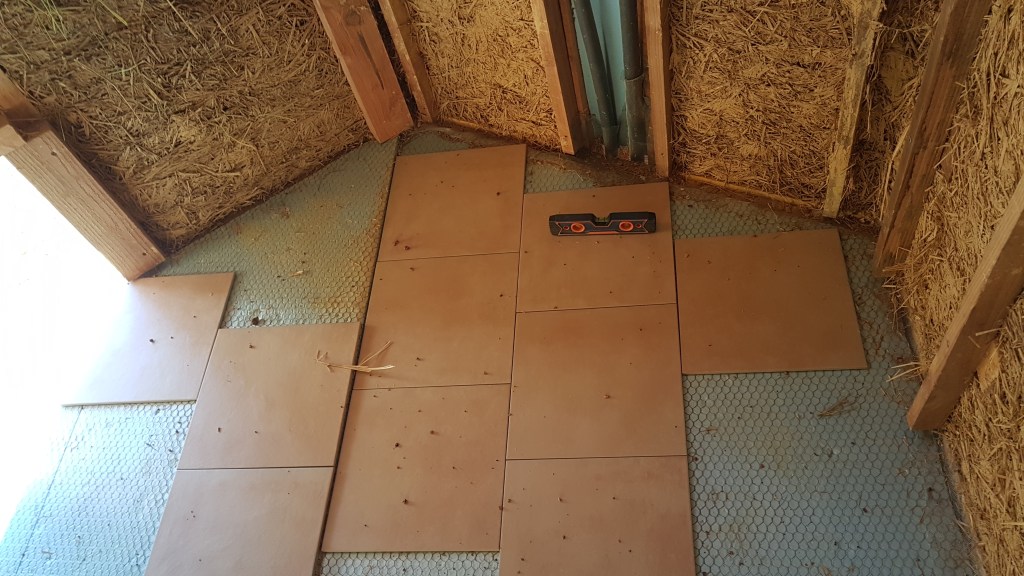
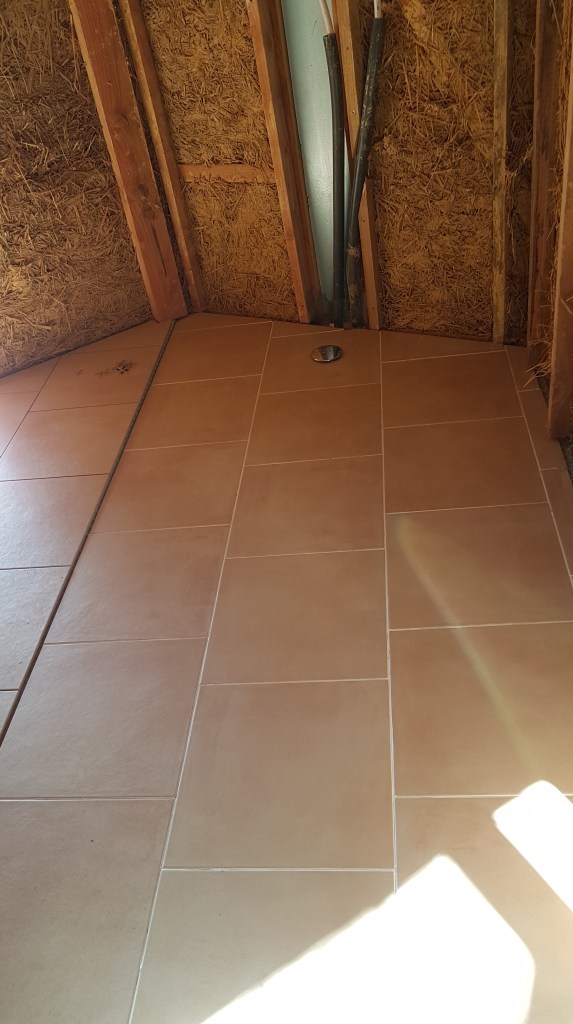
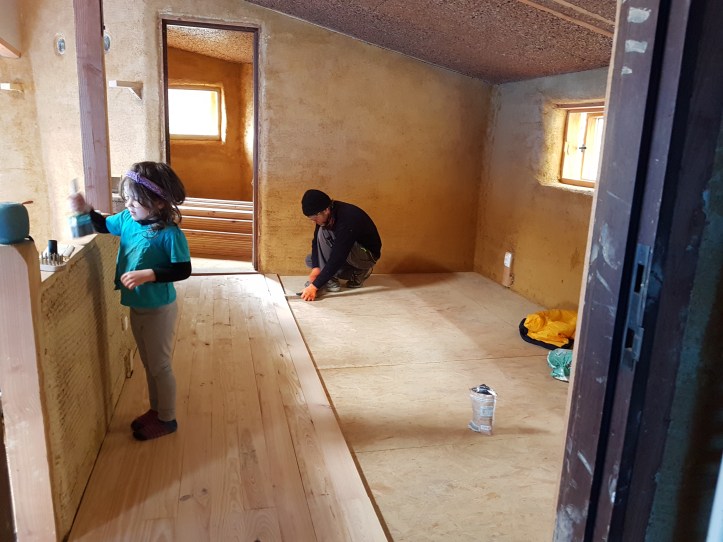
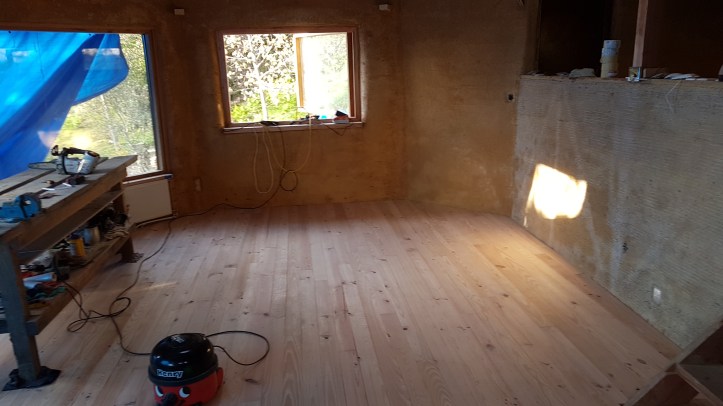
The Floor
For the floor we opted for pine parquet from the local sawmill.

More plastering
Now it was time for the finishing plaster. I used a clay/sand/casein mix inside, and a lime/sand/cow manure mix outside.

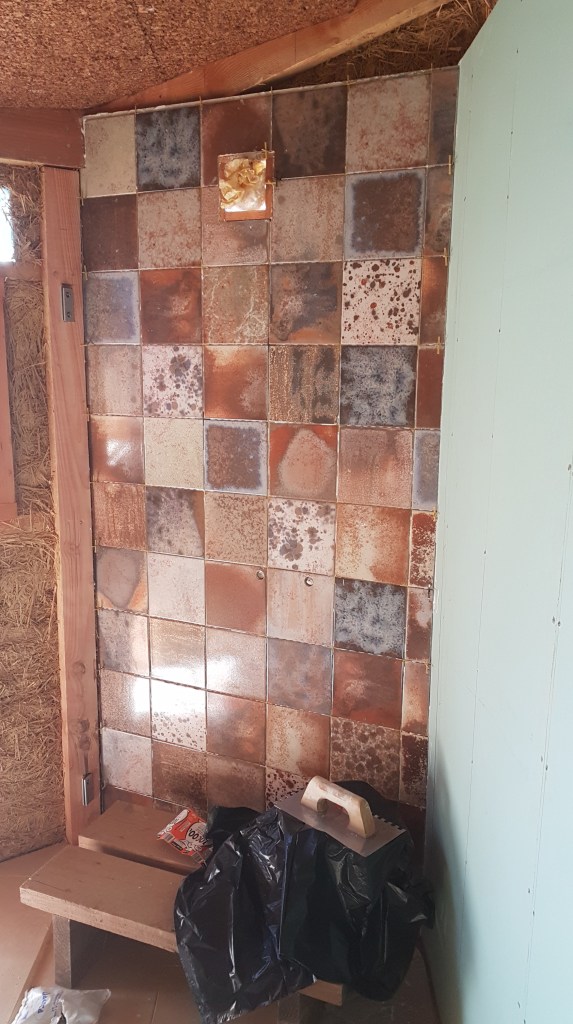
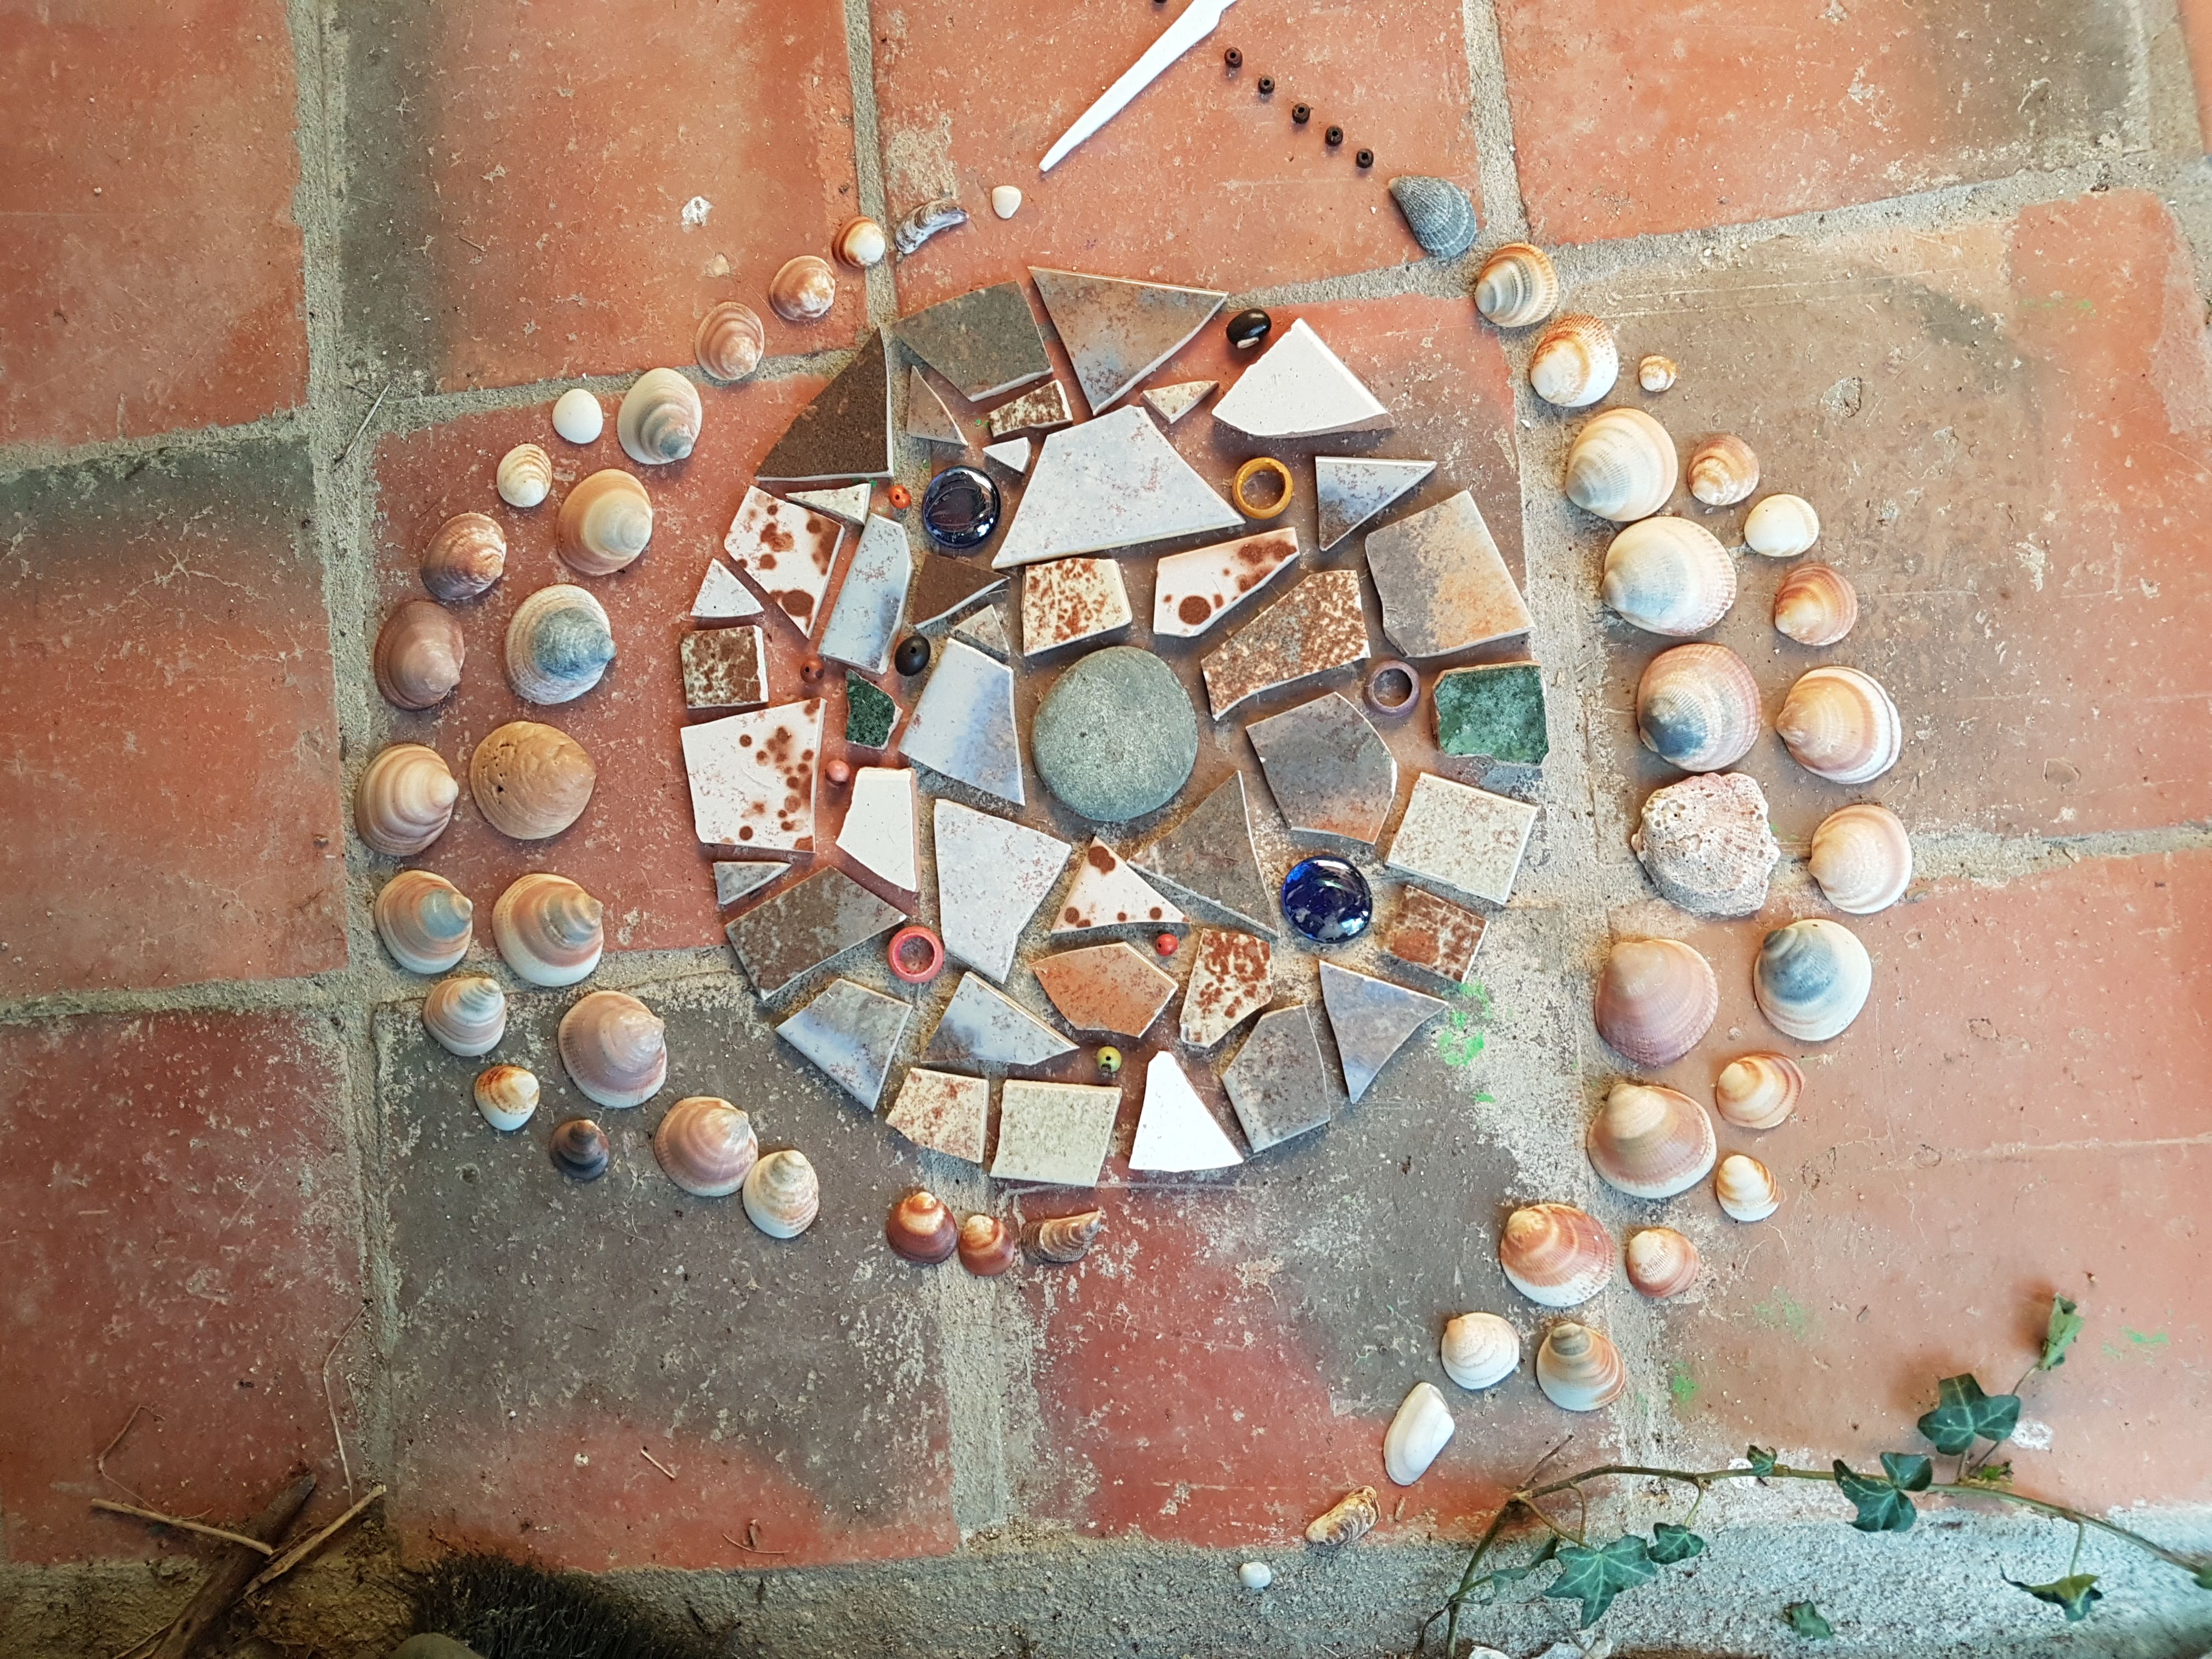
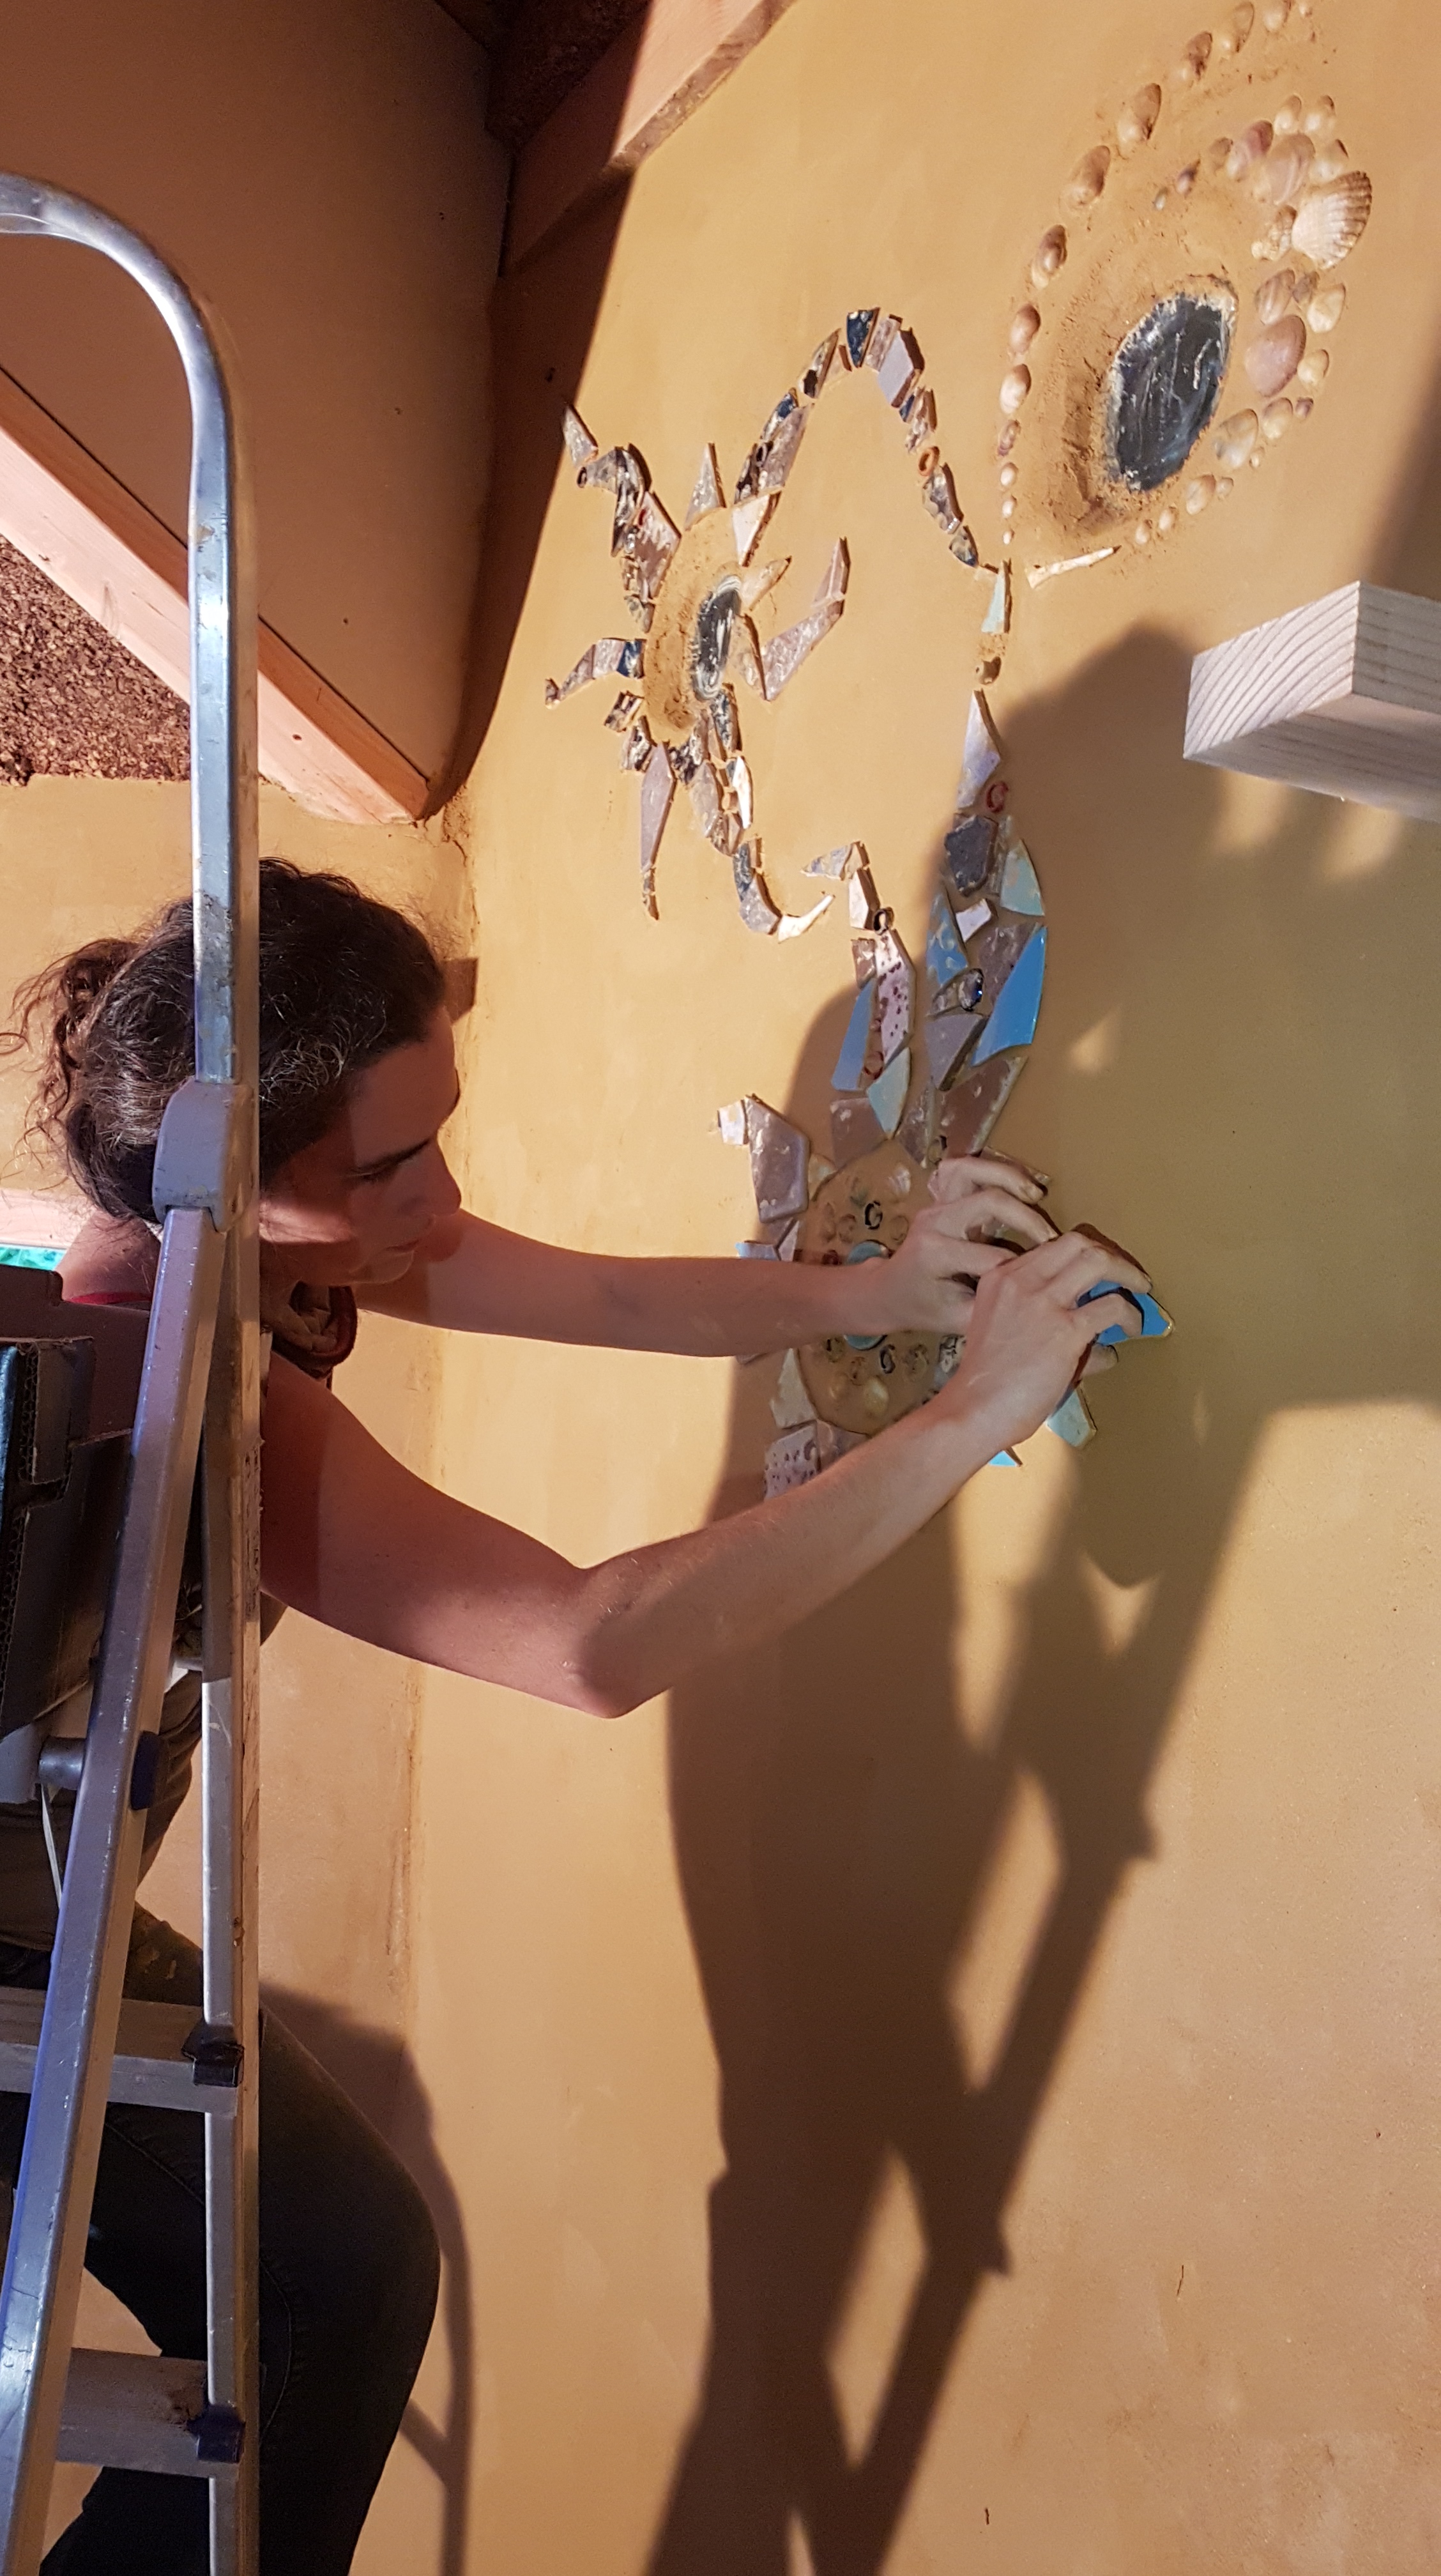
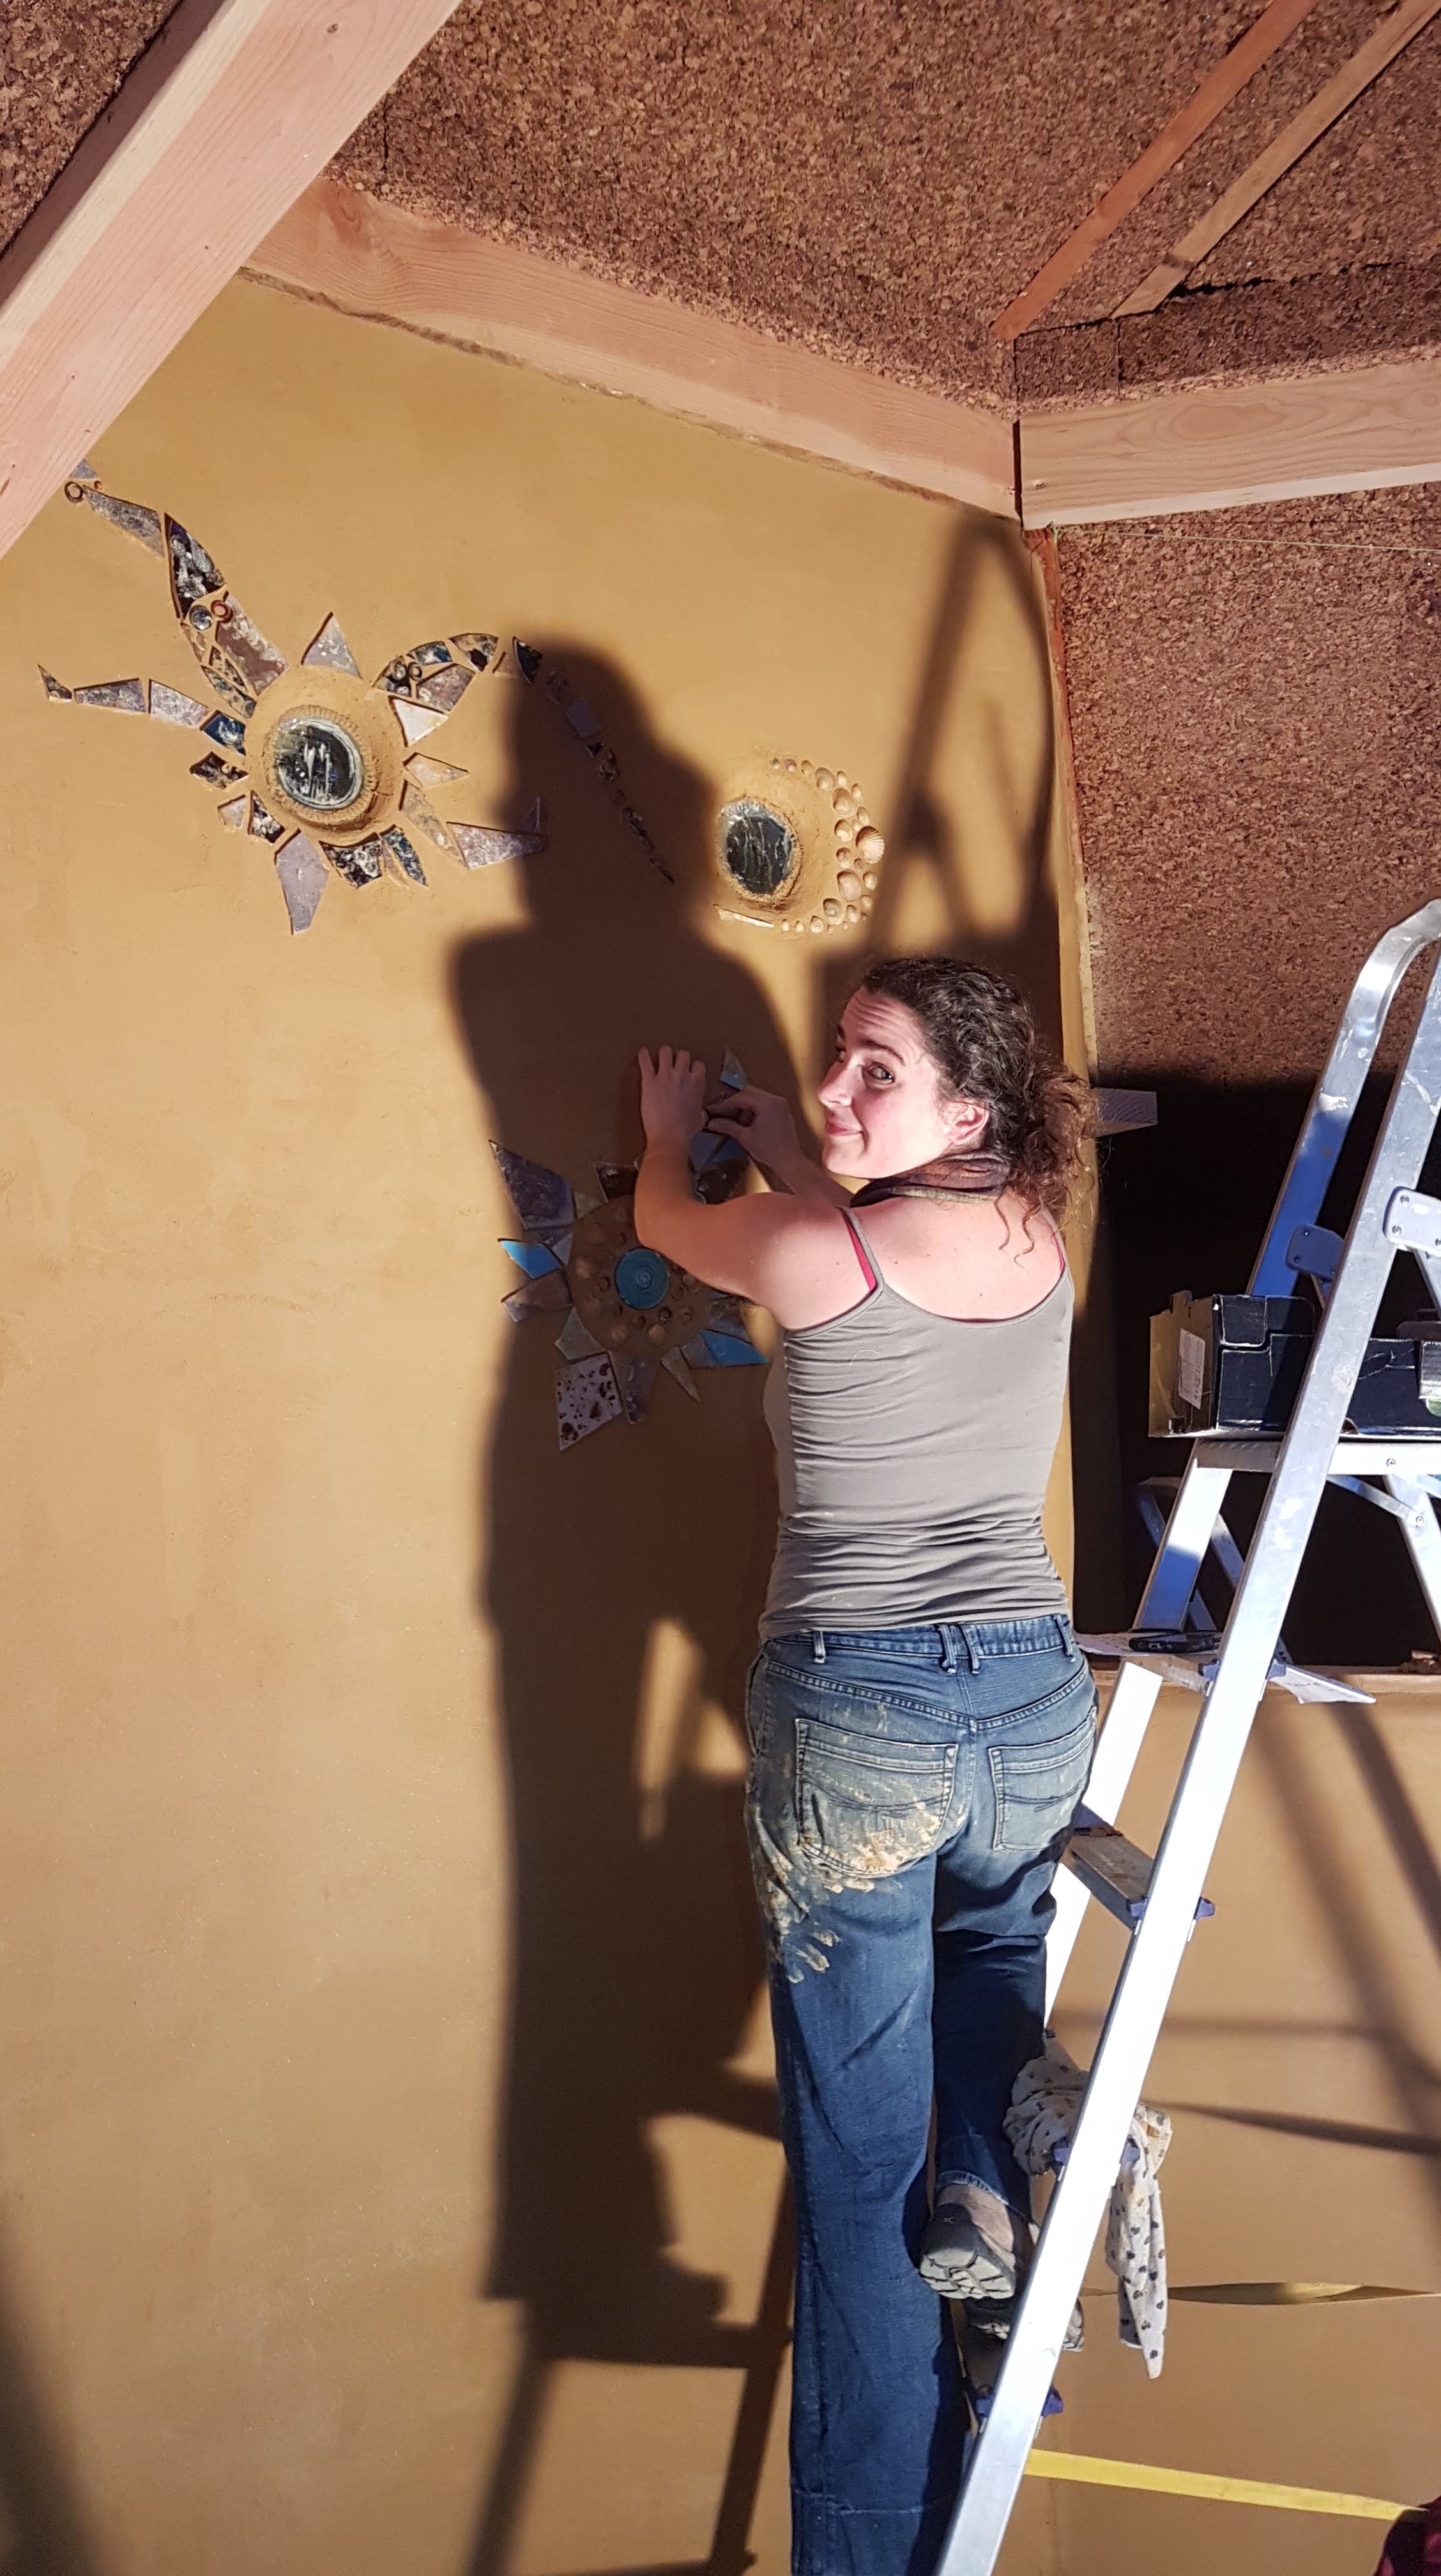
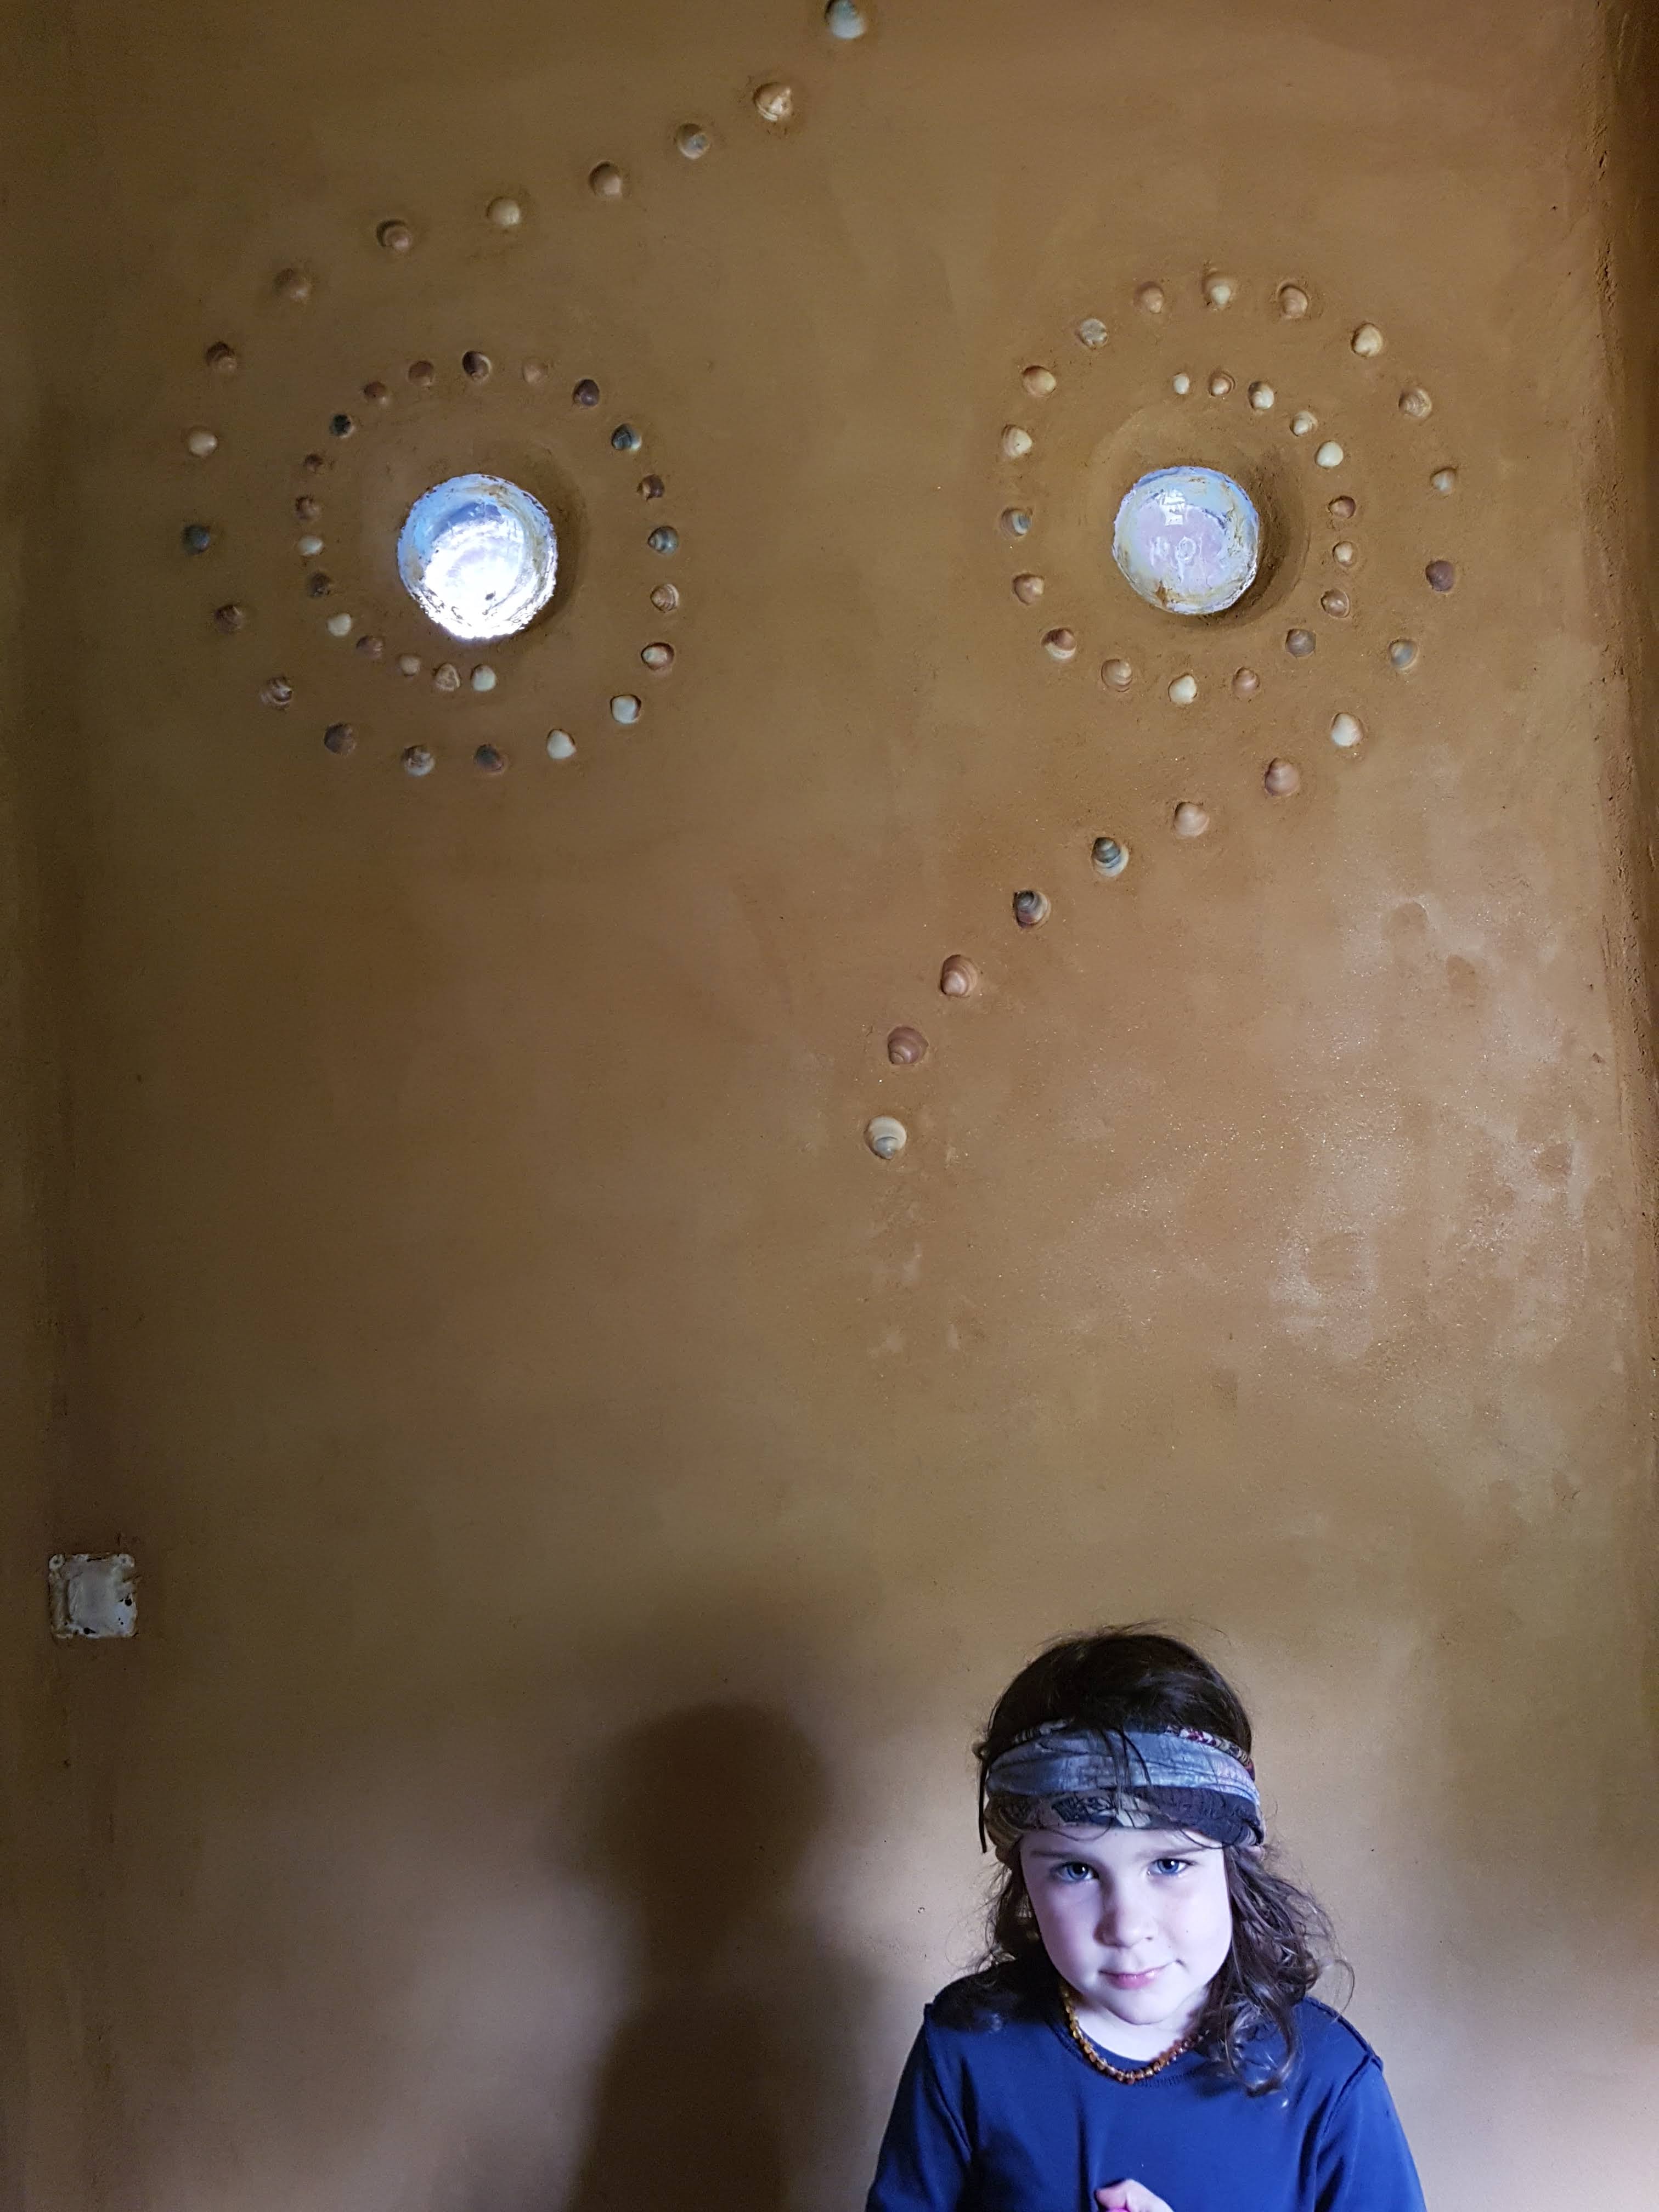
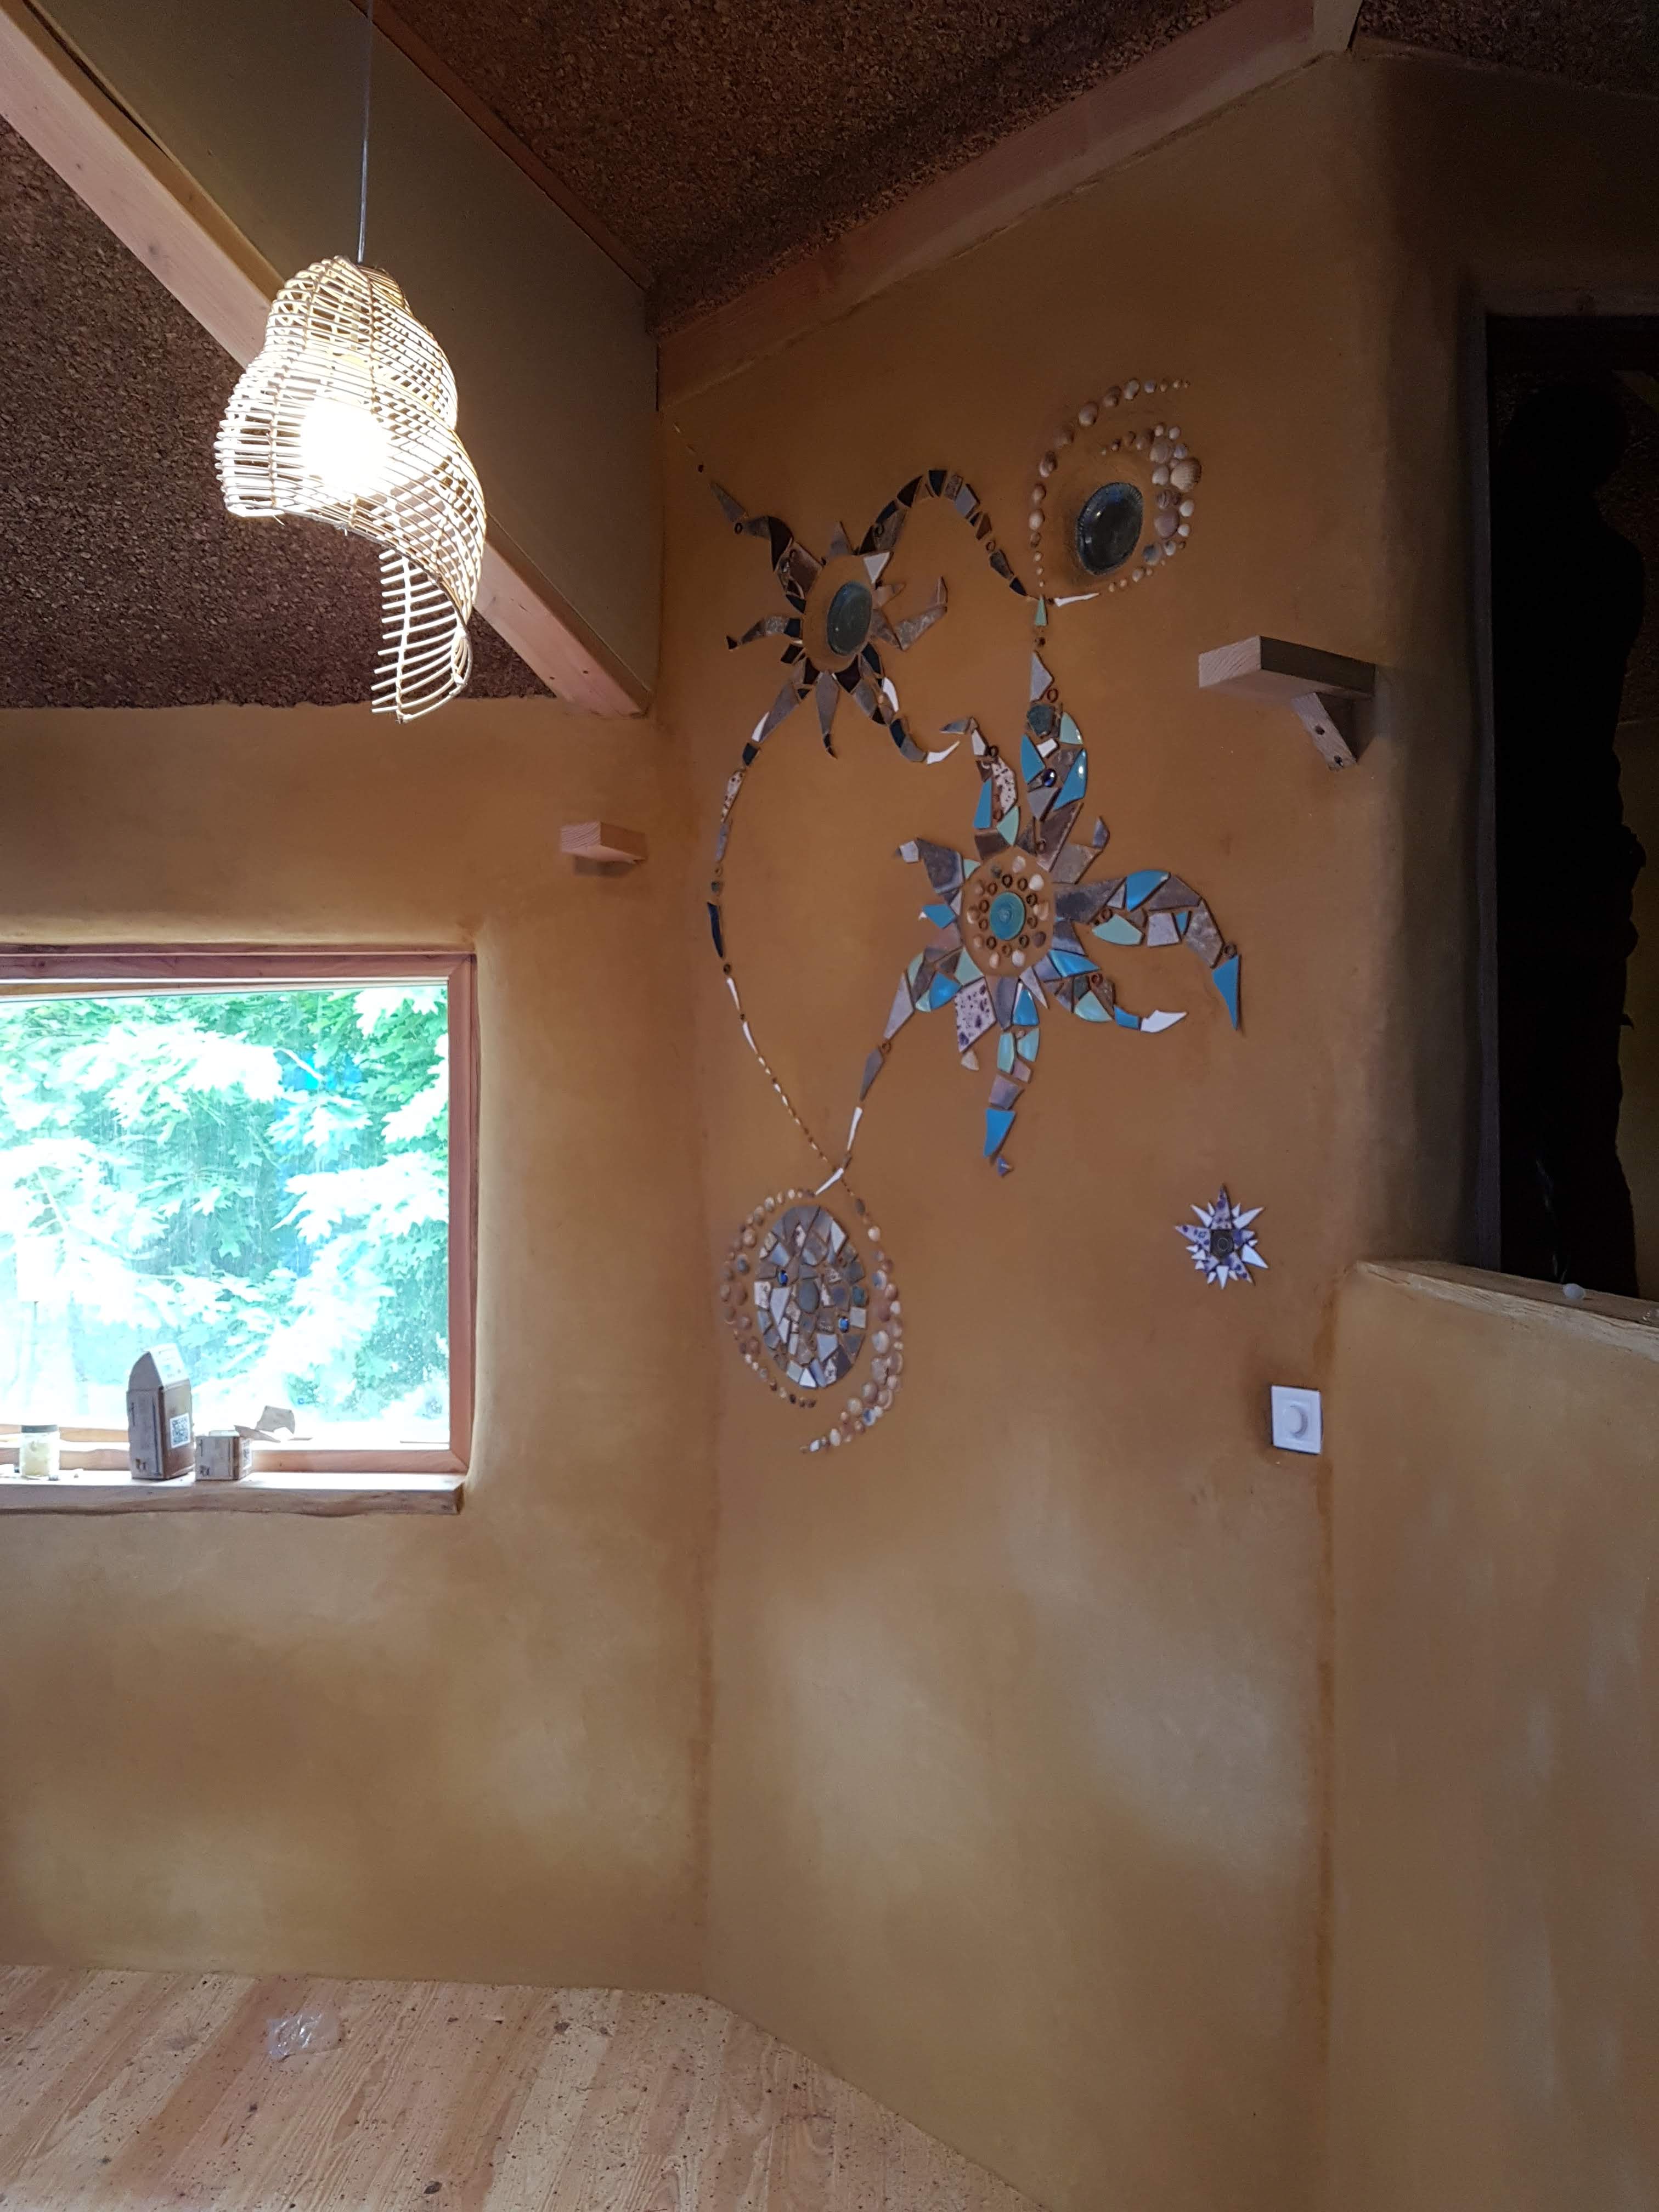
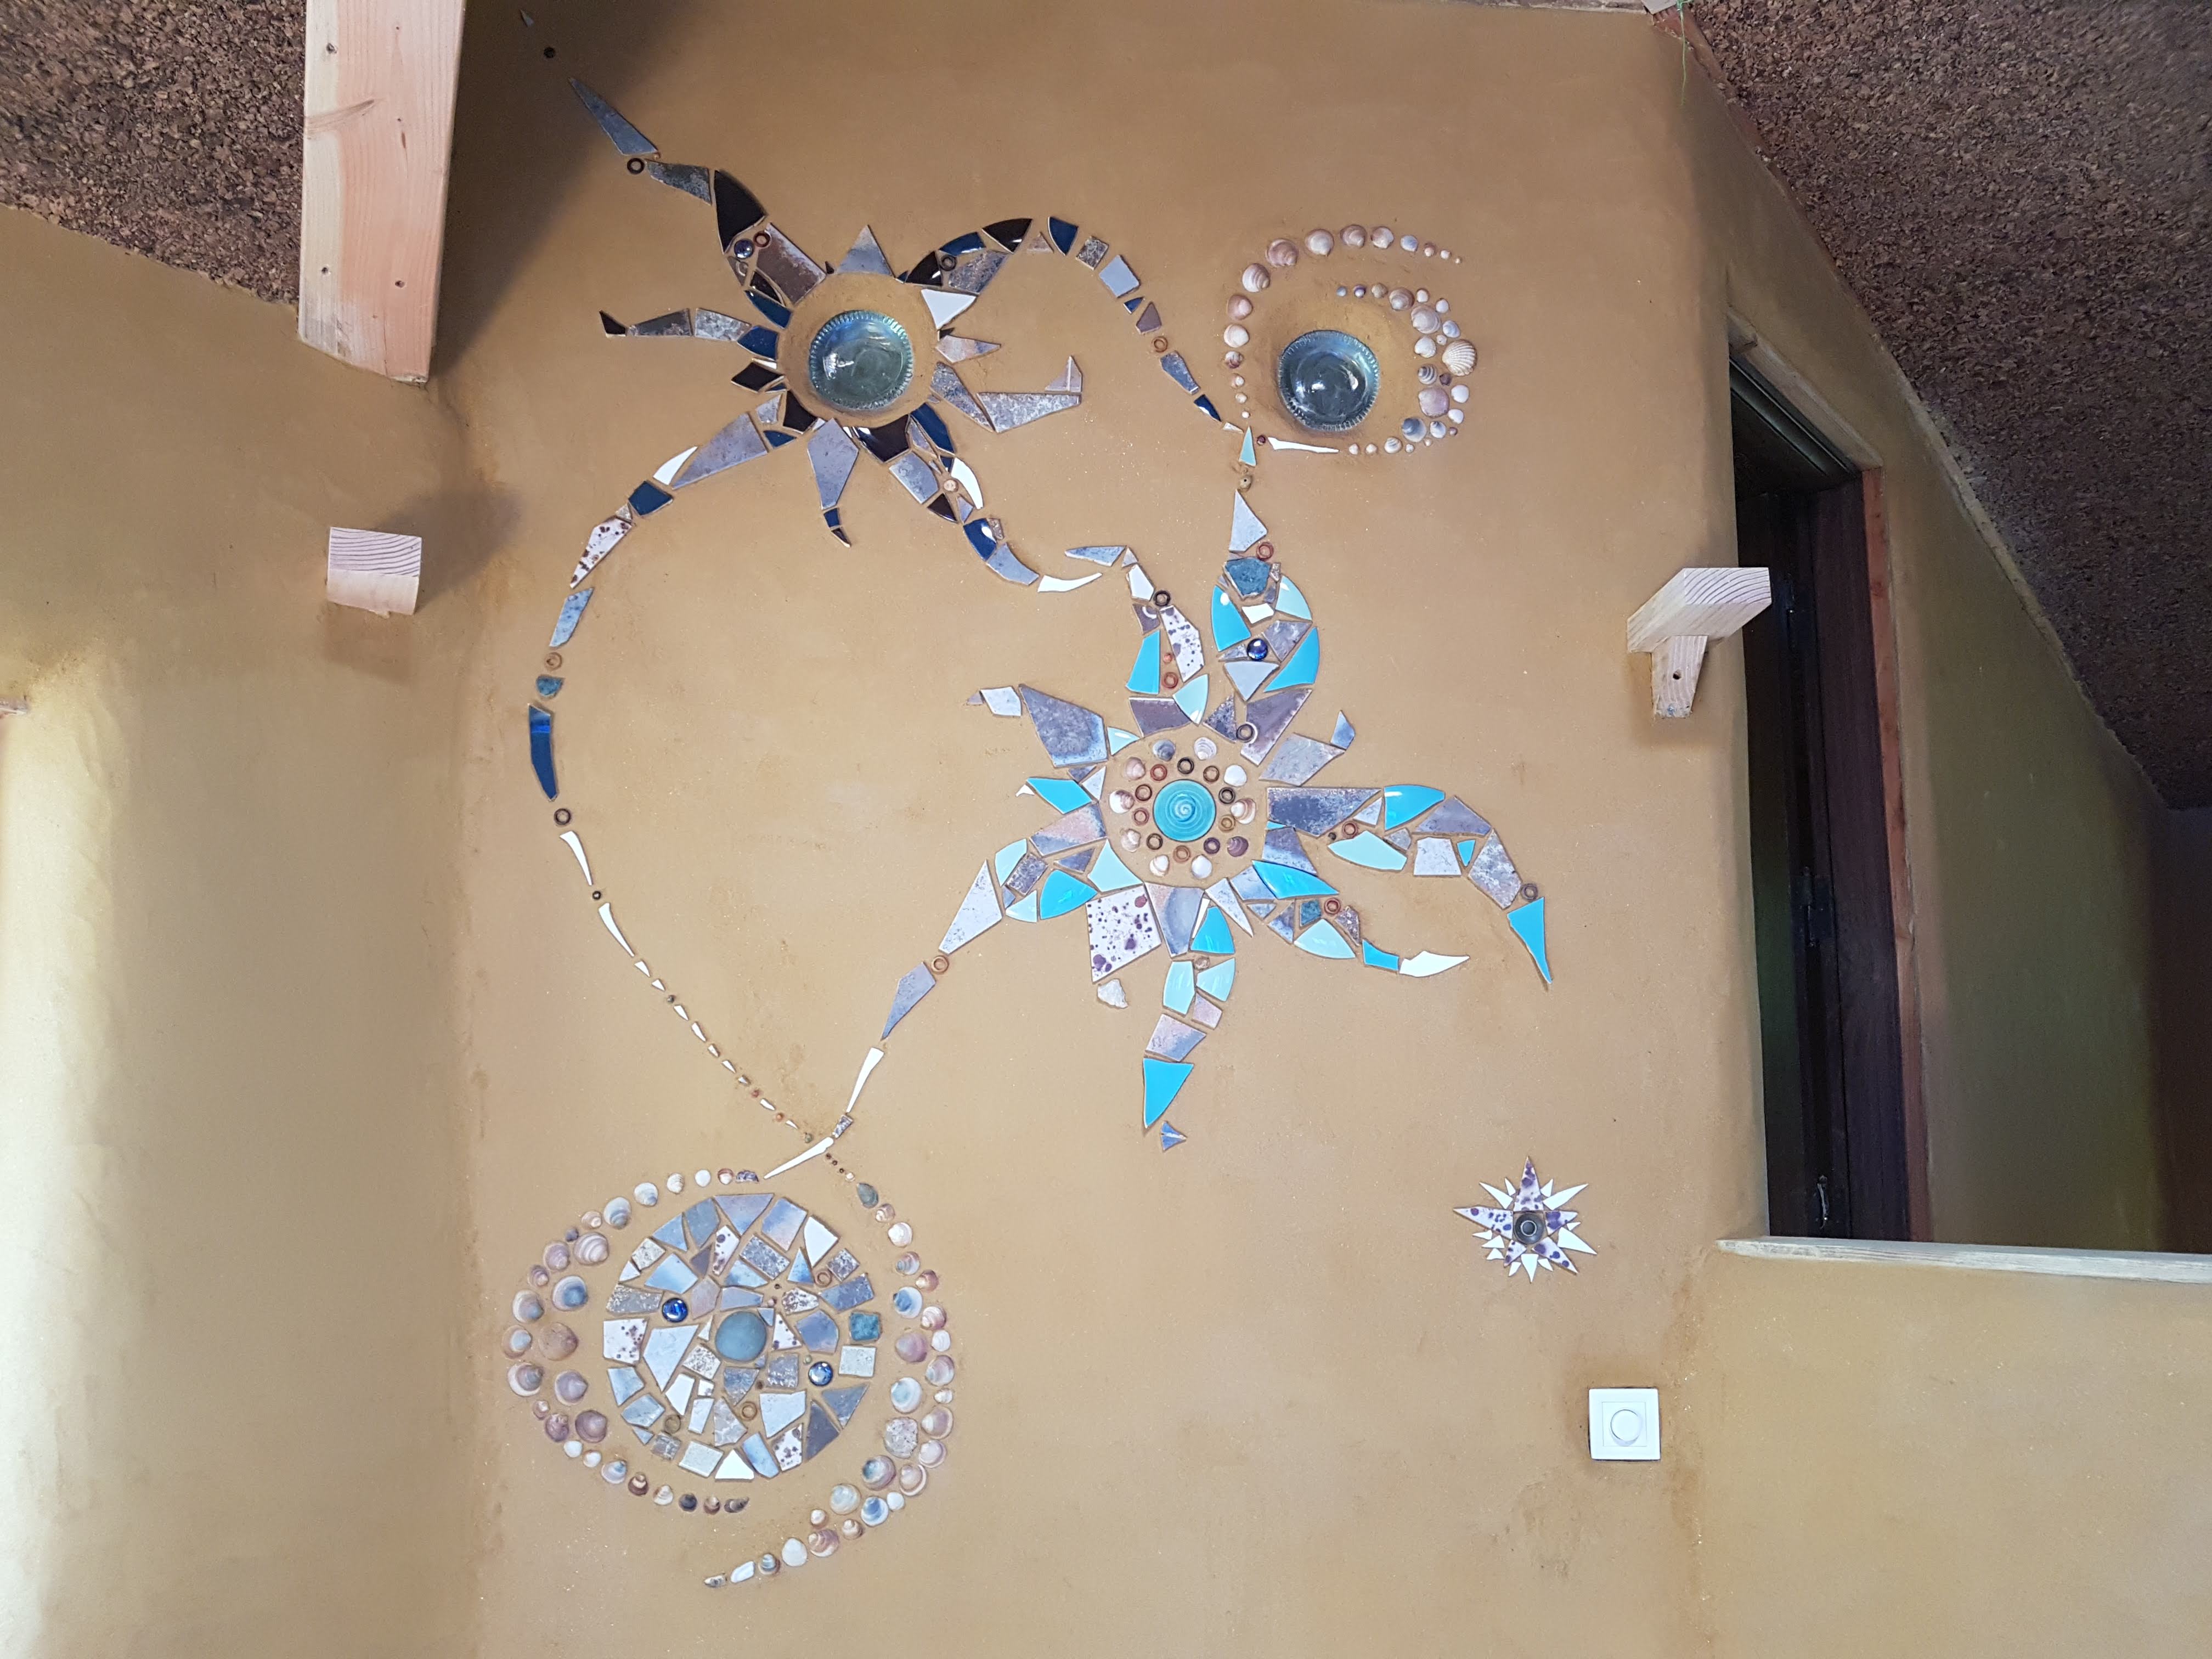
Mosaic
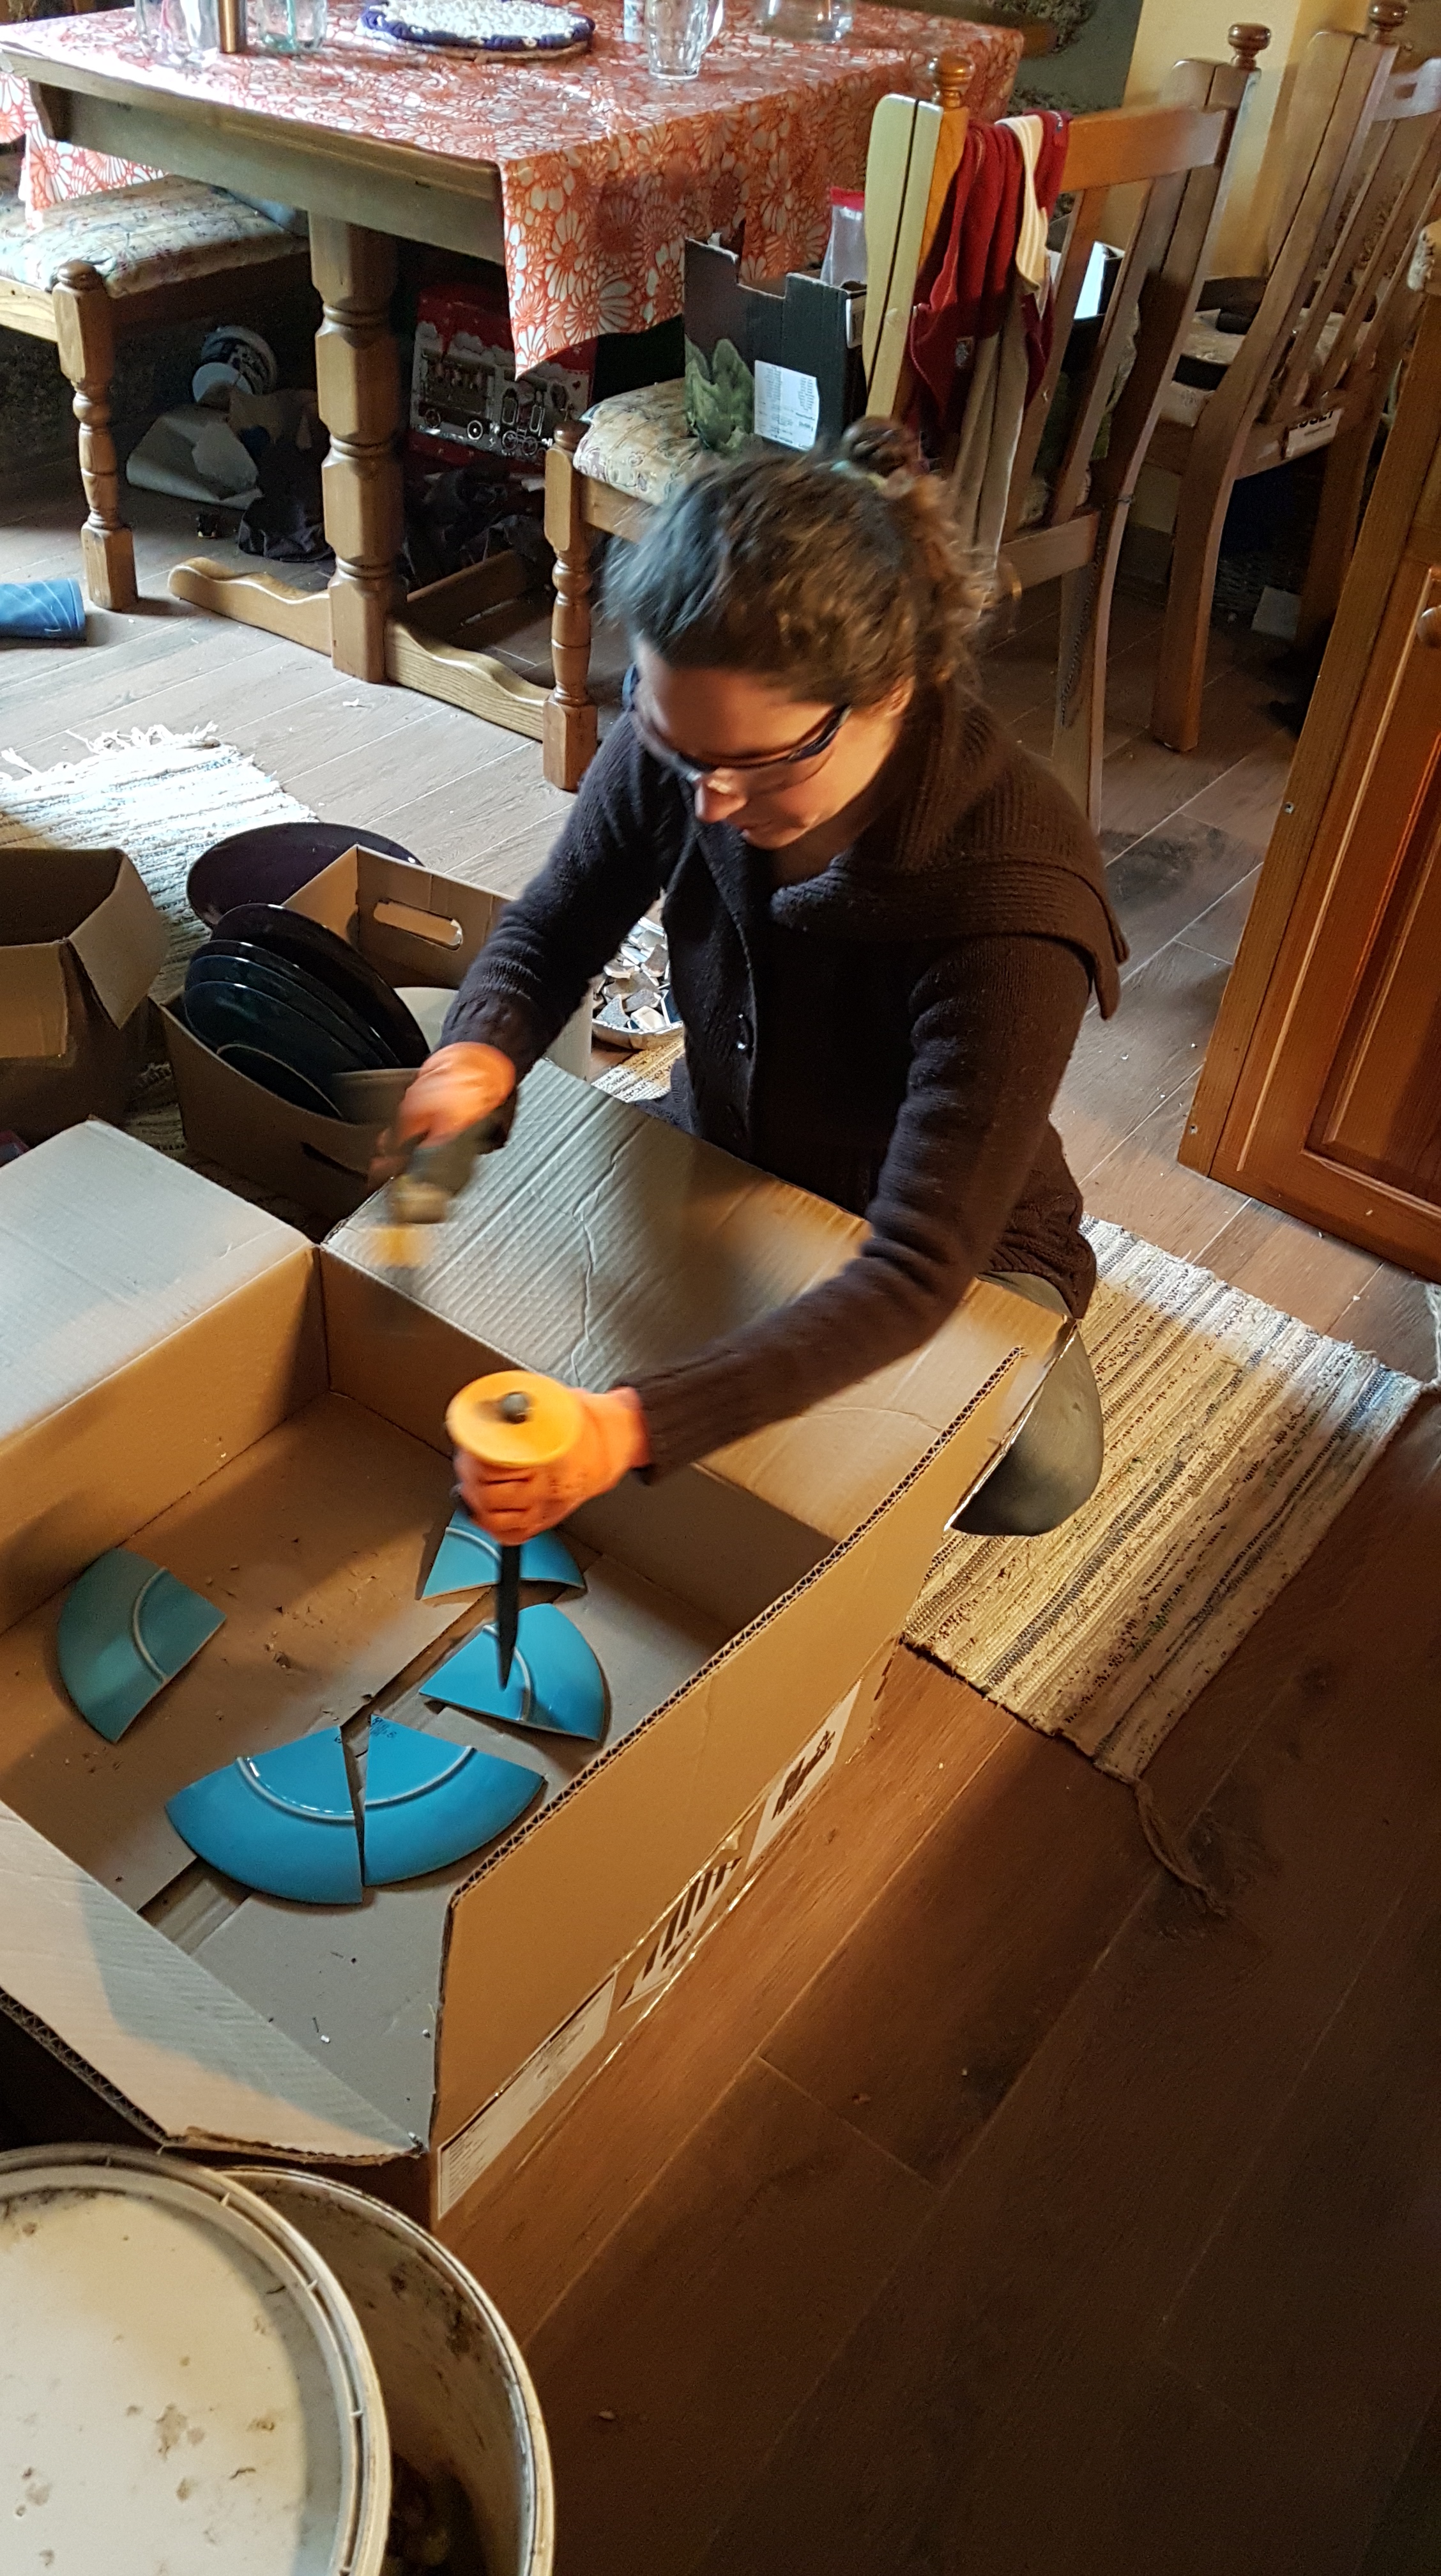
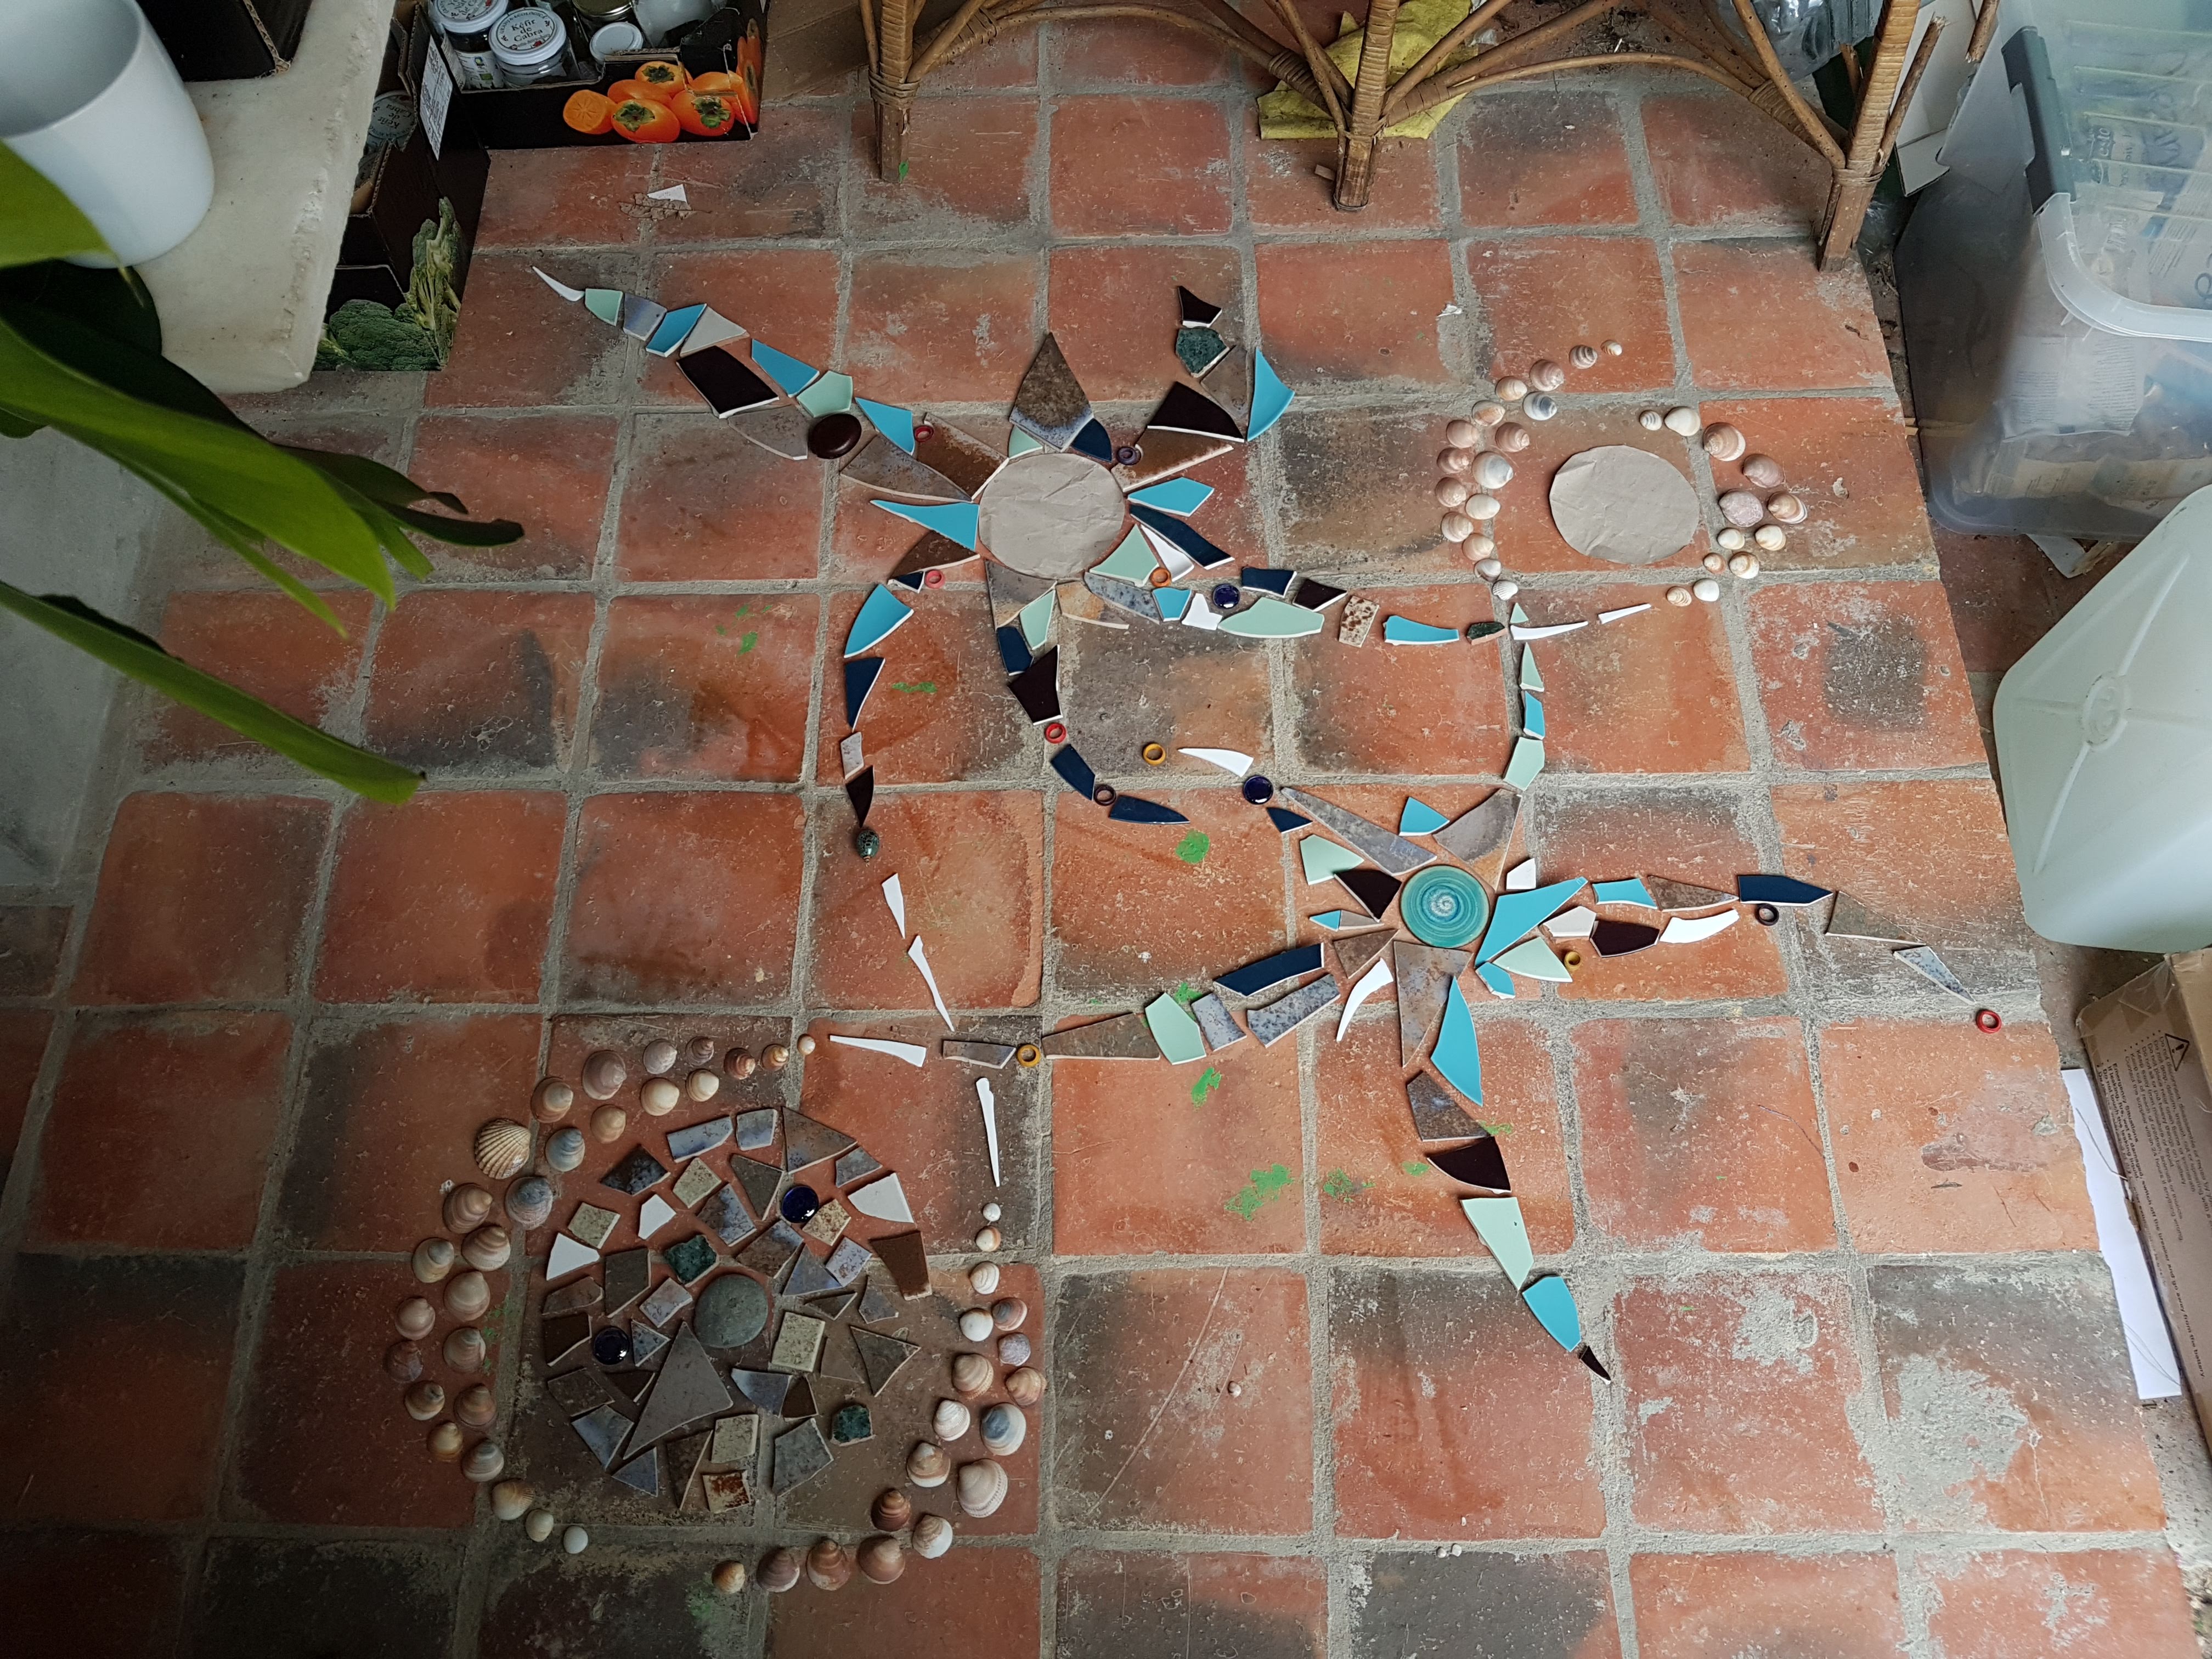
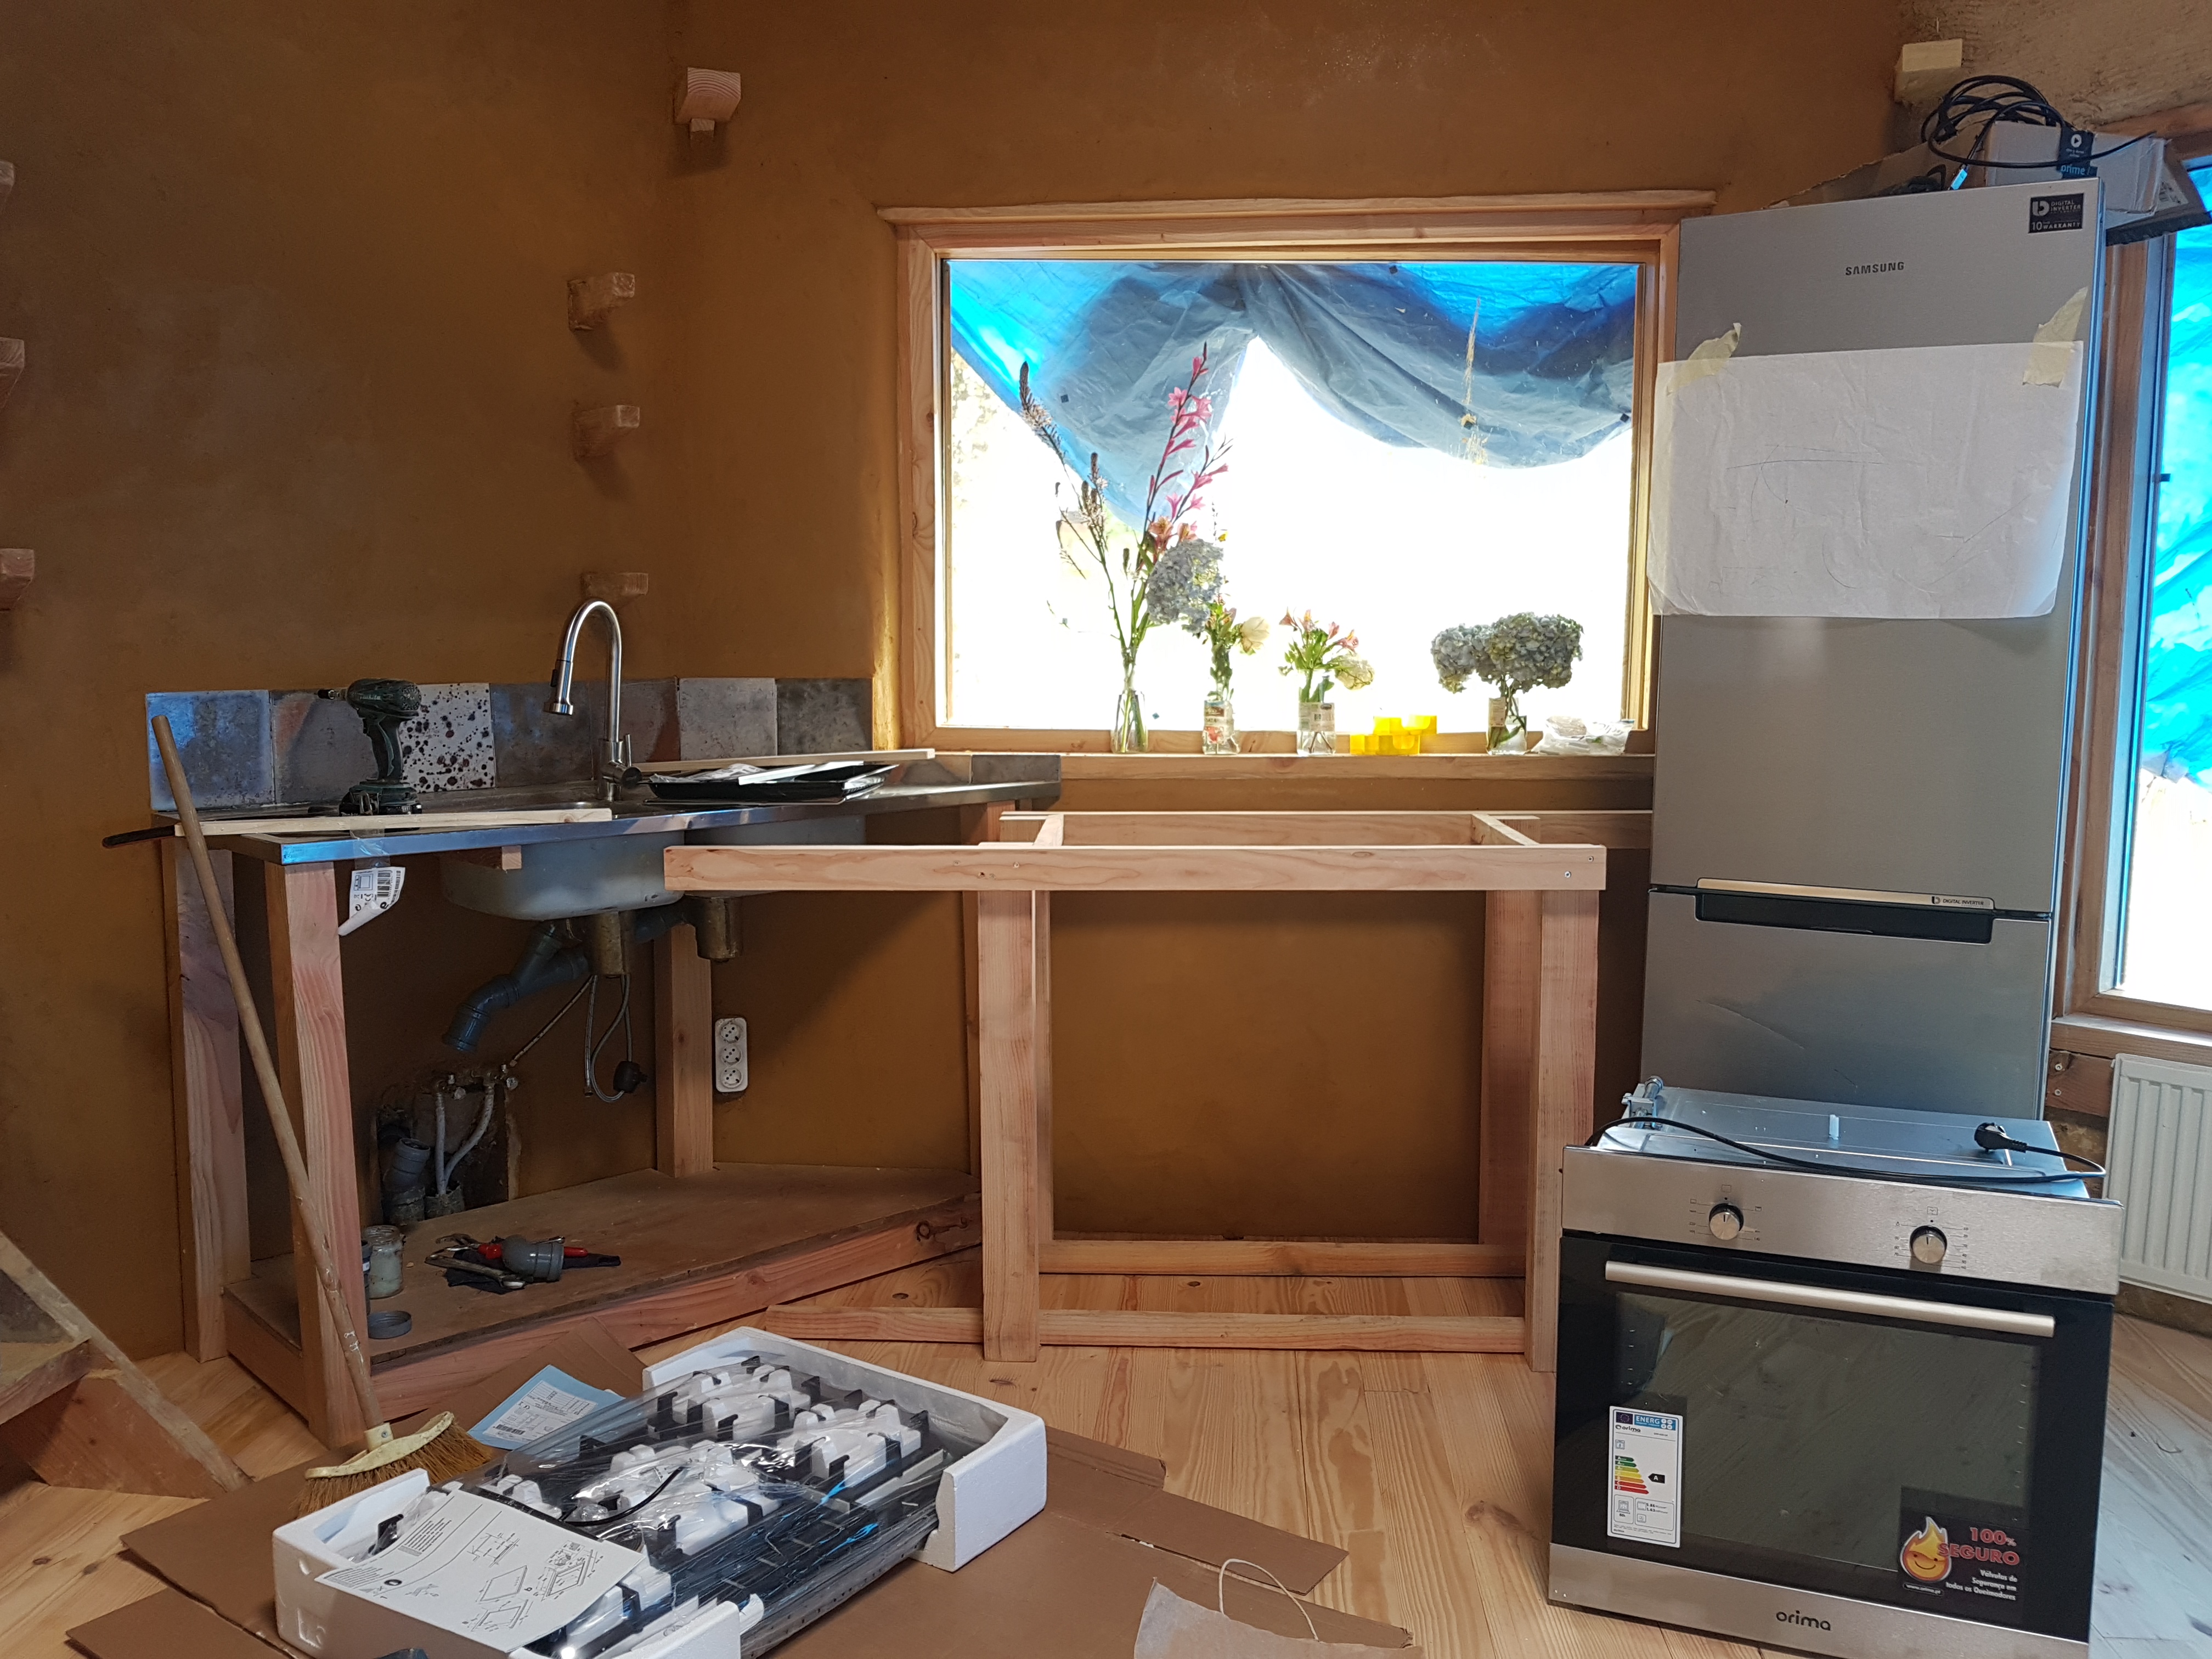
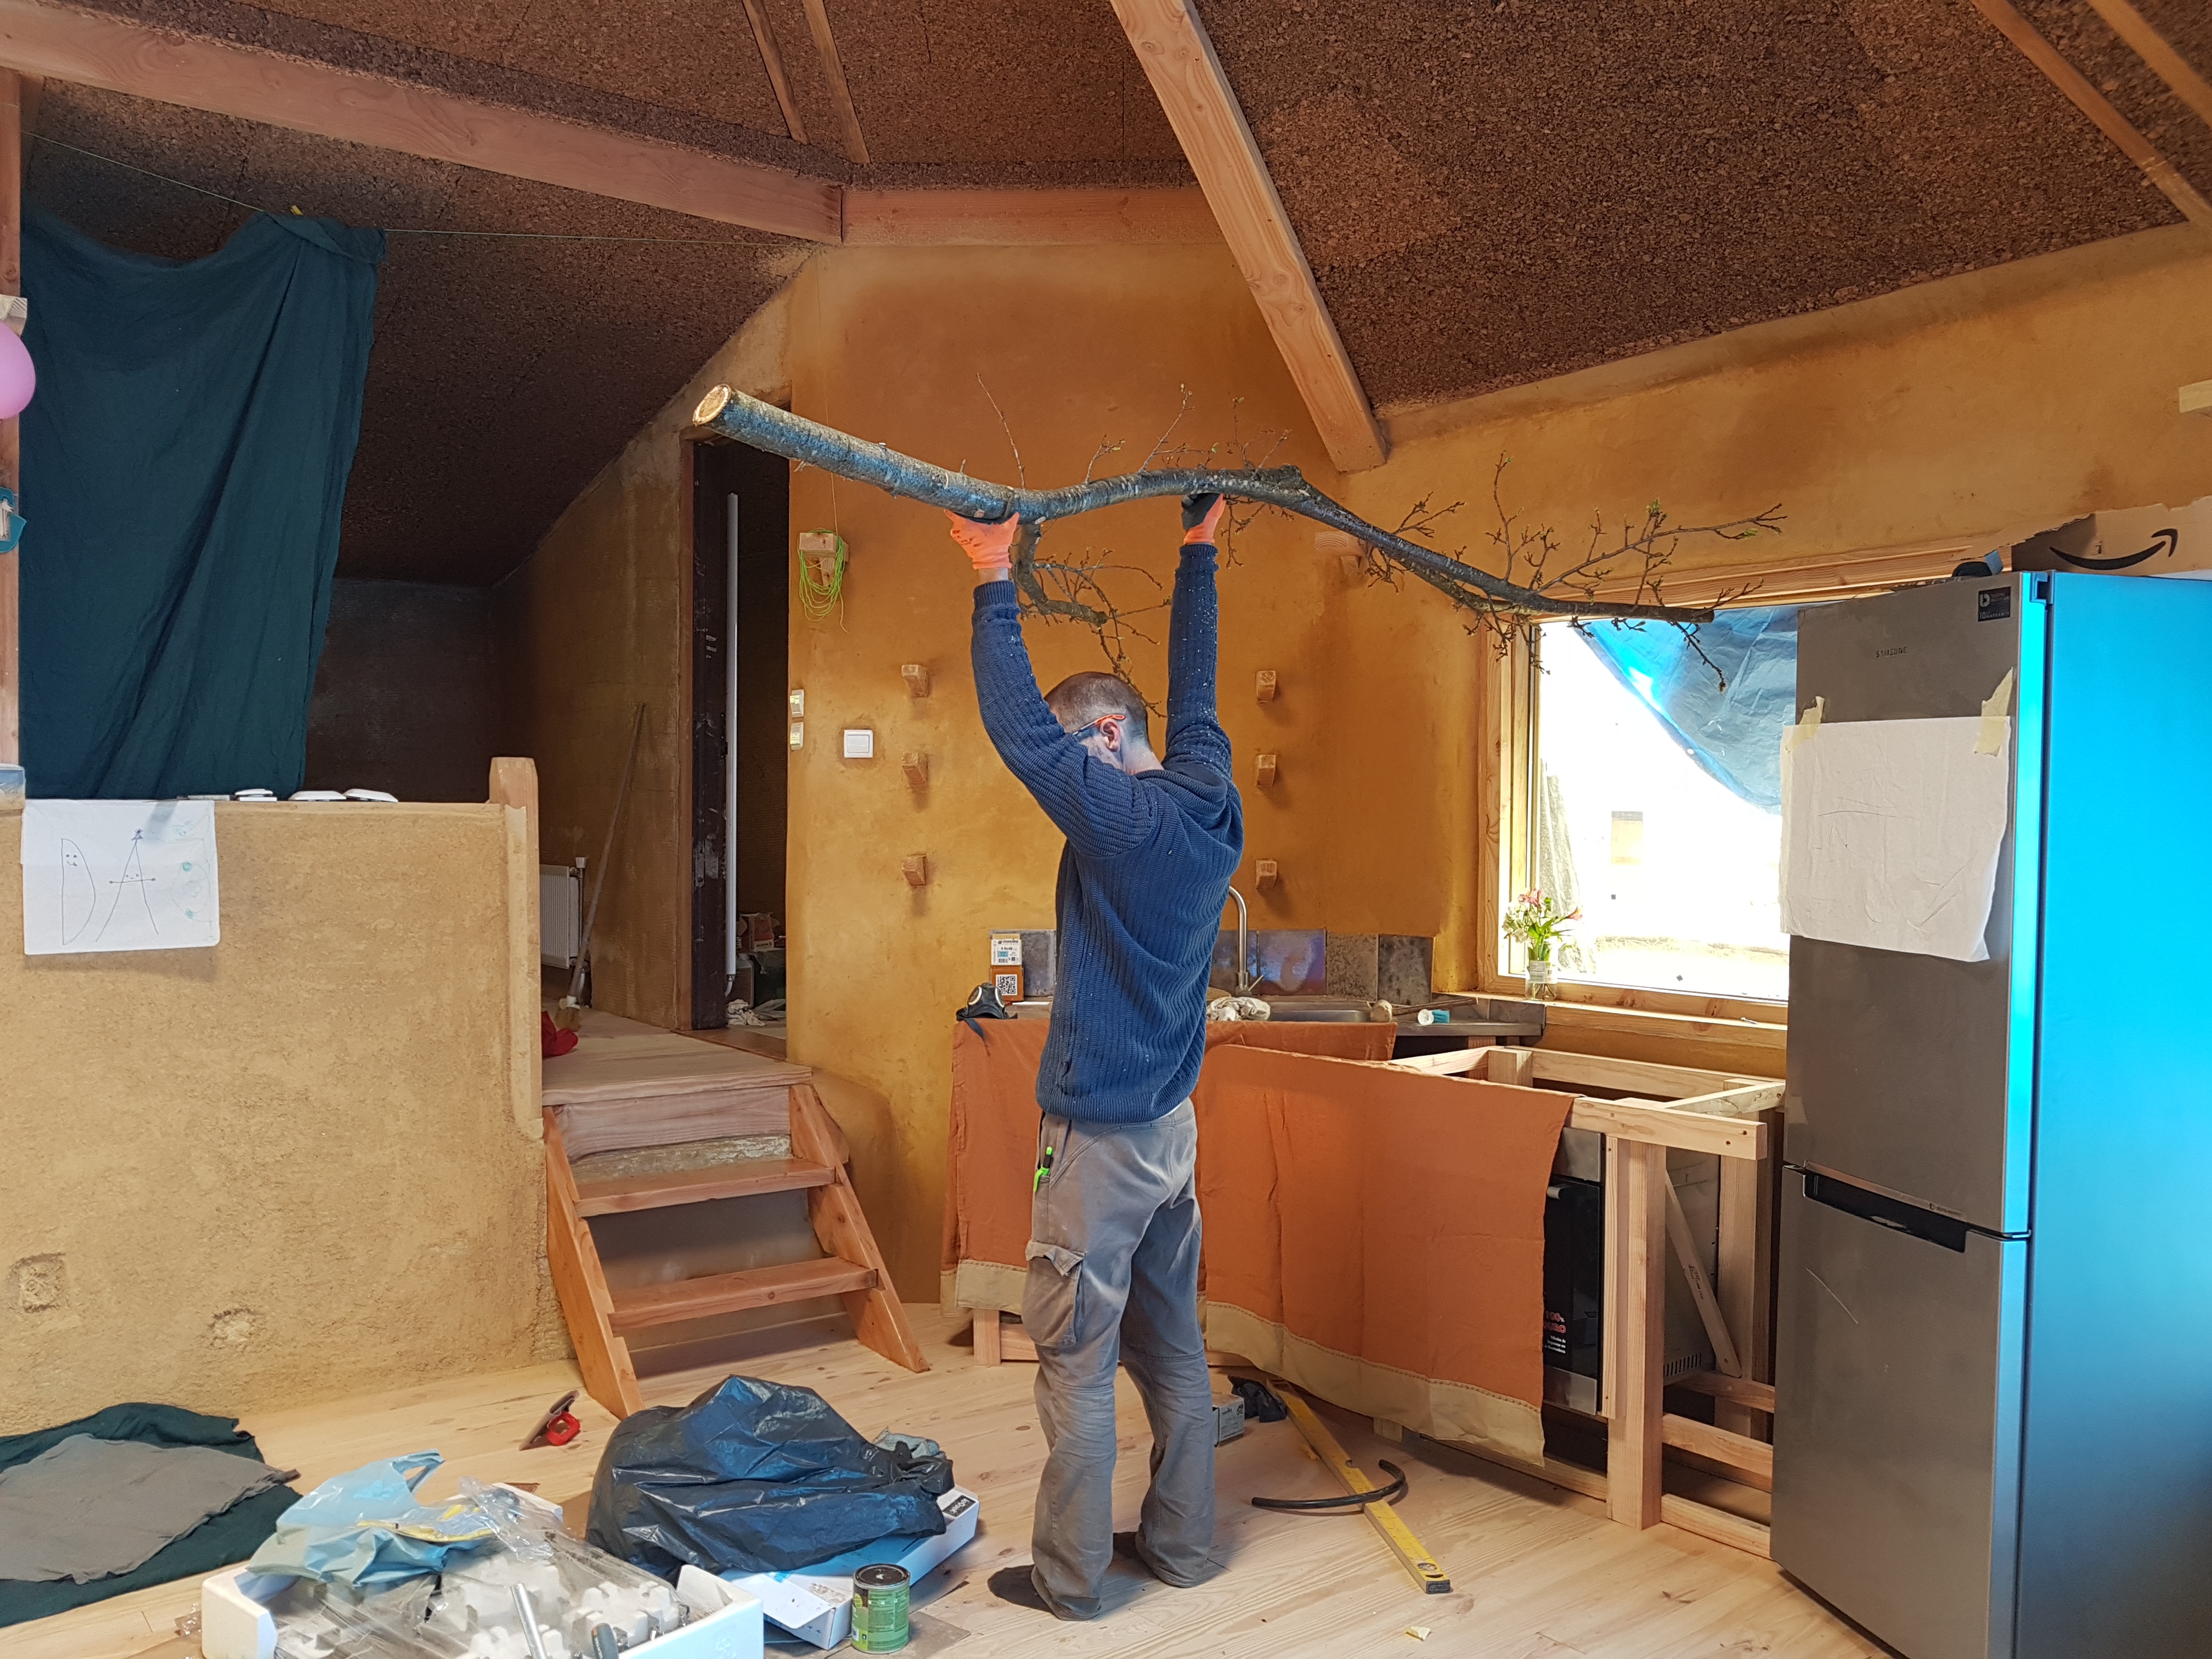
A couple of days before it was time to apply the final plaster, Tal started playing around with a mosaic design for the main wall of the living room. It’s made out of broken dishes and tiles, seashells from Tel-Aviv collected a day before Tal’s surgery, and sentimental pieces of jewelry from friends and family. She put it onto fresh plaster by dipping the tiles in clay slip. It was her first time making a mosaic, so it was a little stressful and lasted well into the night, but it was a good experience and we love the end result. In the meantime I started on the kitchen.


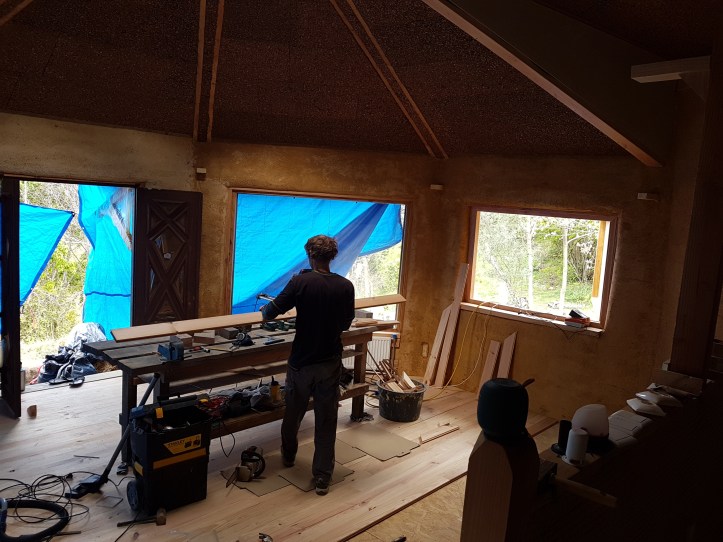
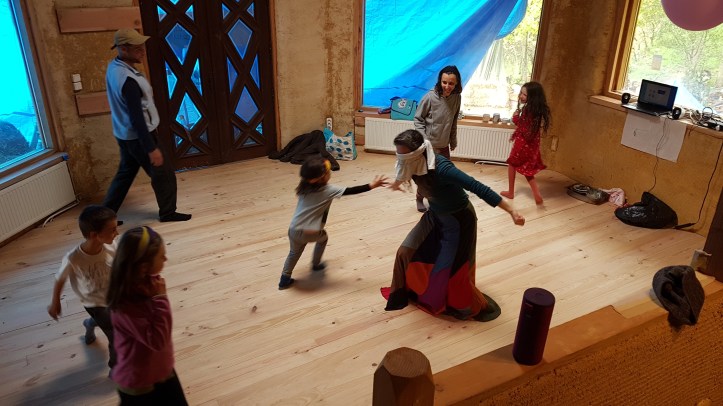
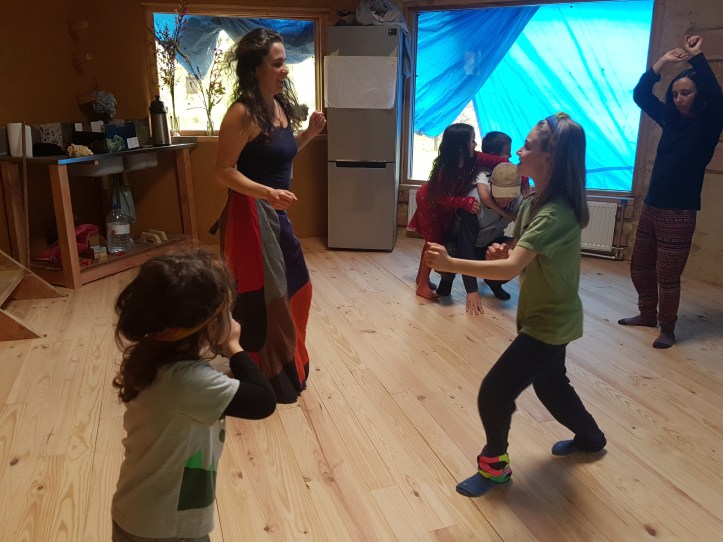
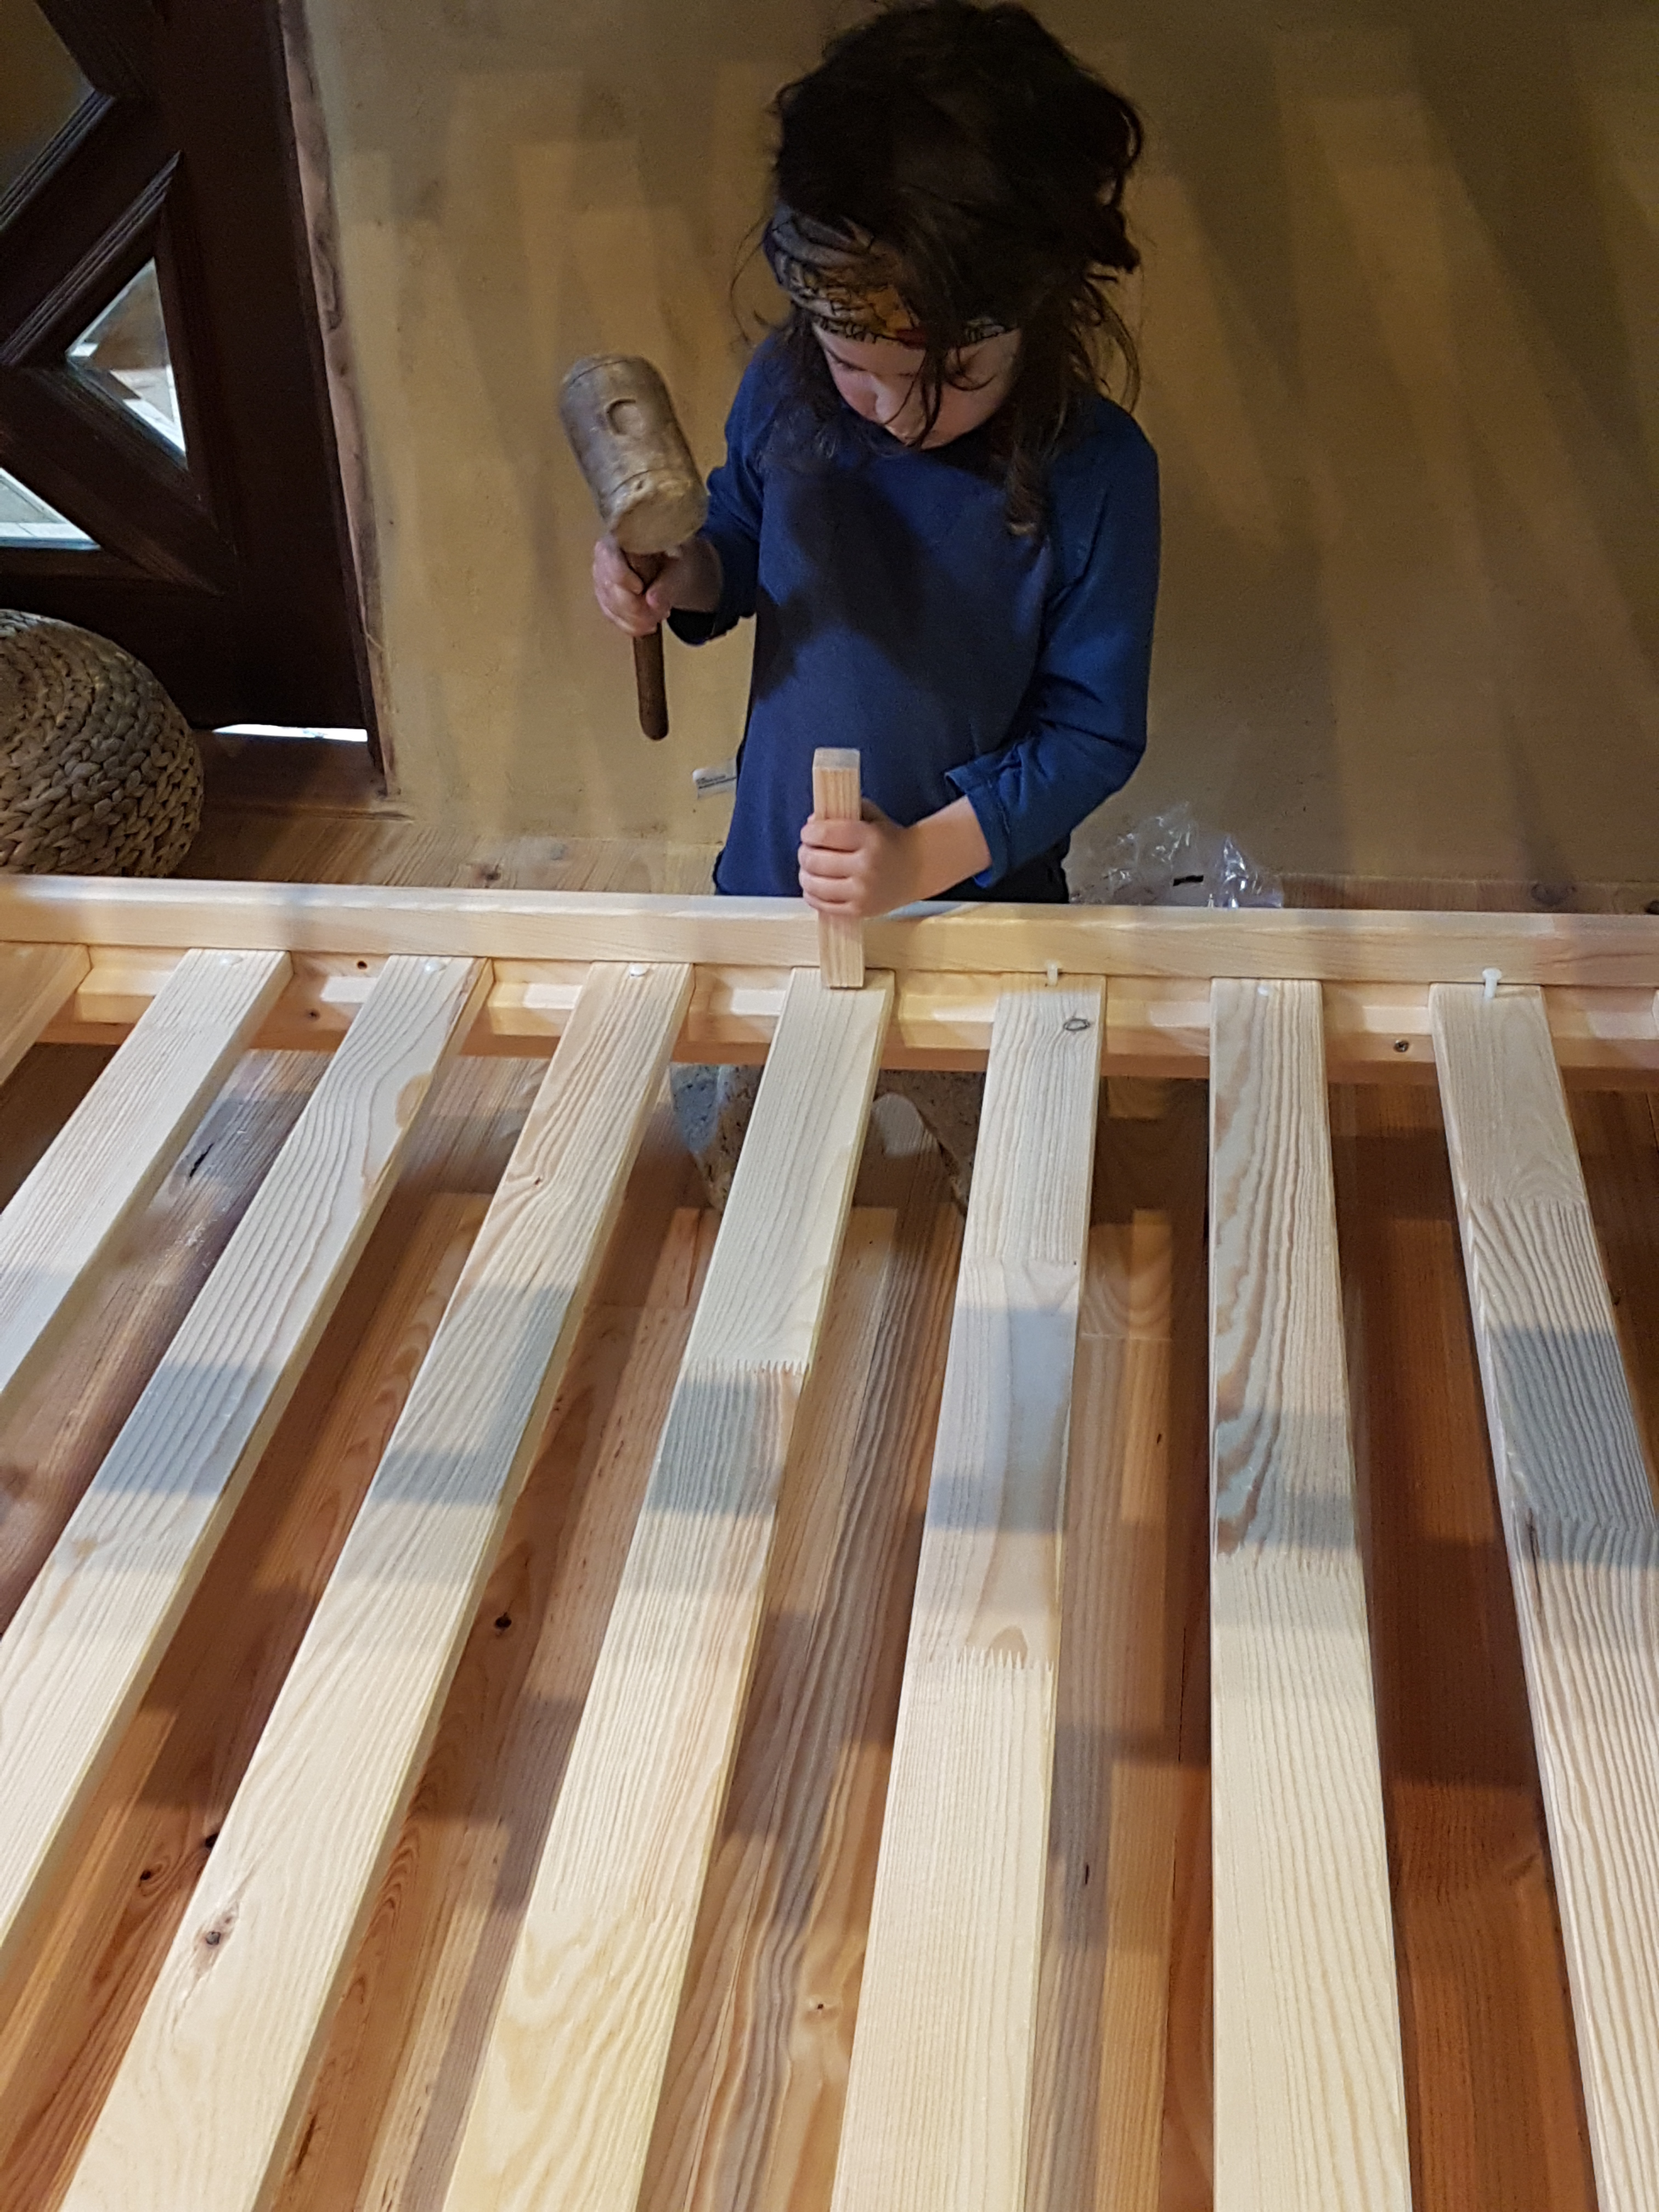
Making a Home
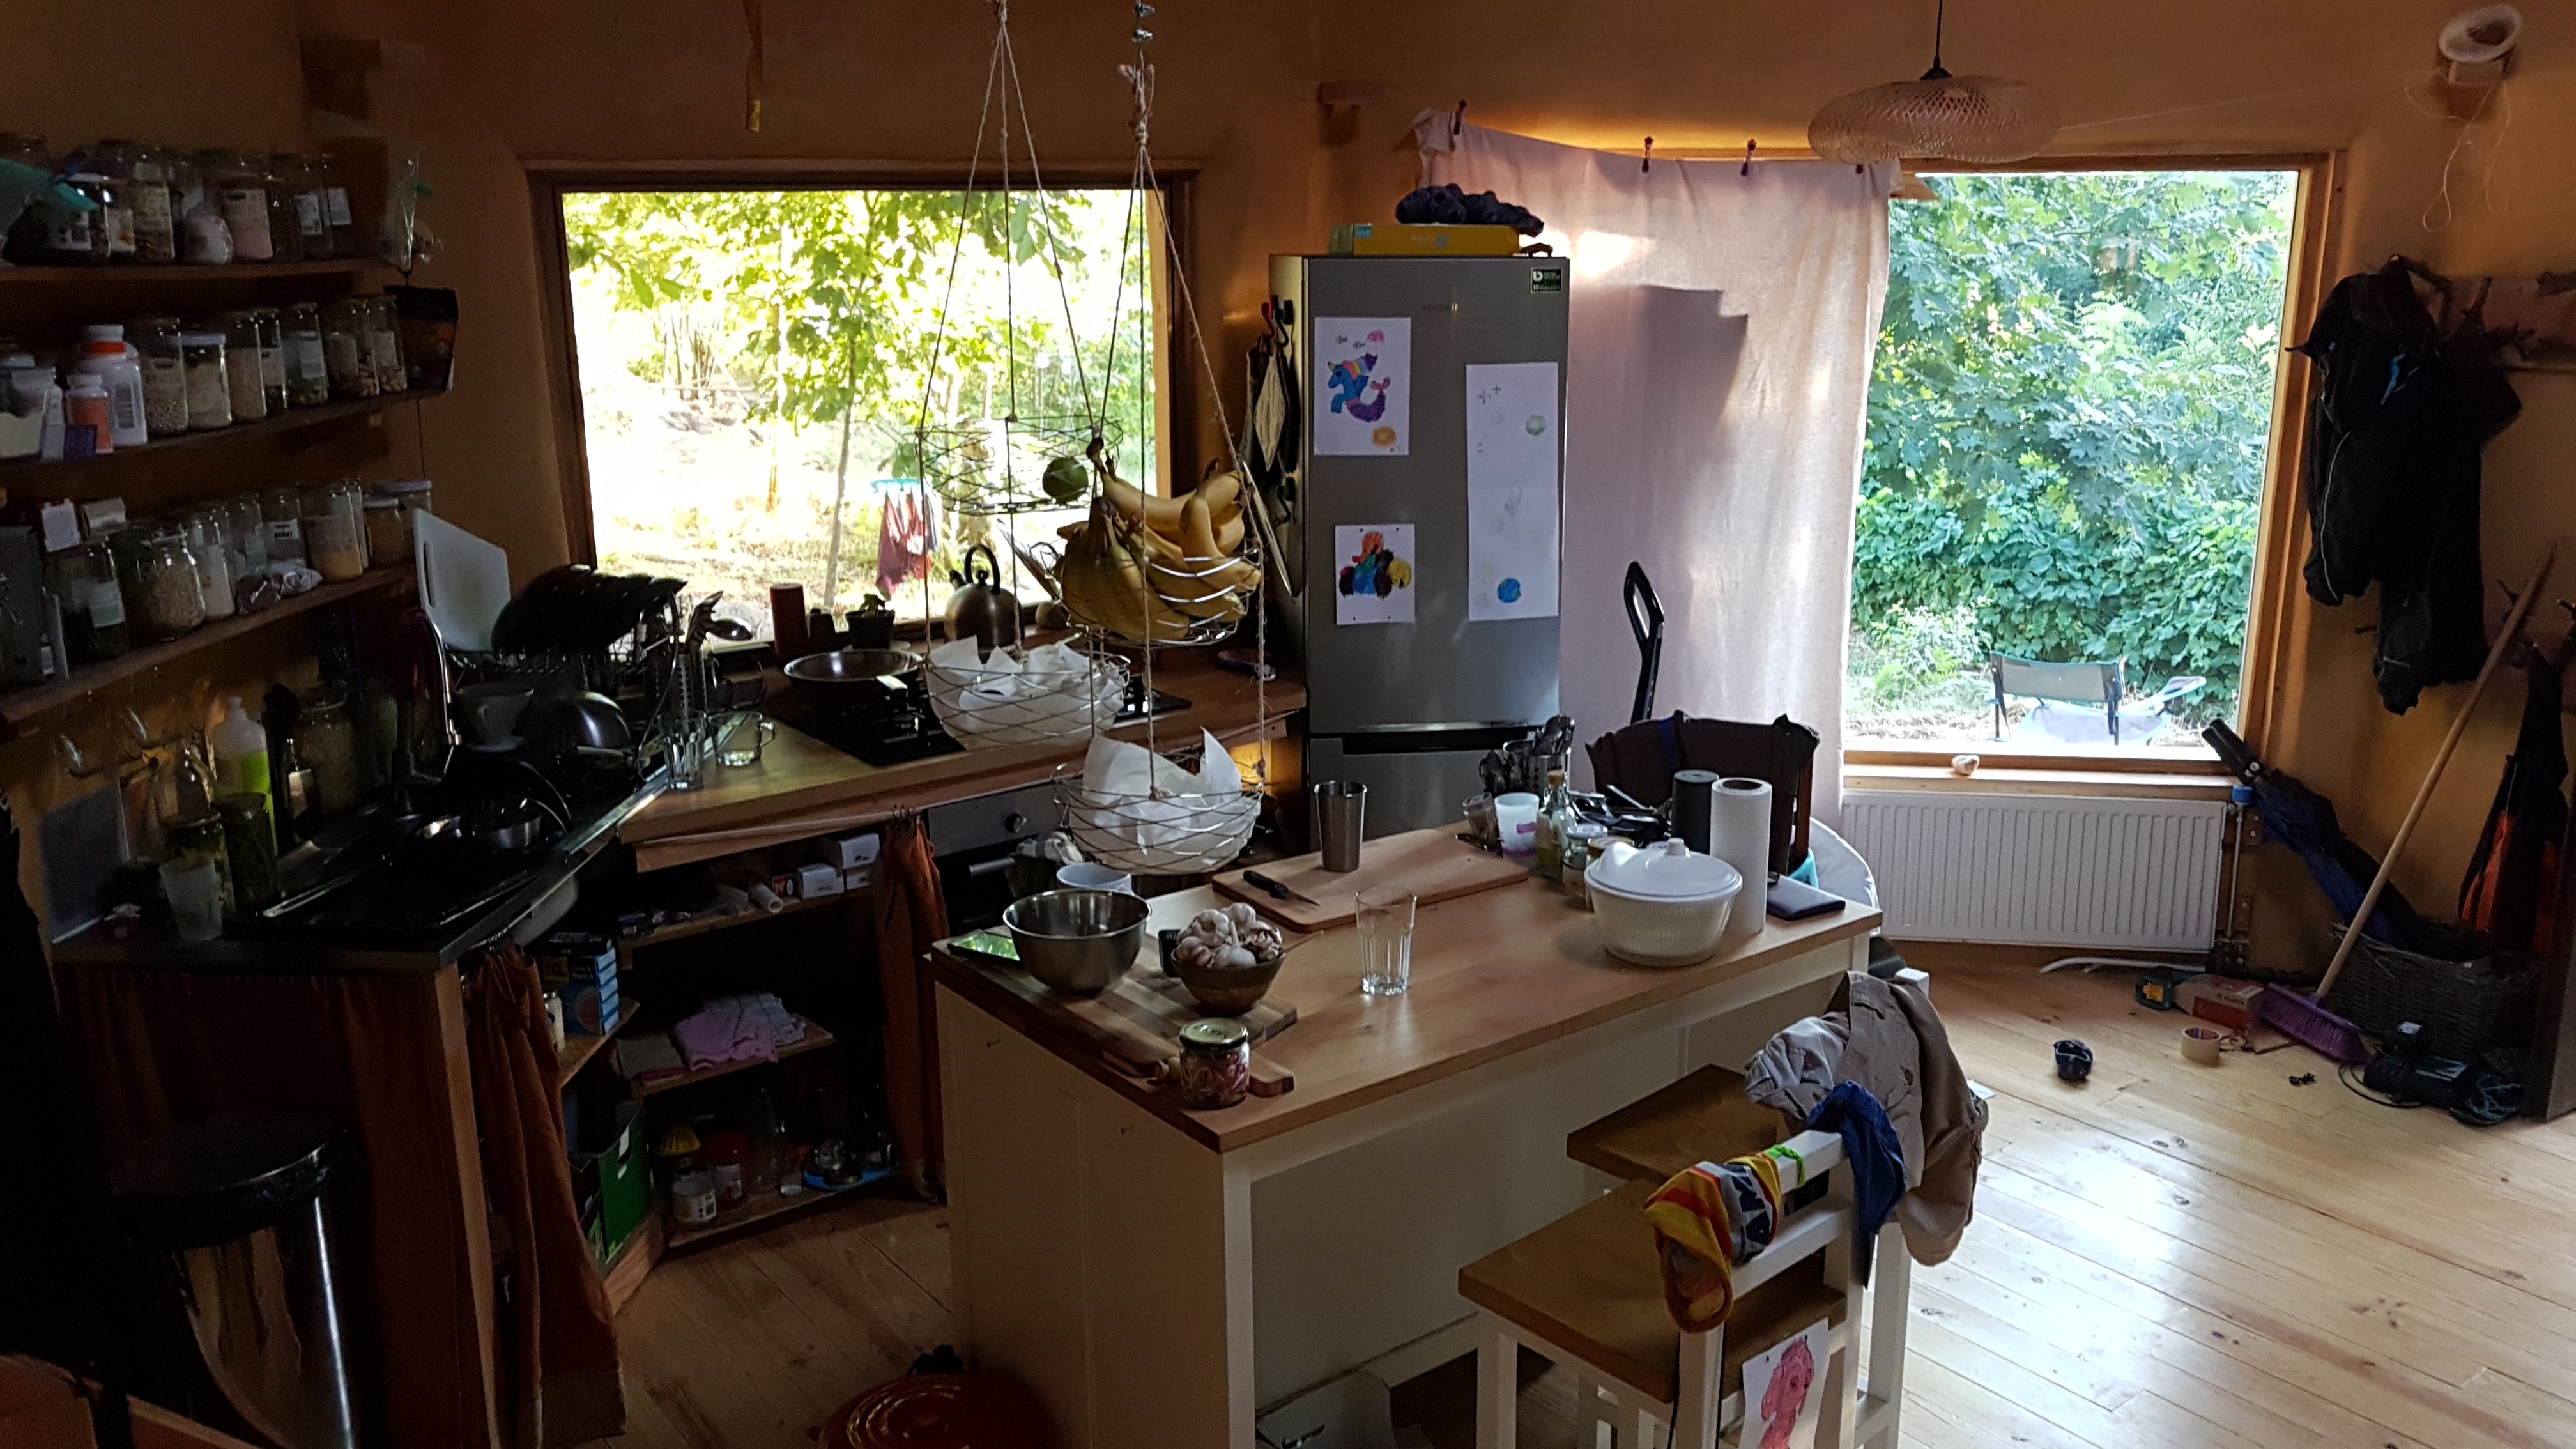
And then it was time for the furniture.

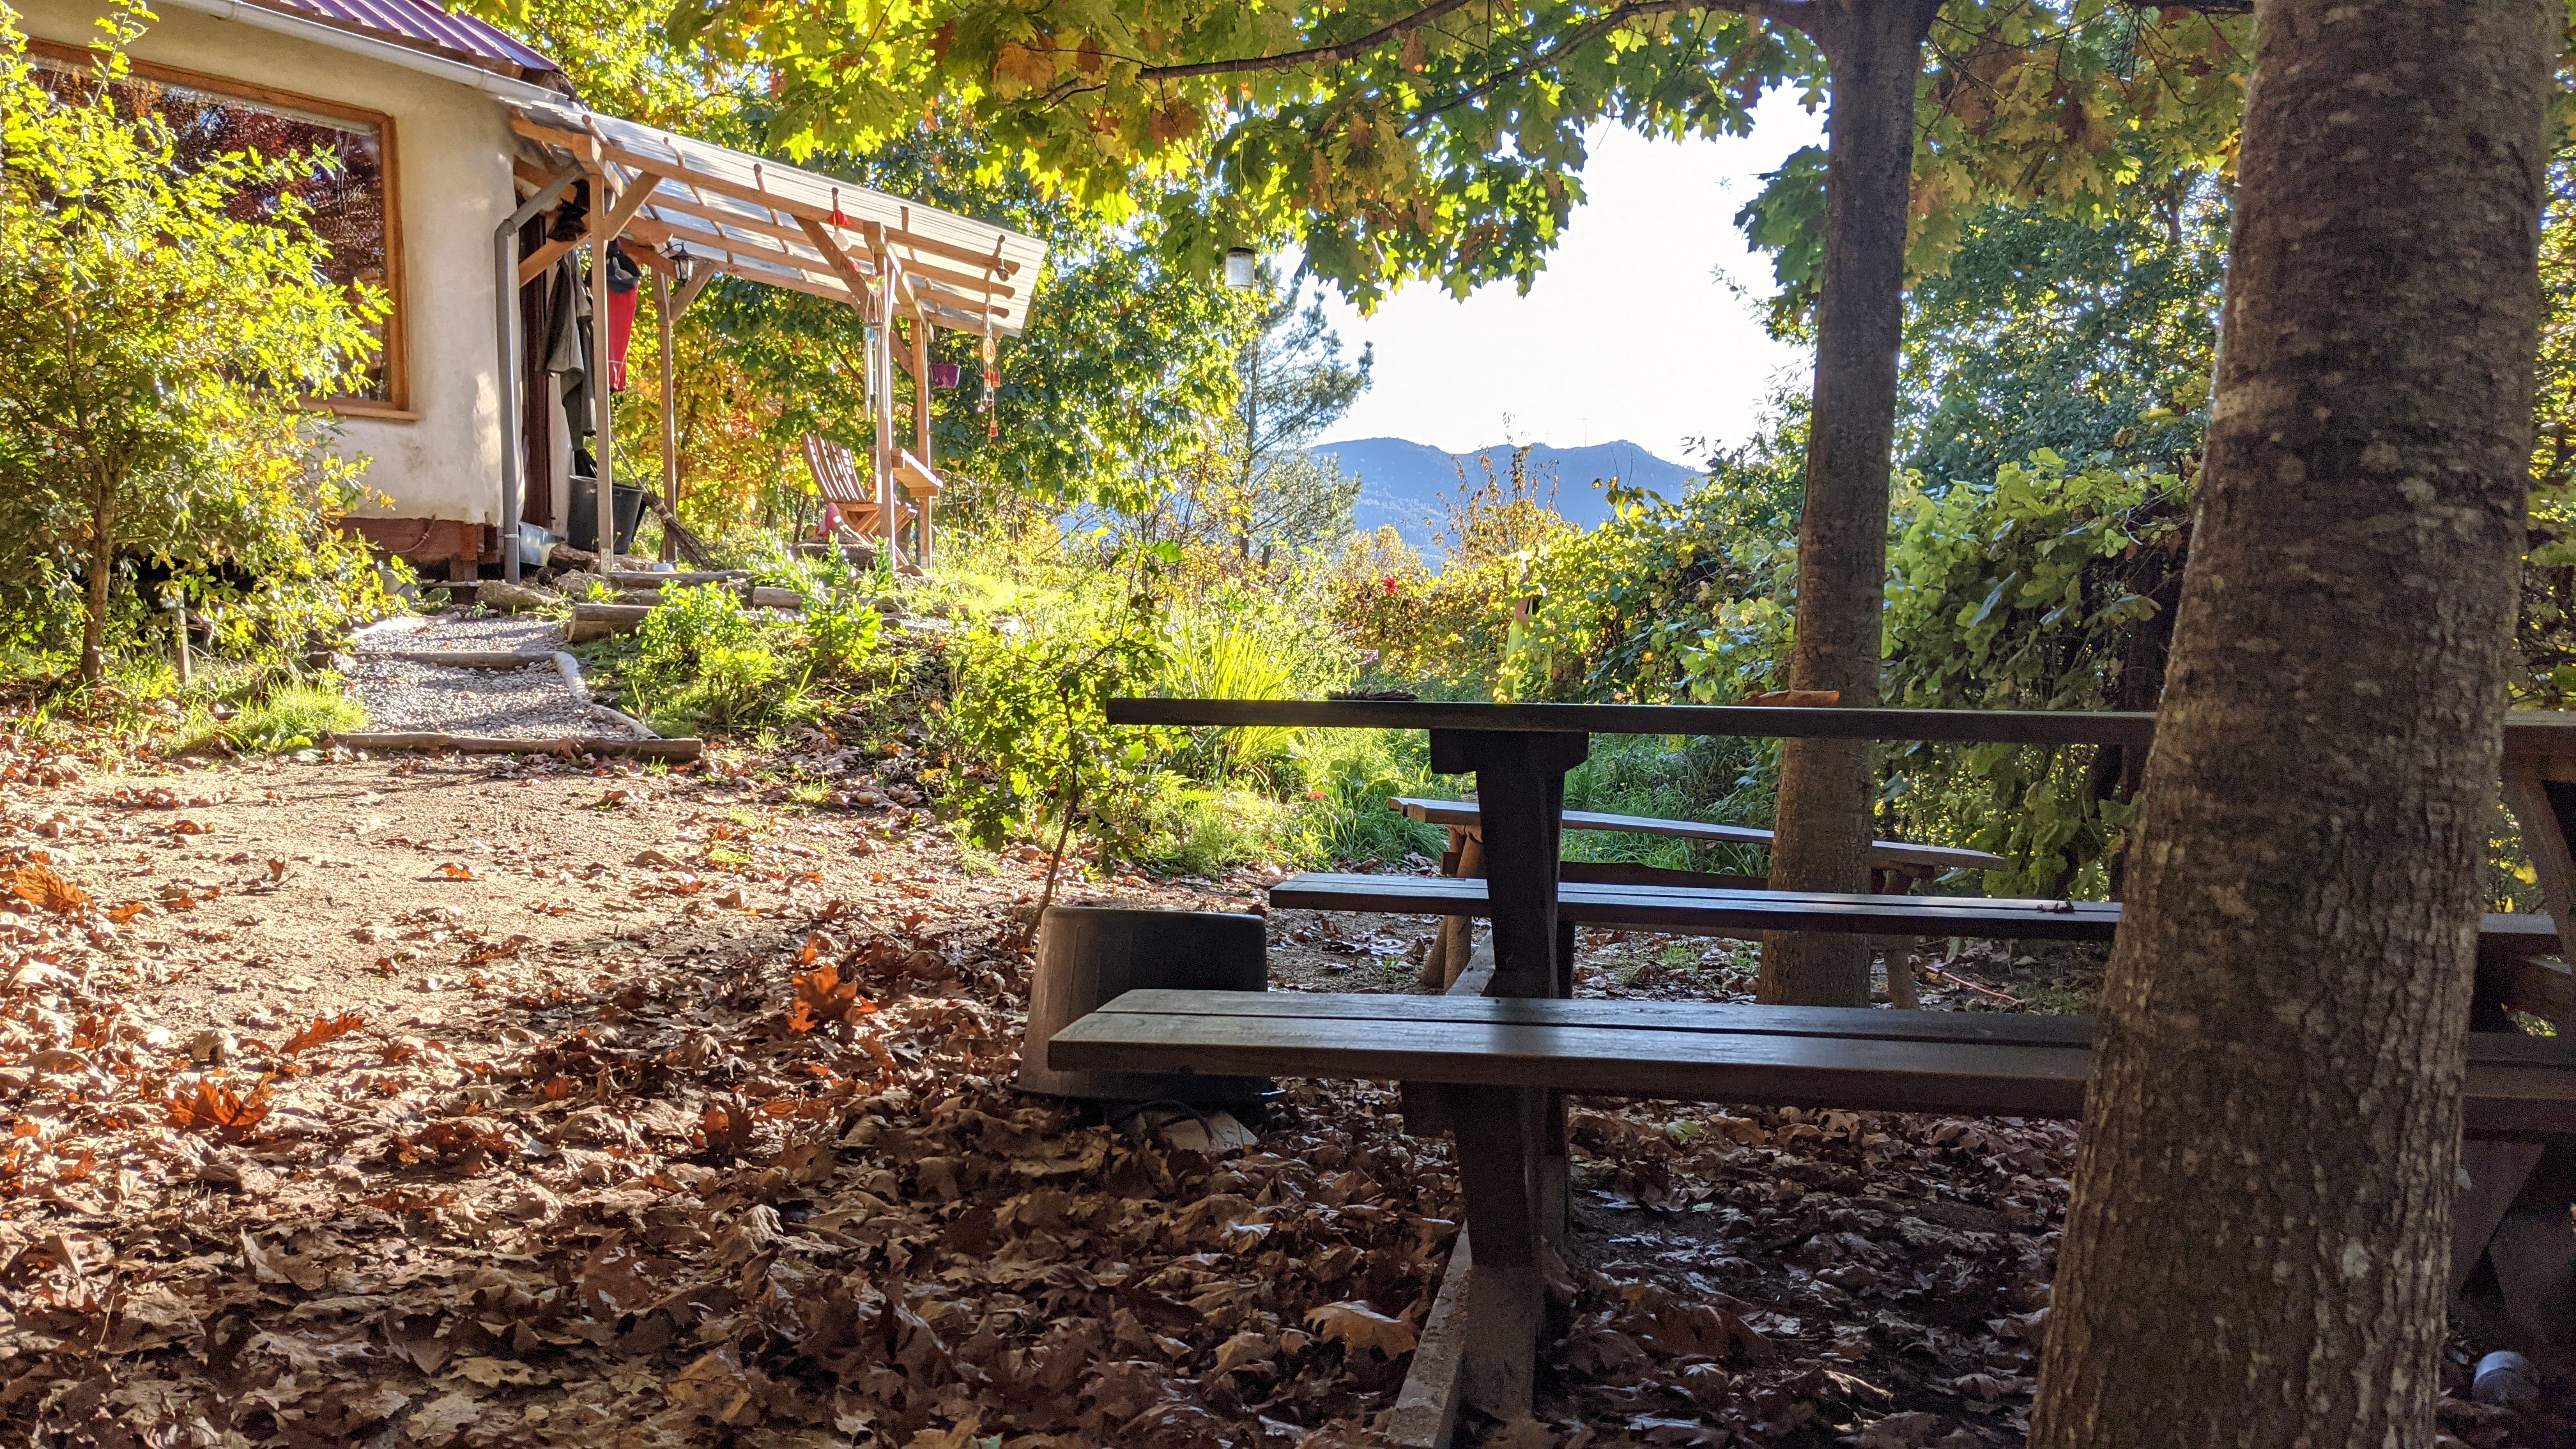
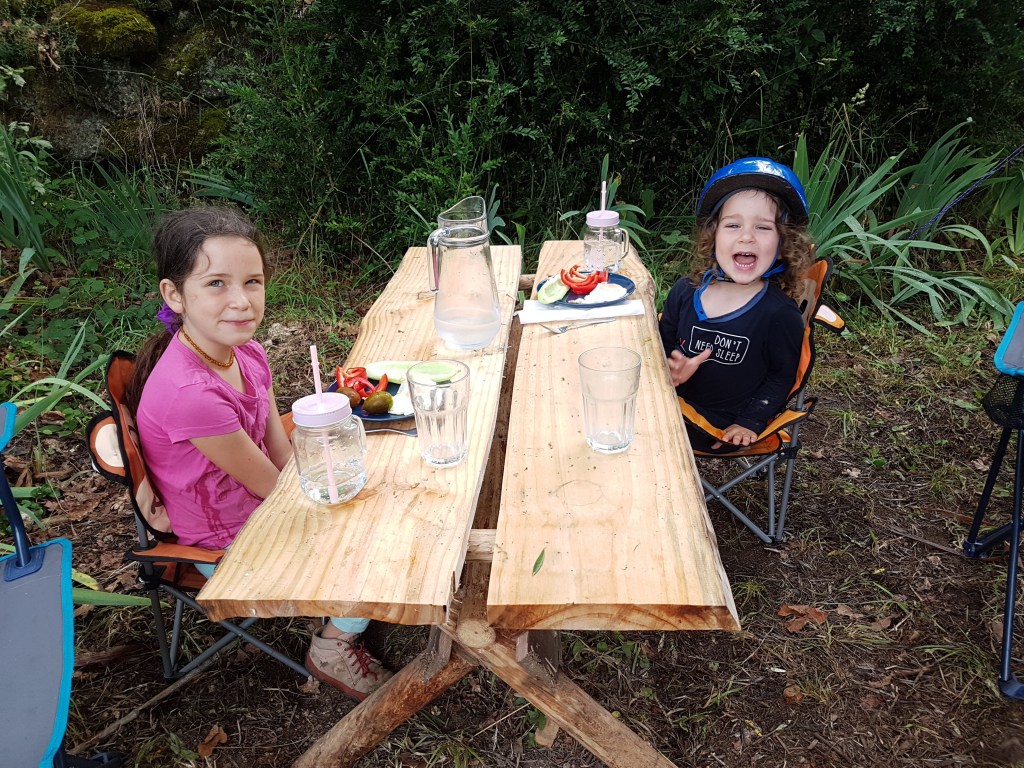
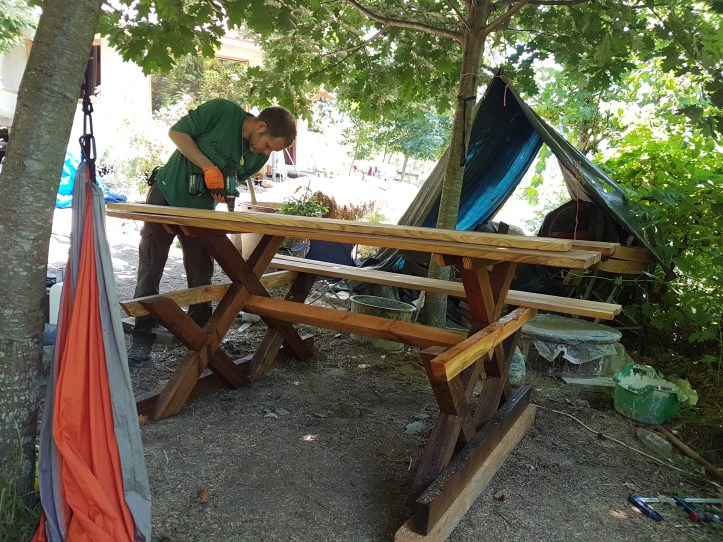
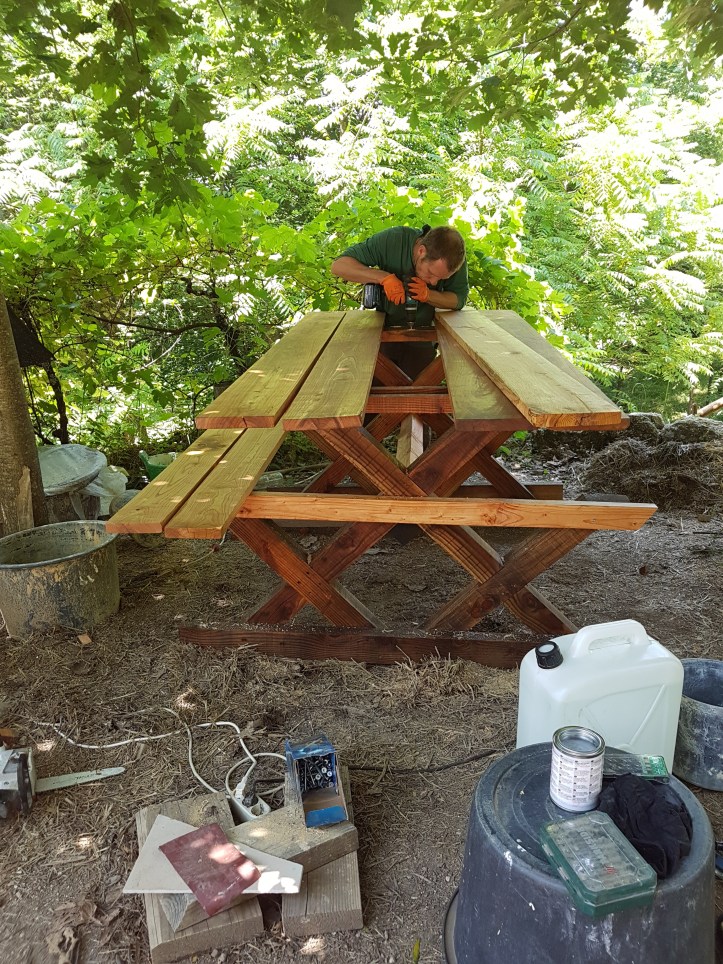
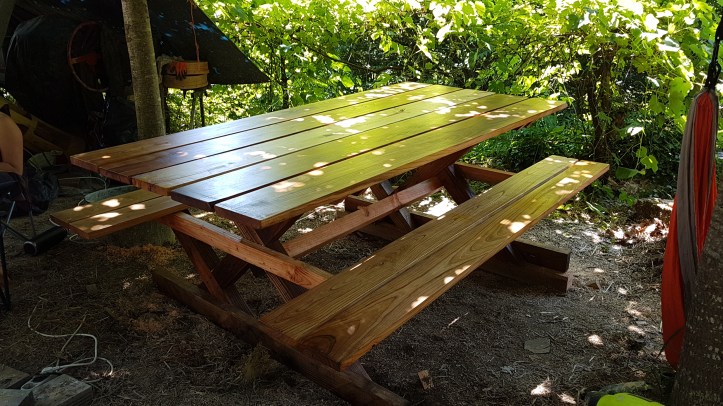
Picnic Table
Then I made a picnic table from chesnut wood ordered from the carpenter.

Climate Control
We have an old water mine running underneath the Octagon. I had explored it a bit and discovered that the air temperature inside it was a stable 17 degrees Celsius. It
didn’t take long for a plan to hatch to use this air to cool the Octagon. This required a few days of calculations and digging in order to find the correct spot to drill into the mine.

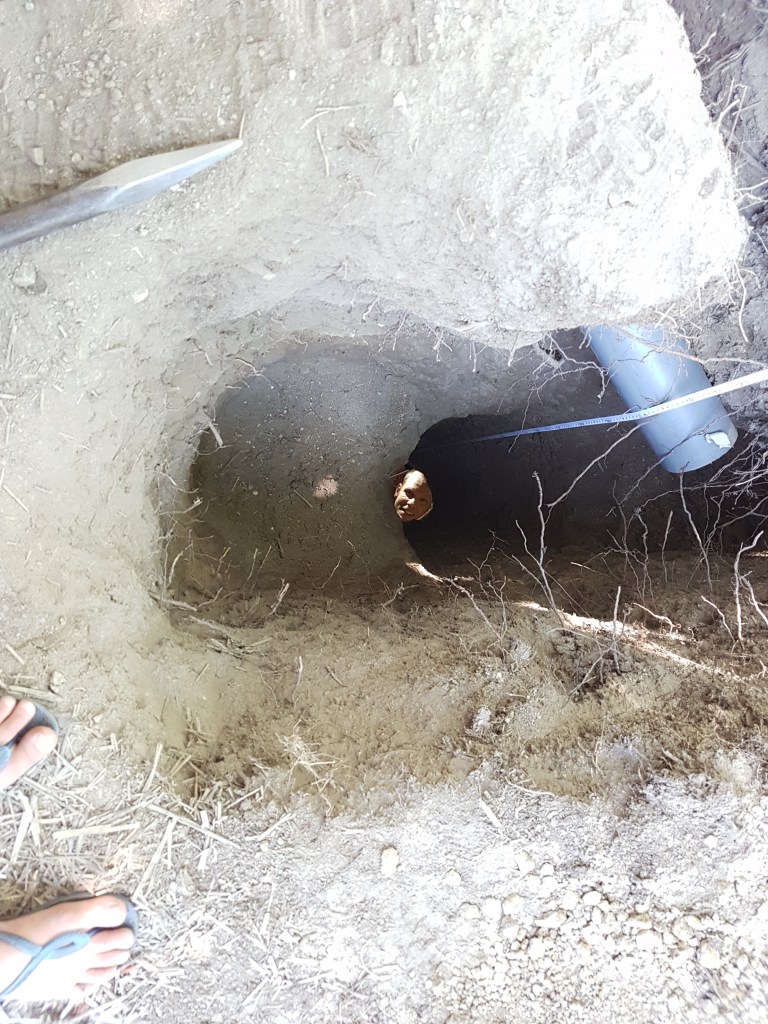
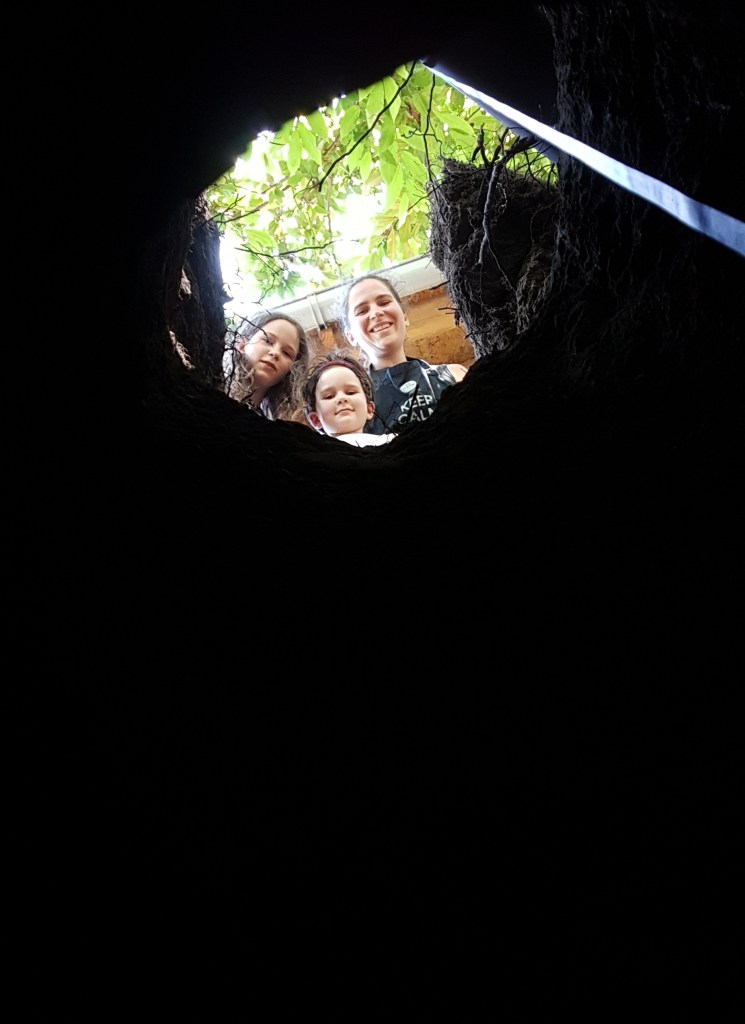
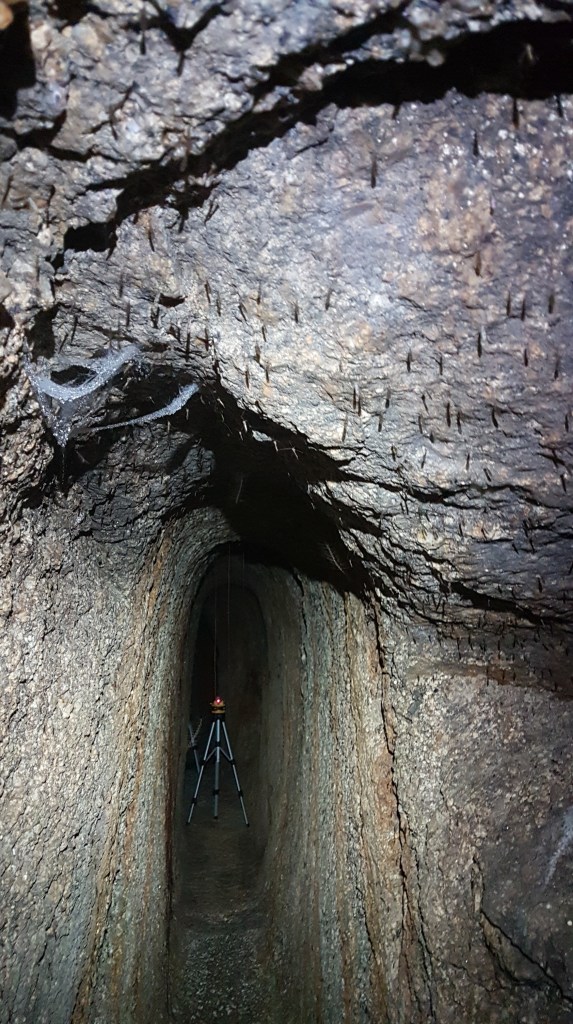
Within a few days I had found it. But just then something jogged Tal’s memory and we decided to read about Radon gas. We bought a meter and discovered, to our dismay, that the water mine had a reading well above the recommended maximum.
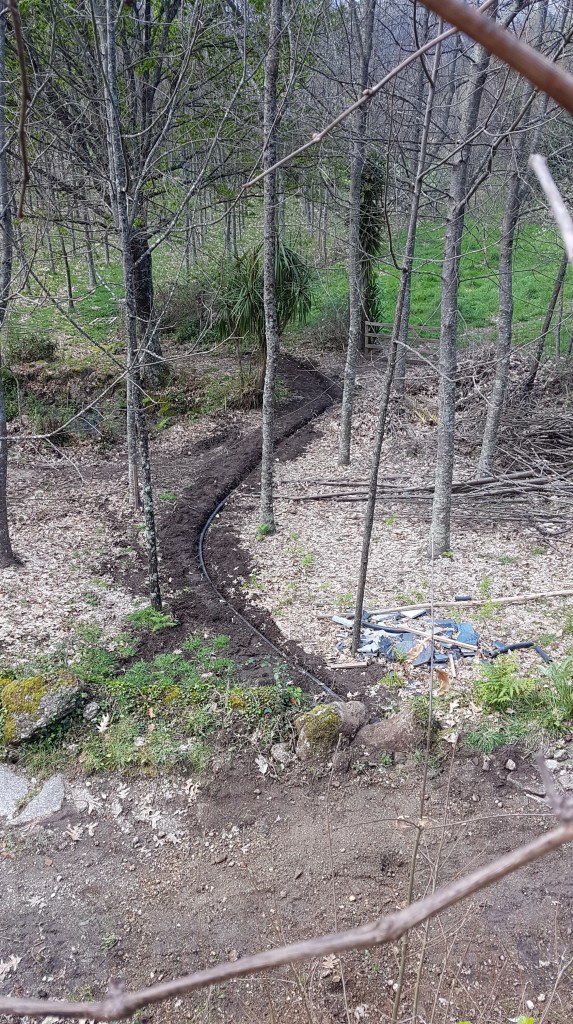
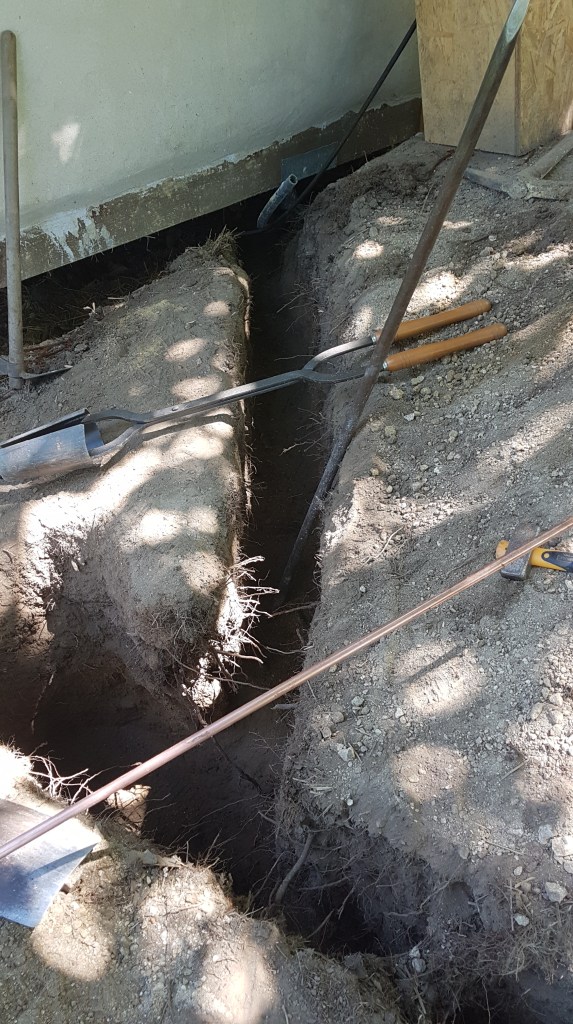
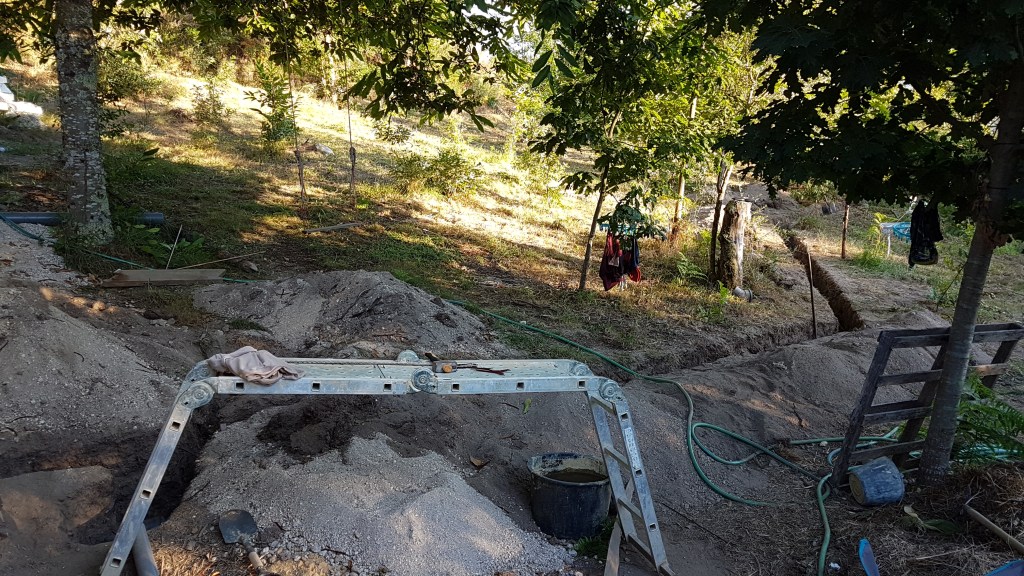
However, since we liked the idea of using the earth to cool the air, we decided to install a 30 meter long earth tube instead. The optimal depth for an earth tube is 300cm, but since I was digging by hand and the subsoil here is quite hard, I was not able to go much deeper than 110 cm at the deepest spot. This means we are not getting top performance – but it does keep the house cooler for most of the day in summer.
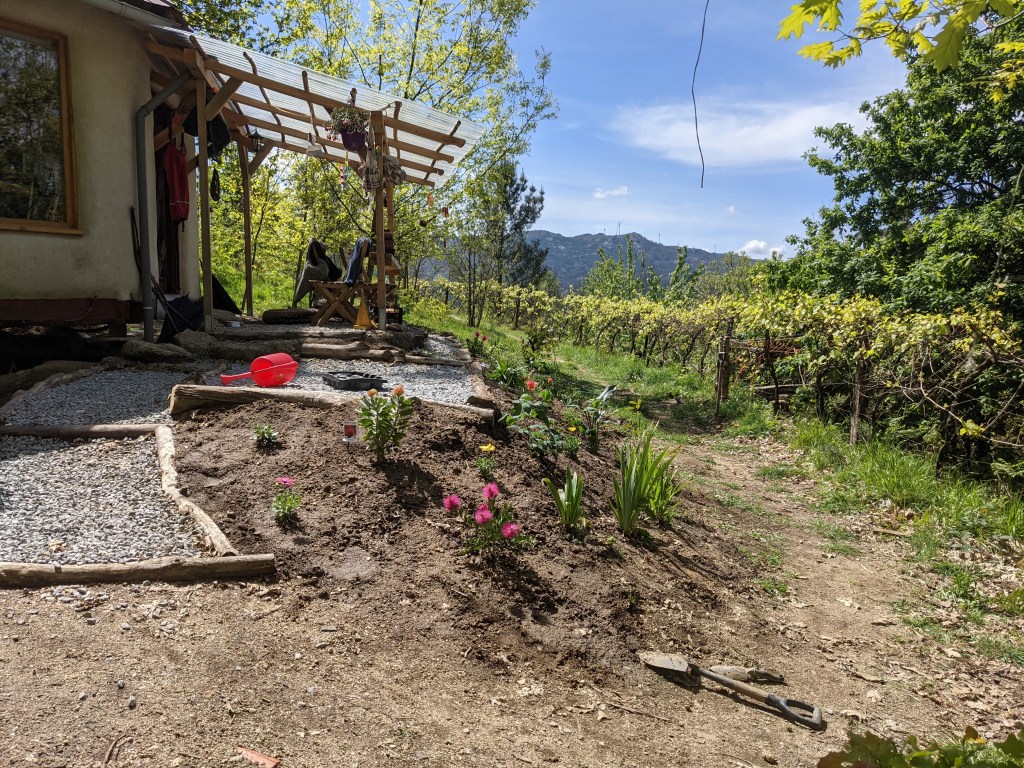
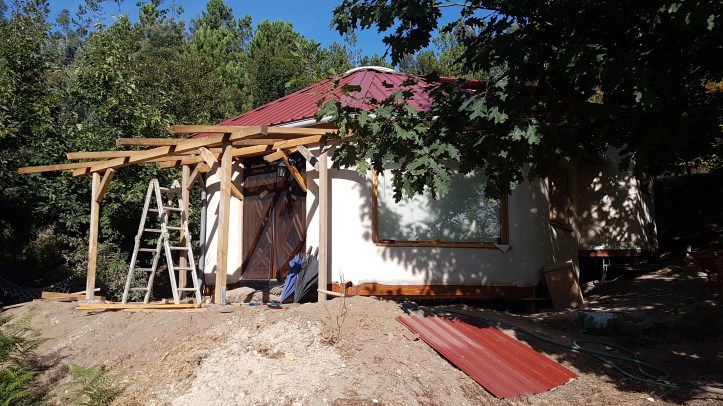
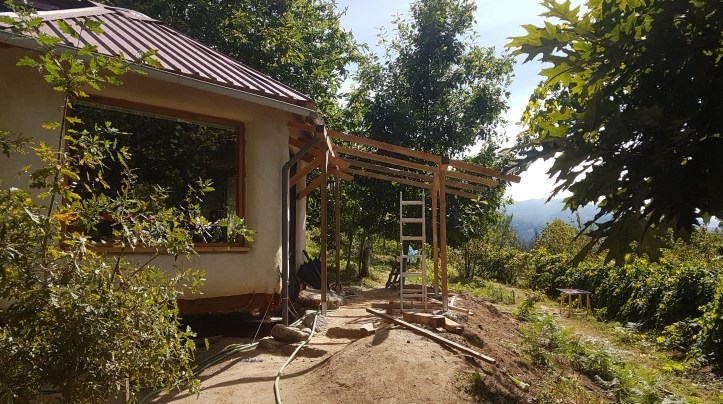
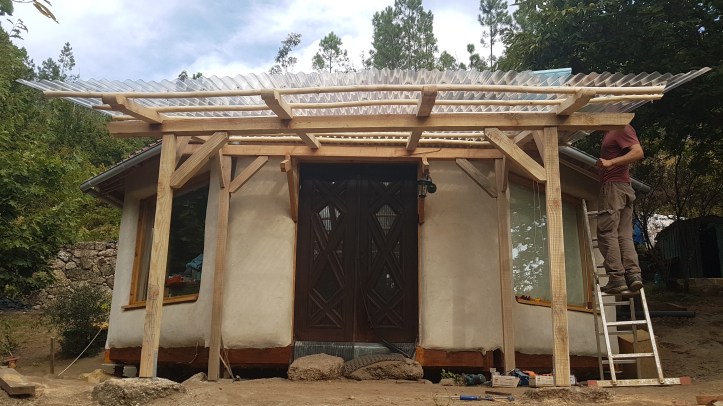
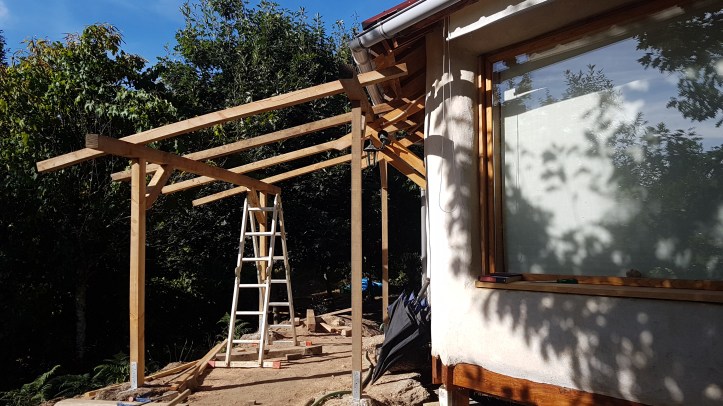
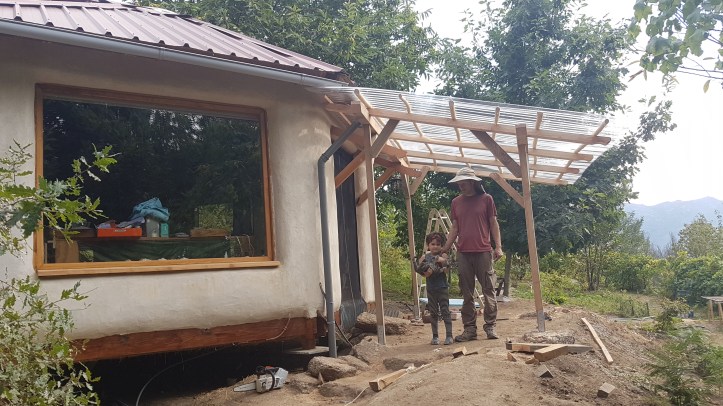
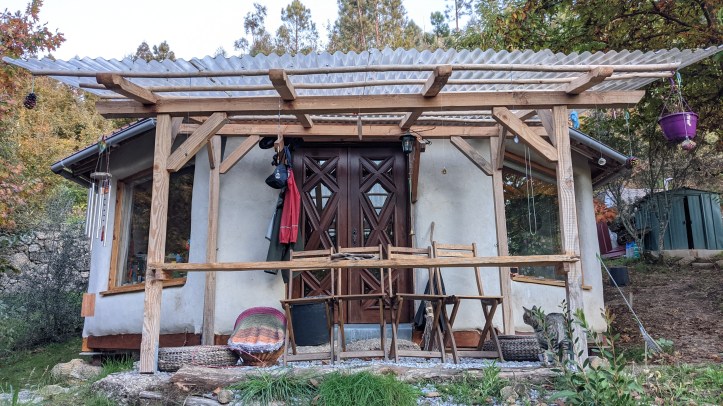
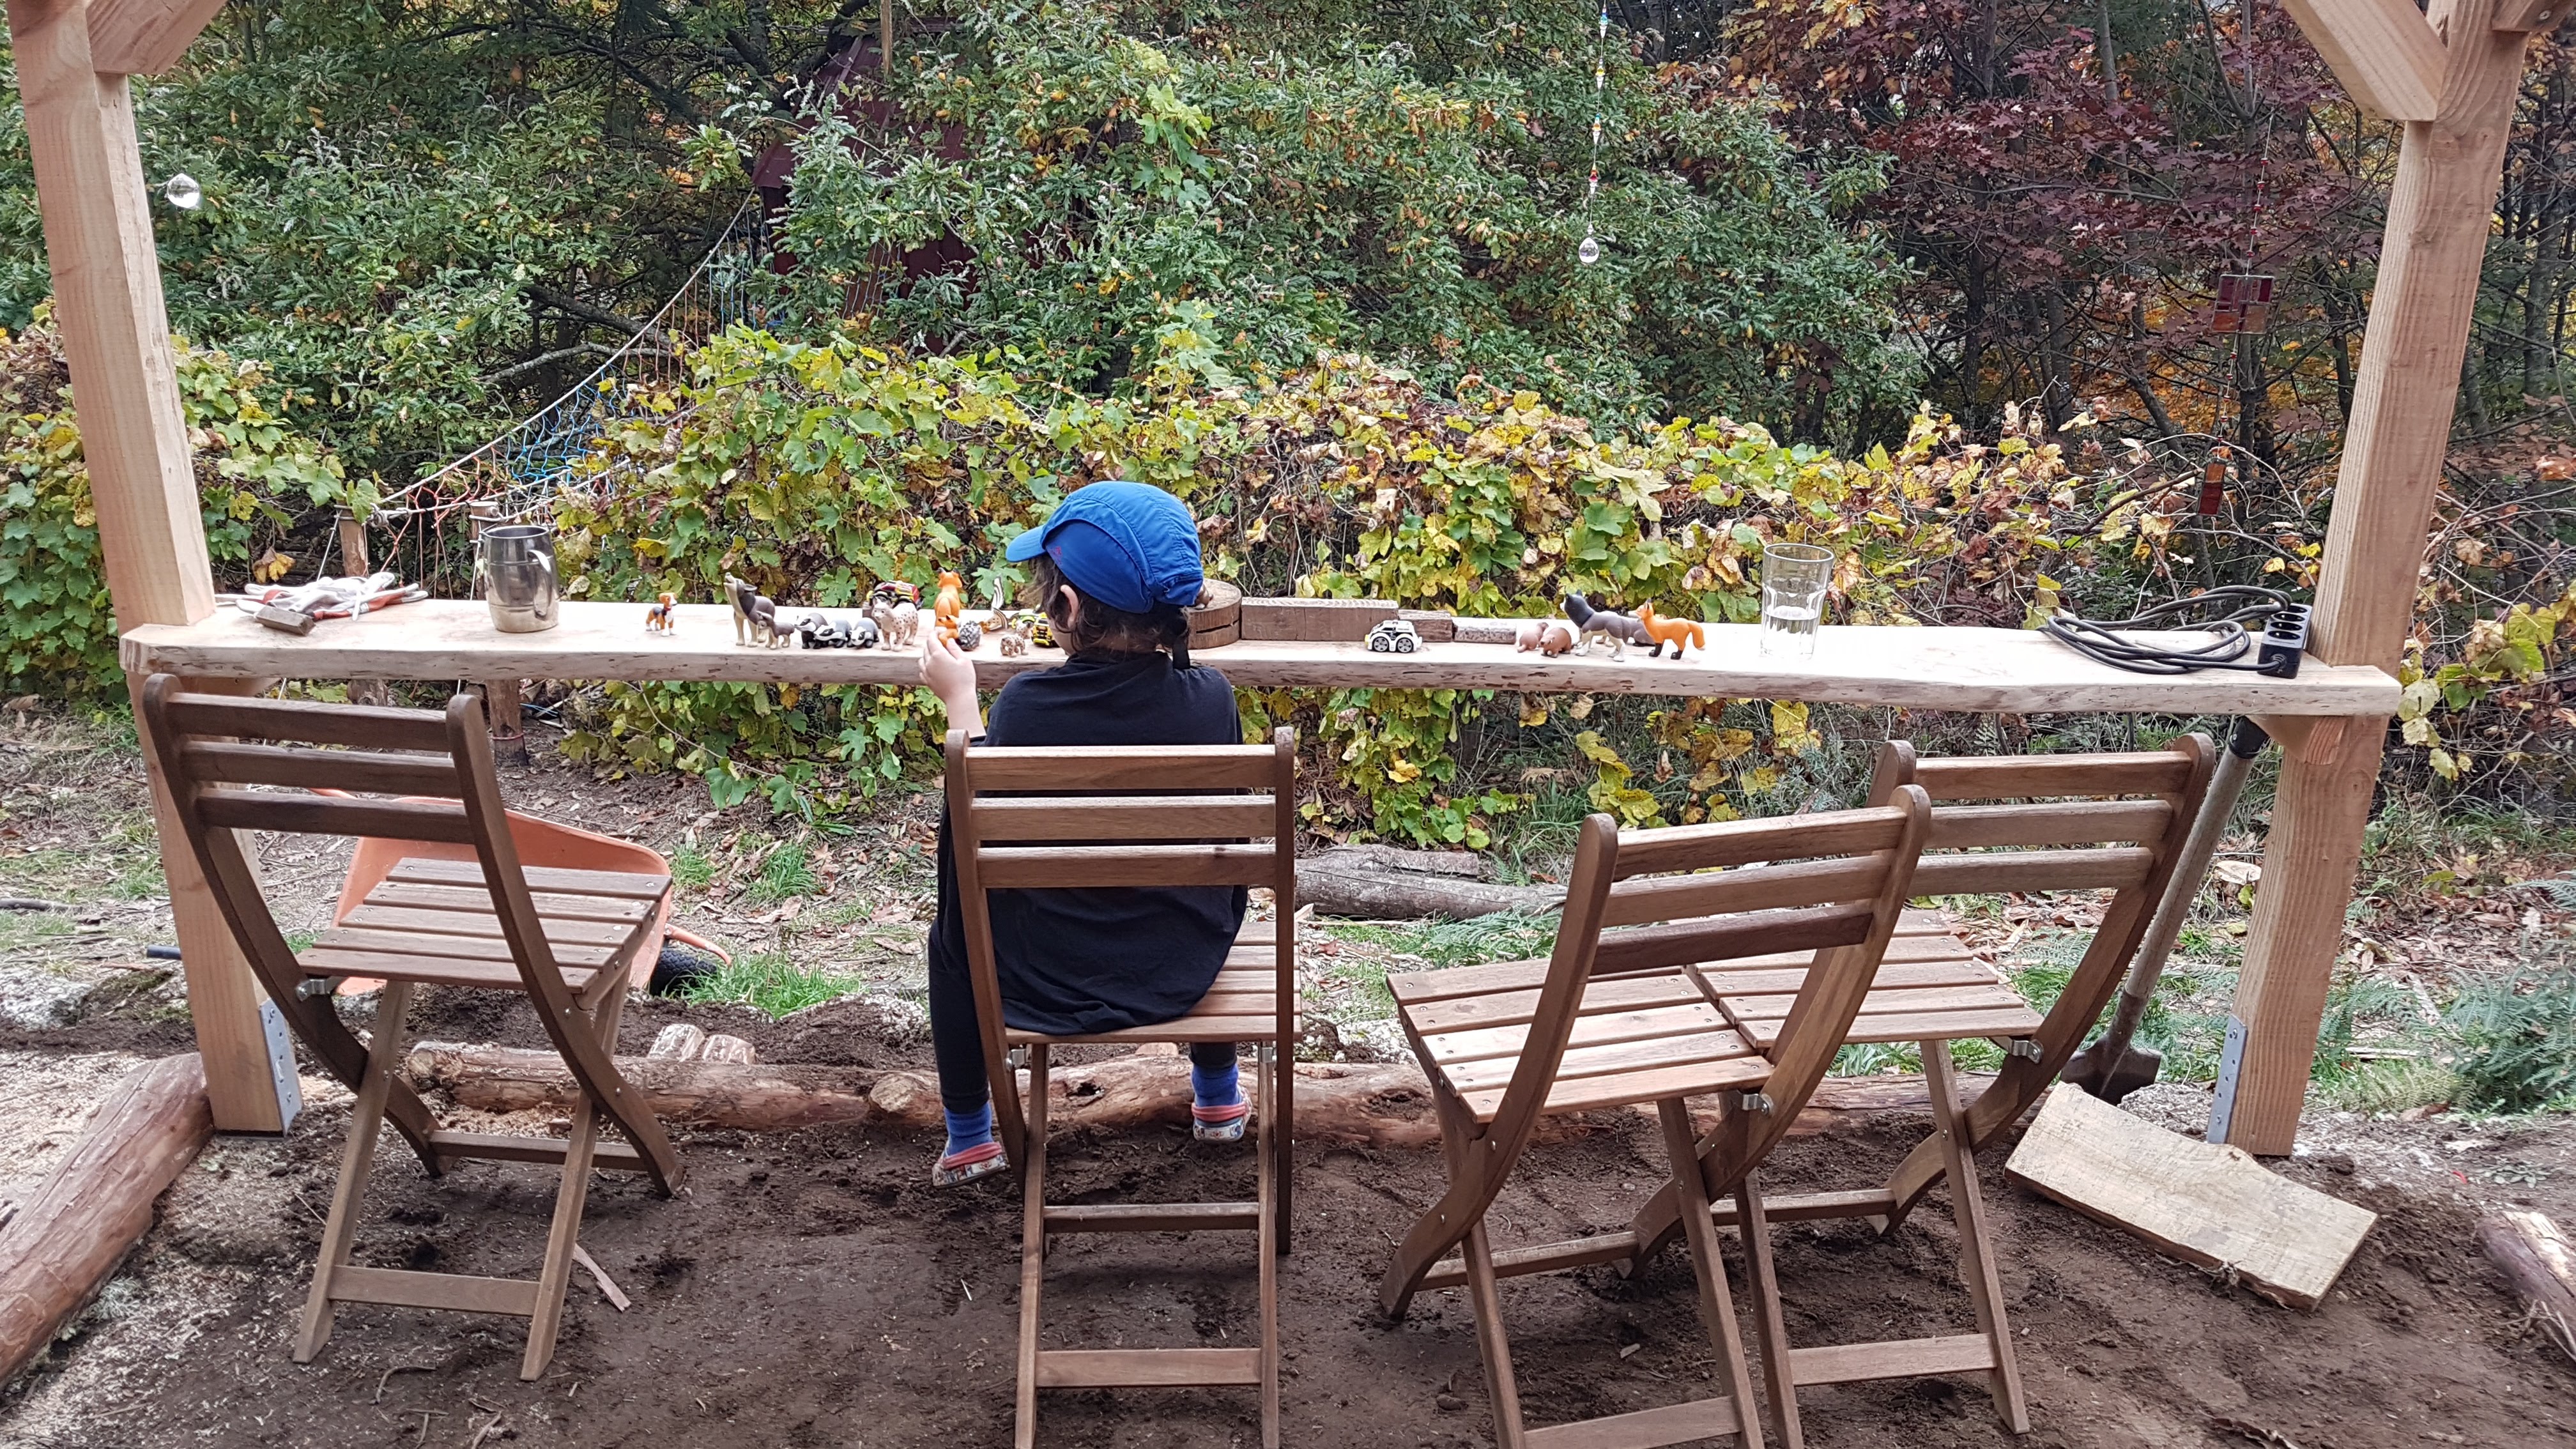
Porch
Soon after we moved into the Octagon it became clear that we needed a porch. It’s a lovely spot to sit and enjoy the view, and also provides a dry shelter to remove our dirty or wet gear.

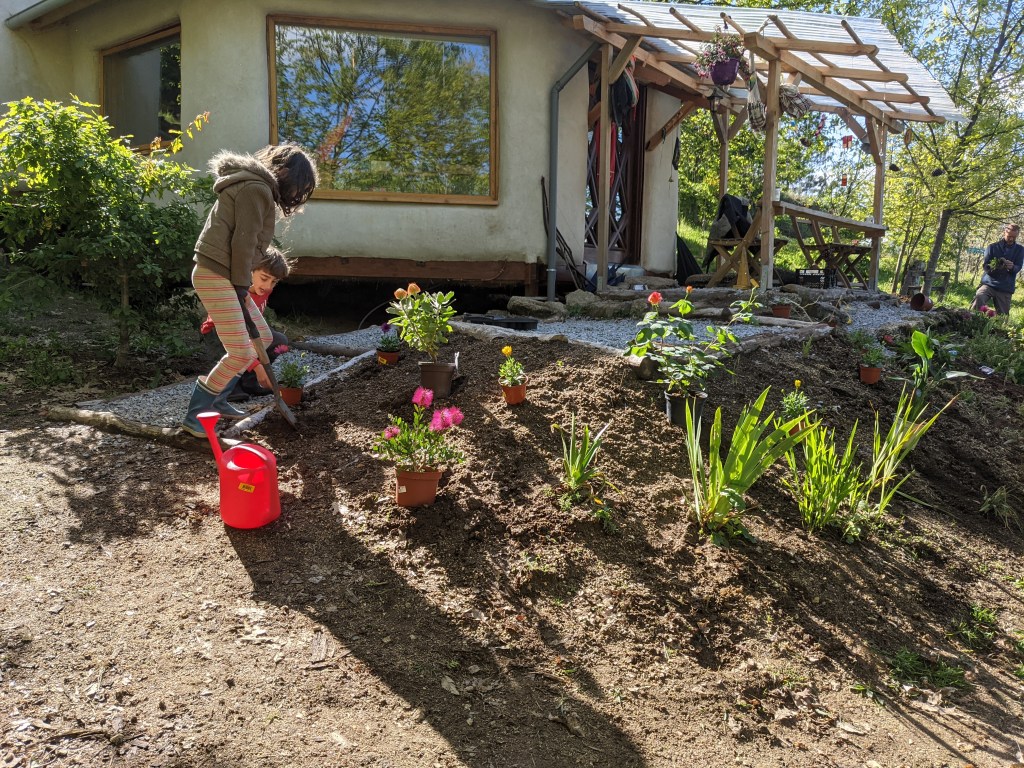
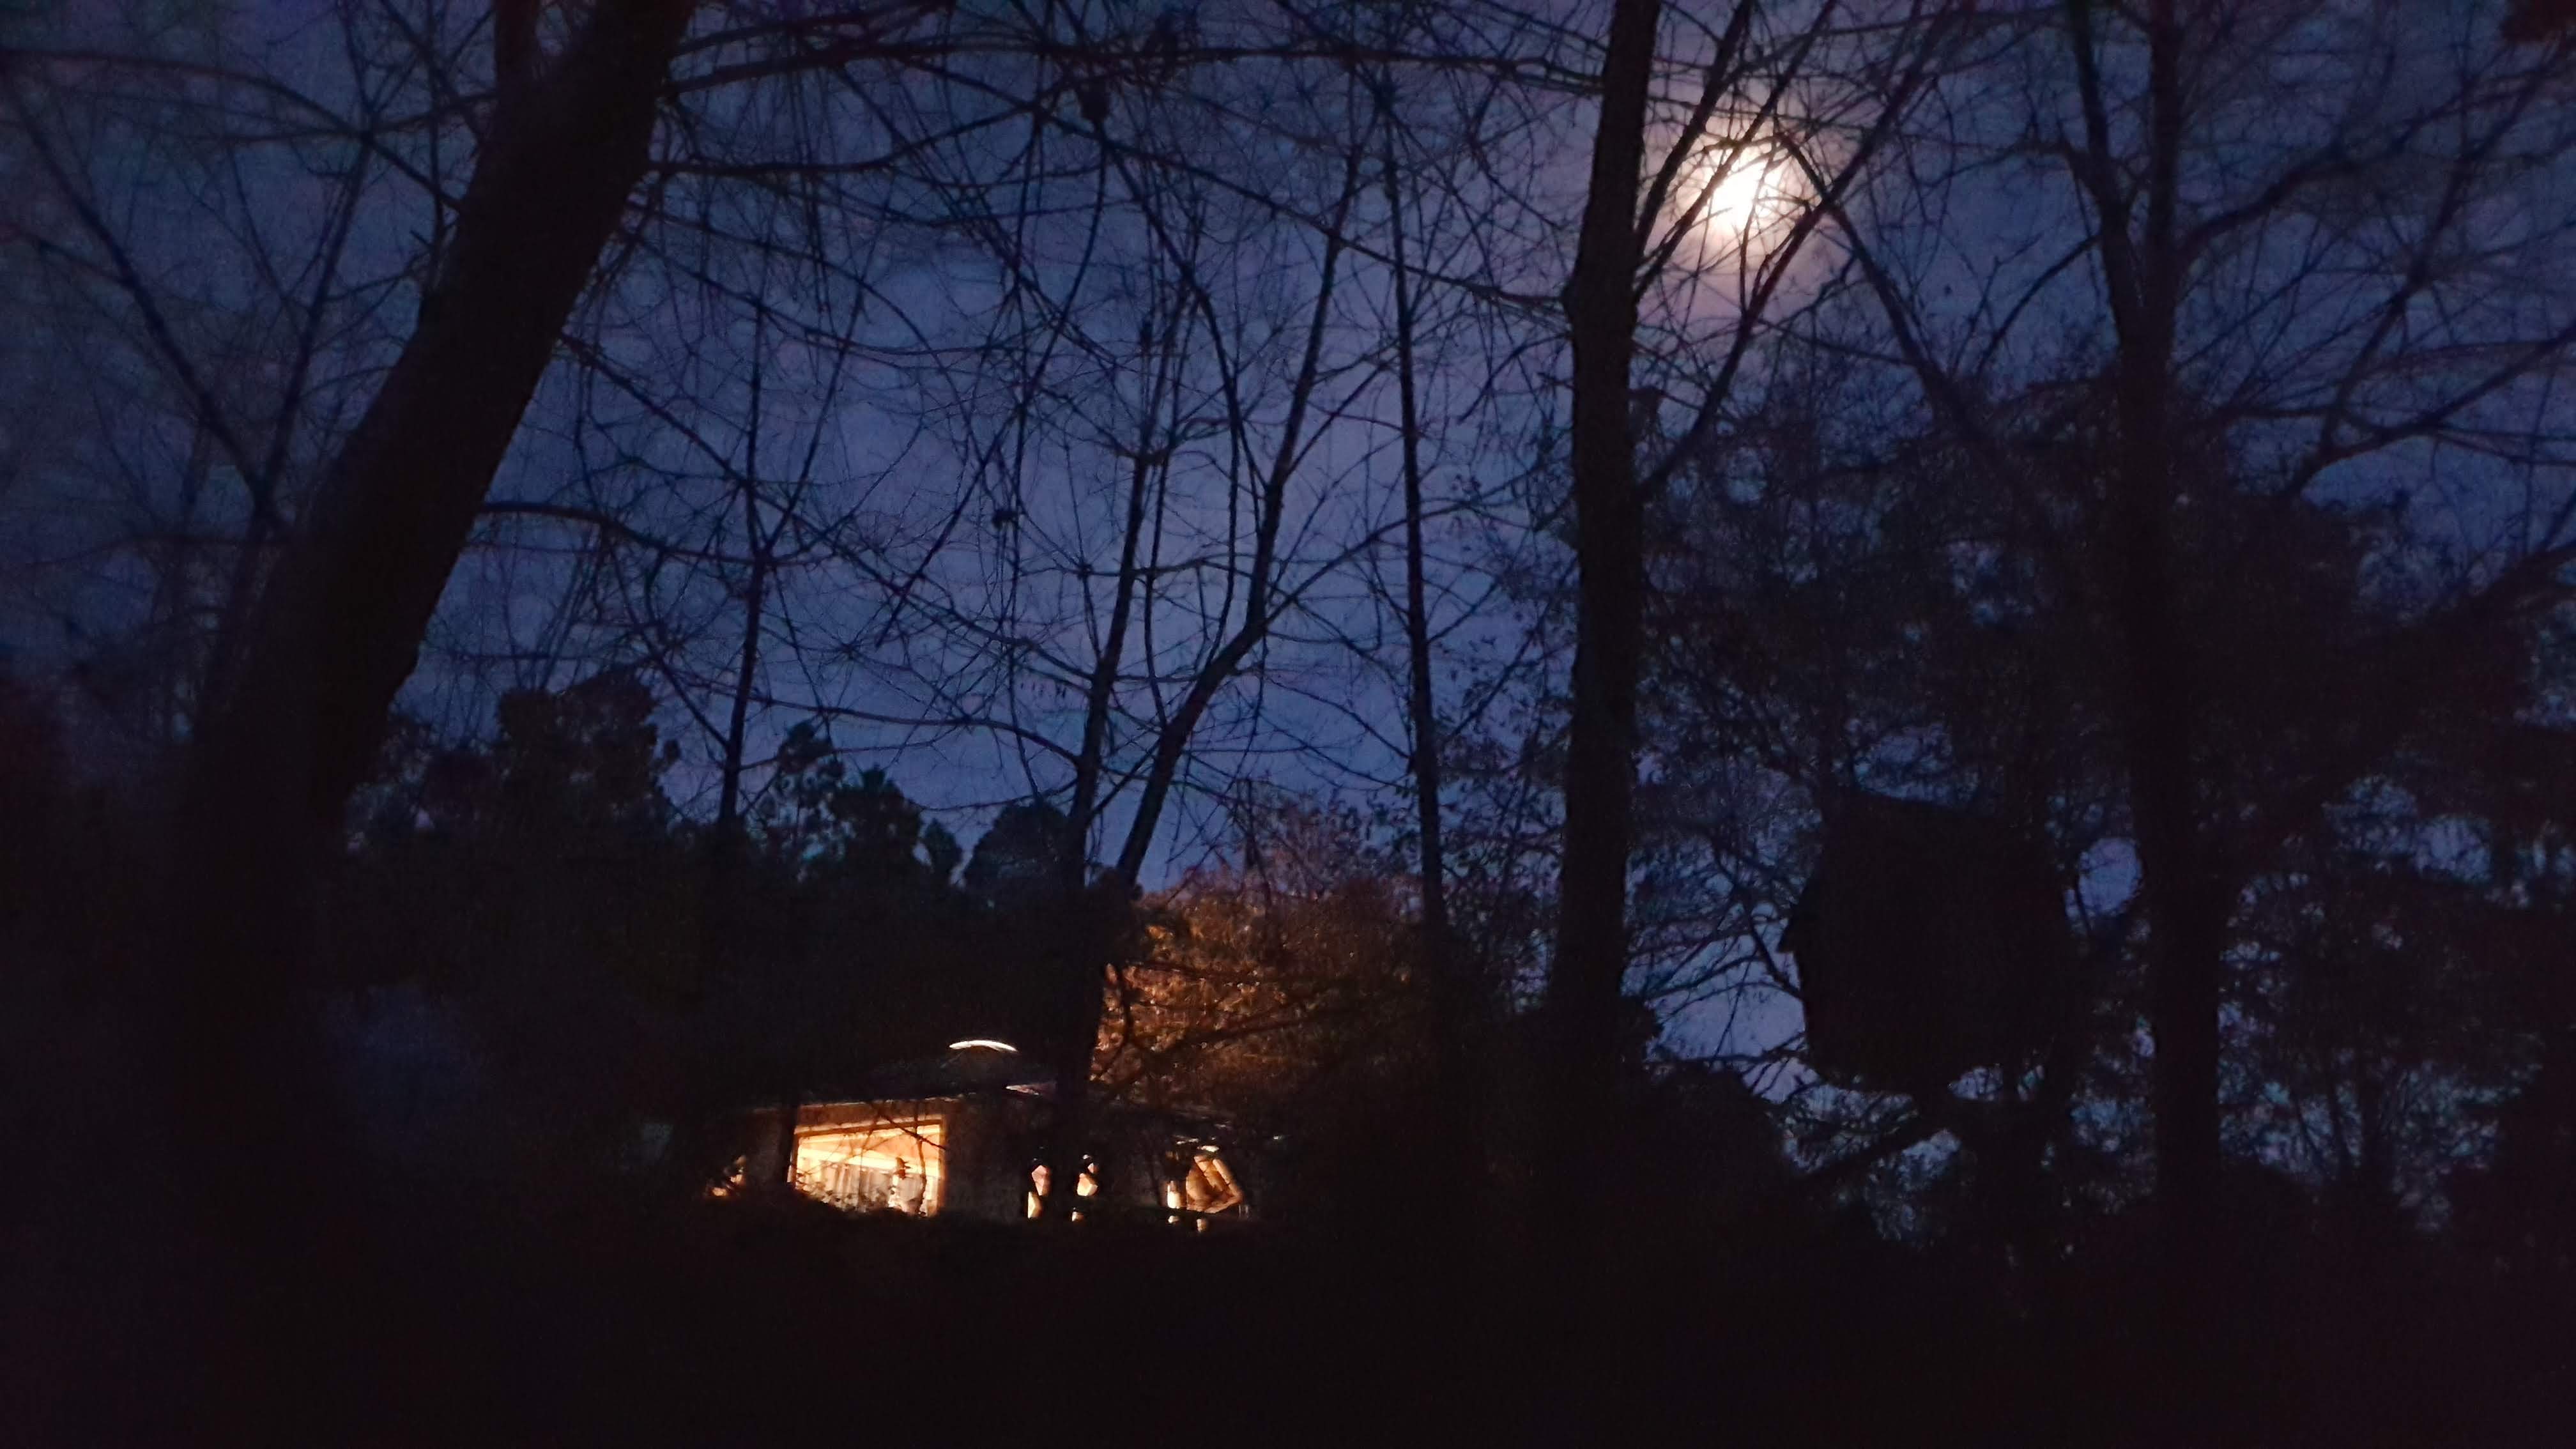
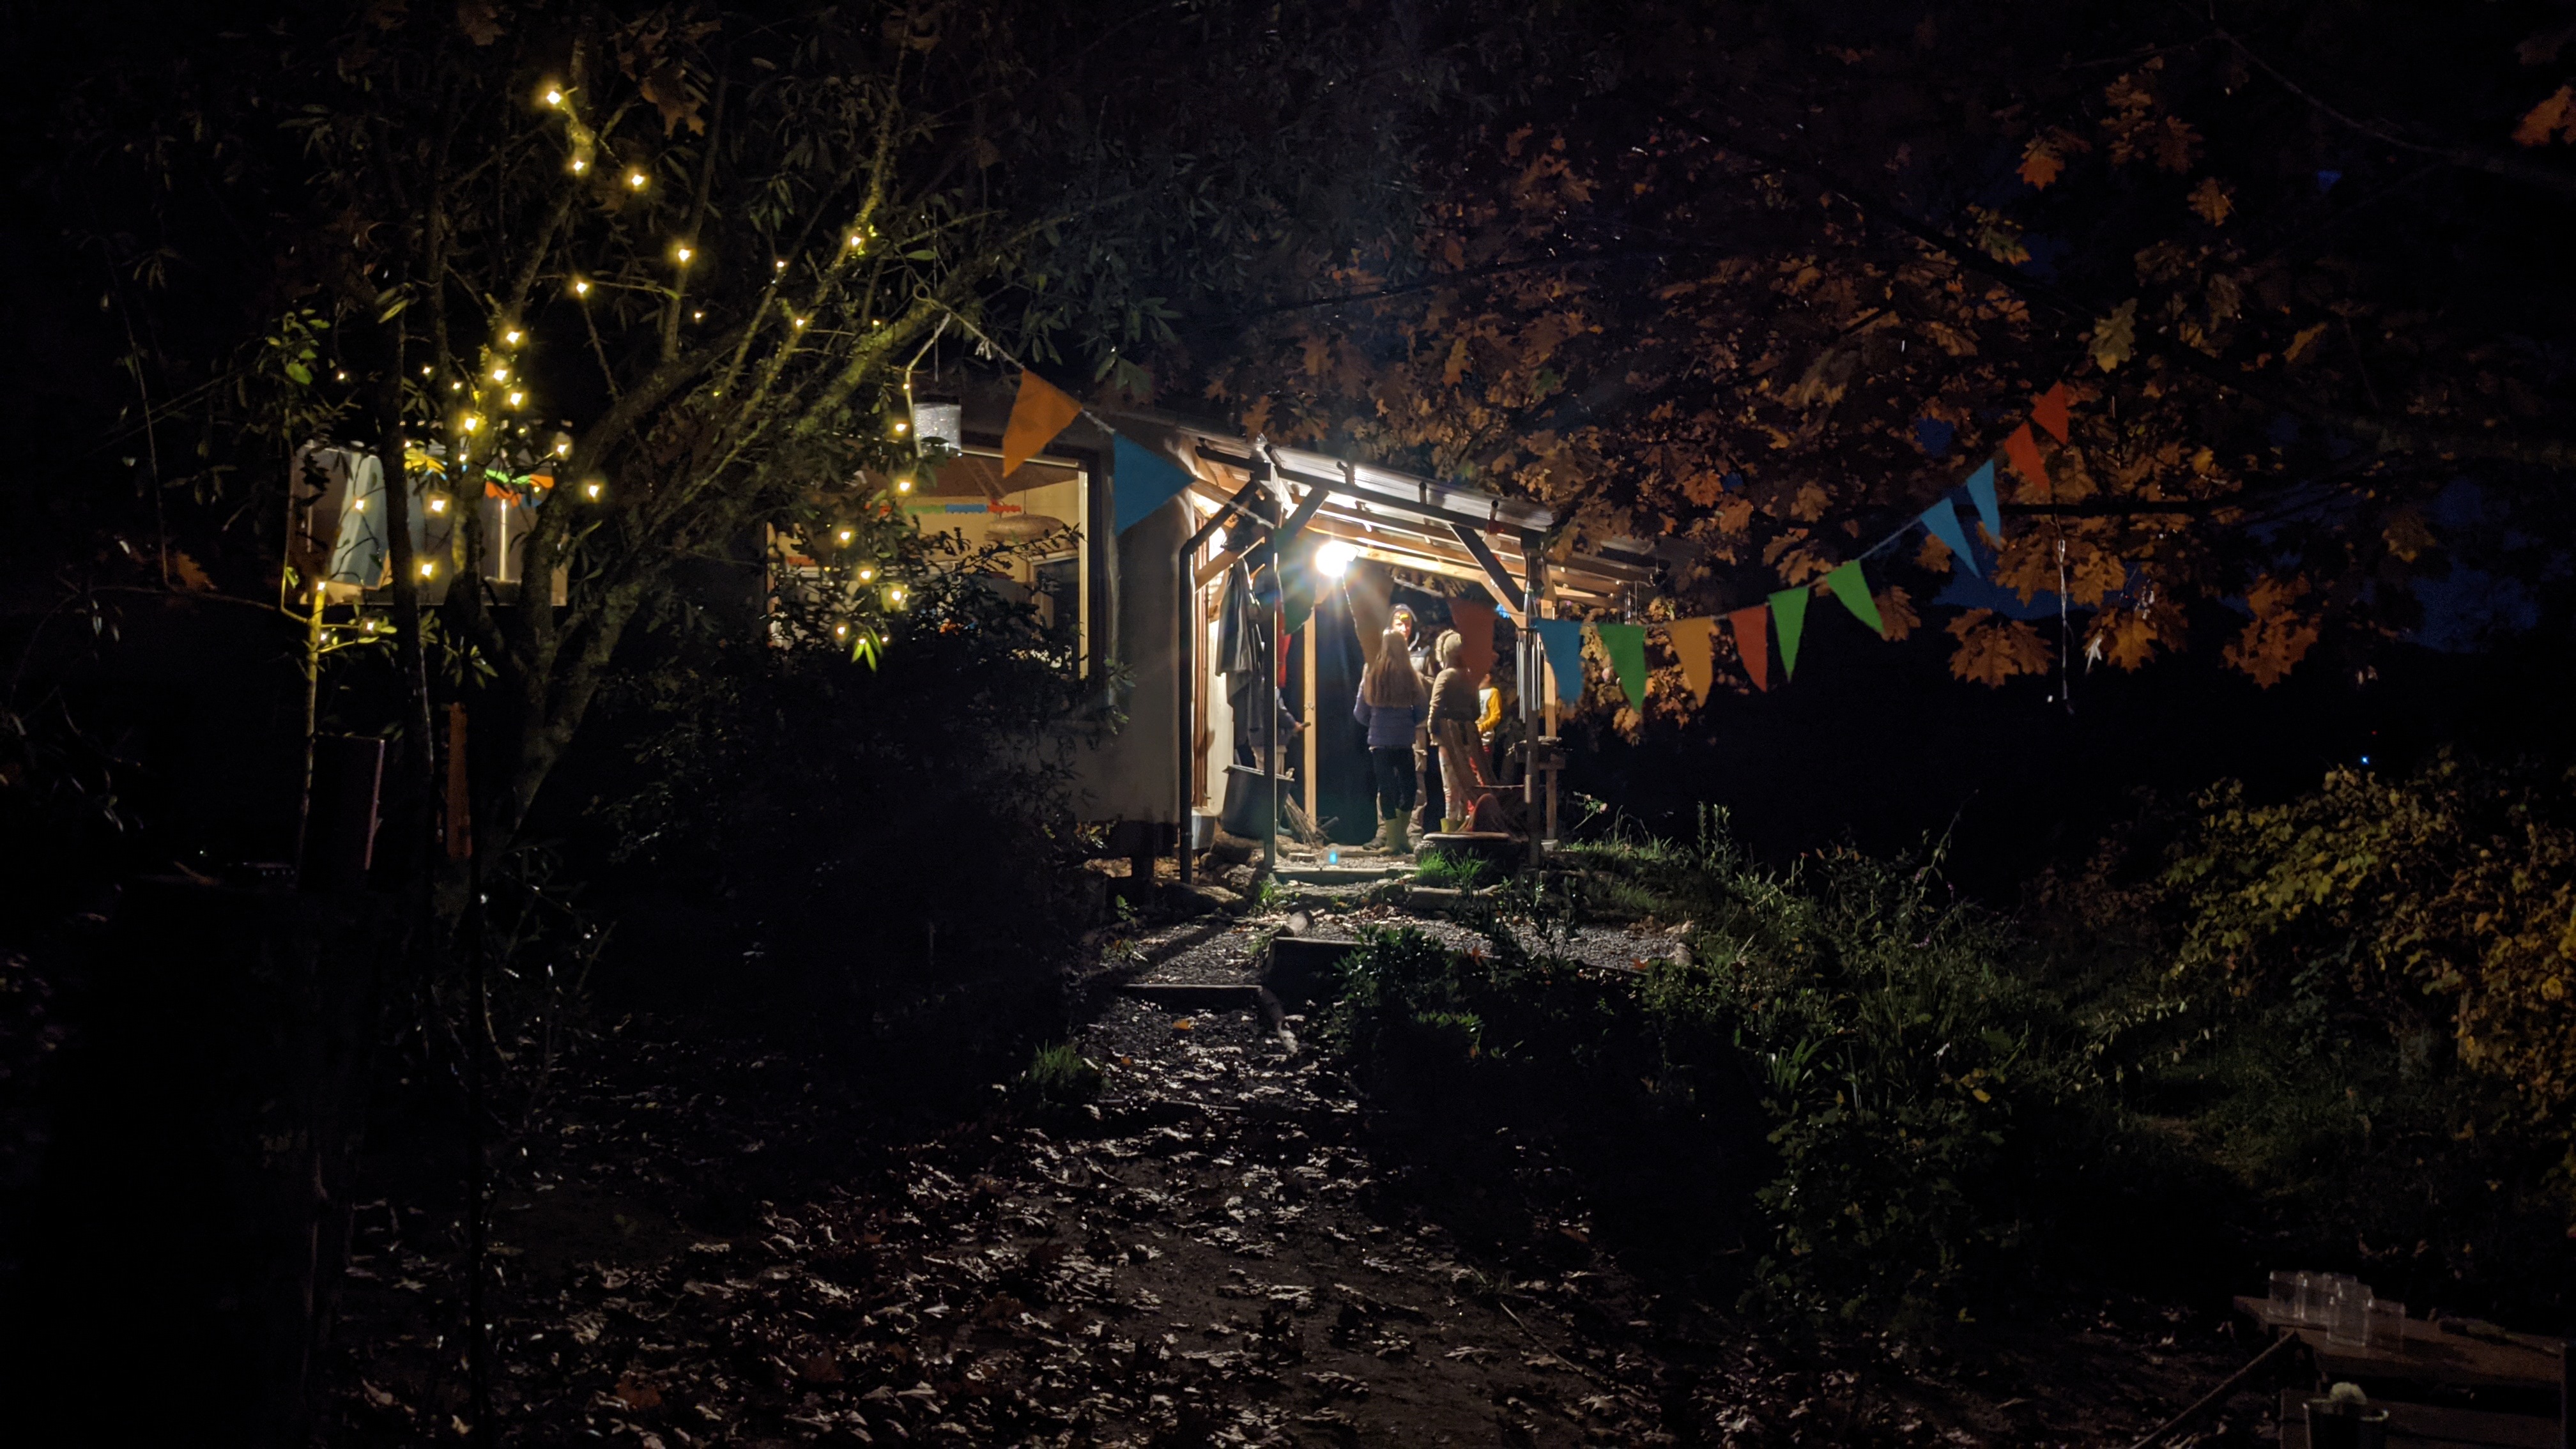
Our little home
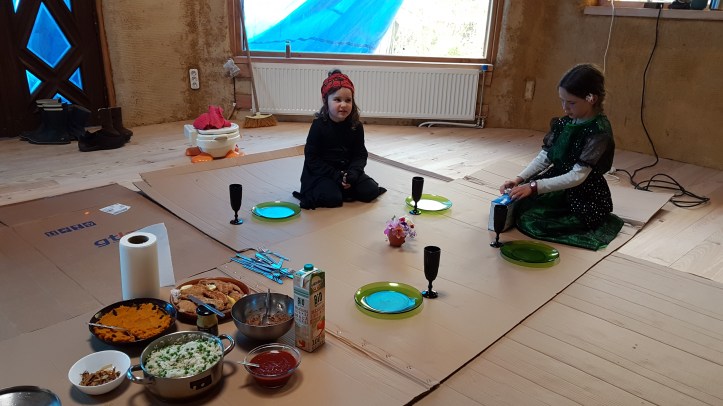
And that is the story of how we built our first little home. We’ve been living in it for over a year and a half, and really enjoy it. We are currently in the process of designing and obtaining permits for our final home. The main reason we are building a bigger house is so the children get their own rooms (And we get a study! And a conversation pit!). Once we move into our new home in a couple of years, the Octagon will become a guest house.