-
Goat Barn: Foundation & Roof
We are planning on getting a couple of milking goats in the spring. We decided to take advantage of the beautiful sunny winter days here, and get started on the goat barn.
We located it on the far end of our land, not too far from our future house, and where the goats will have lots of space to roam and plenty of vegetation to graze. We are planning on rotating the fenced area around the barn, between two hillsides.
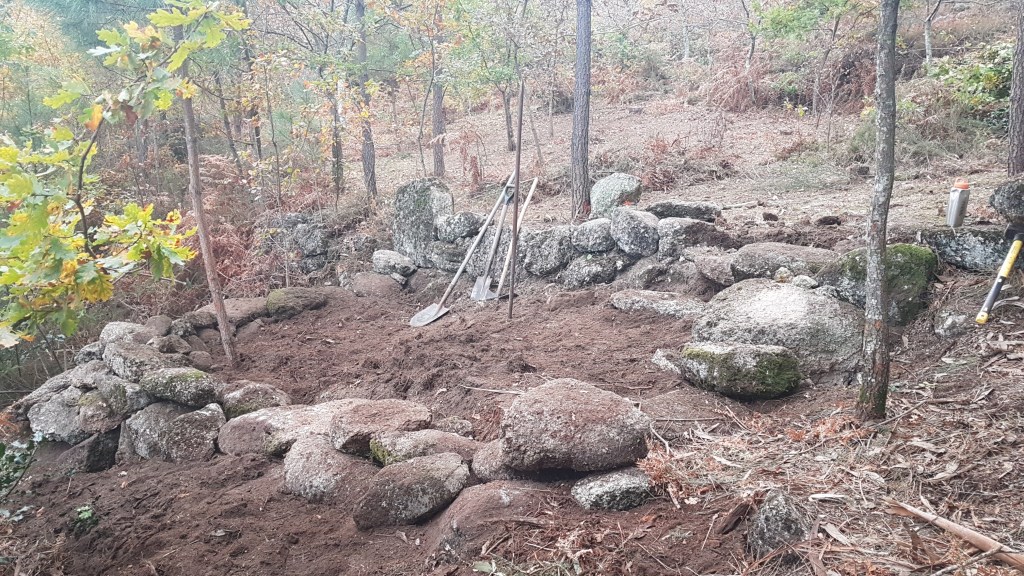
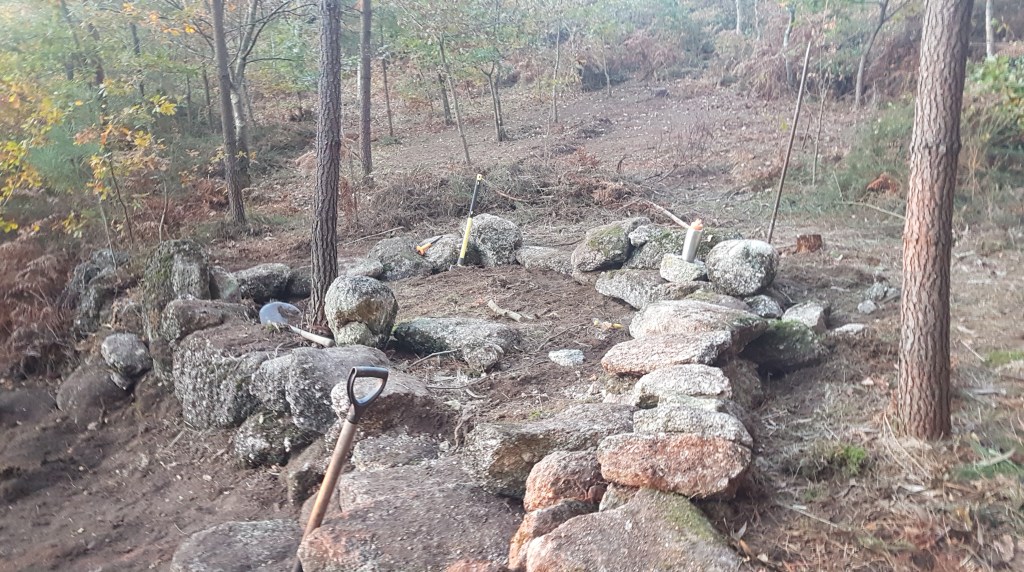
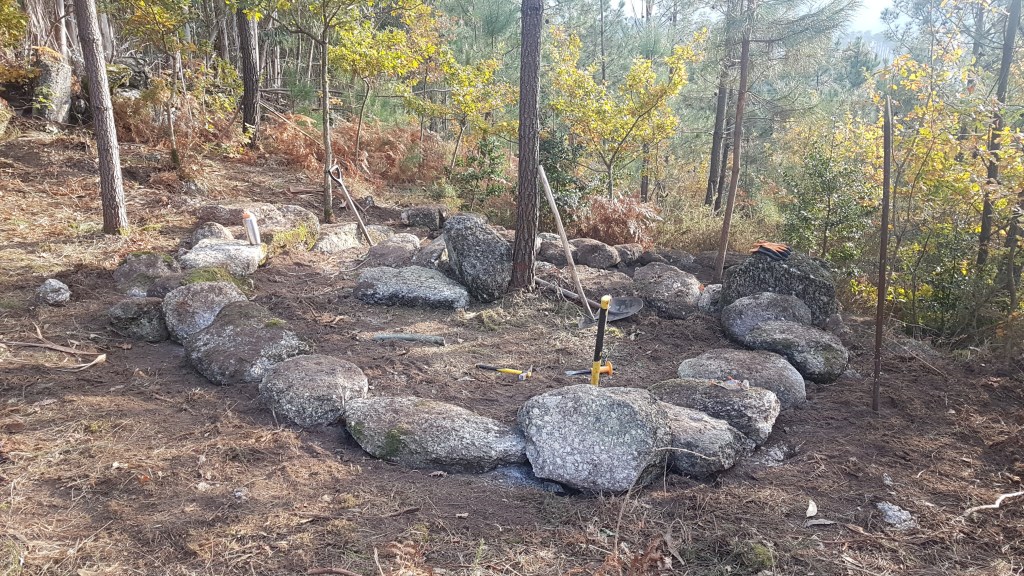
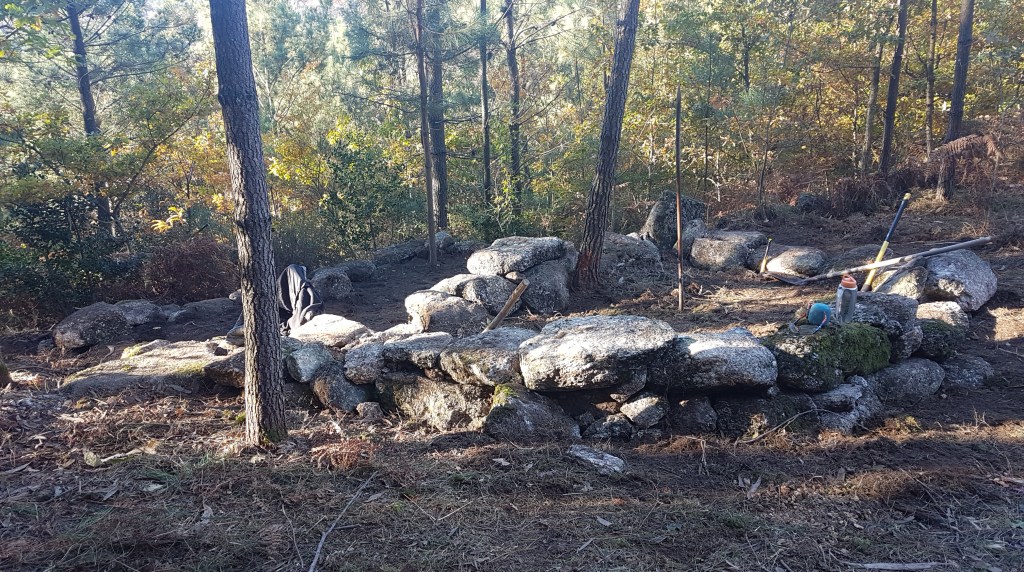
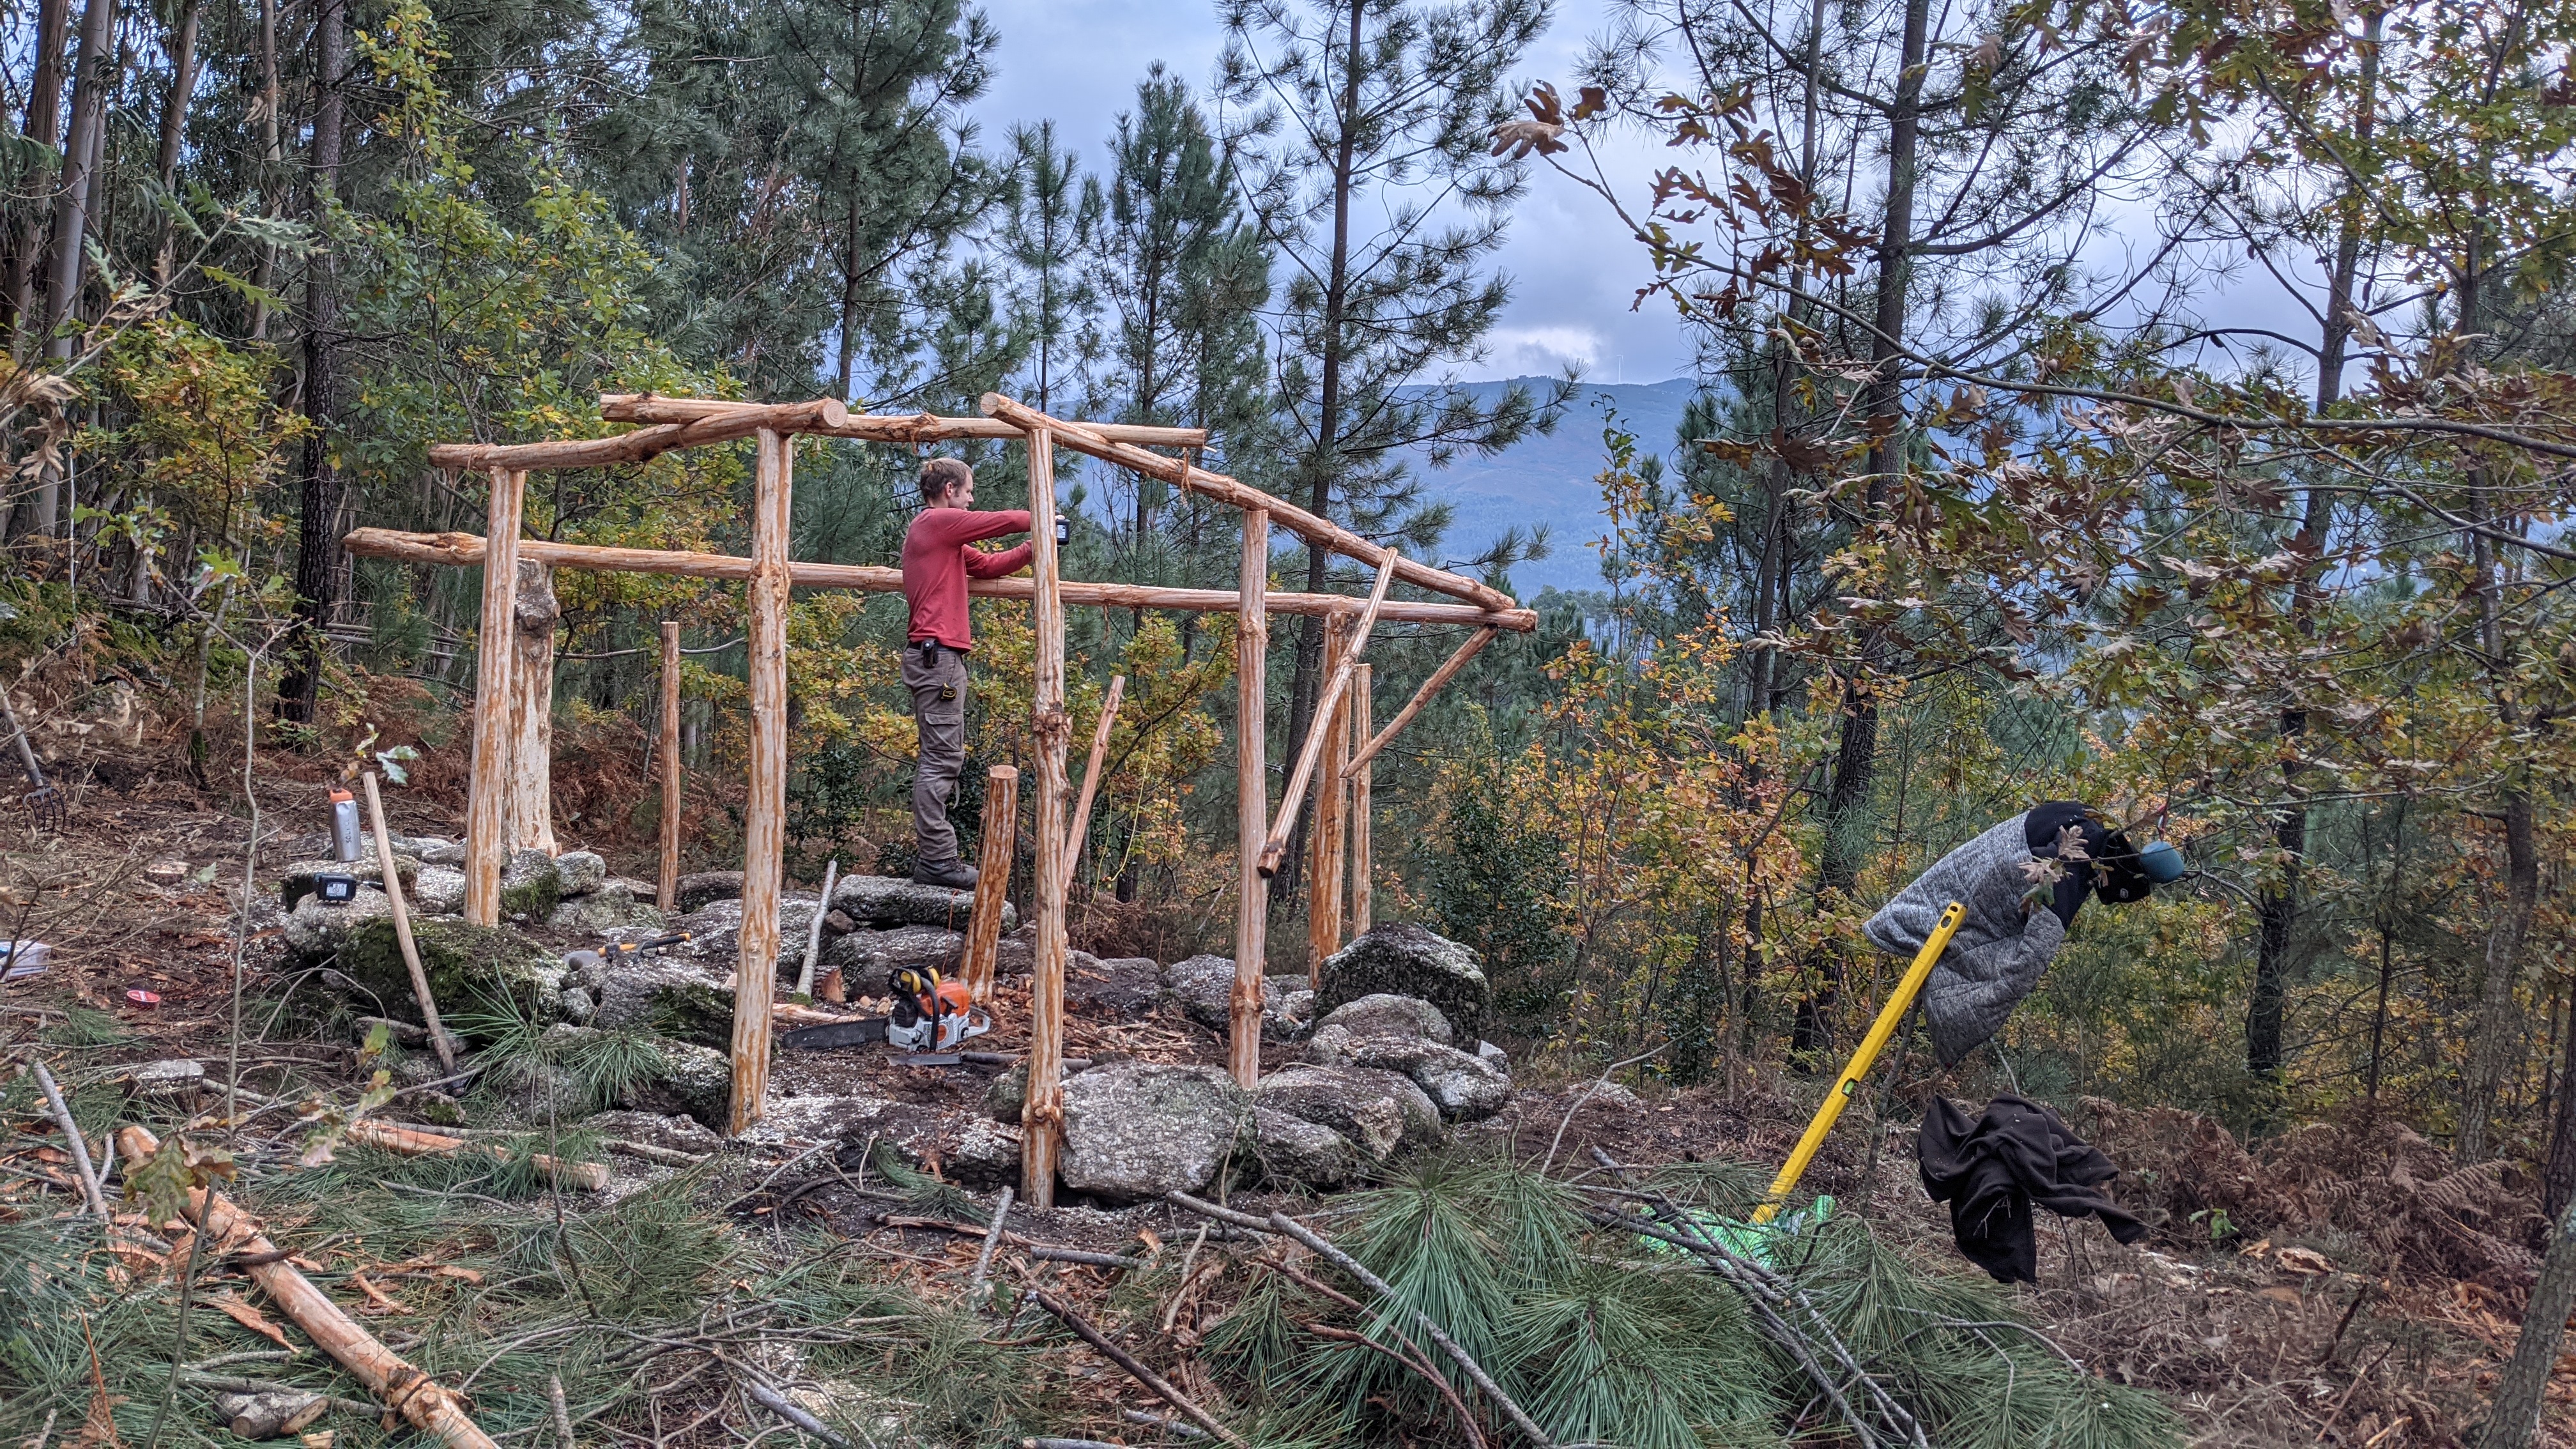
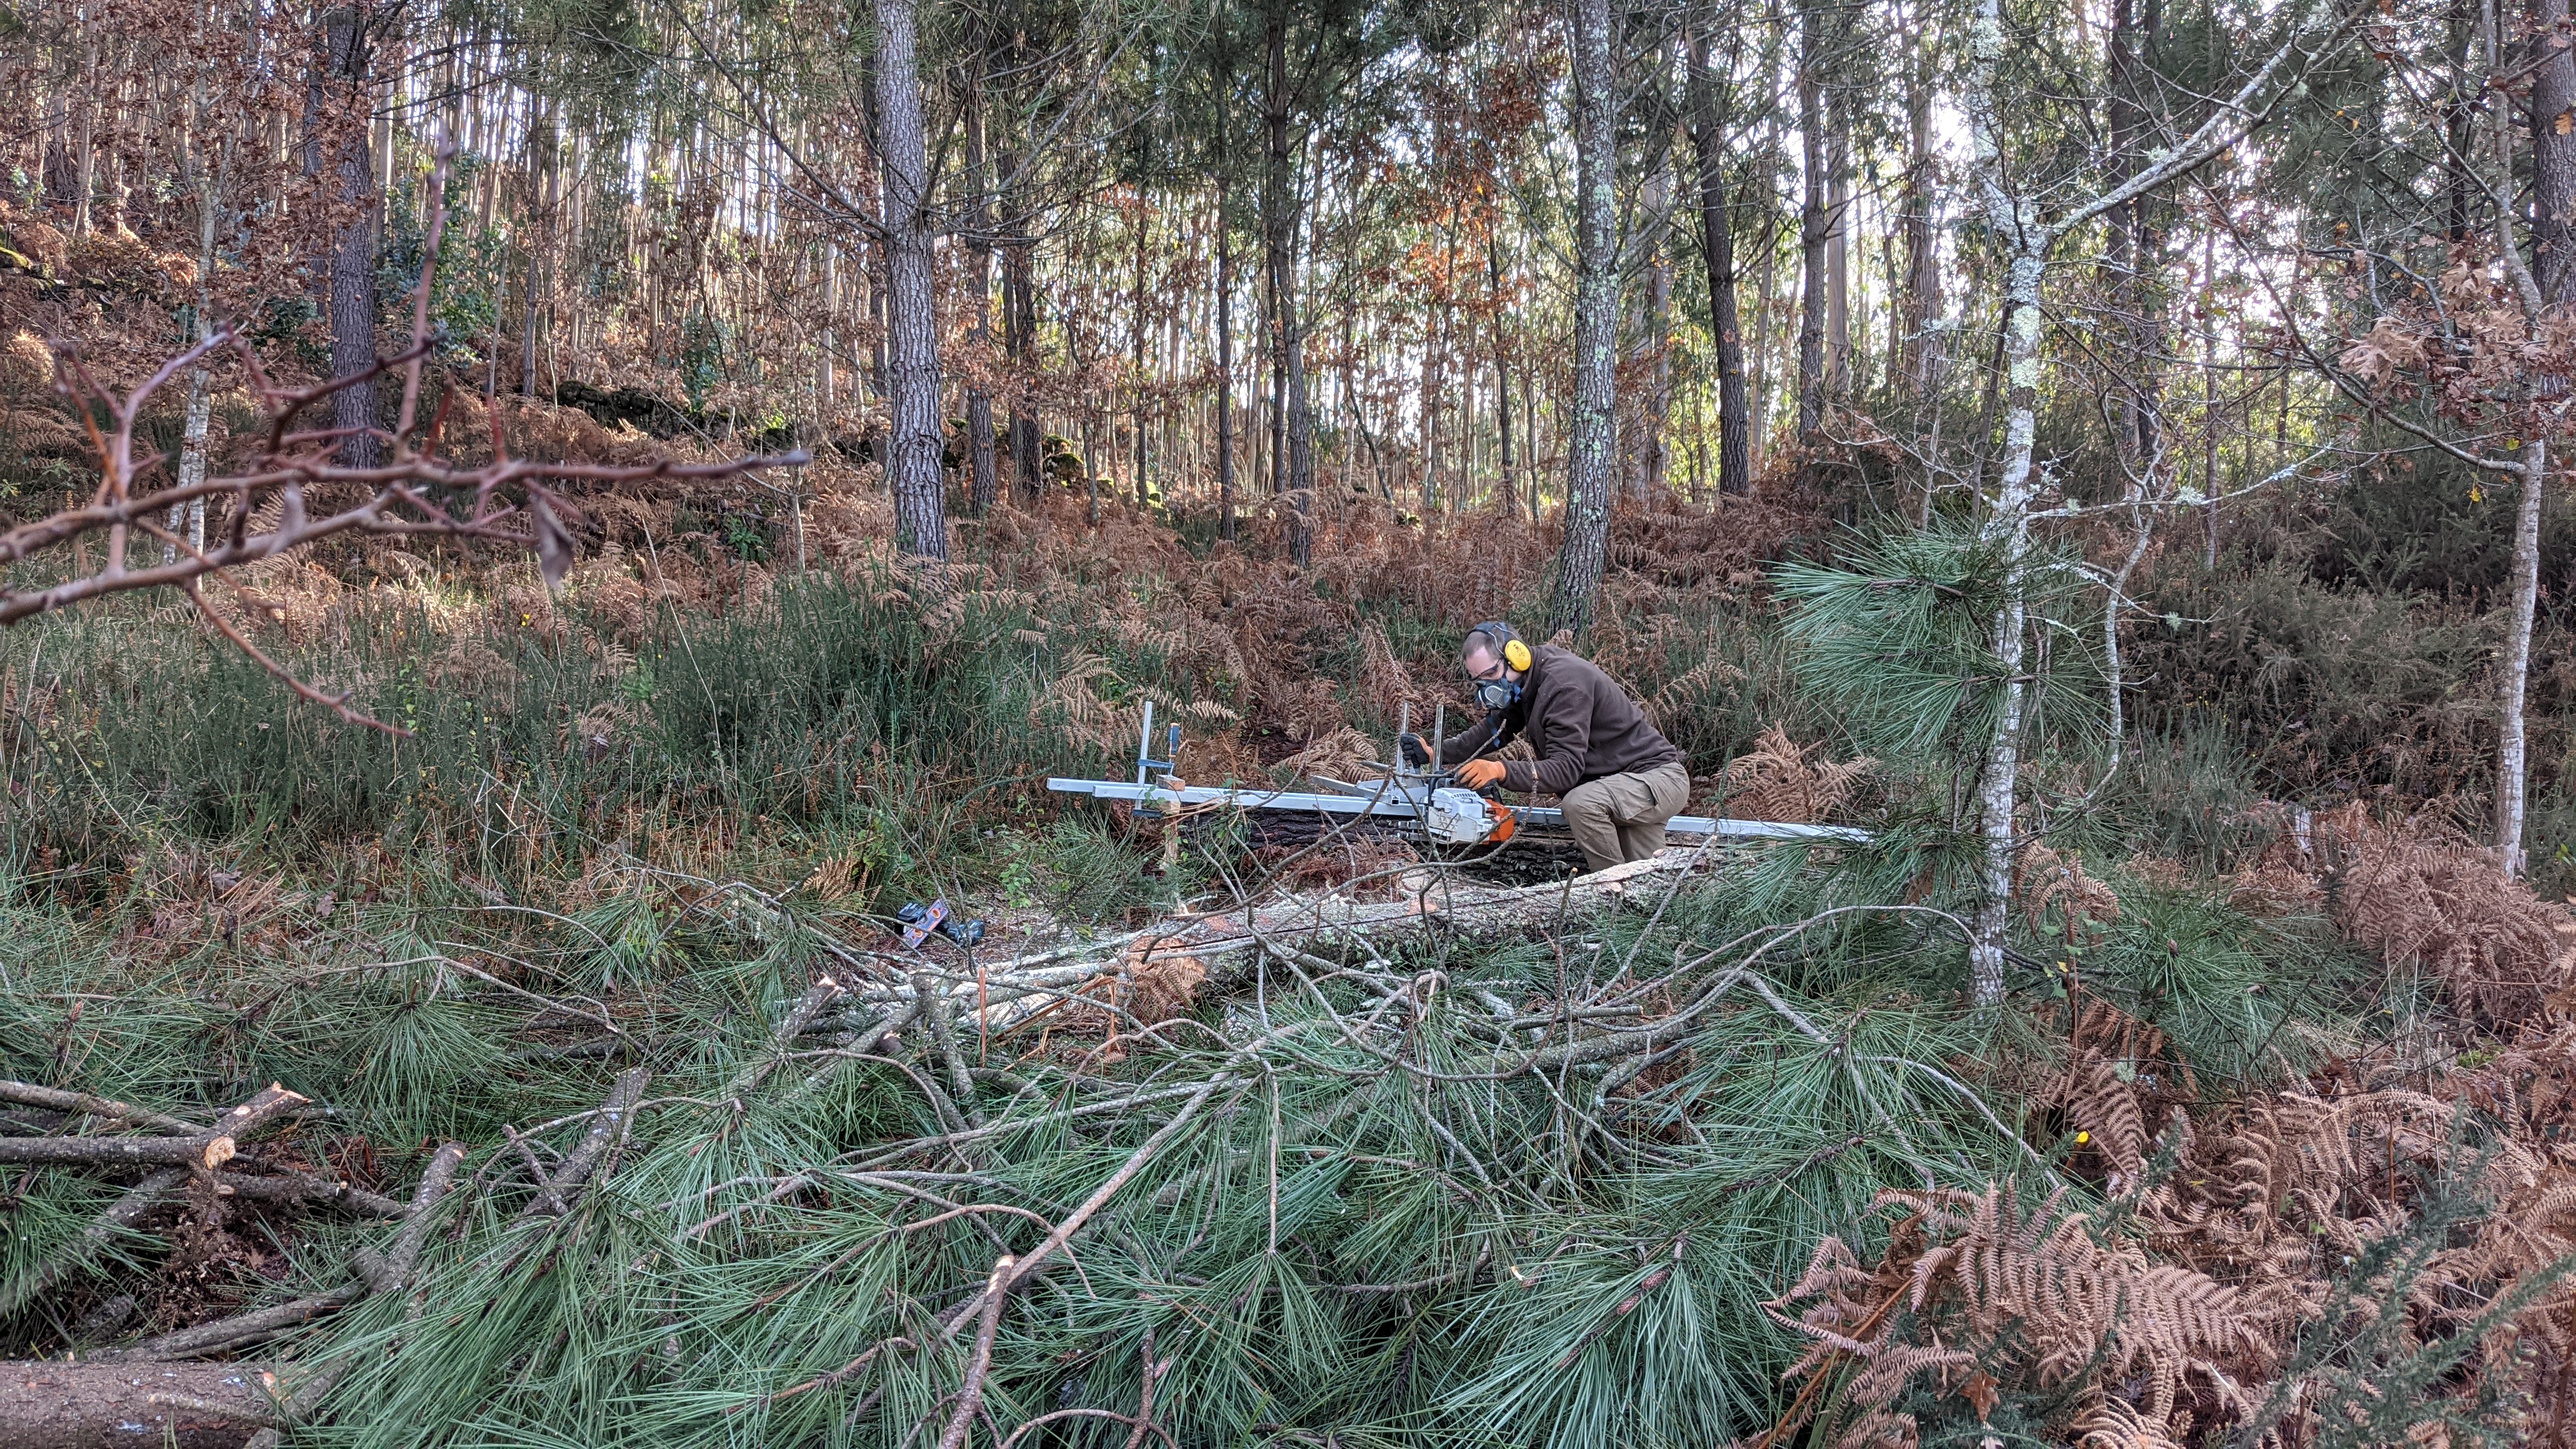
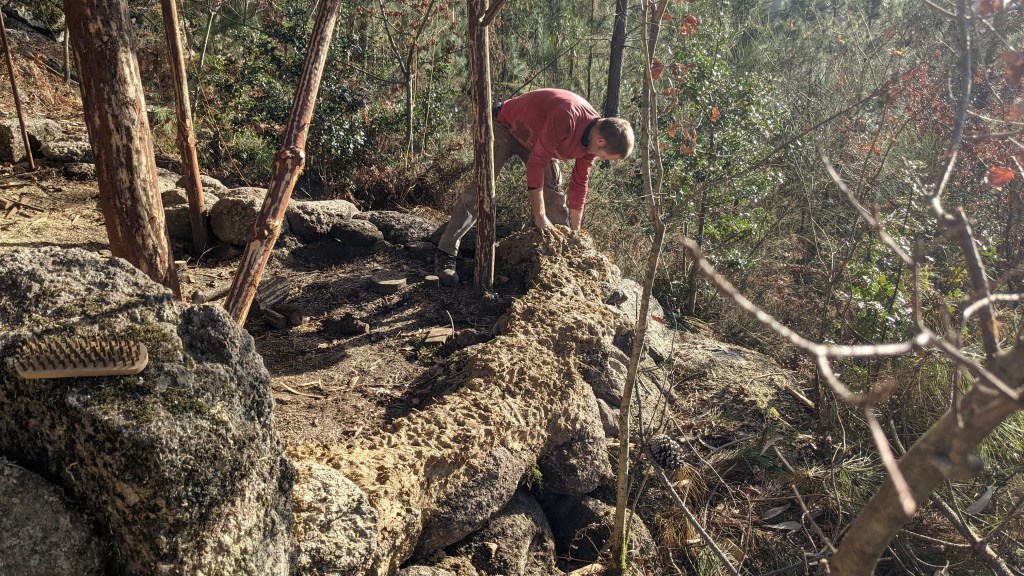
I started the same way as the chicken coop by laying the foundation rocks for the walls. I dug into the soil for about 30 cm, just to remove the topsoil. That is sufficient given that our soil is extremely stable, and that it is a small barn. I placed the rocks slightly higher than with the chicken coop, in a two-tier foundation.

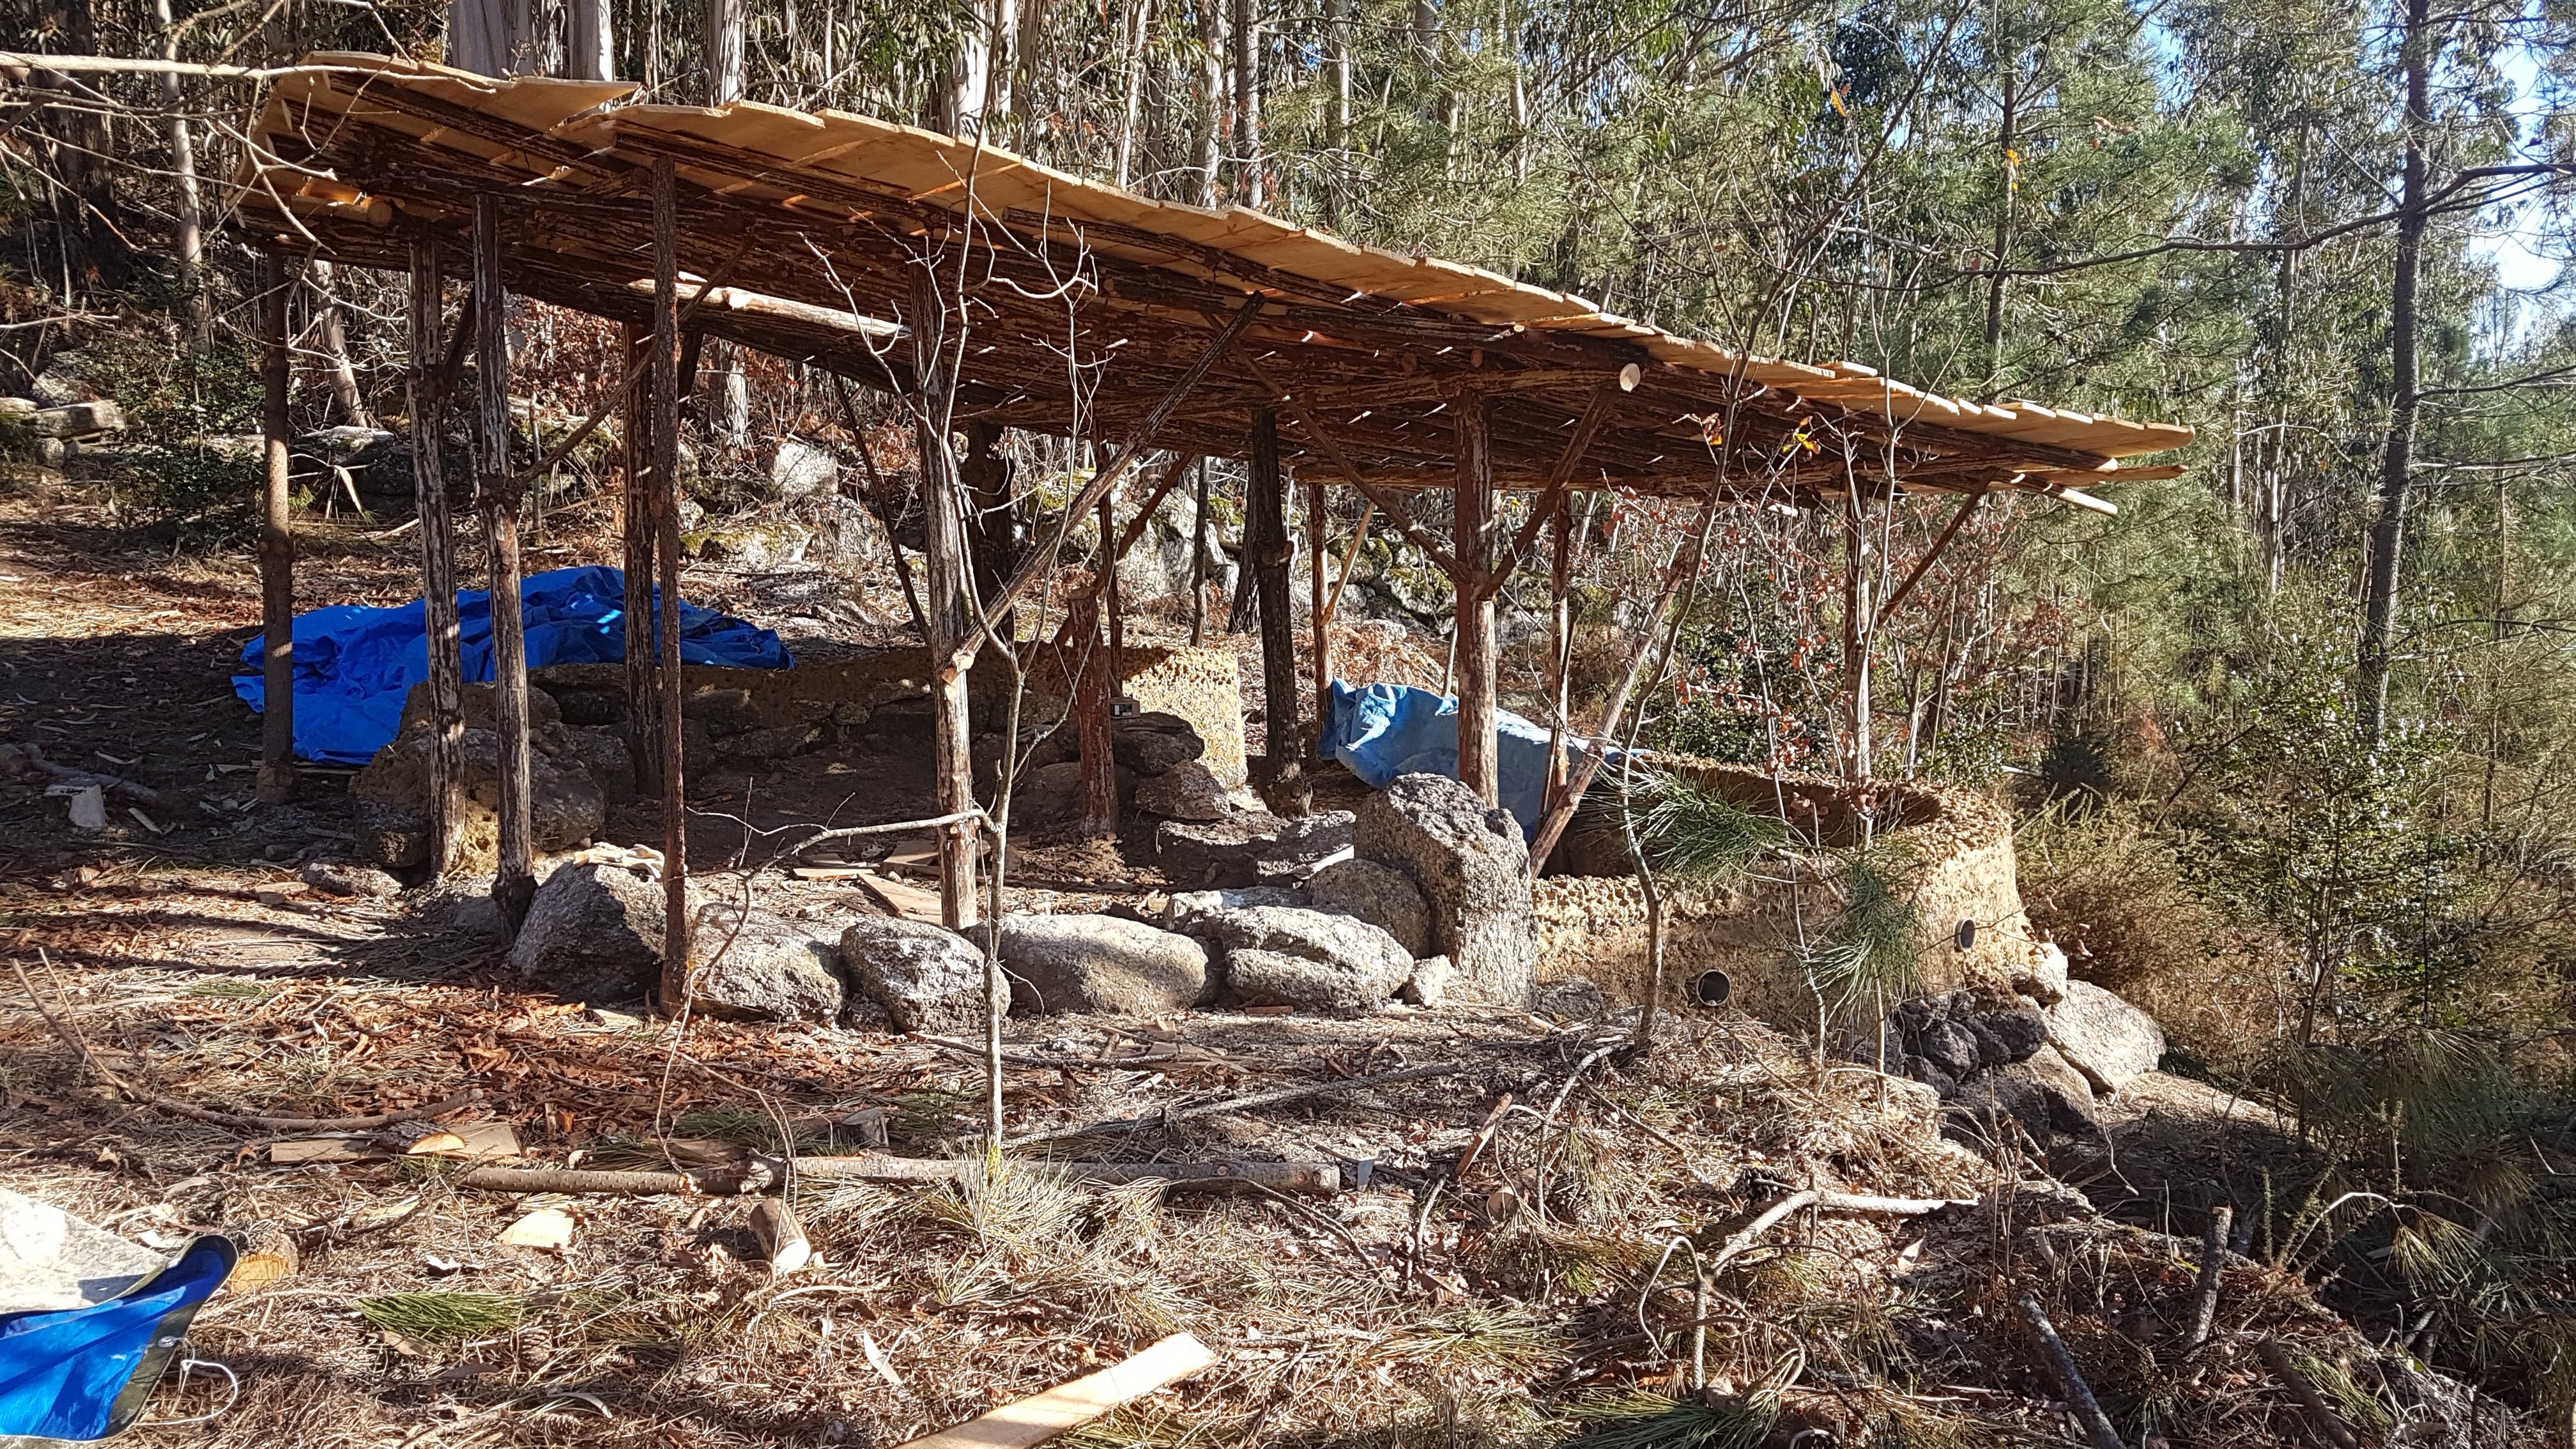
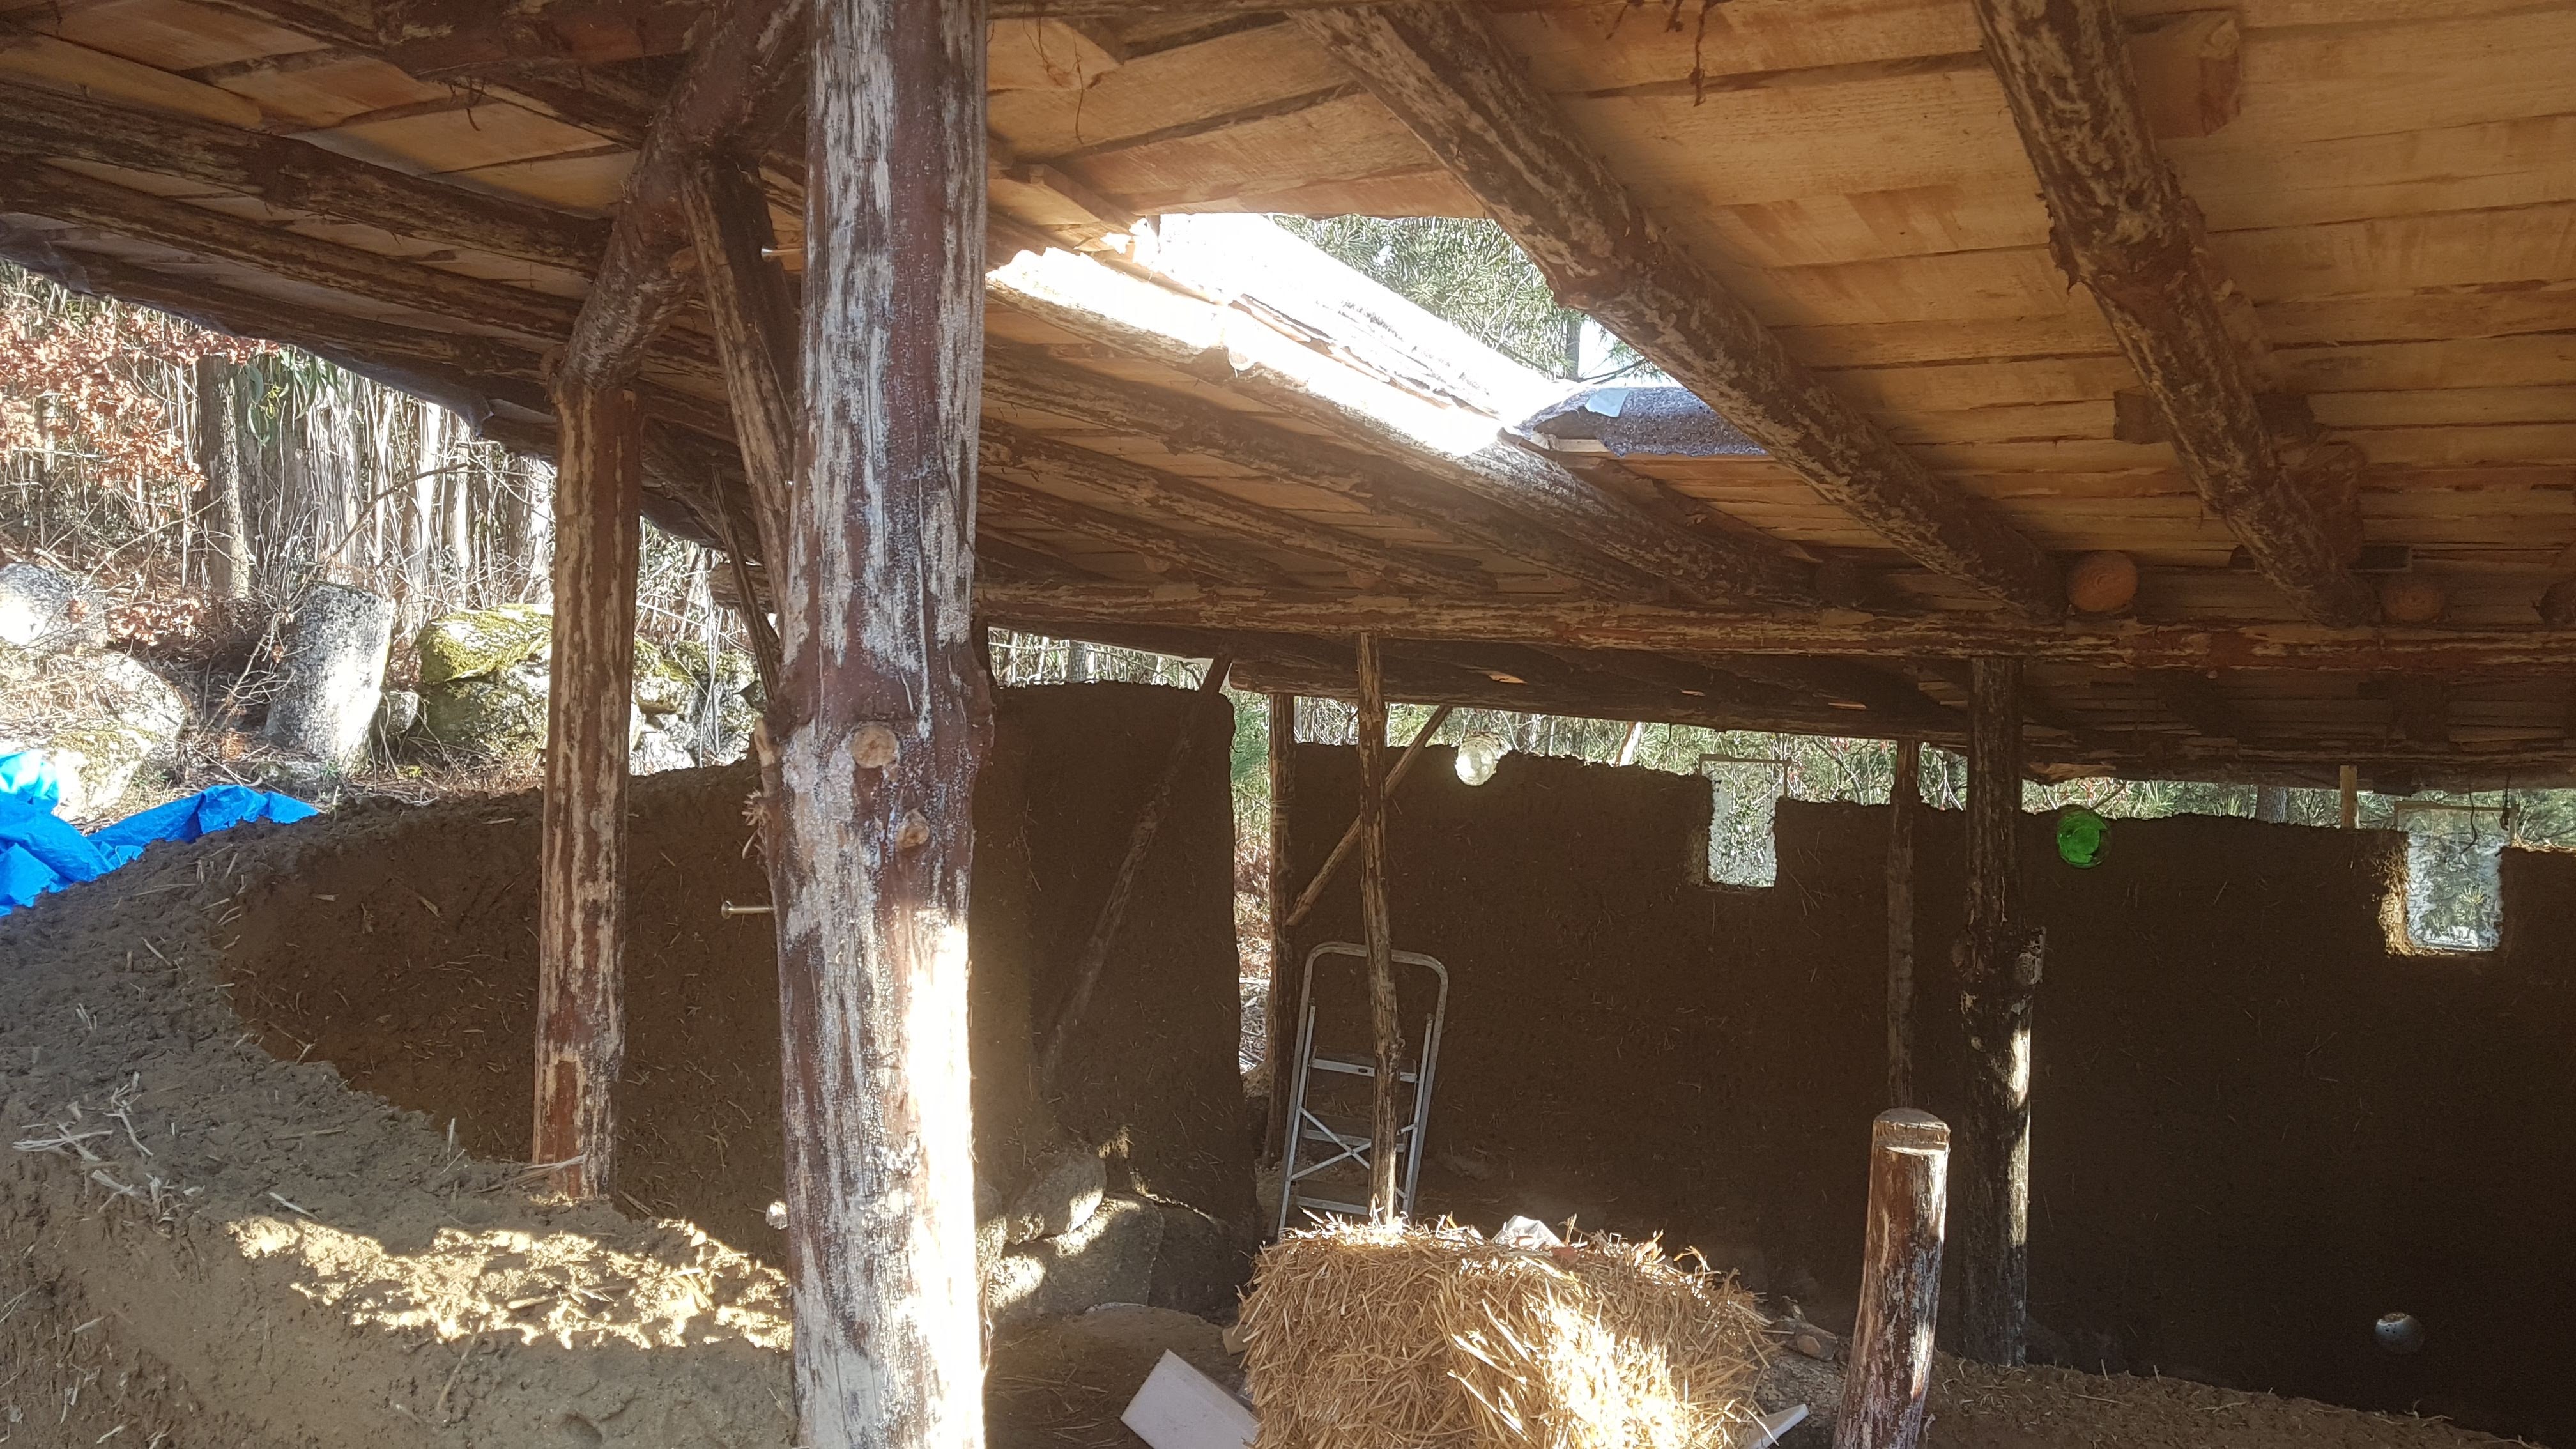
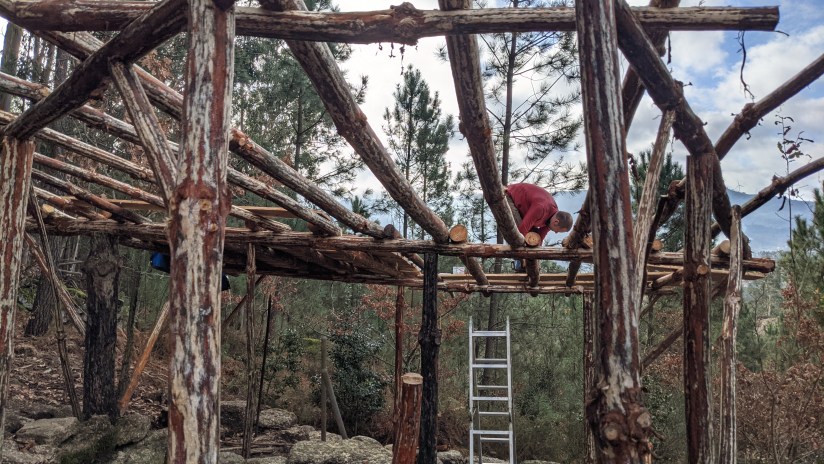
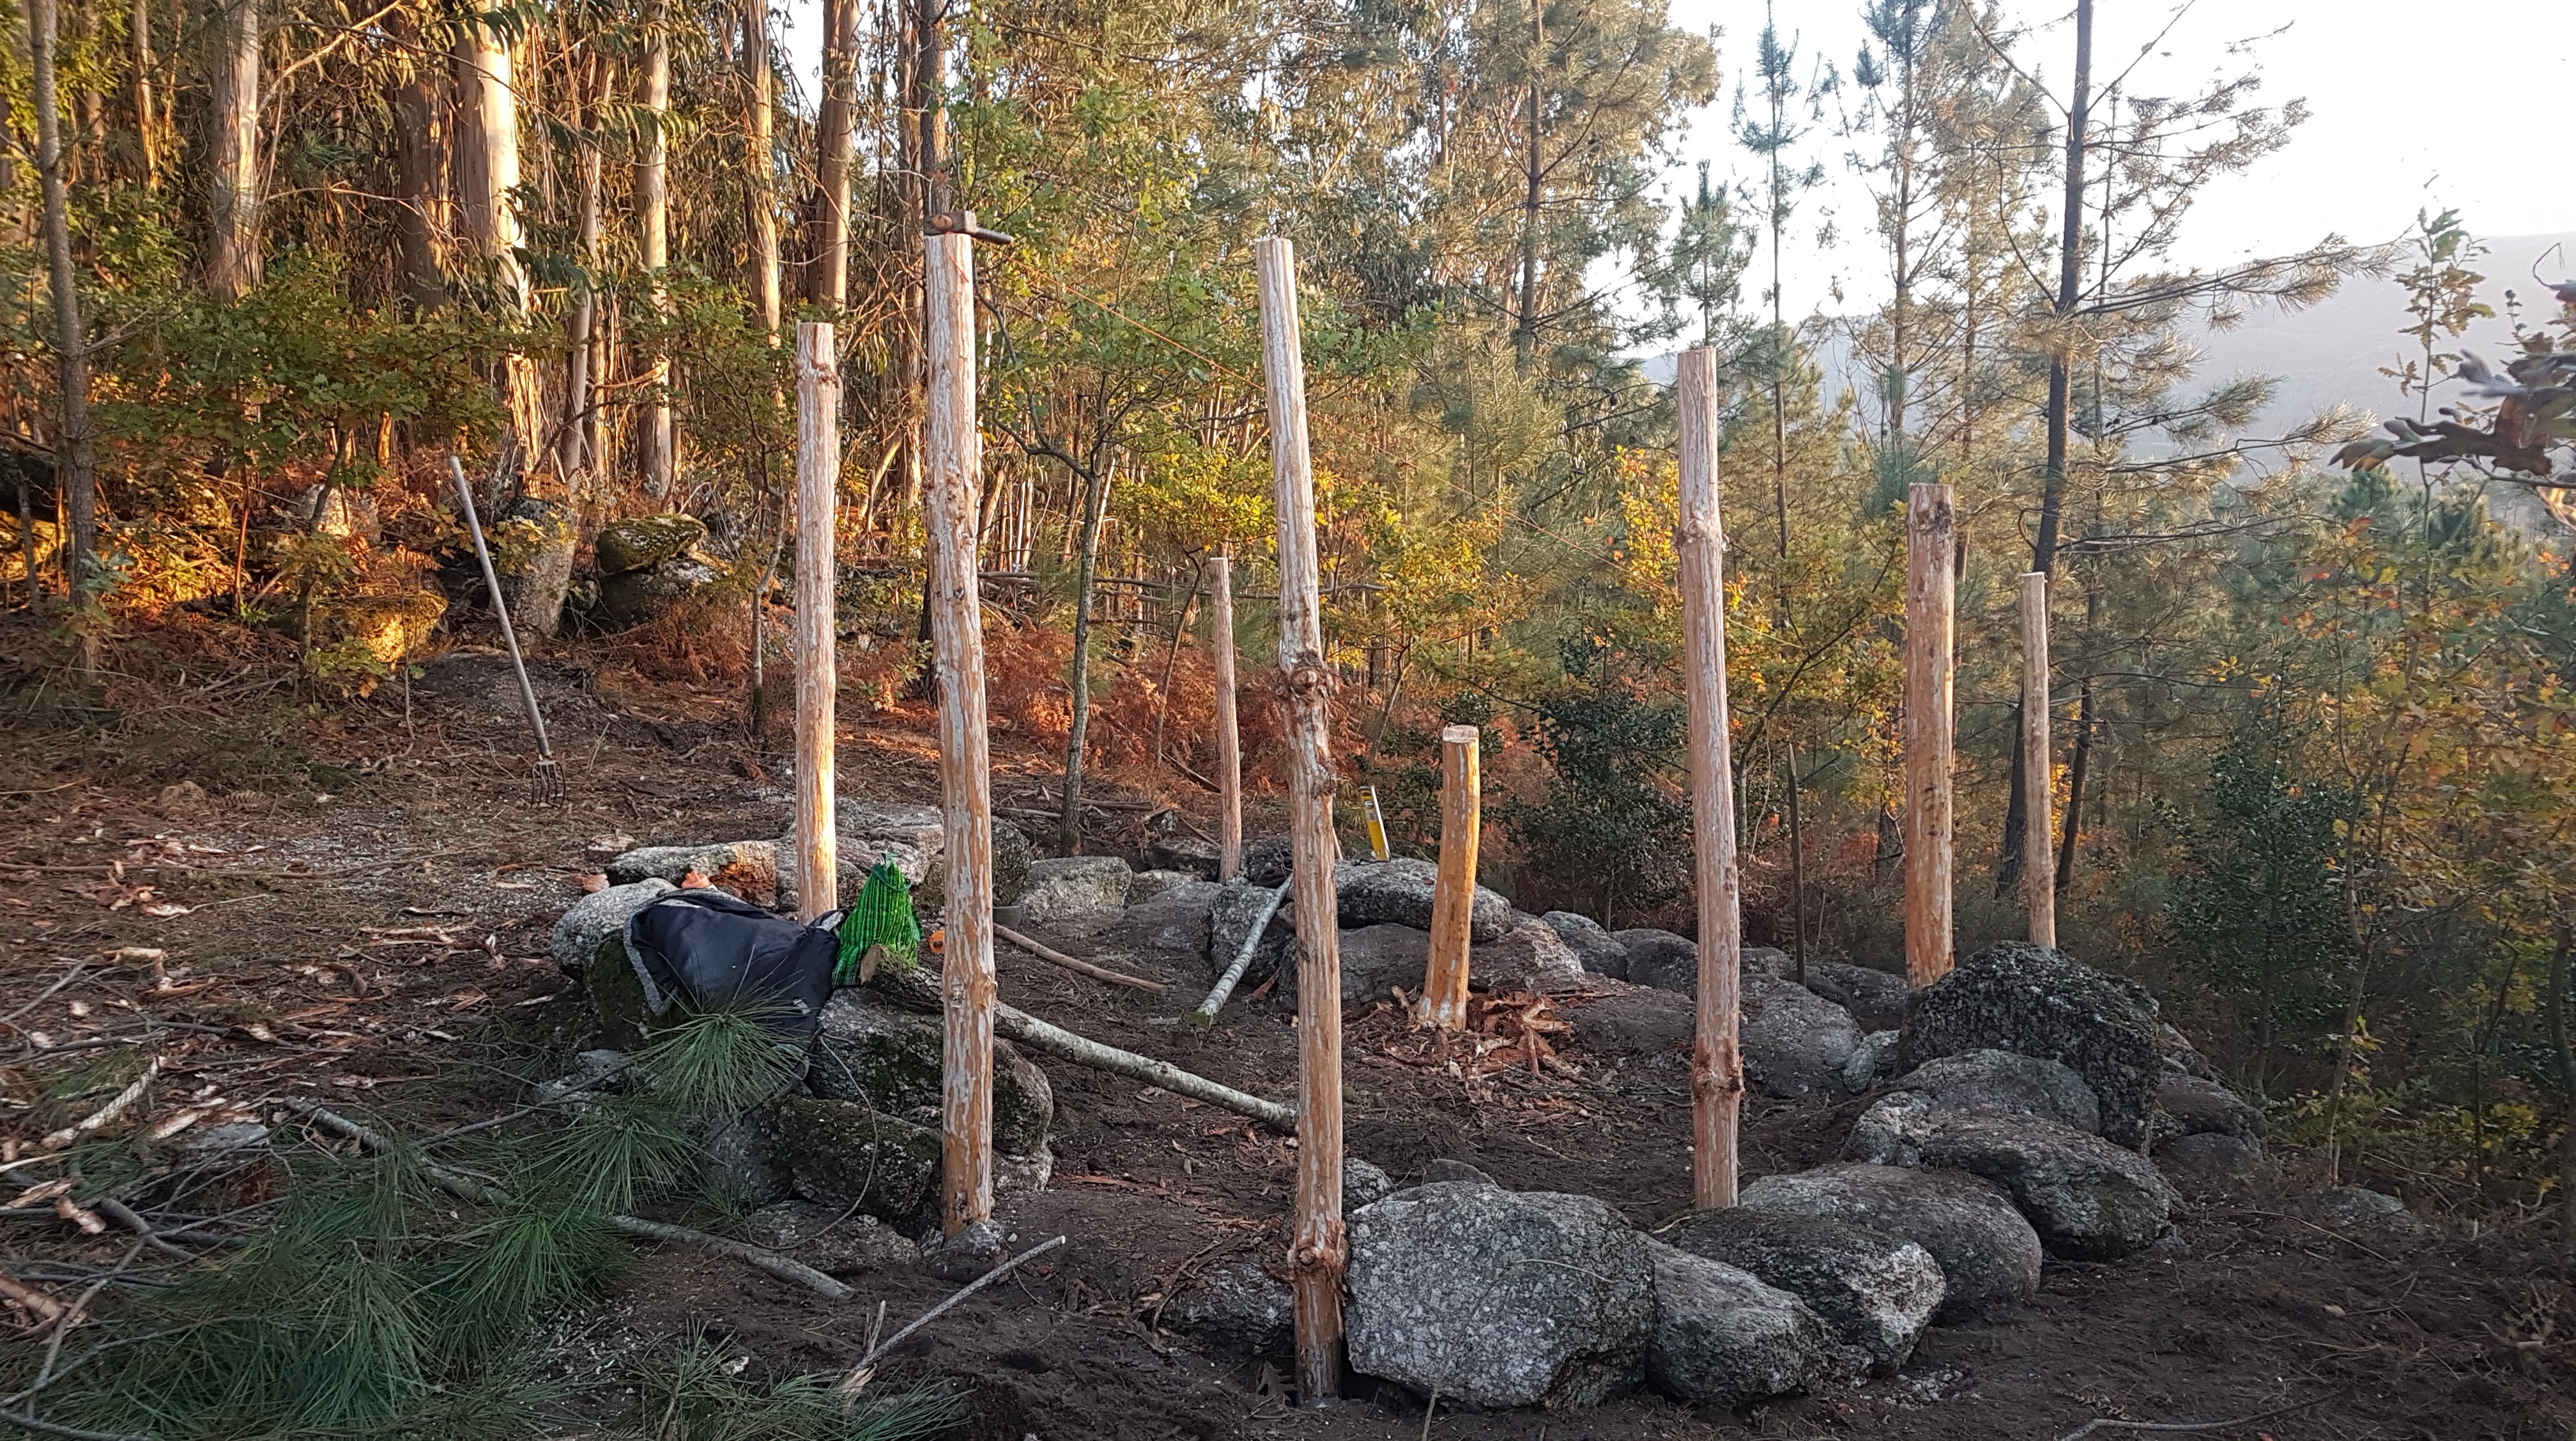
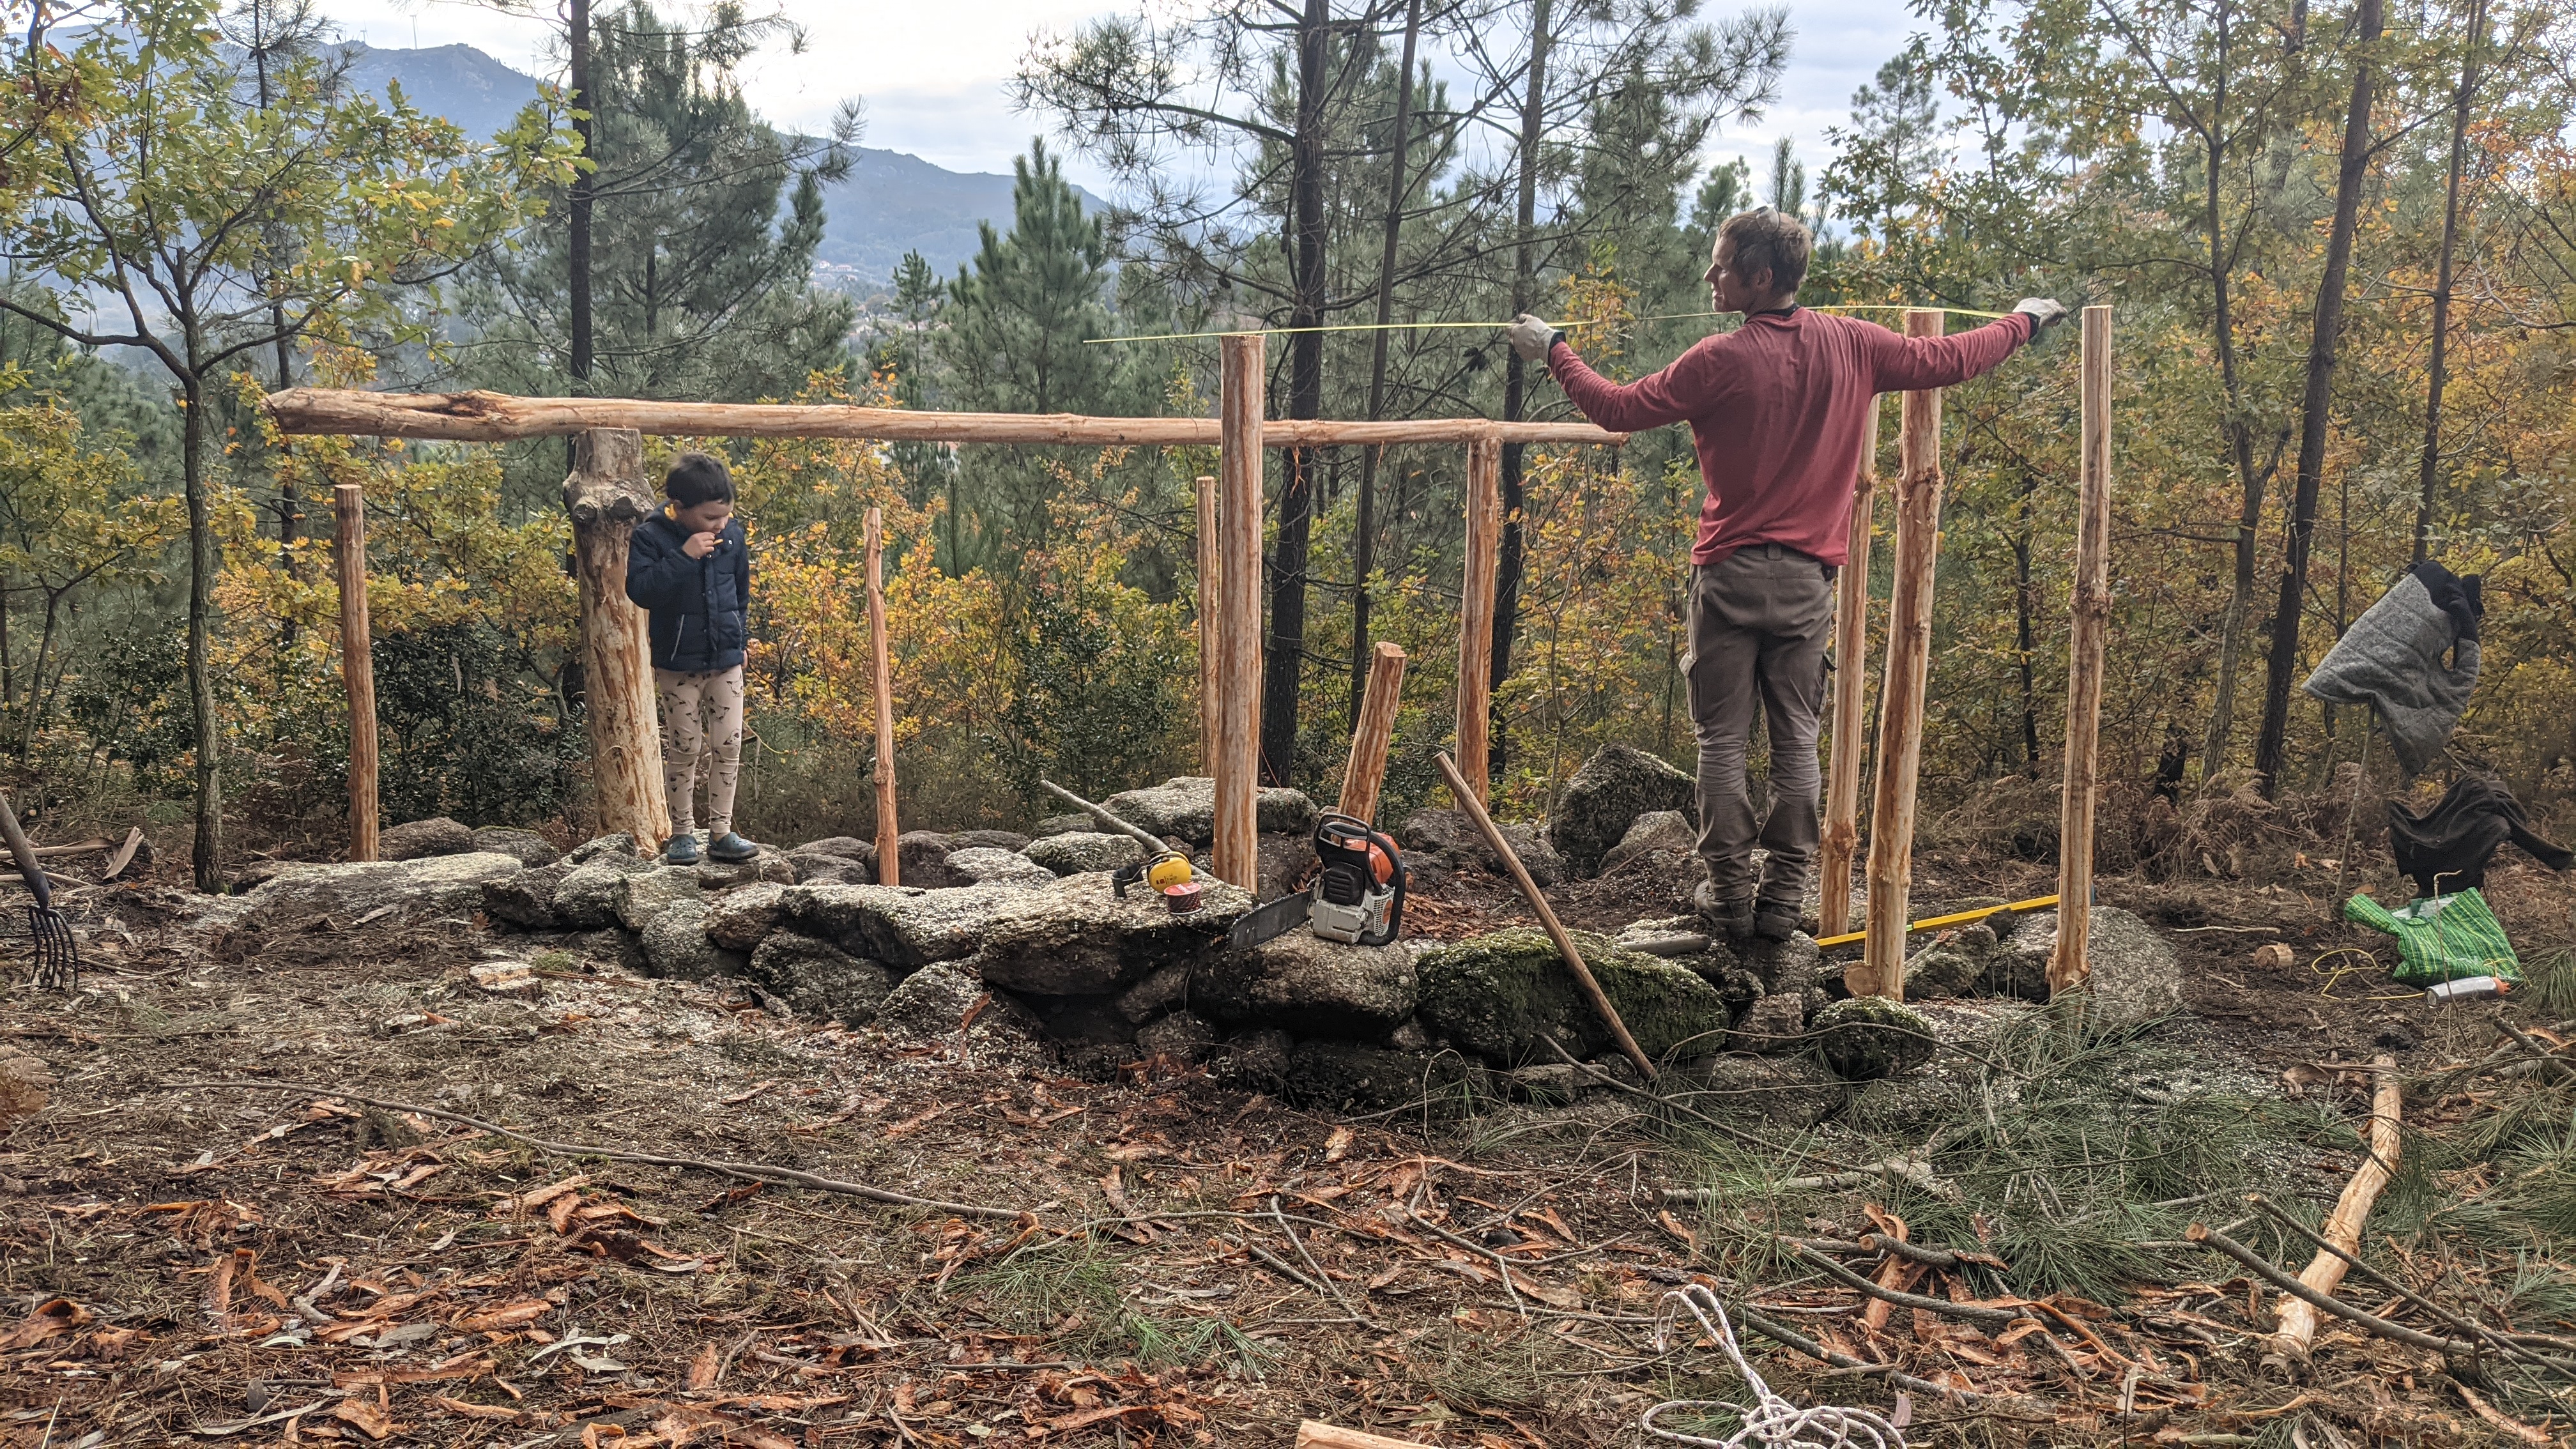
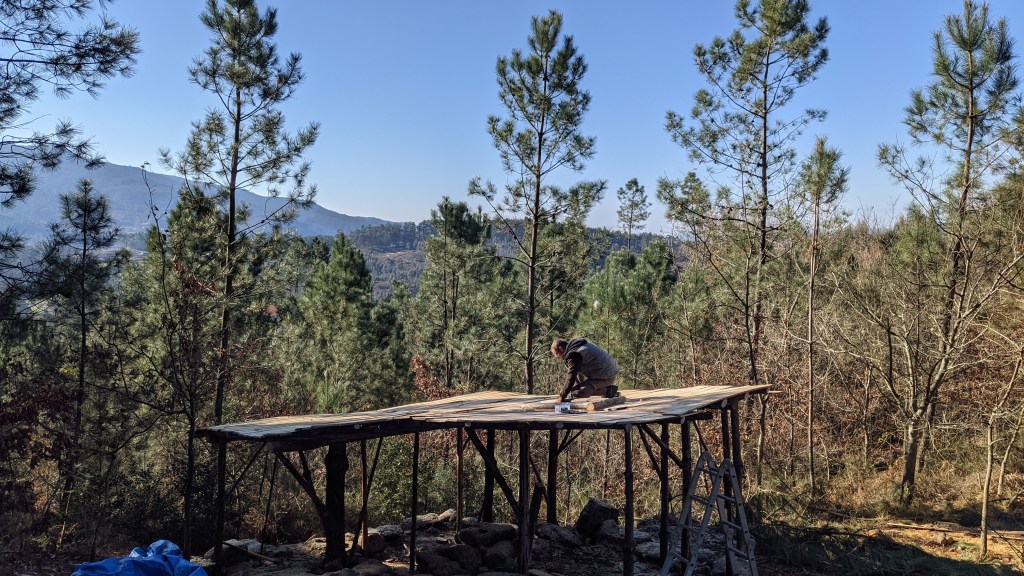
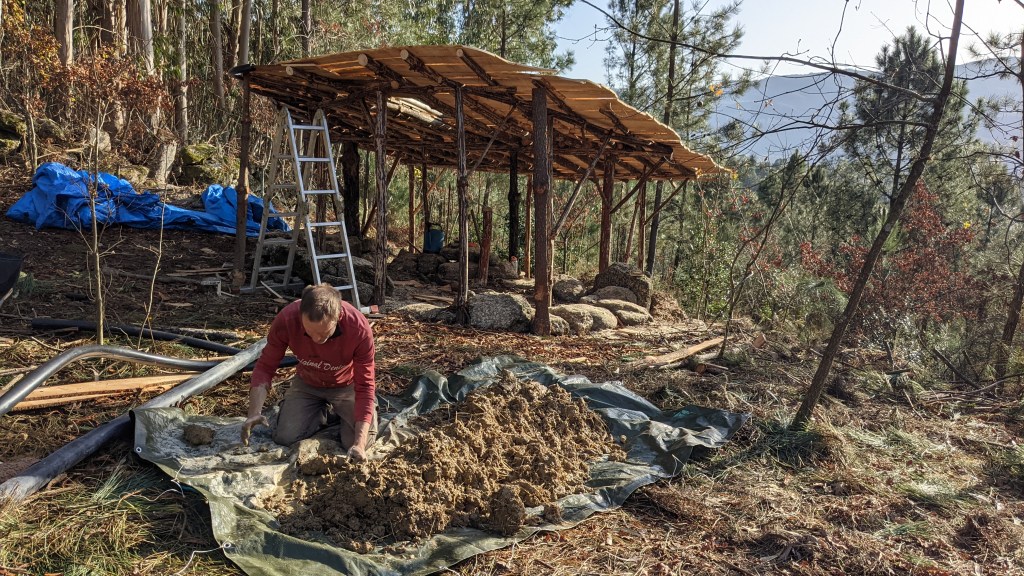
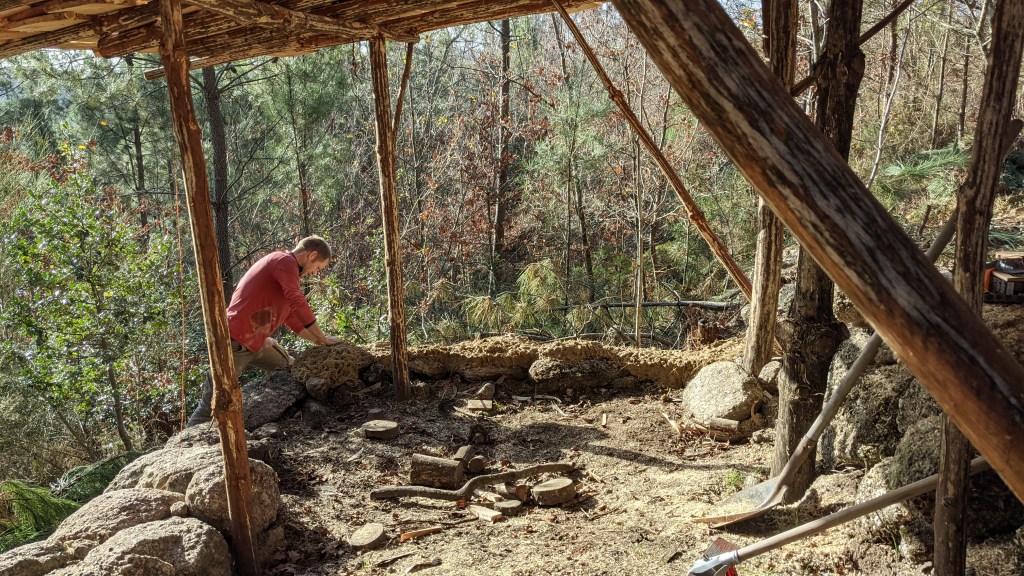
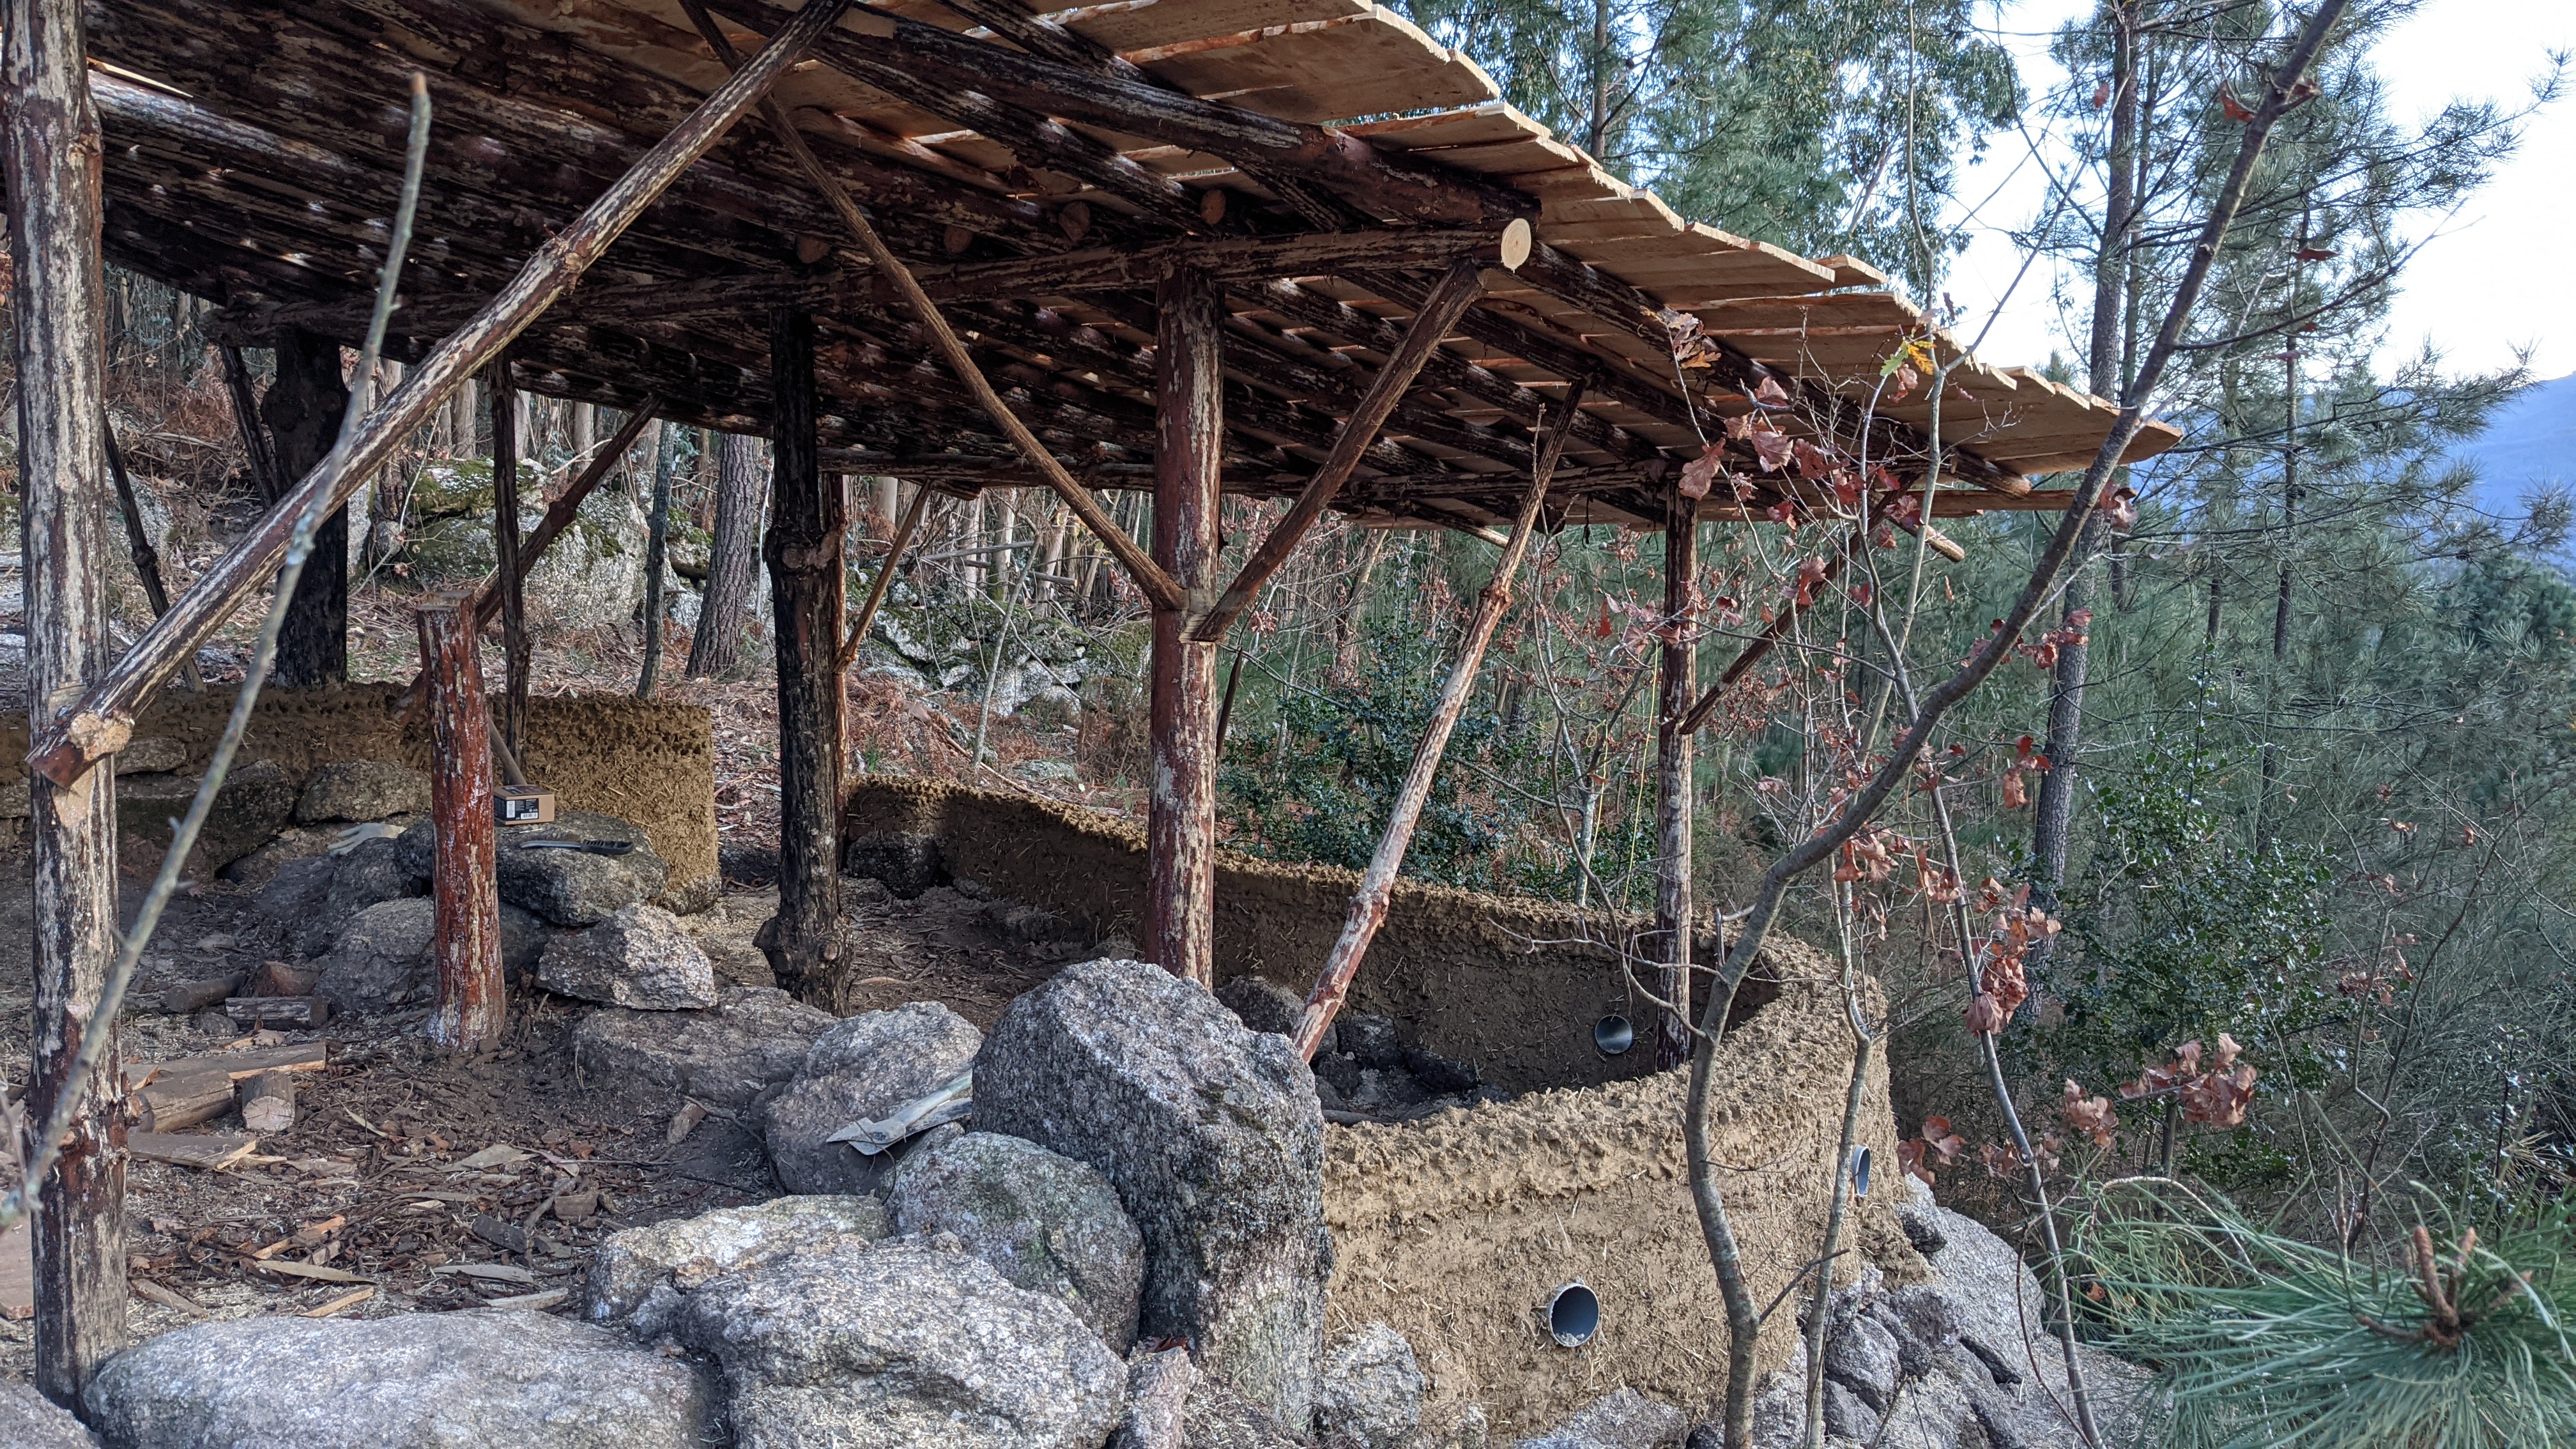
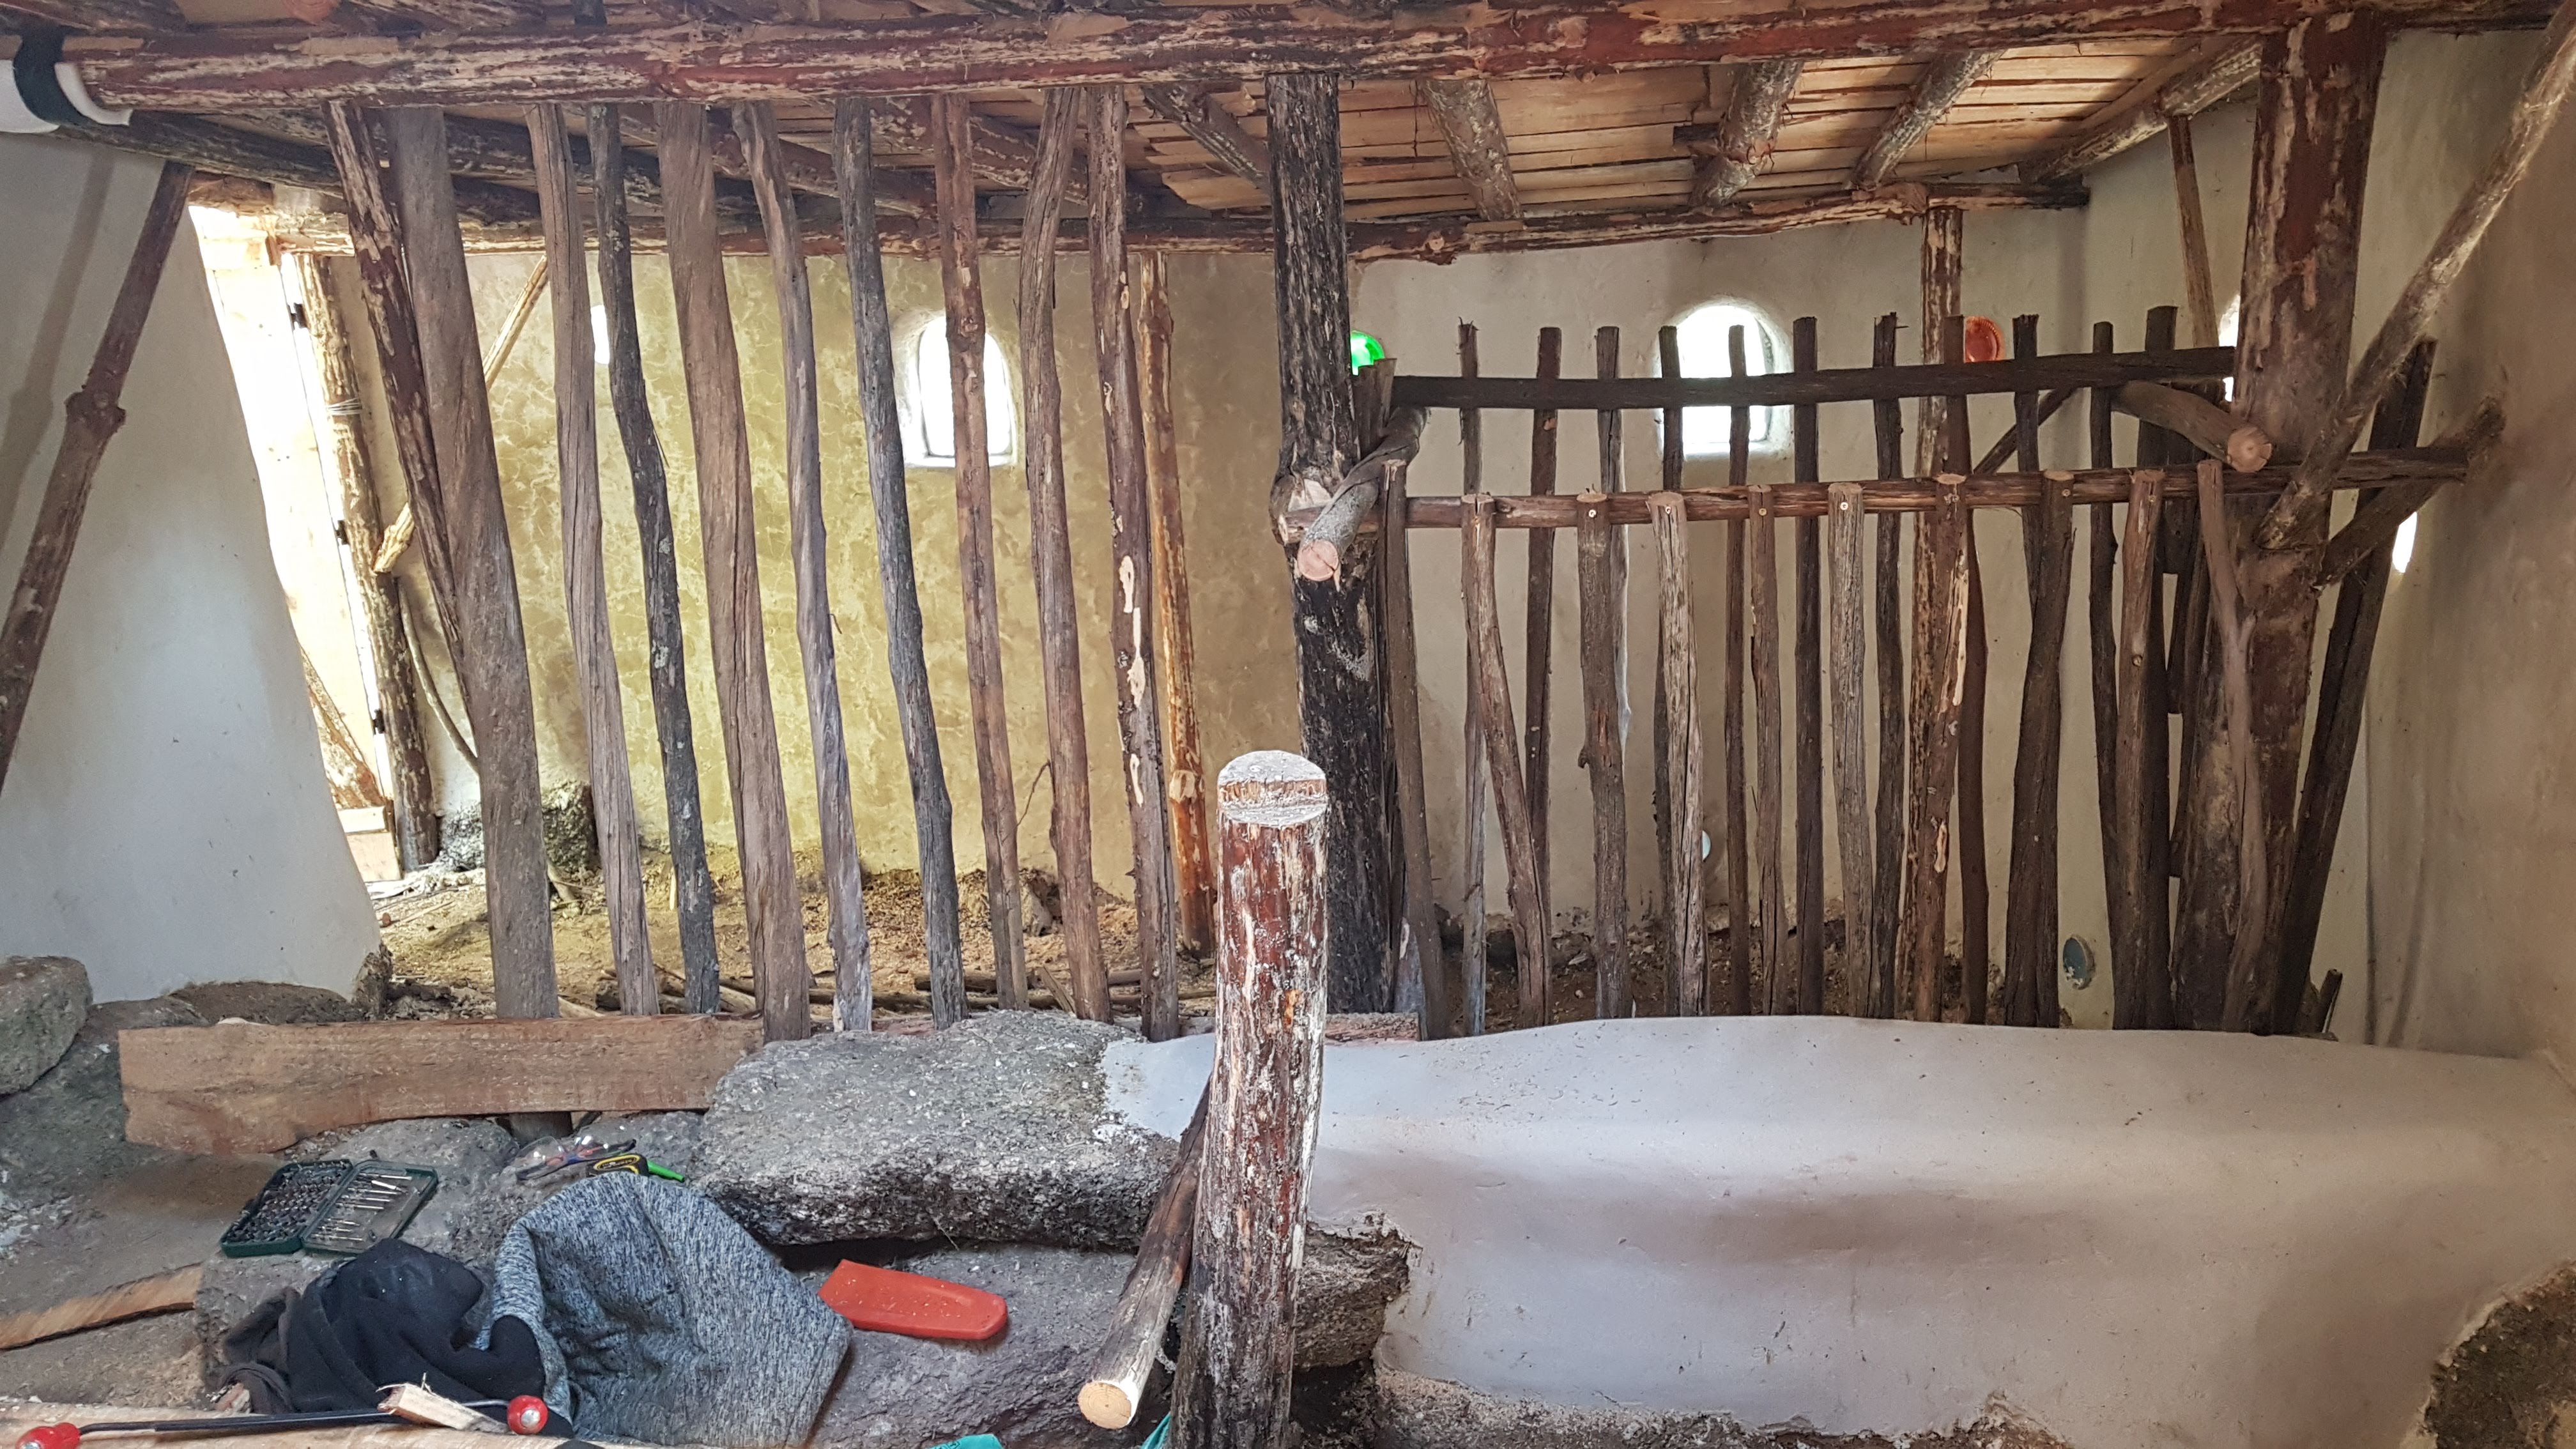
Then I proceeded to build the frame for the roof. My intention is to install a simple and light green roof. First I will build the roof structure and then cover it with tarp, and build up the walls with cob. Building the roof before the walls enables us to build with cob in any weather condition. Once the walls get up to the roof they will help stabilize it, and then I can install the heavier green roof.
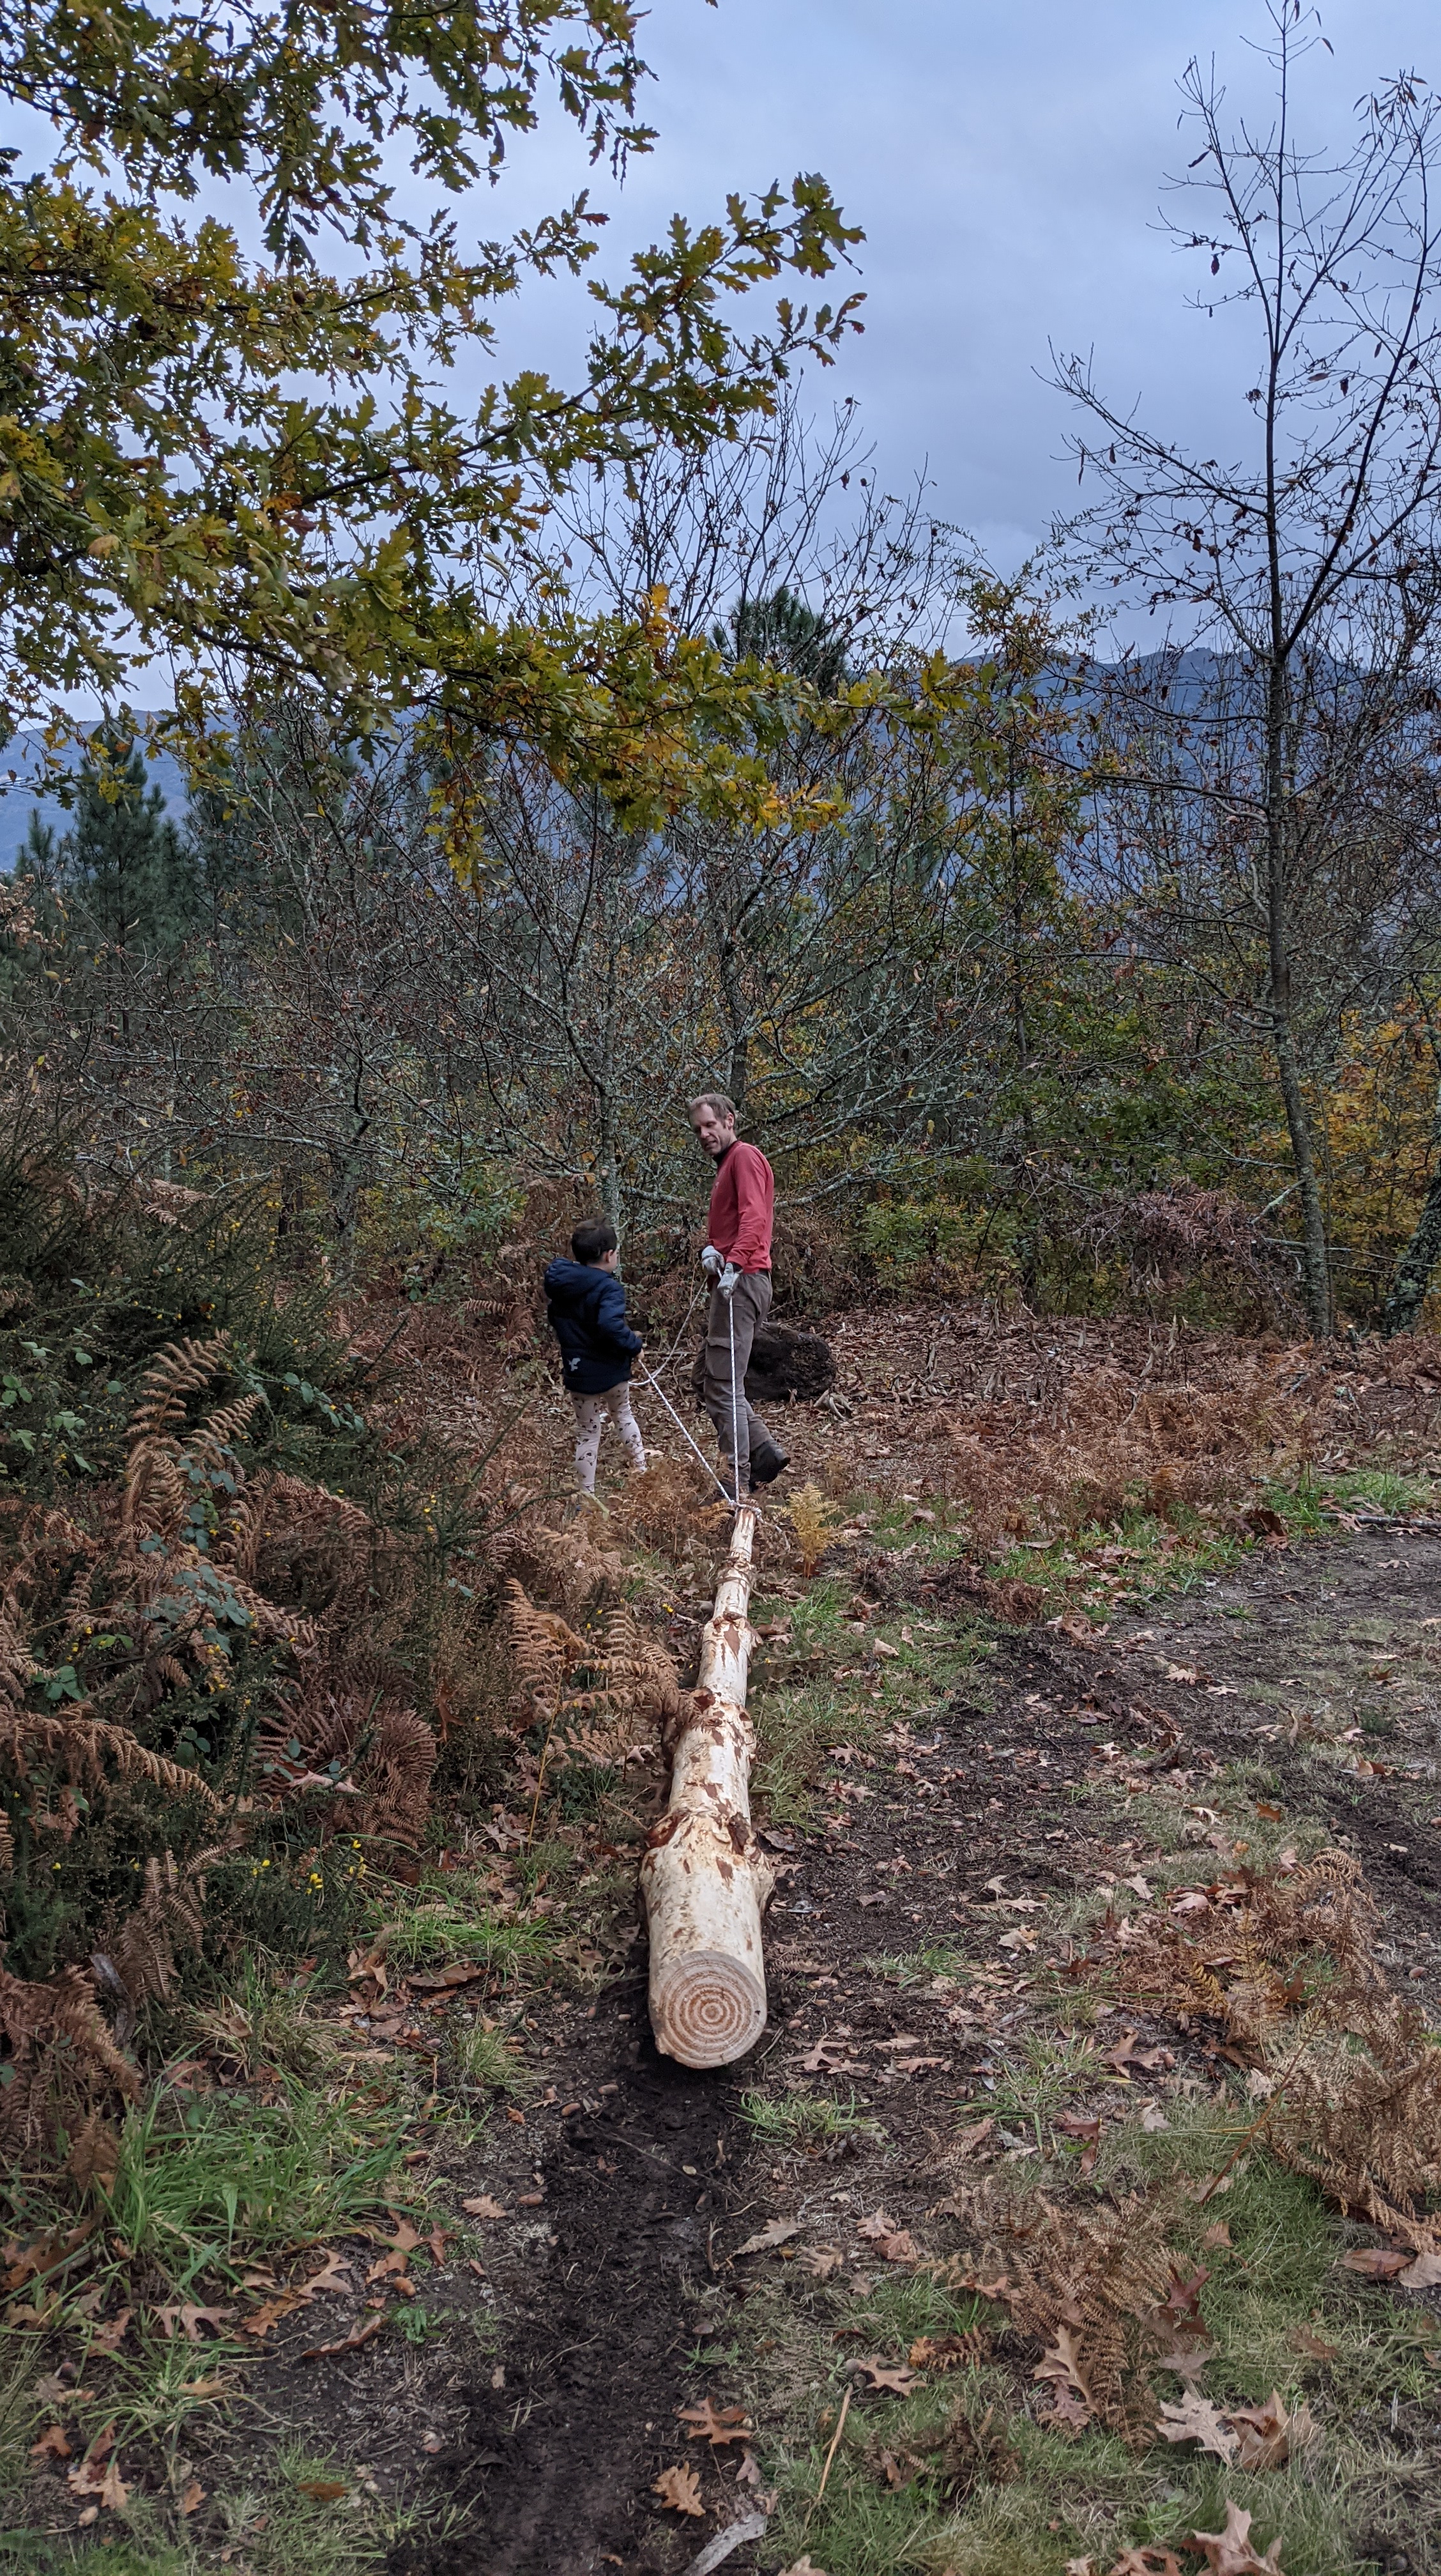
The posts for the roof are mostly placed on the inside of the walls. The rafters are spaced at about 40cm, and I used local pine wood for the roof structure. I then proceeded to mill a few pine trees to use the wood as a support for the green roof.
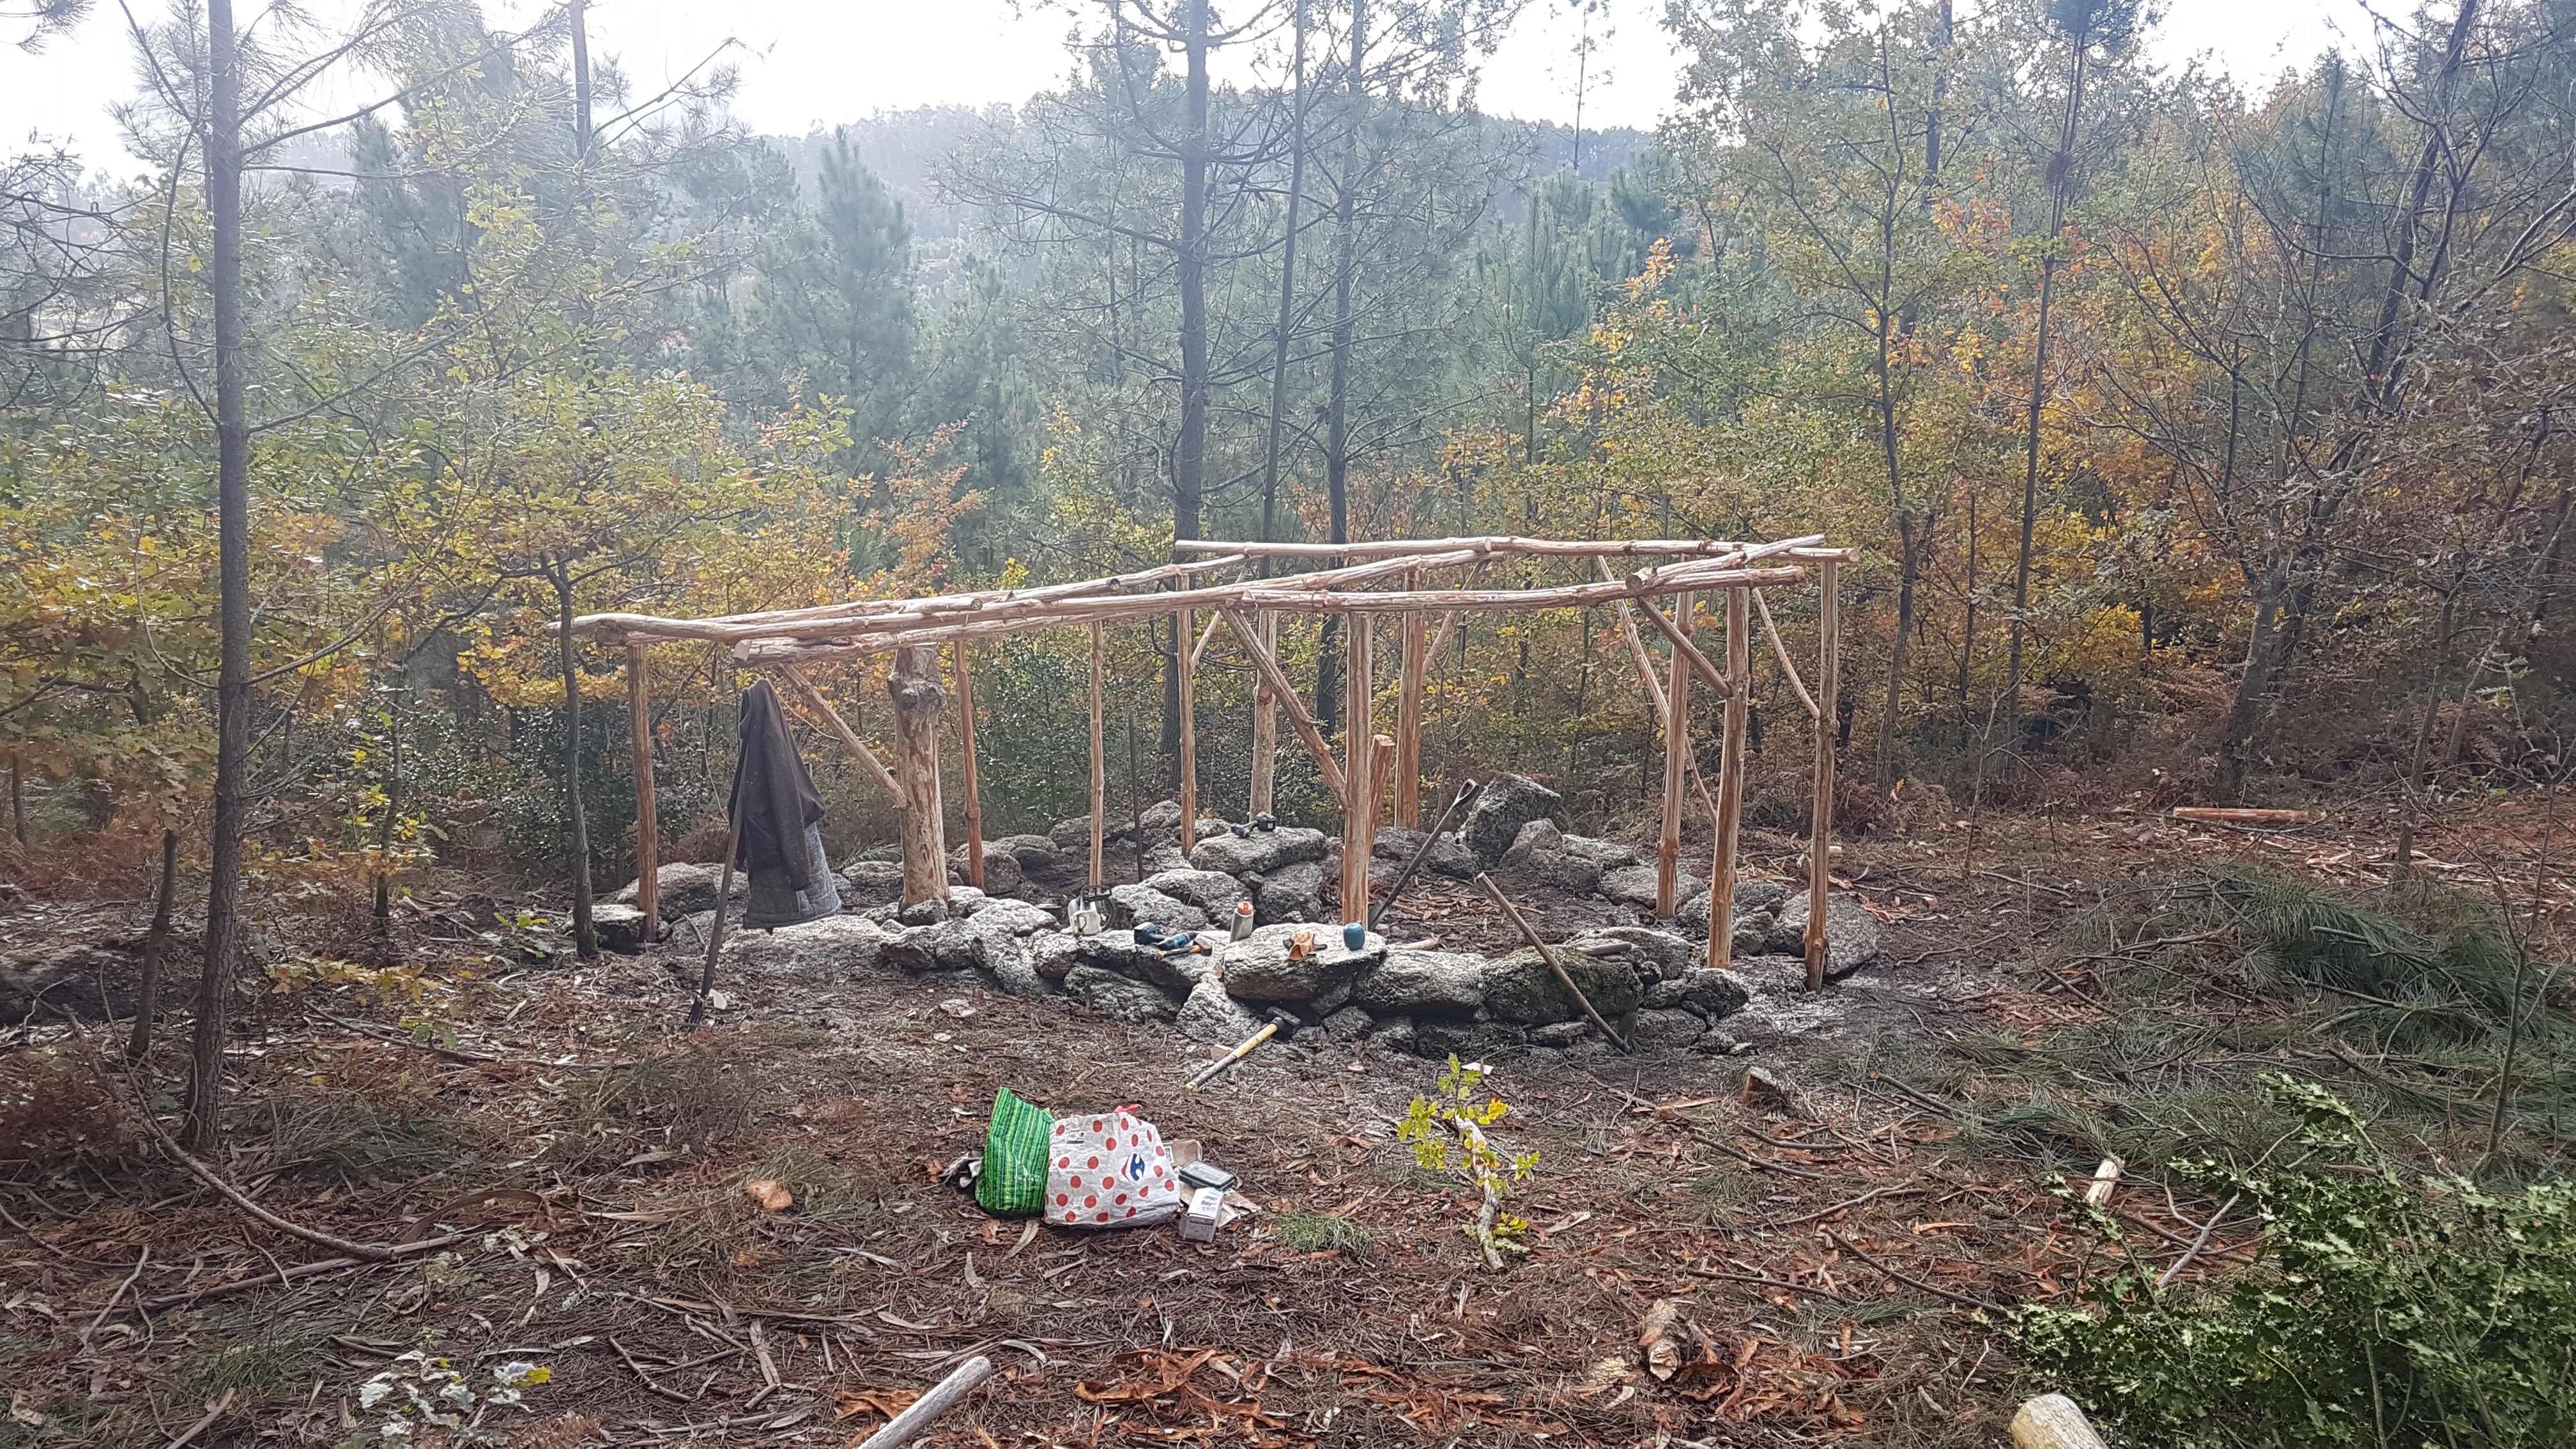
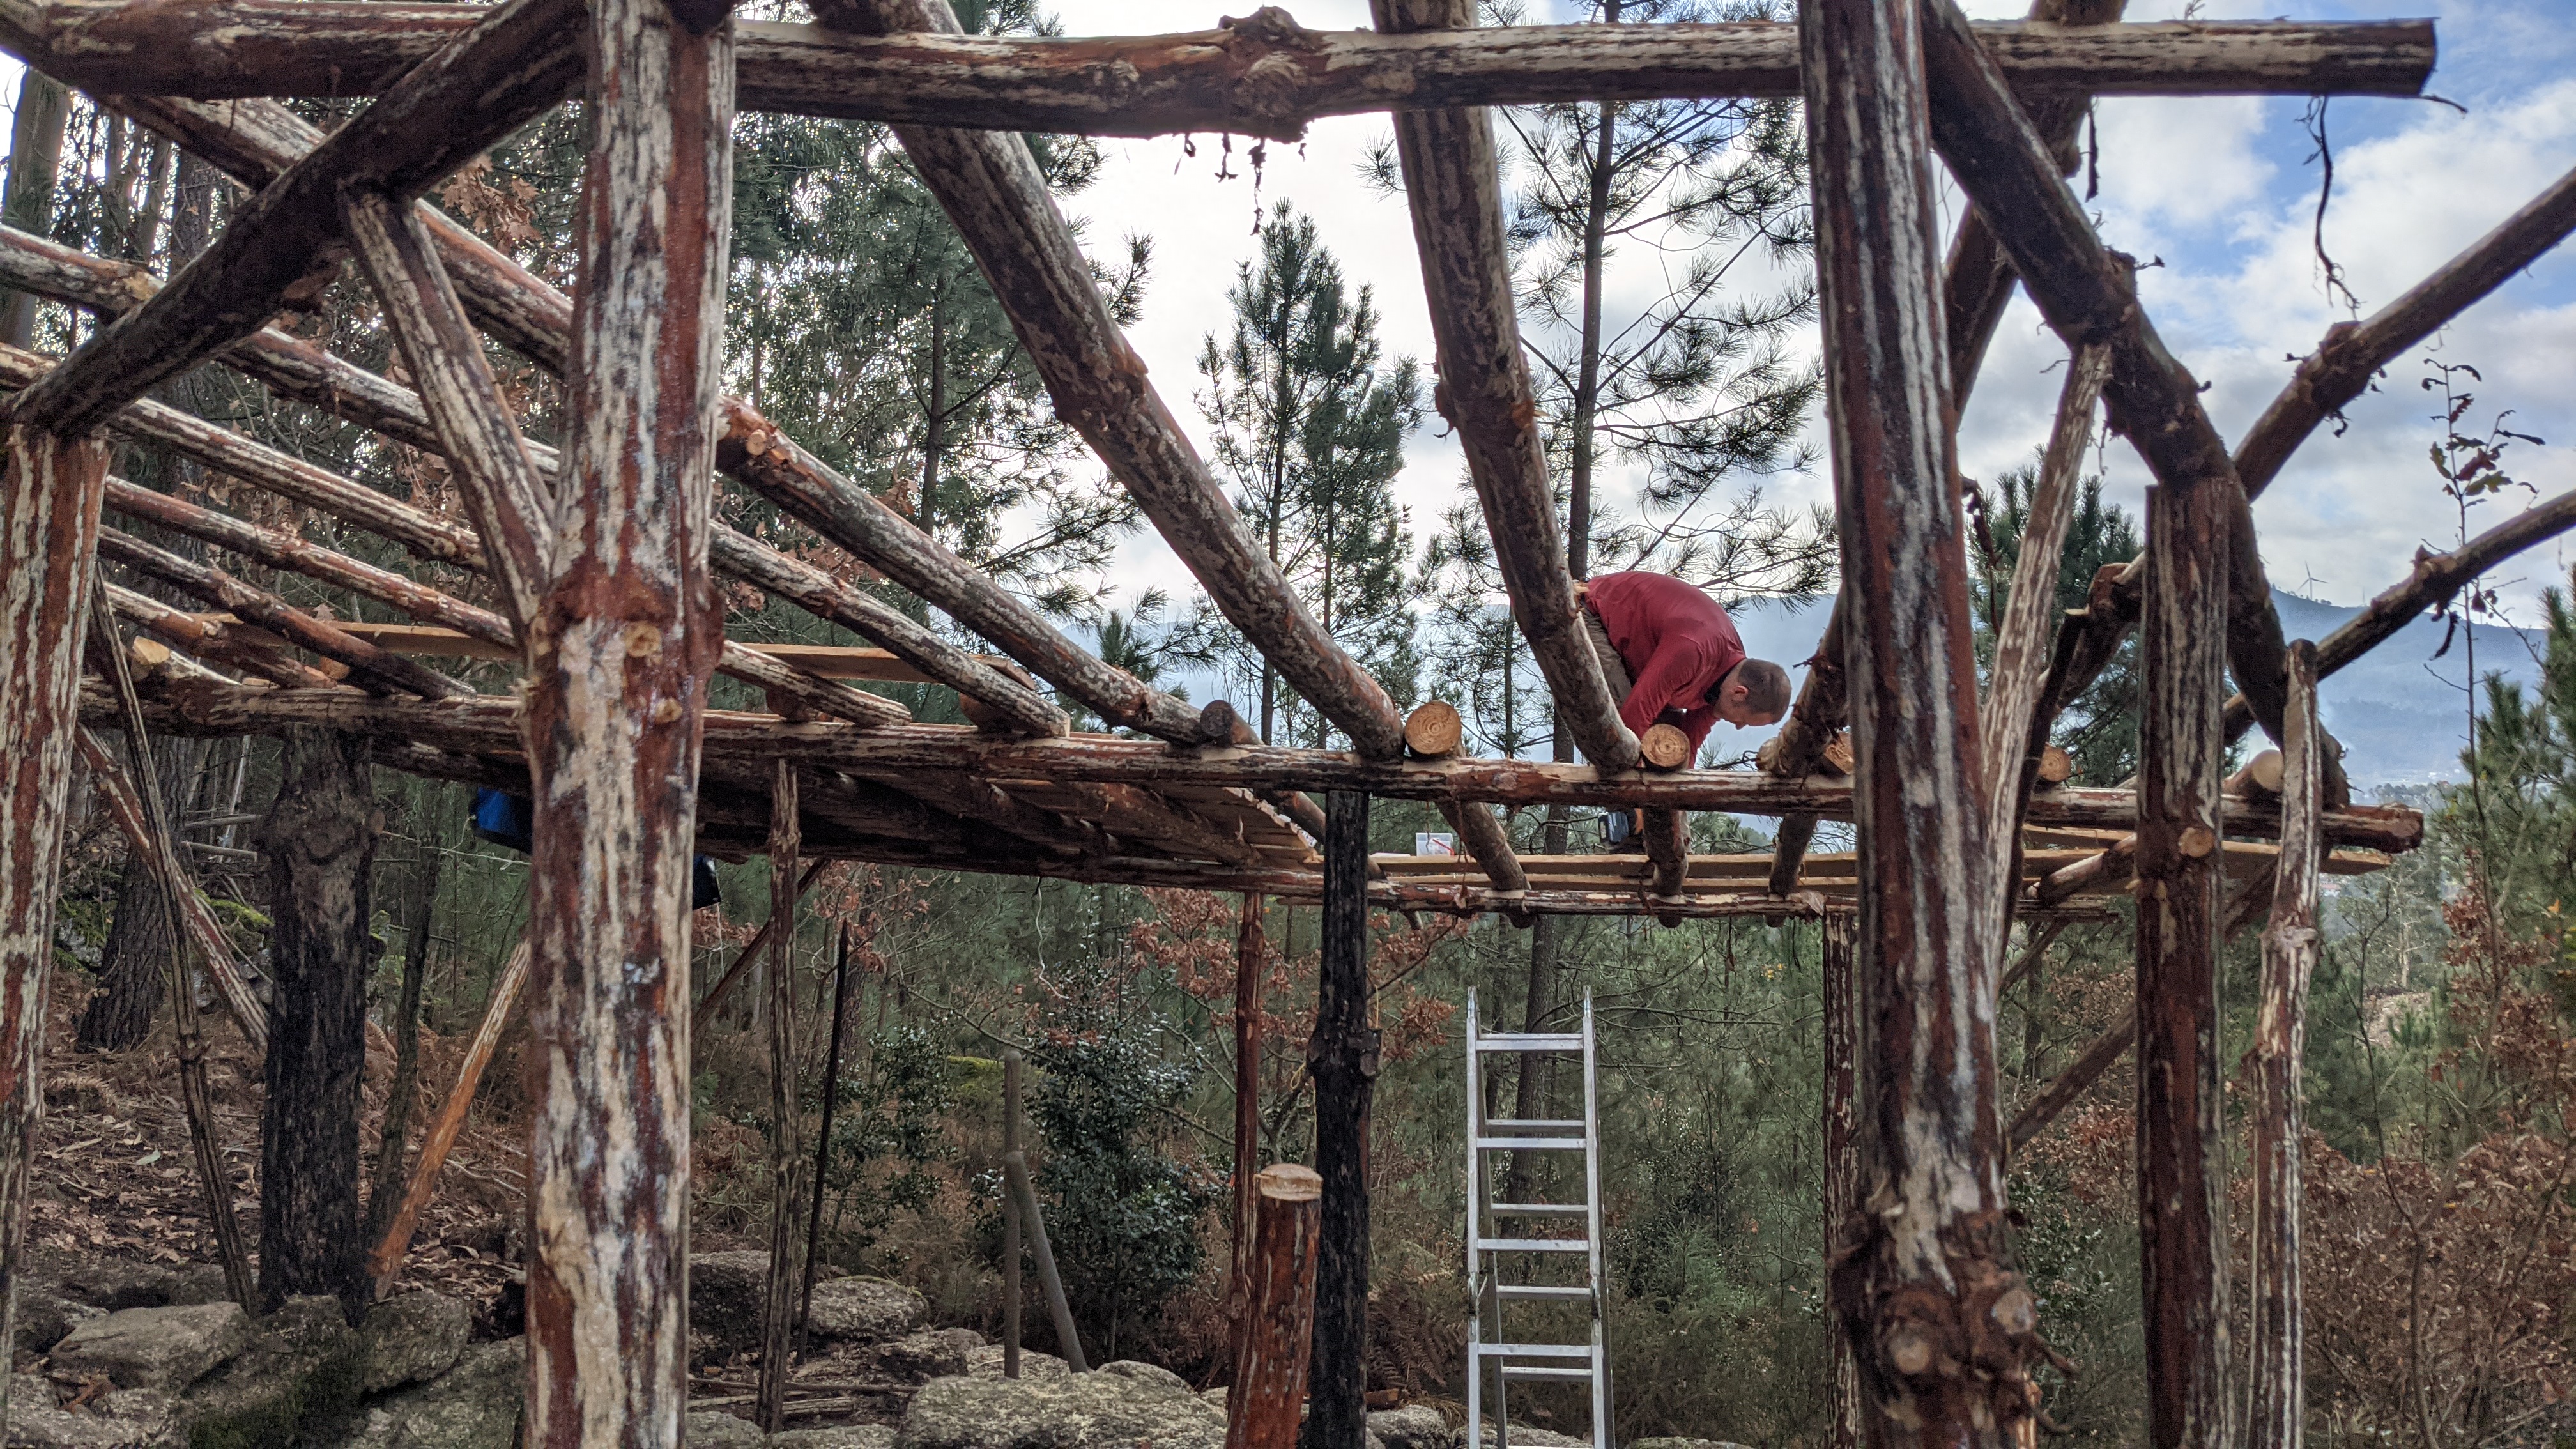


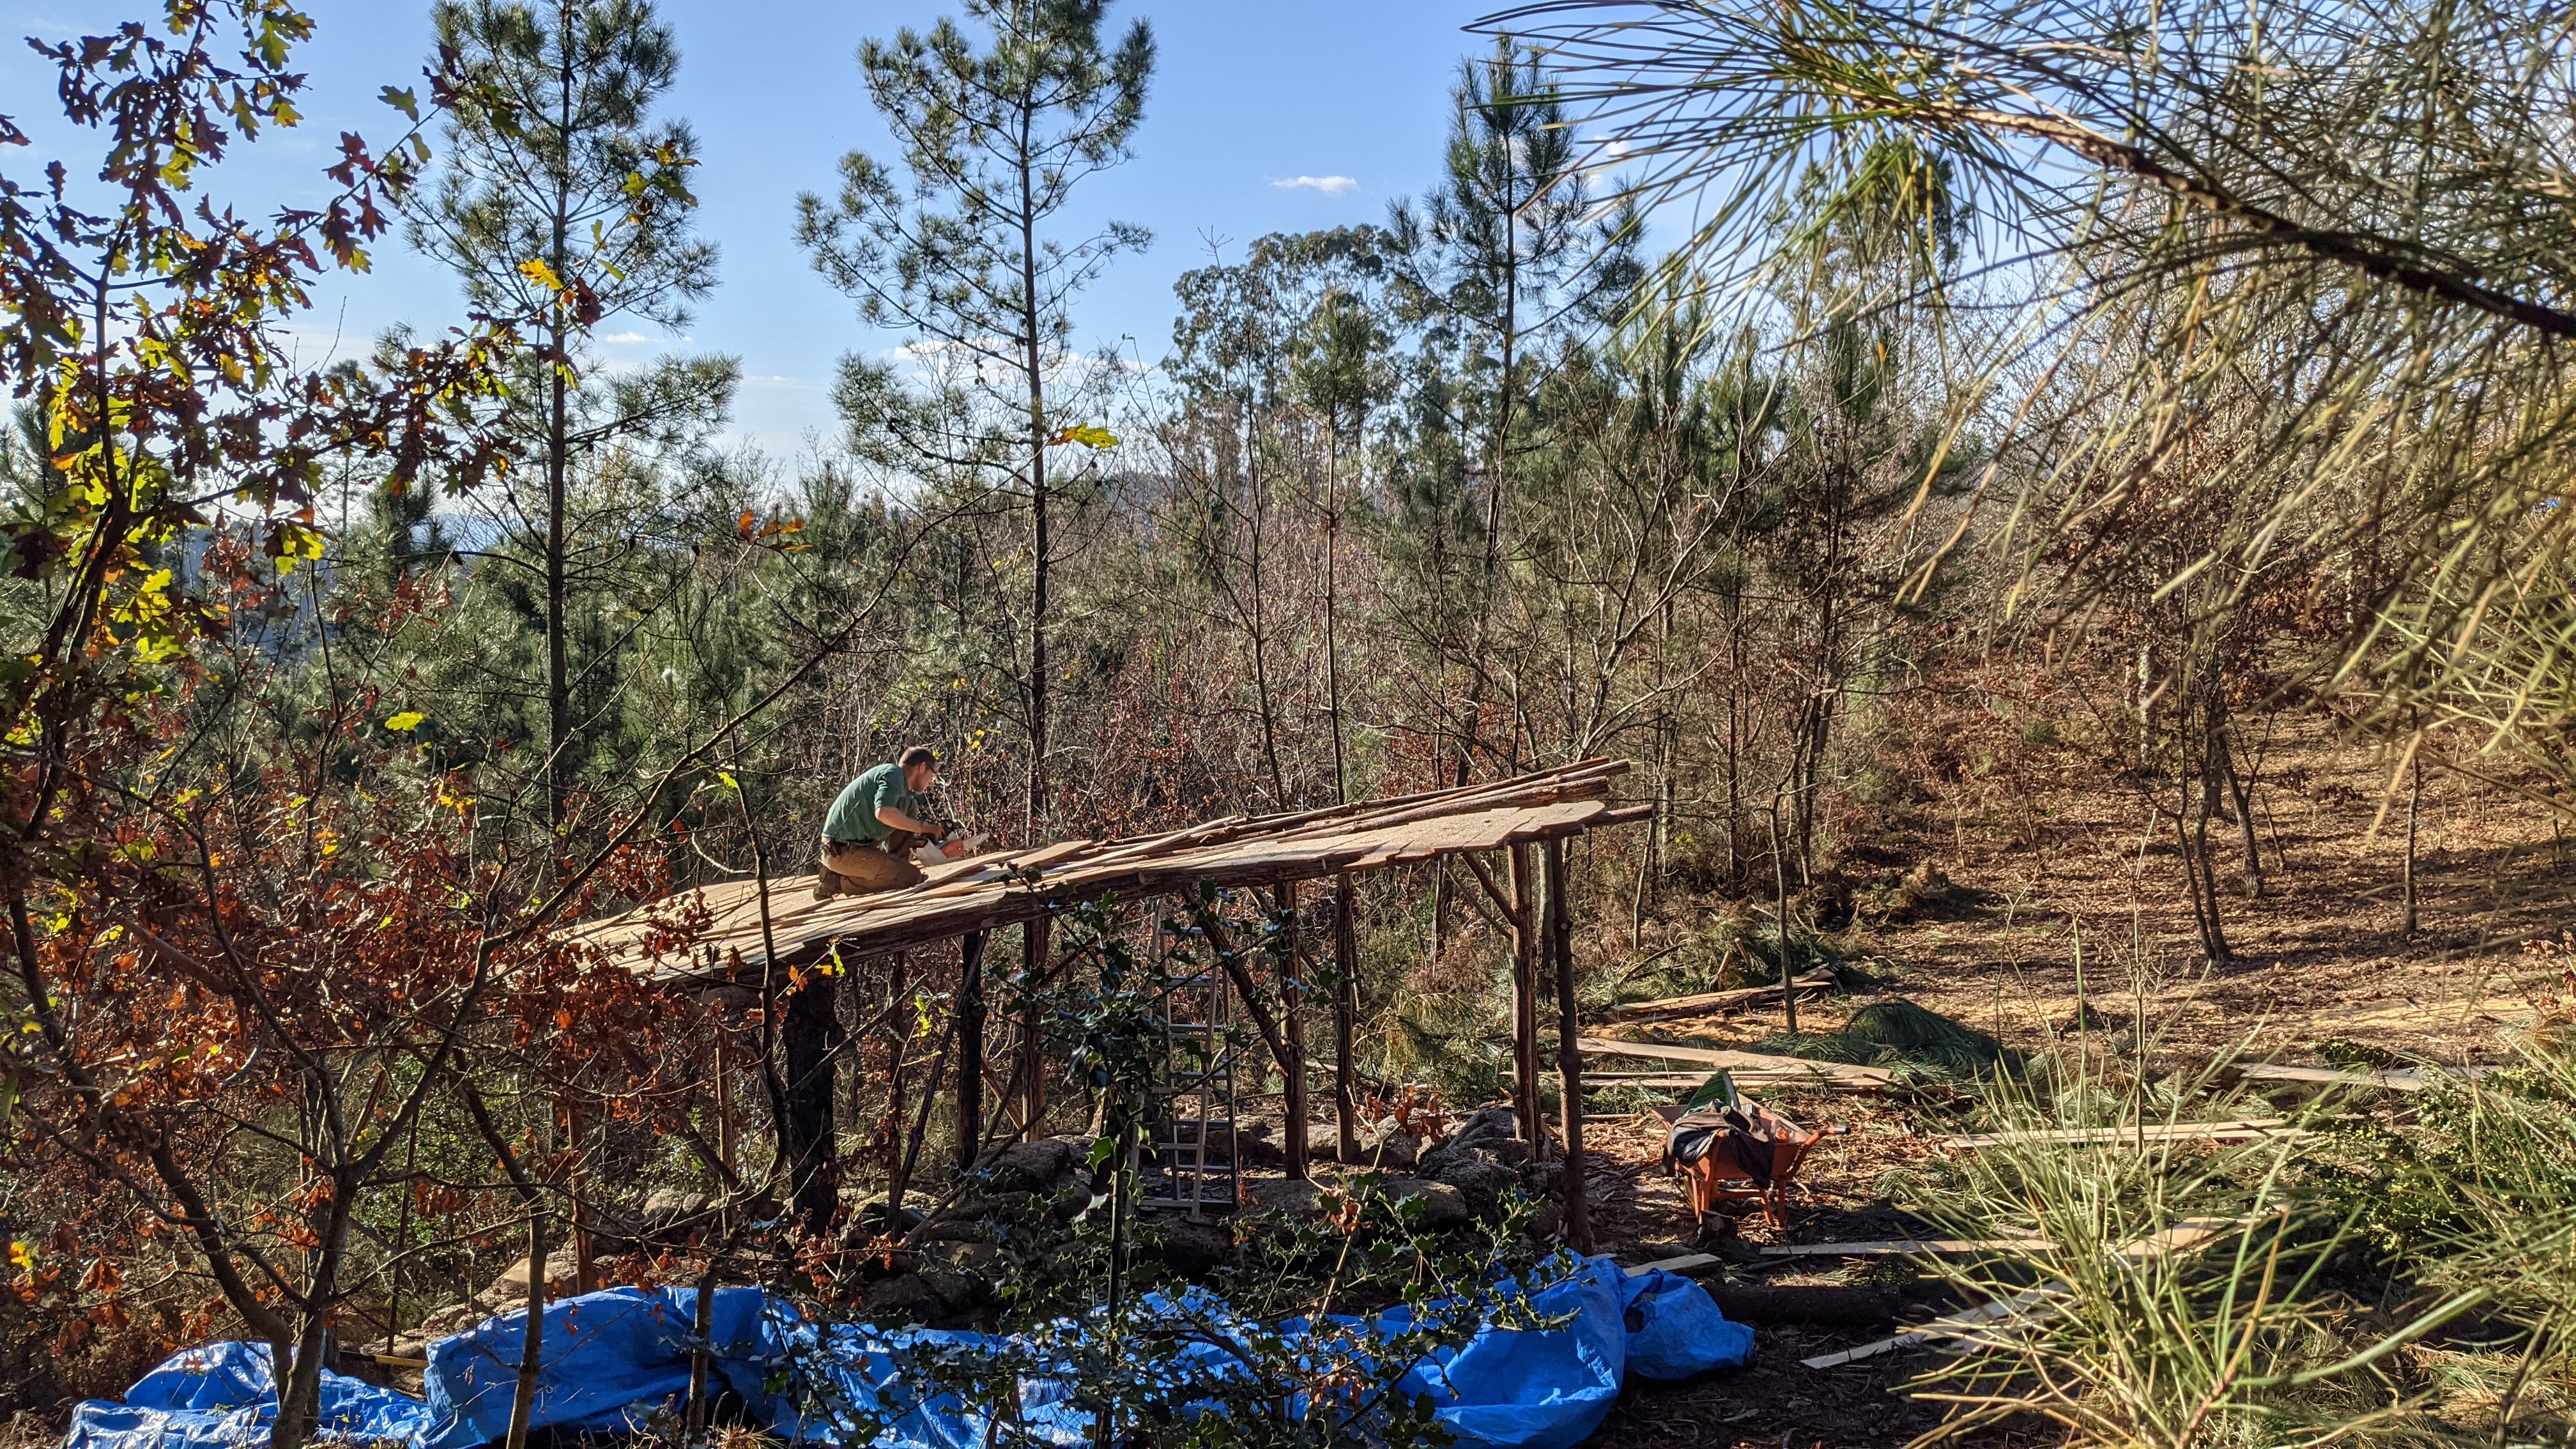
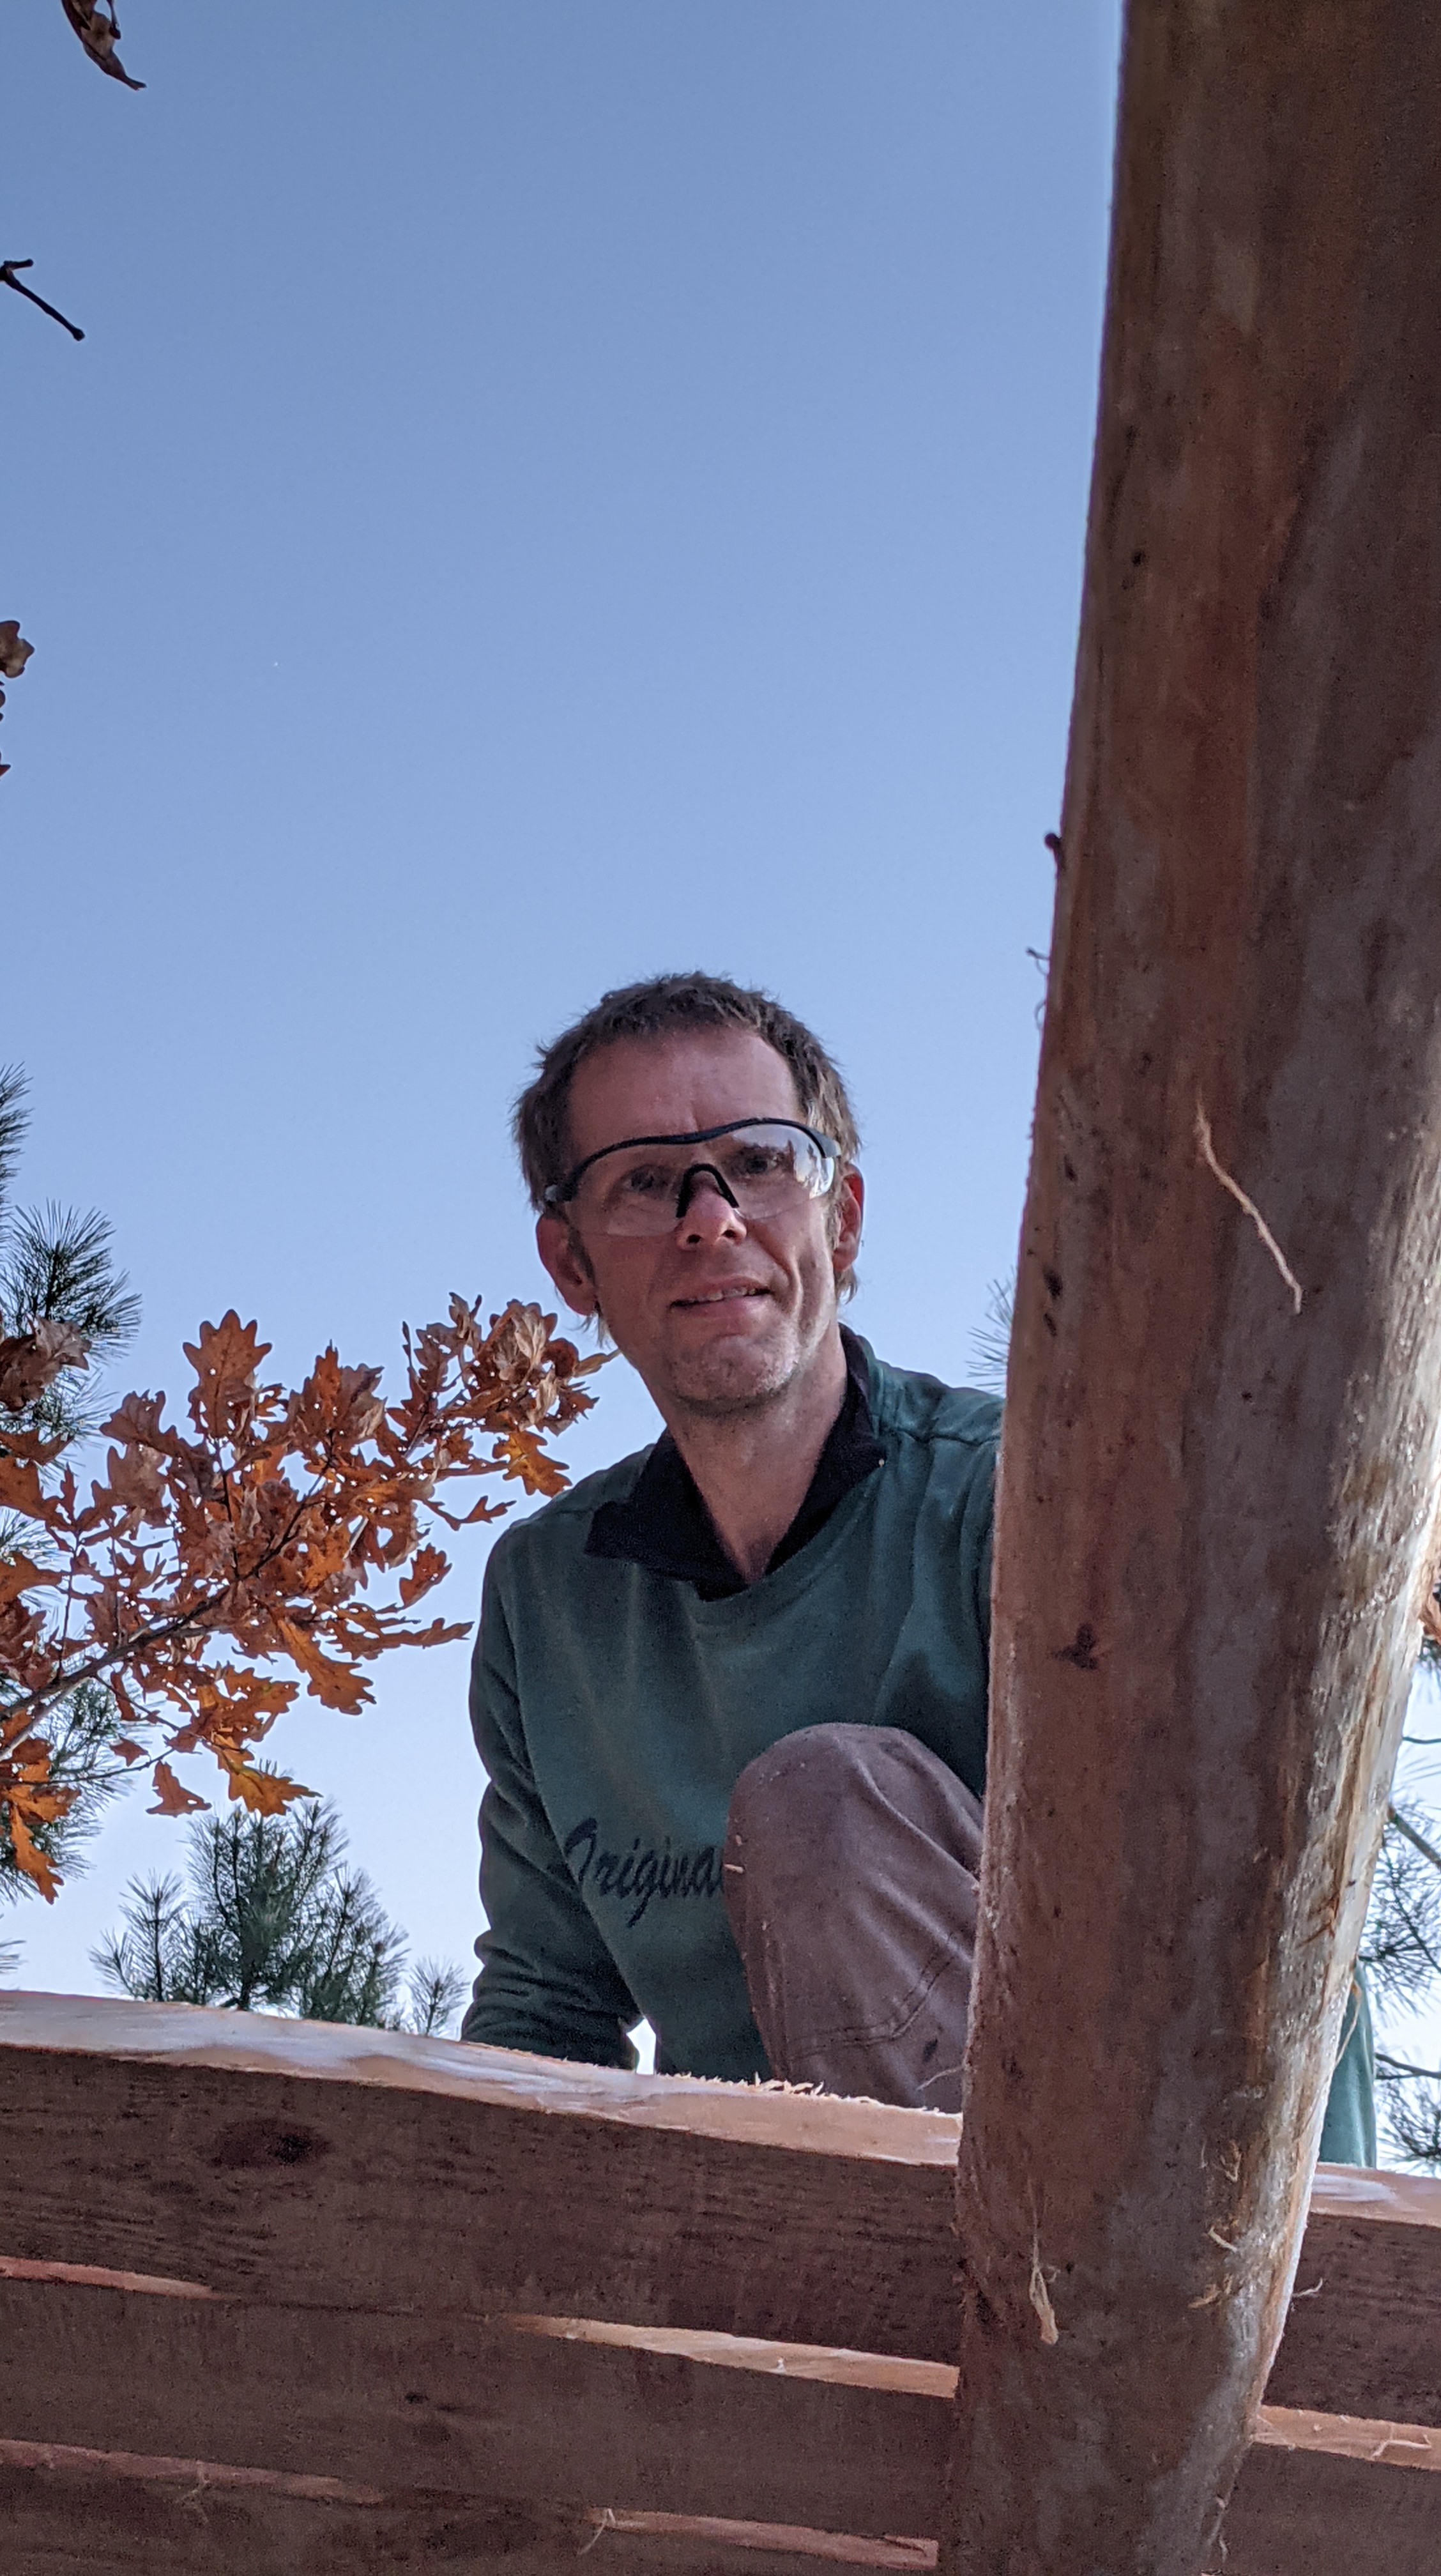

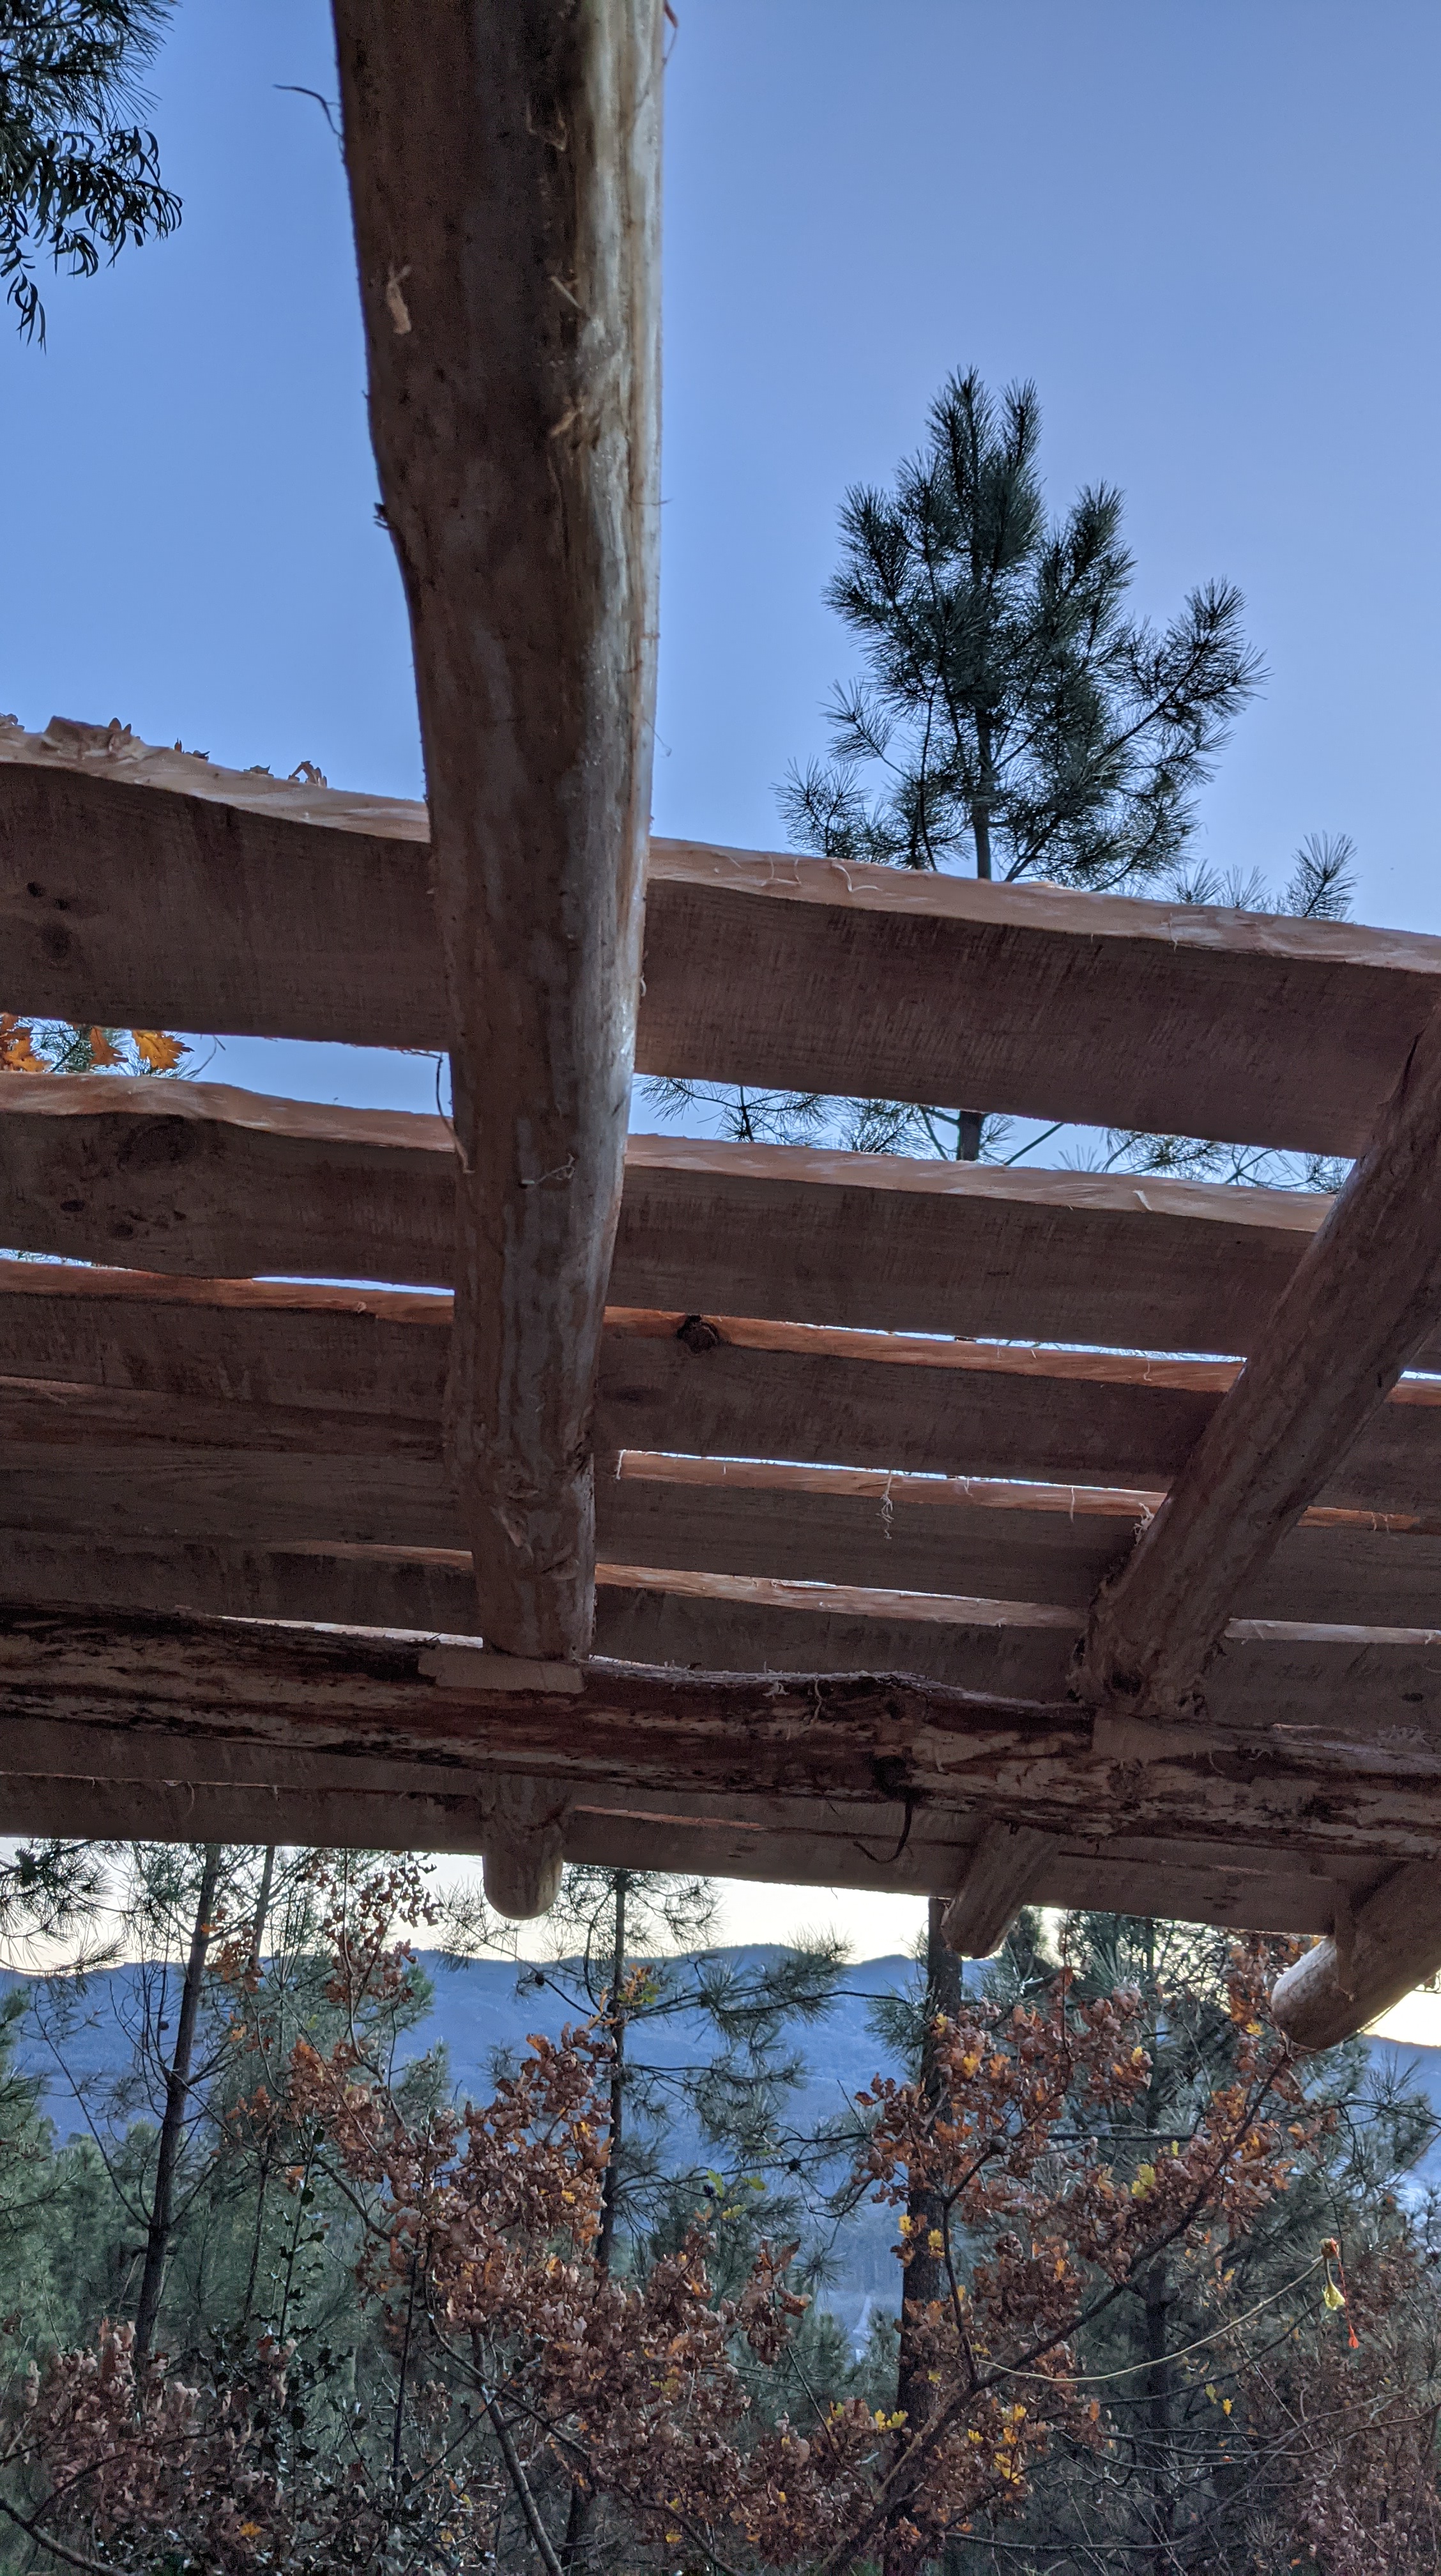
I am about to finish attaching all the milled boards on the roof. Since I am using round wood, there are some height inconsistencies. I intend to bridge those with pieces of cut board, underneath the installed boards of the roof, so all the boards are properly supported. Once the roof is ready for the tarp, we will start with cobbing the walls.
-
Goat Barn: Cob Walls
For the past couple of weeks we’ve been busy finalizing the floor plans for our forever home and barn renovation, staking them out on the land and getting back to the architects with our changes. It’s been exciting and exhausting, figuring out what our dream would actually look like. But we’re getting there! While we wait for the architects to get back to us with the final plans, we decided to get started on the goat barn walls.

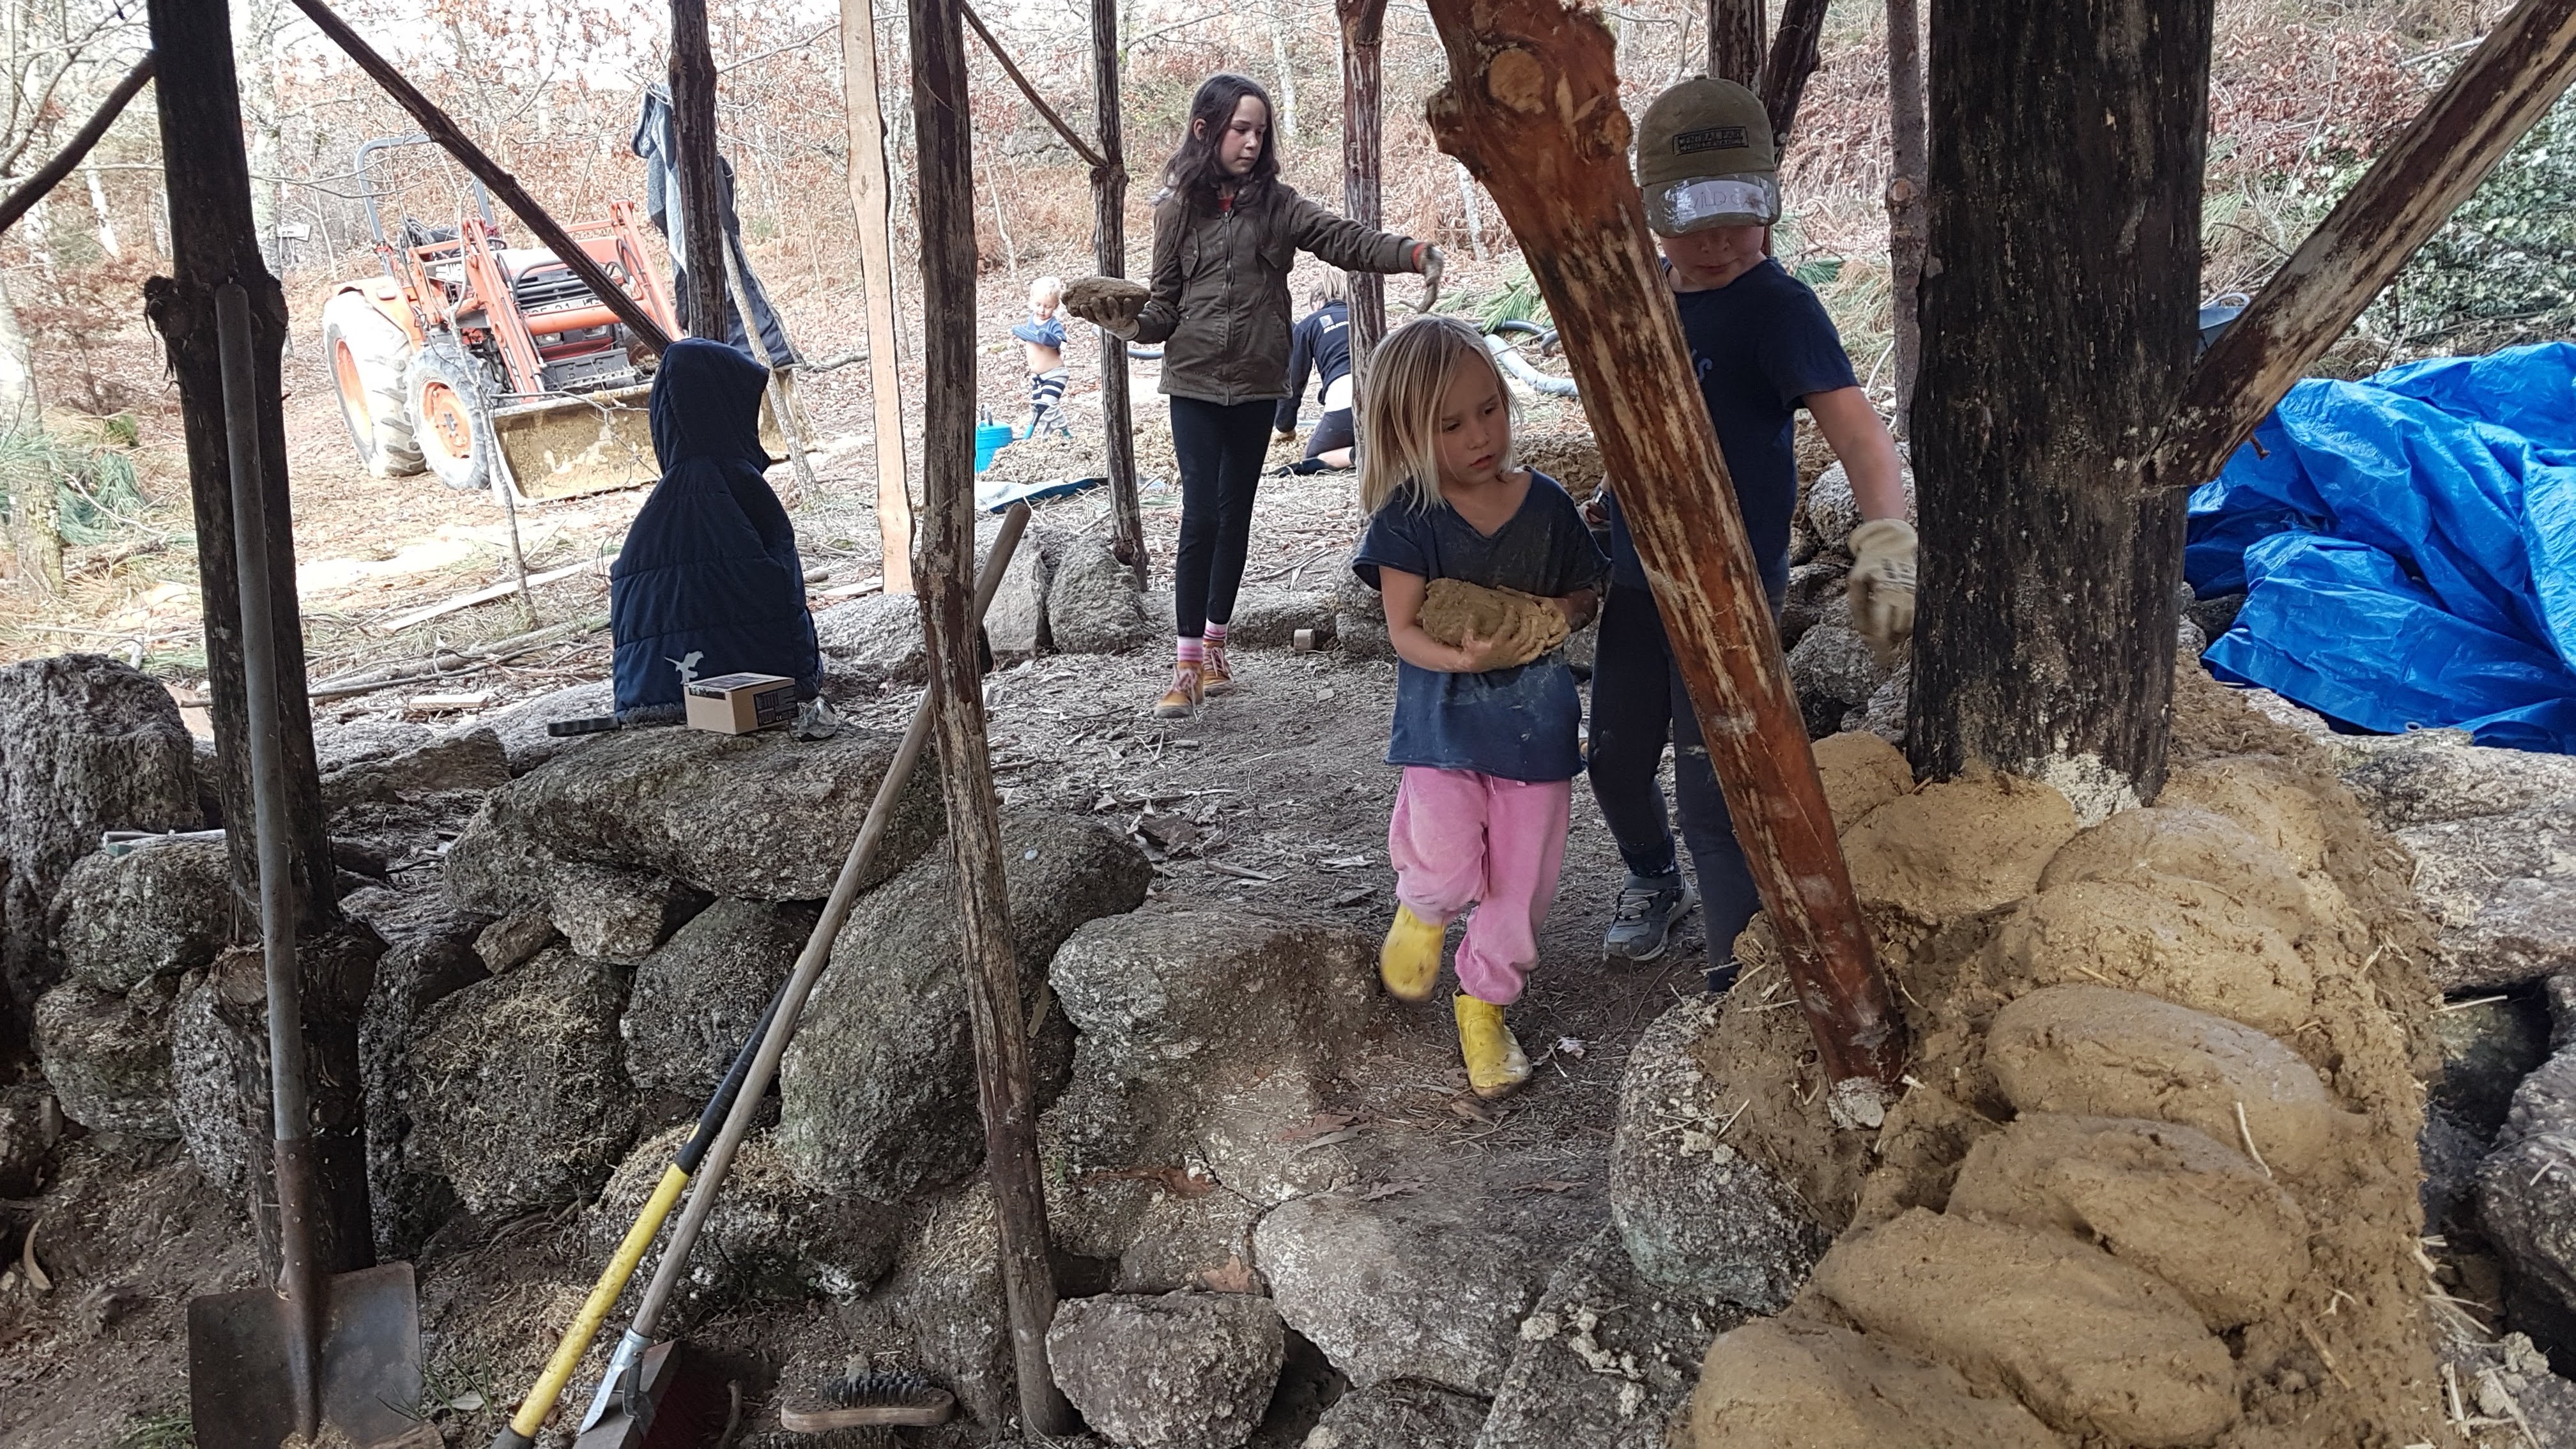
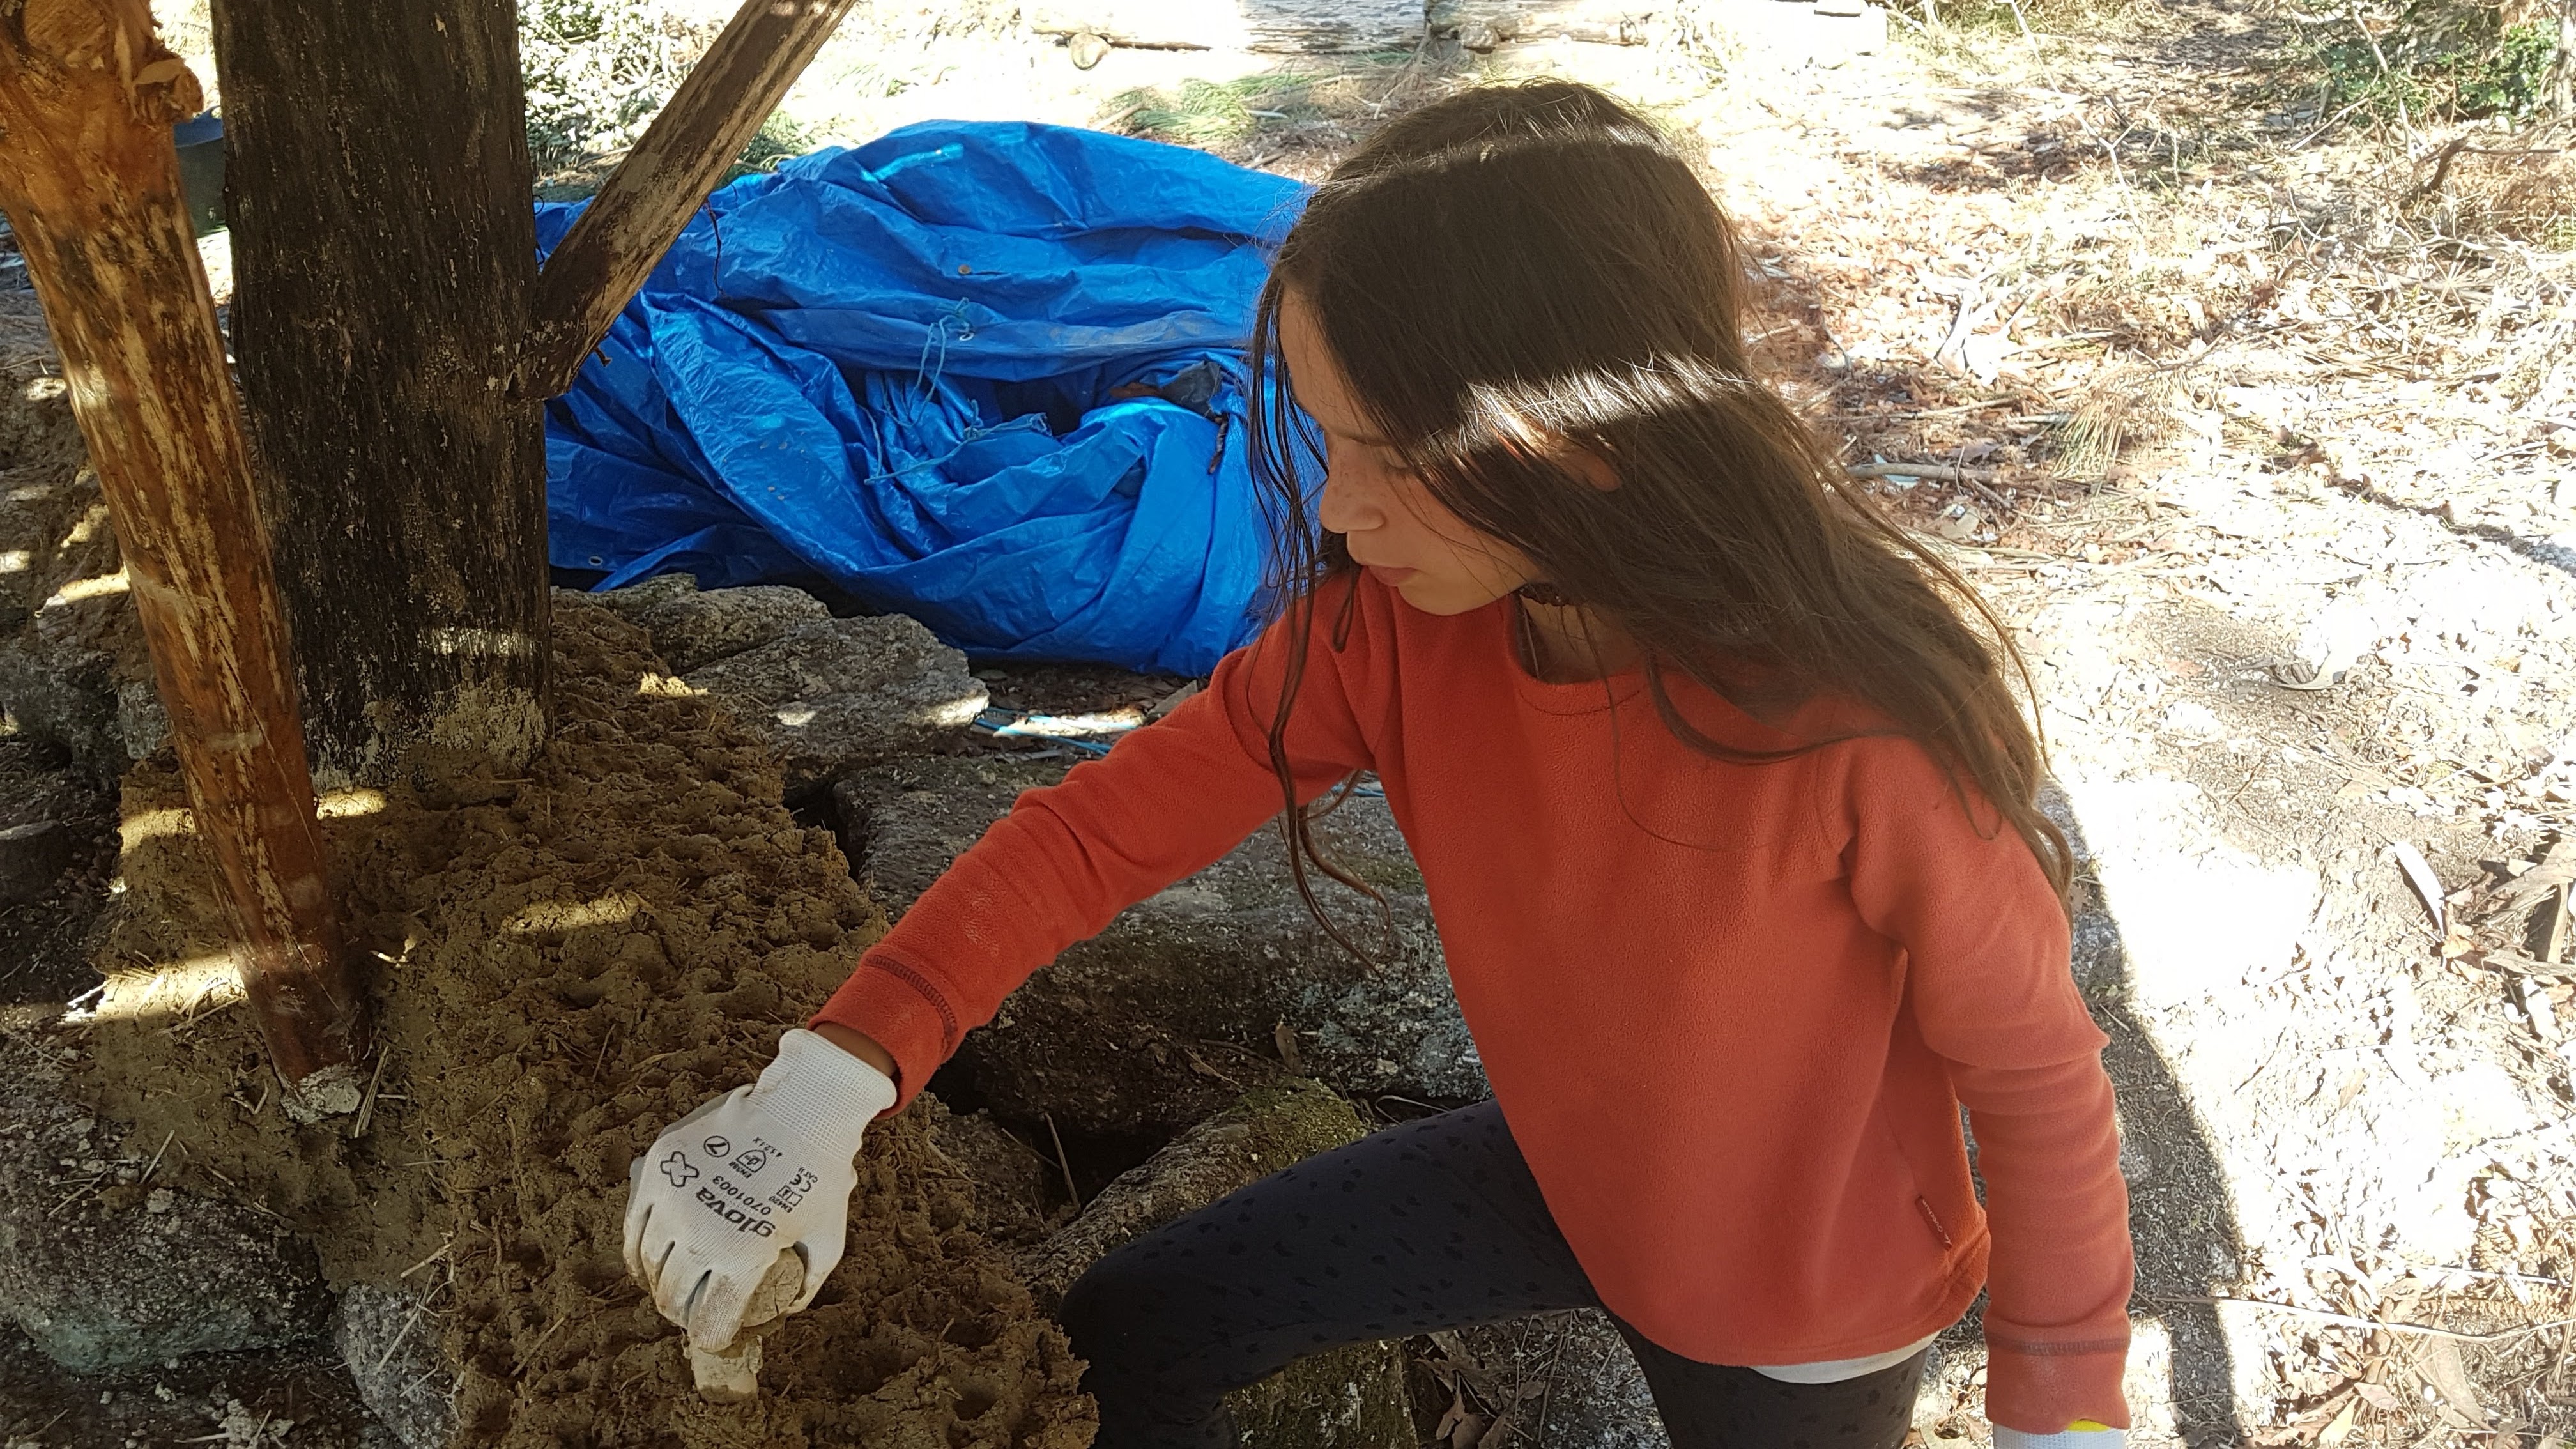
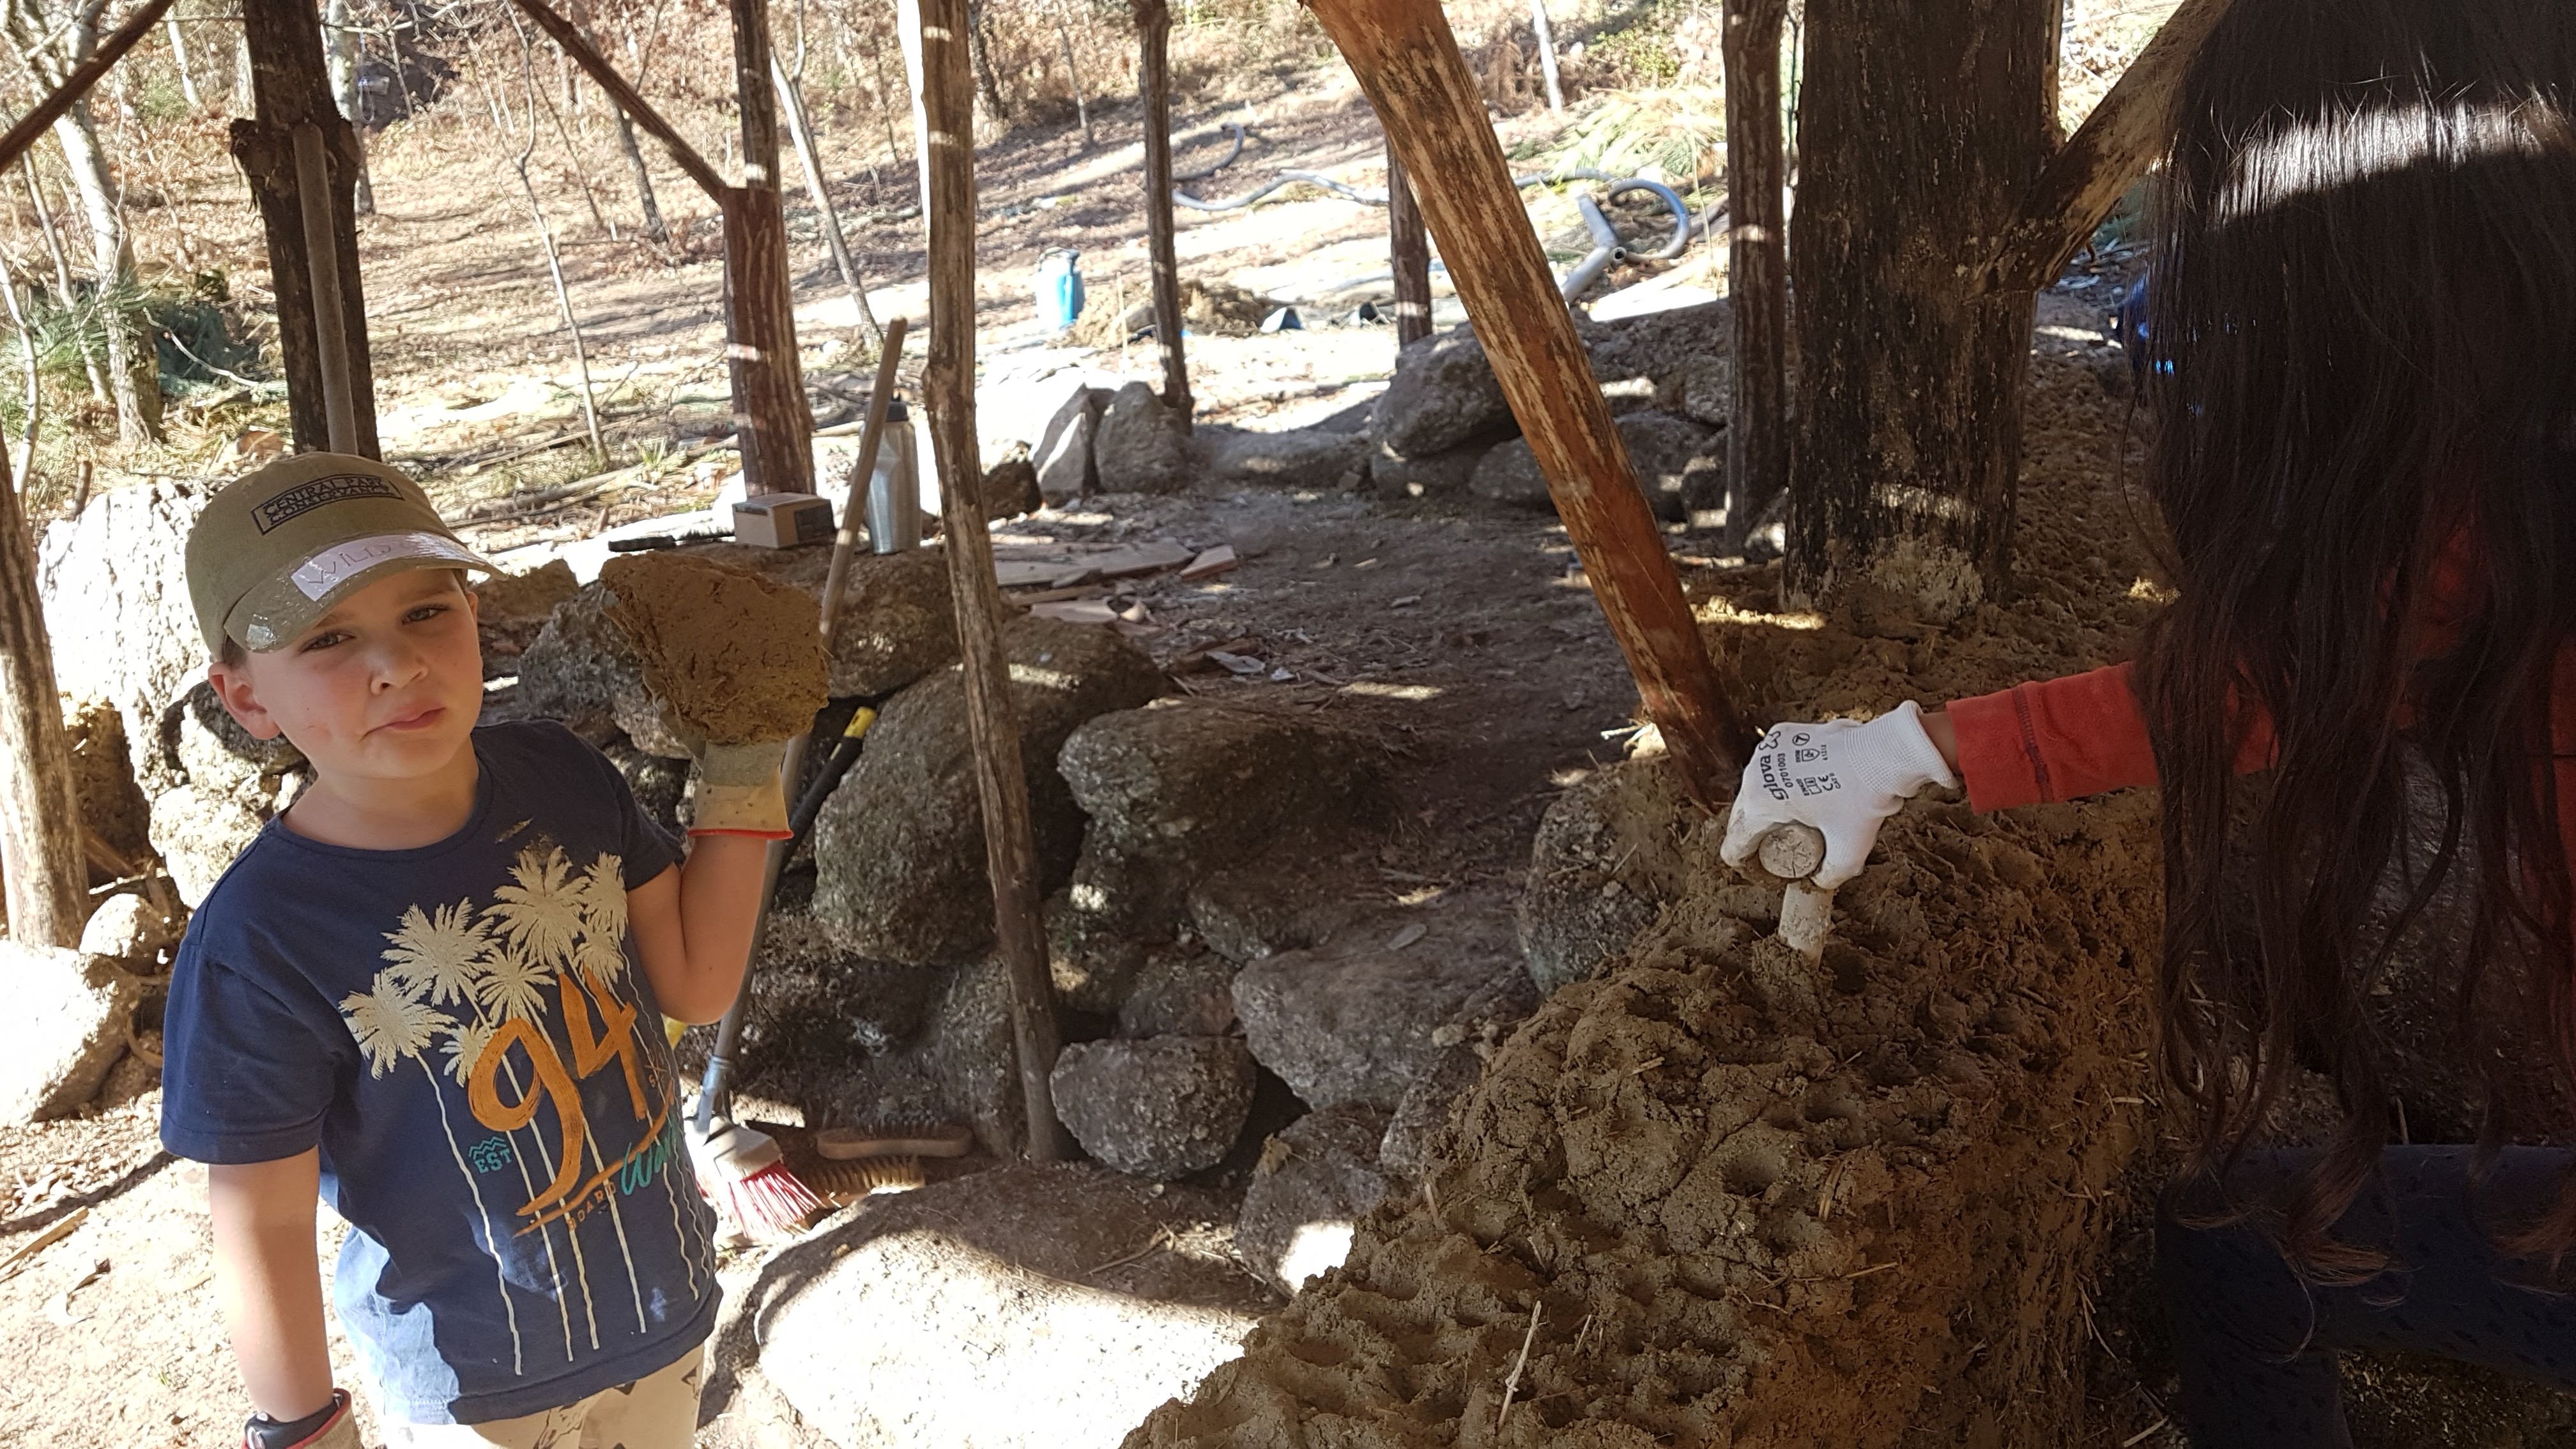
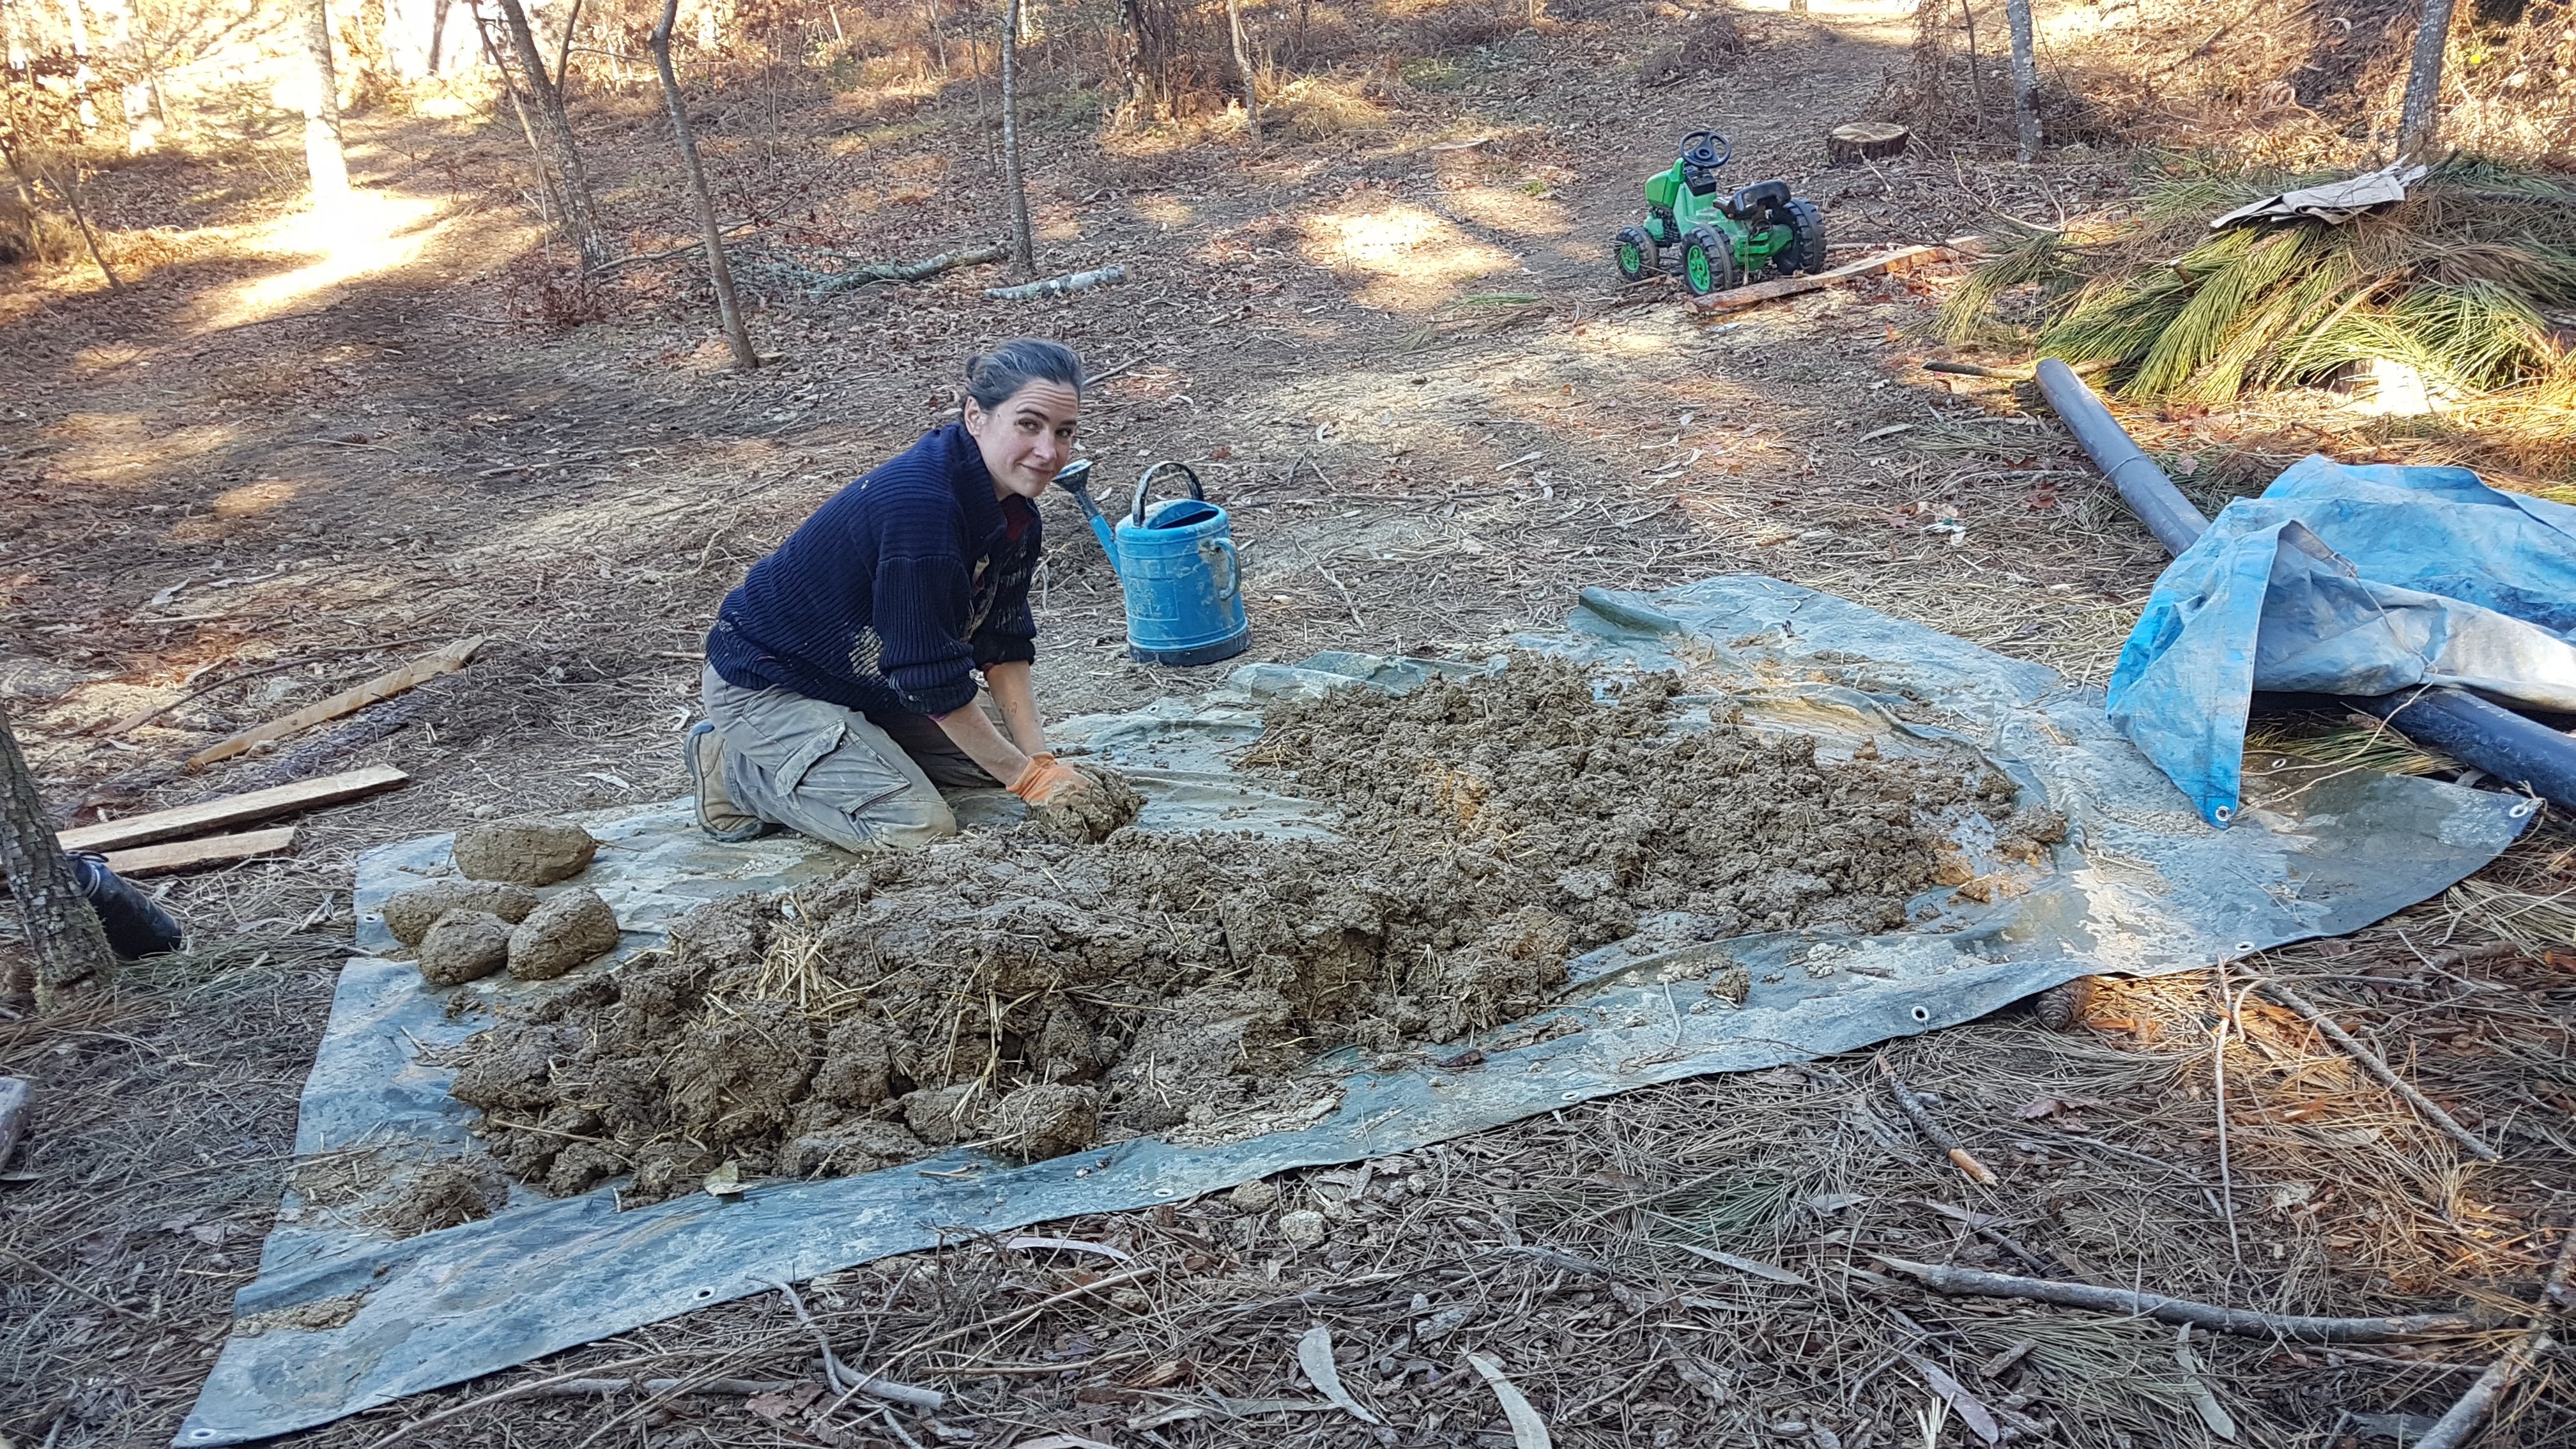
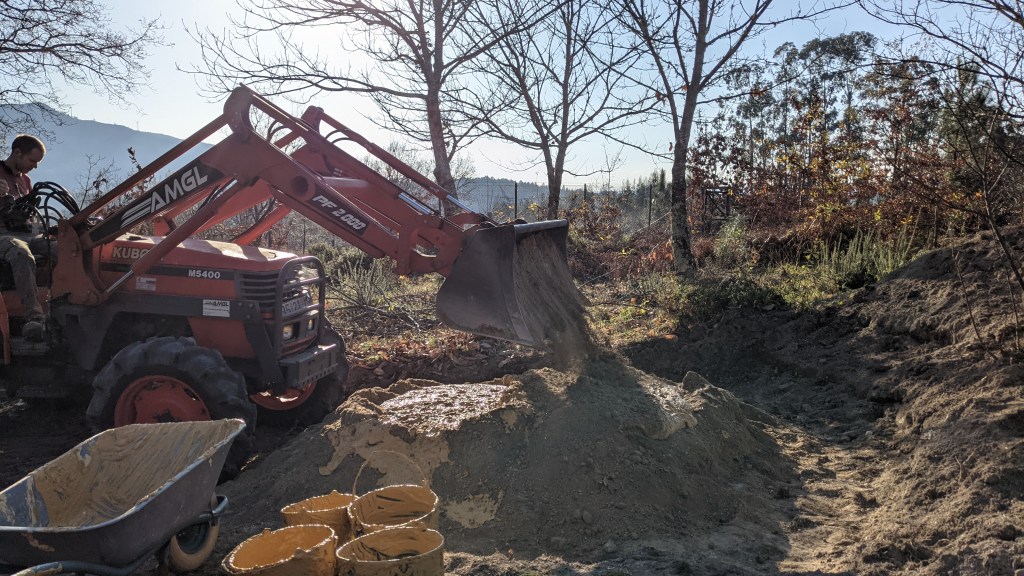
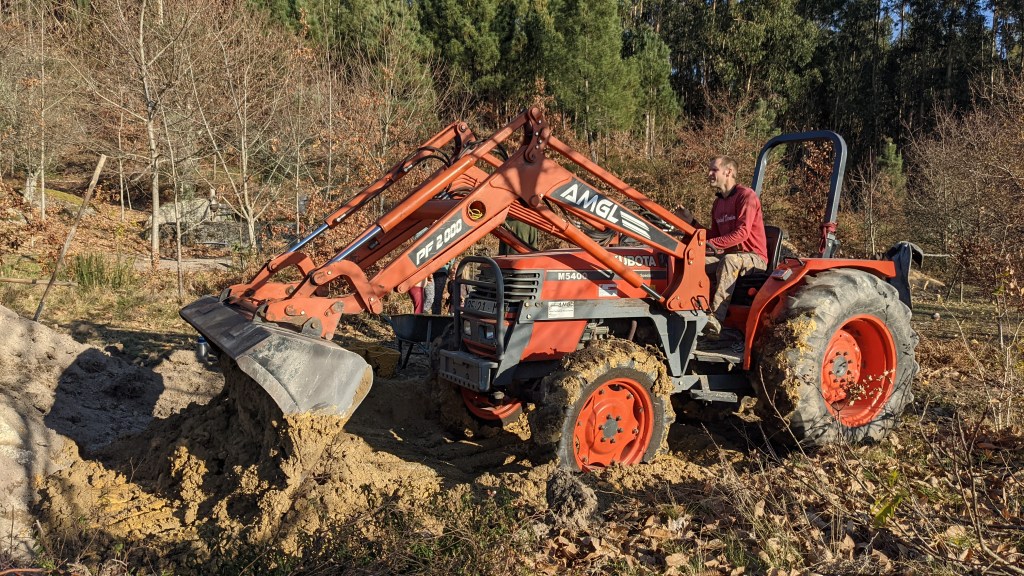
For the chicken coop we mixed the cob by foot and tarp, which, while fun, gratifying and great for lower-body strength, is very time-consuming. Haffy had been hypothesizing for a while that mixing with a tractor would be much more efficient, and while we couldn’t find much information about it, we did go ahead and buy a tractor—Doozer!—because, well, Haffy’s hypotheses have a way of panning out.
Since we are planning on building several more structures in cob, we were somewhere on the continuum of excited-anxious to find out how cob tractor-mixing would go. Happily, It was a resounding success! In a couple of hours, Haffy had mixed the equivalent of a few good feet-mixing days.


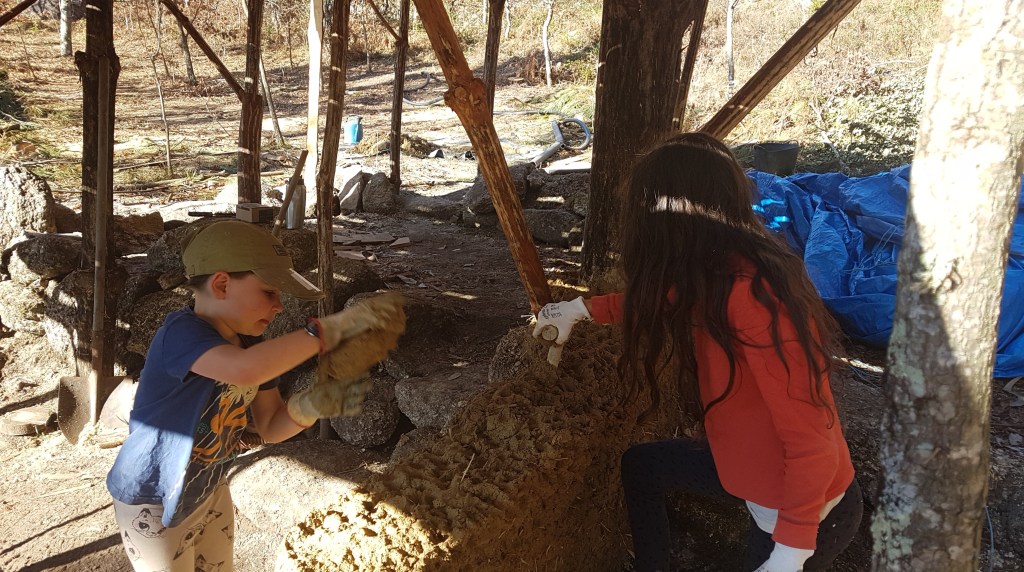
Dancing in the cob And then it was time to get cobbing. It’s a pleasure to have a good amount of cob pre-mixed and ready to go for uninterrupted wall building.


-
Goat Barn: Green Roof & Walls

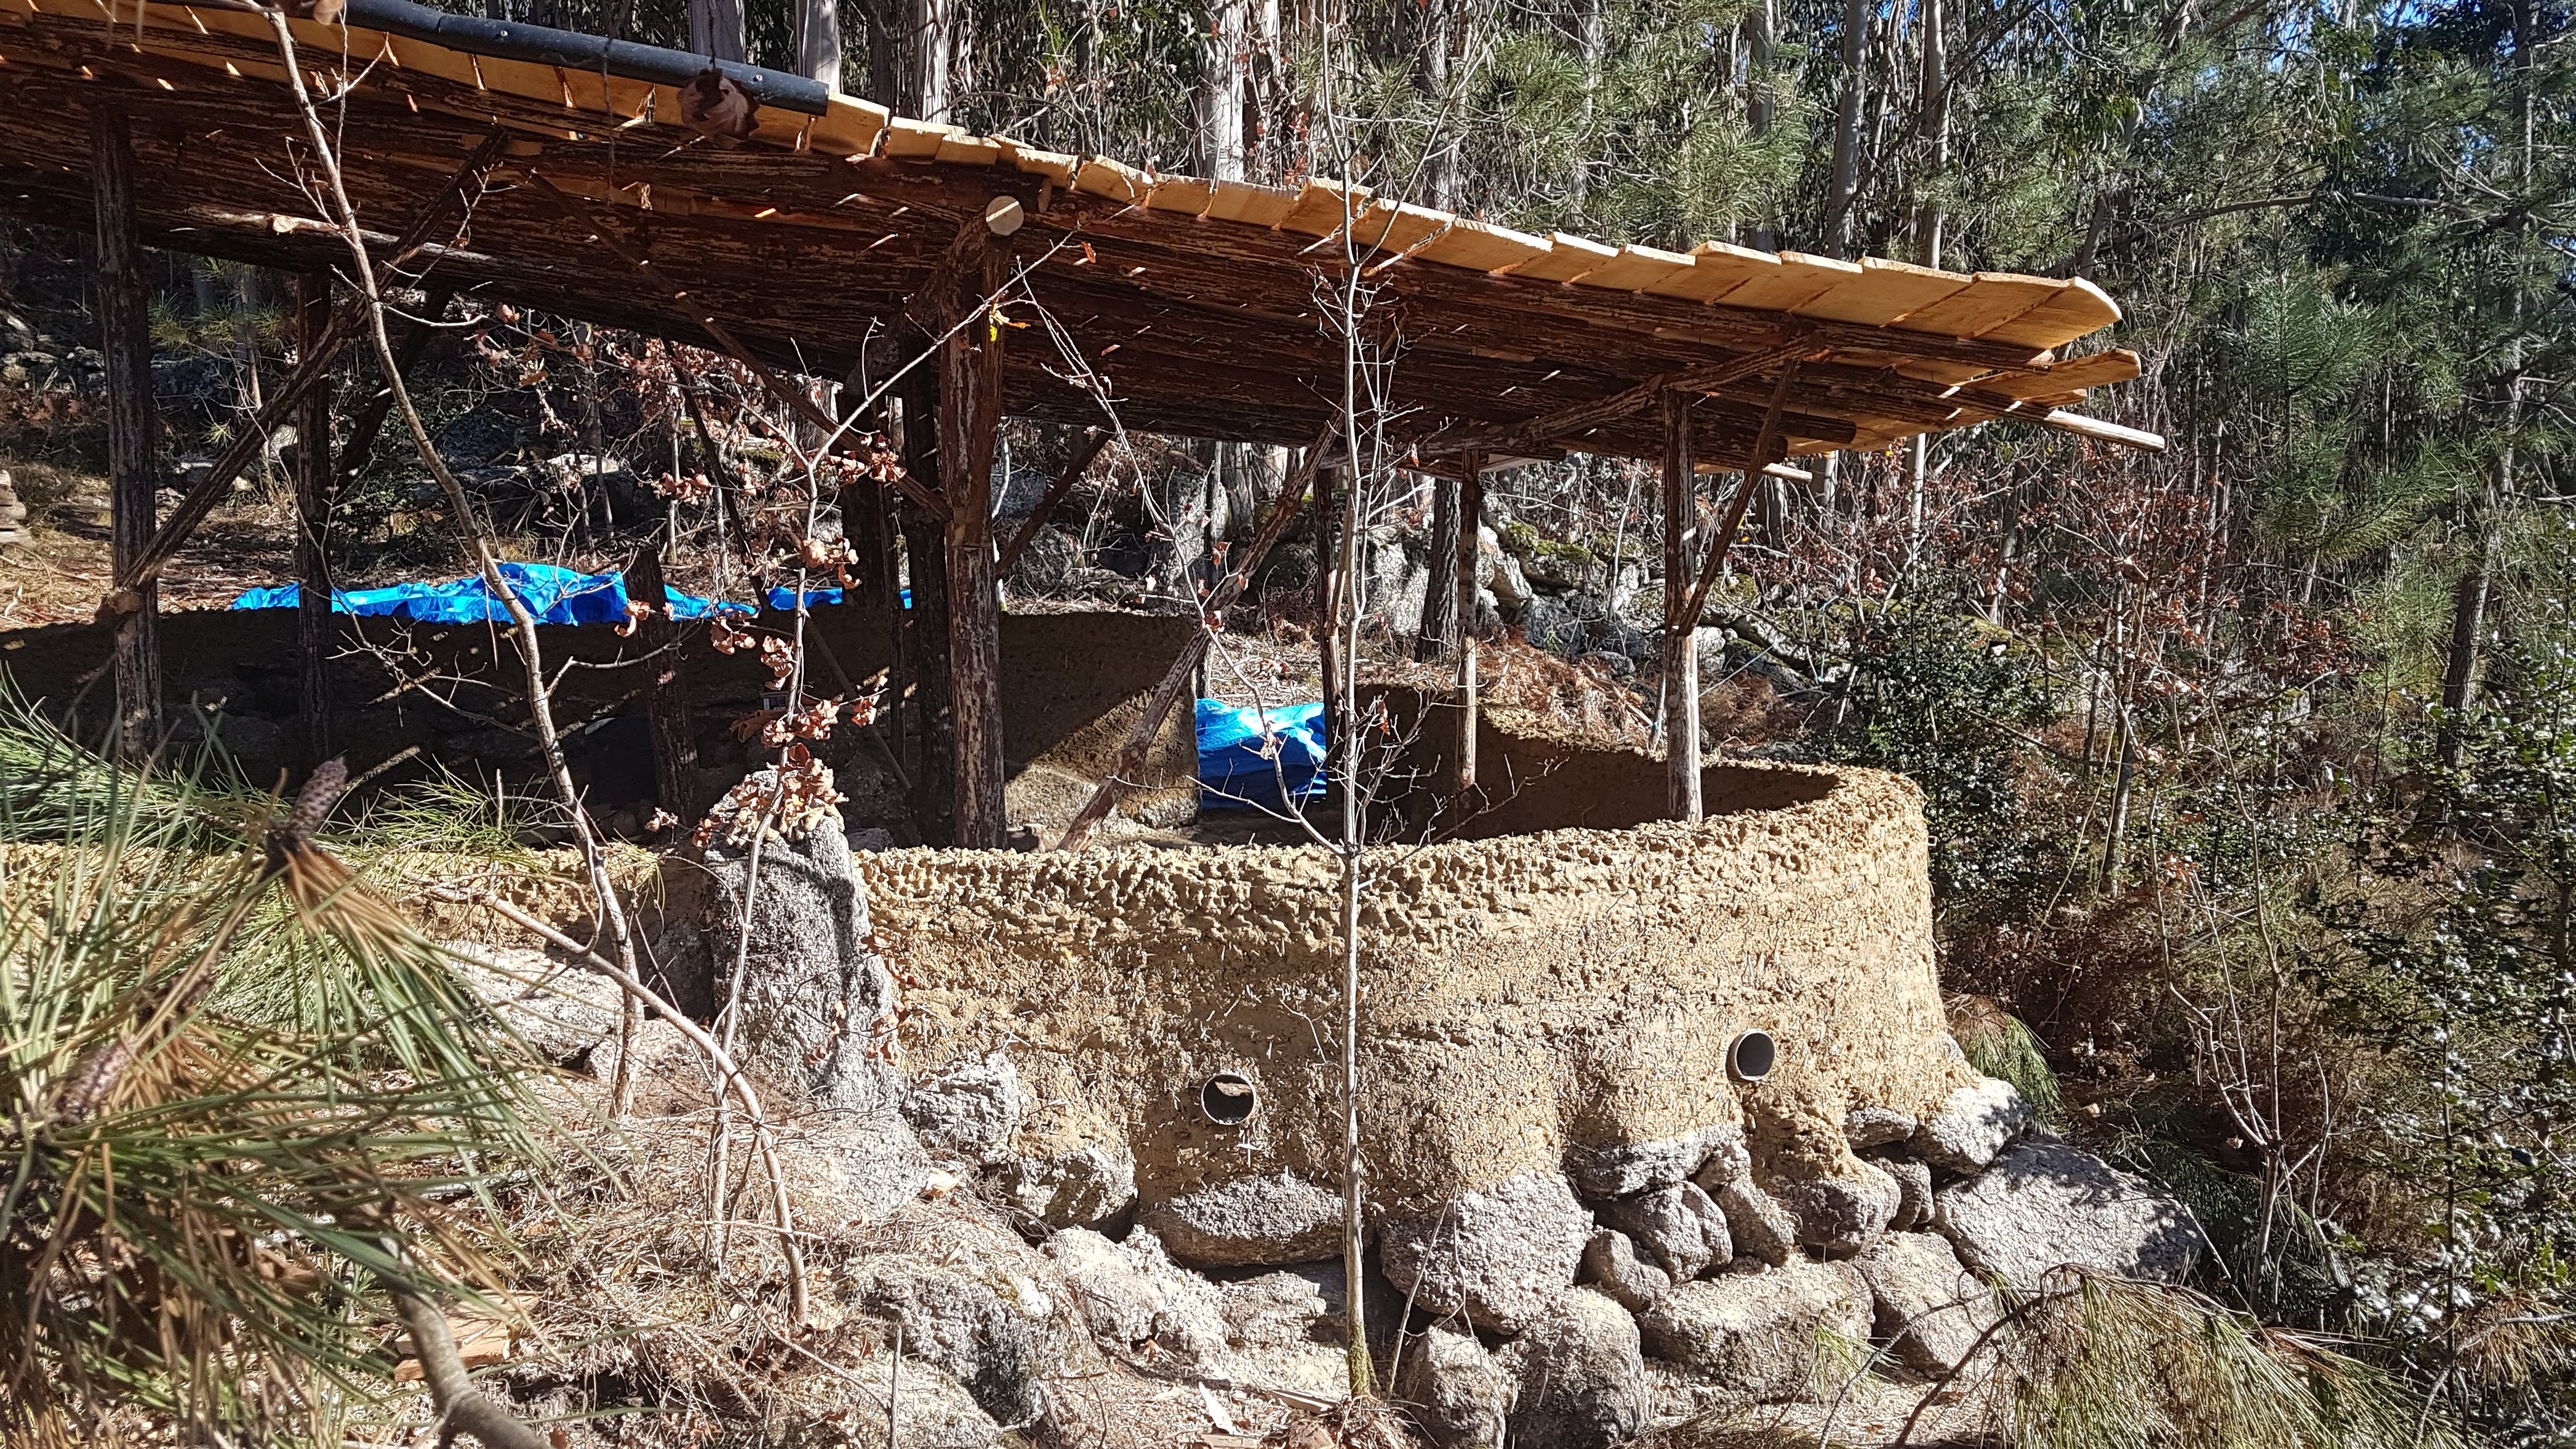
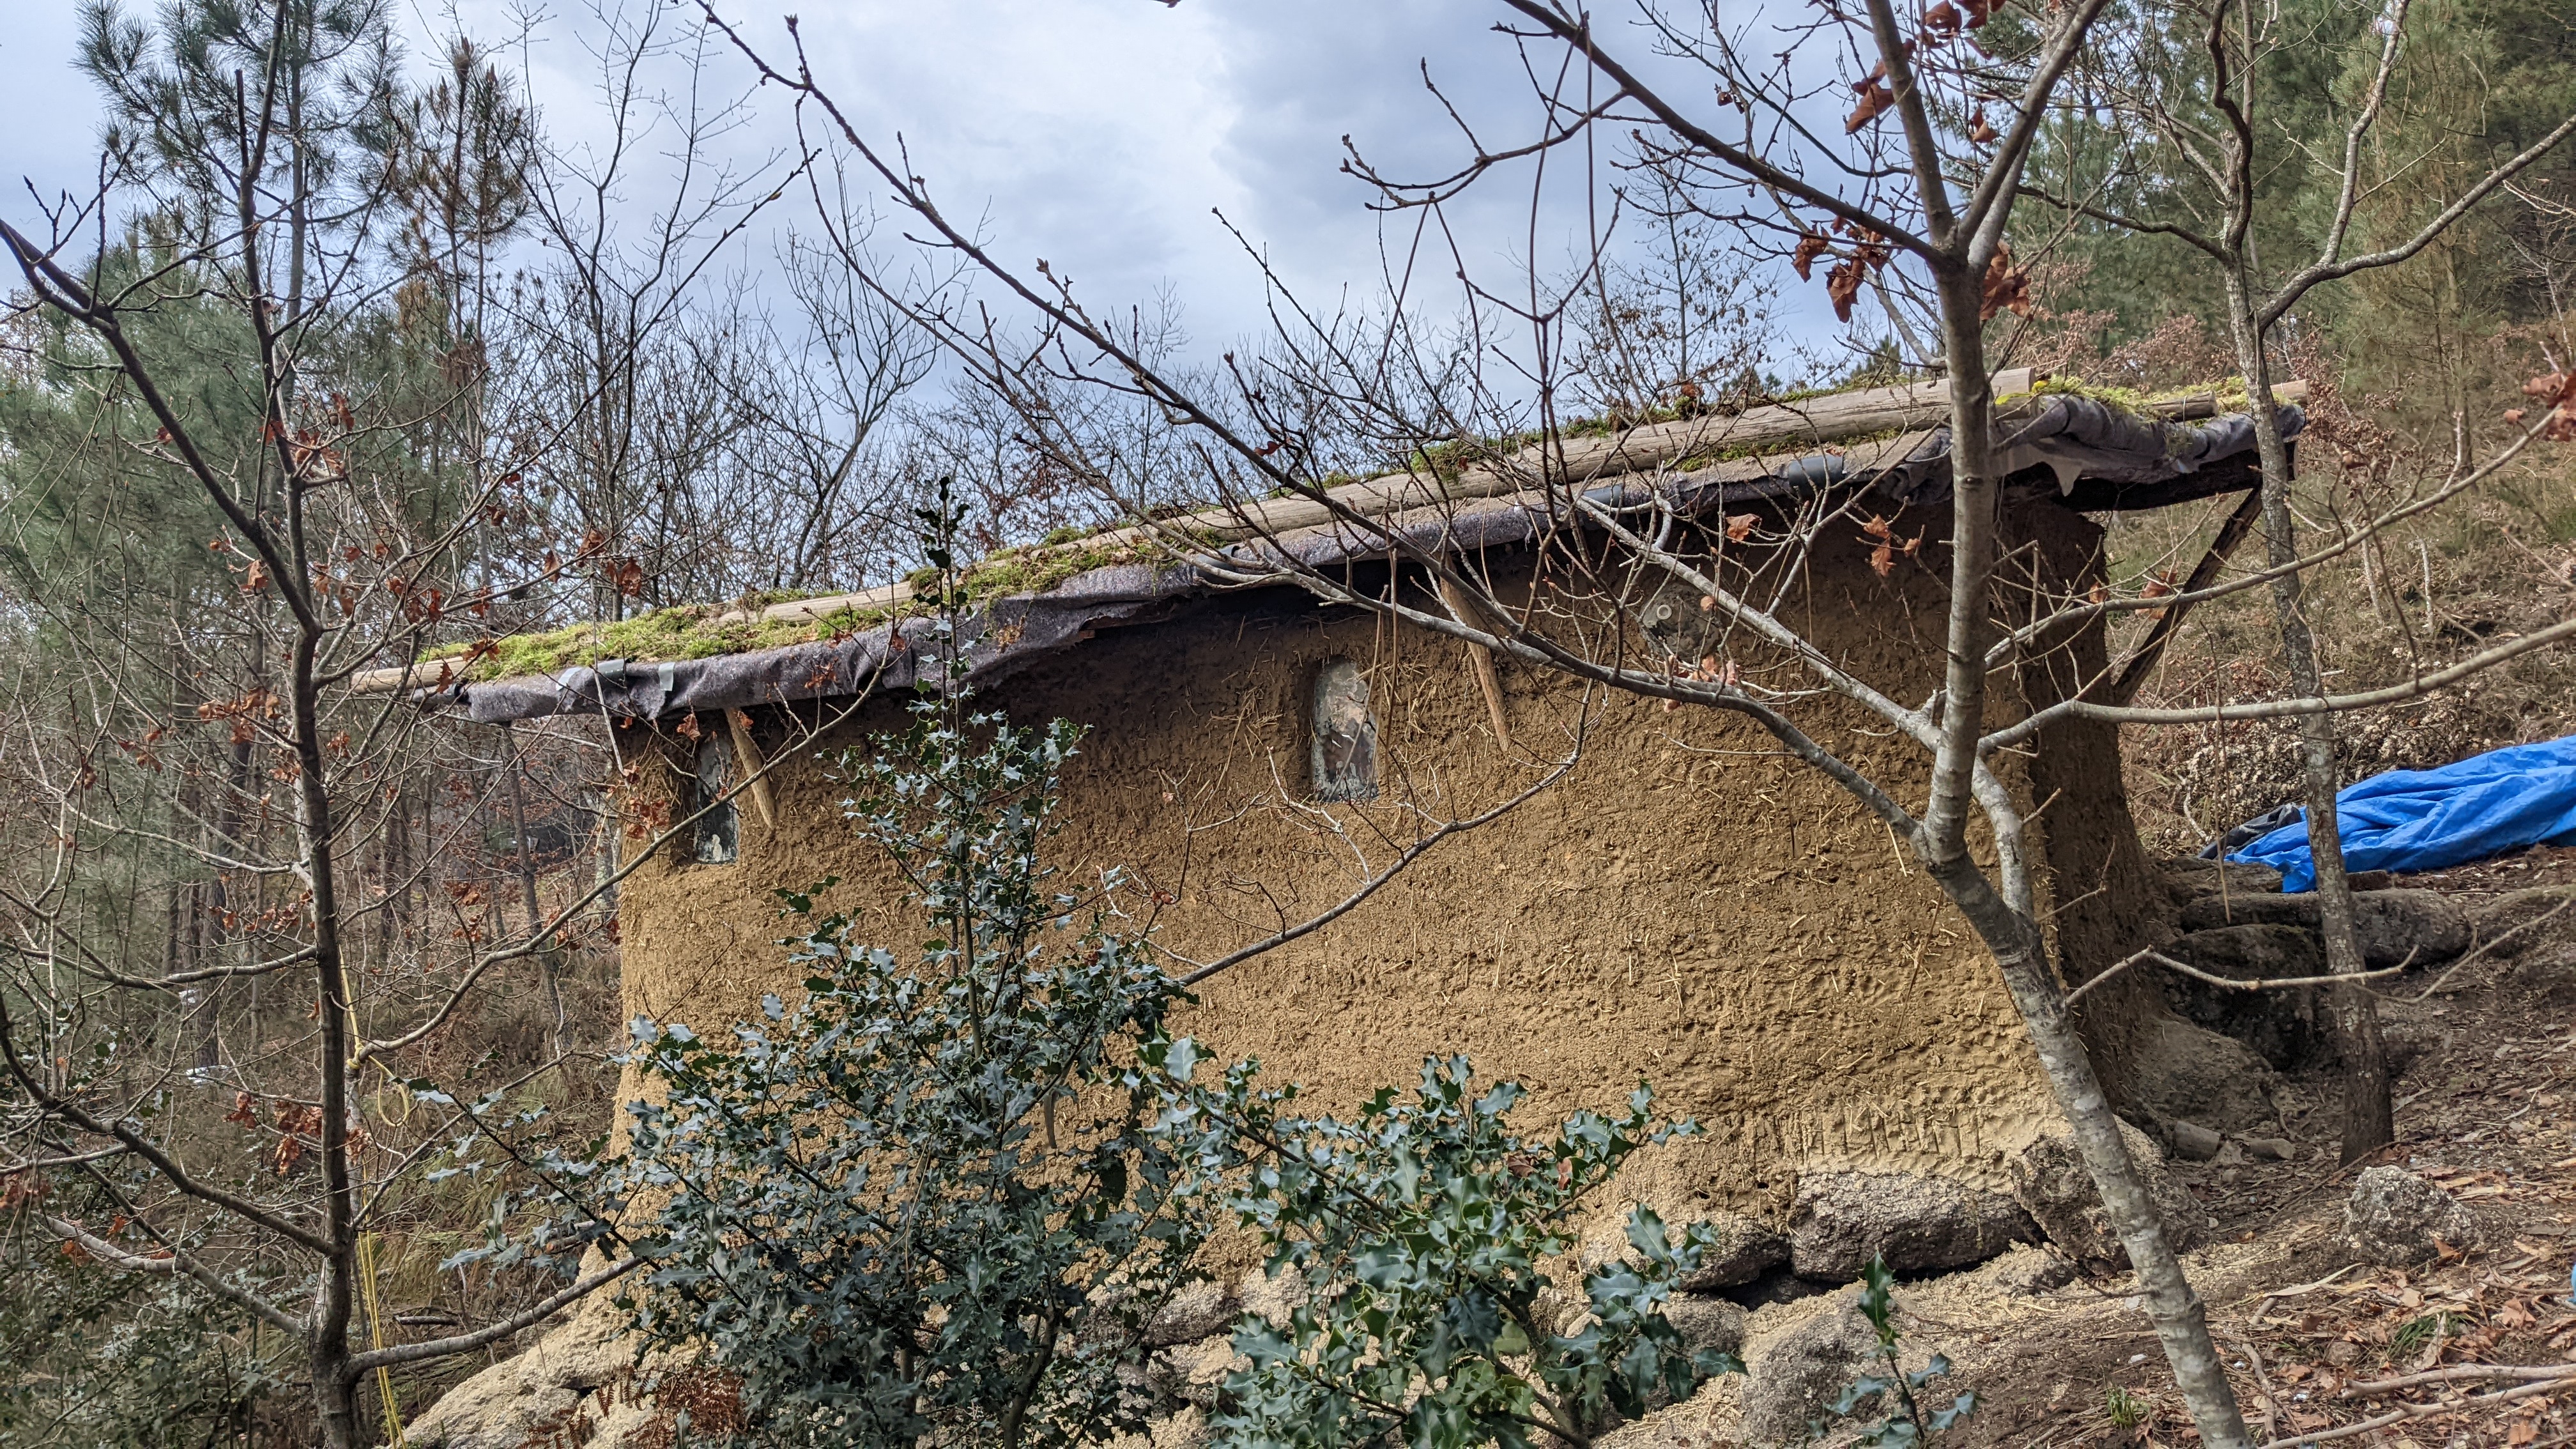
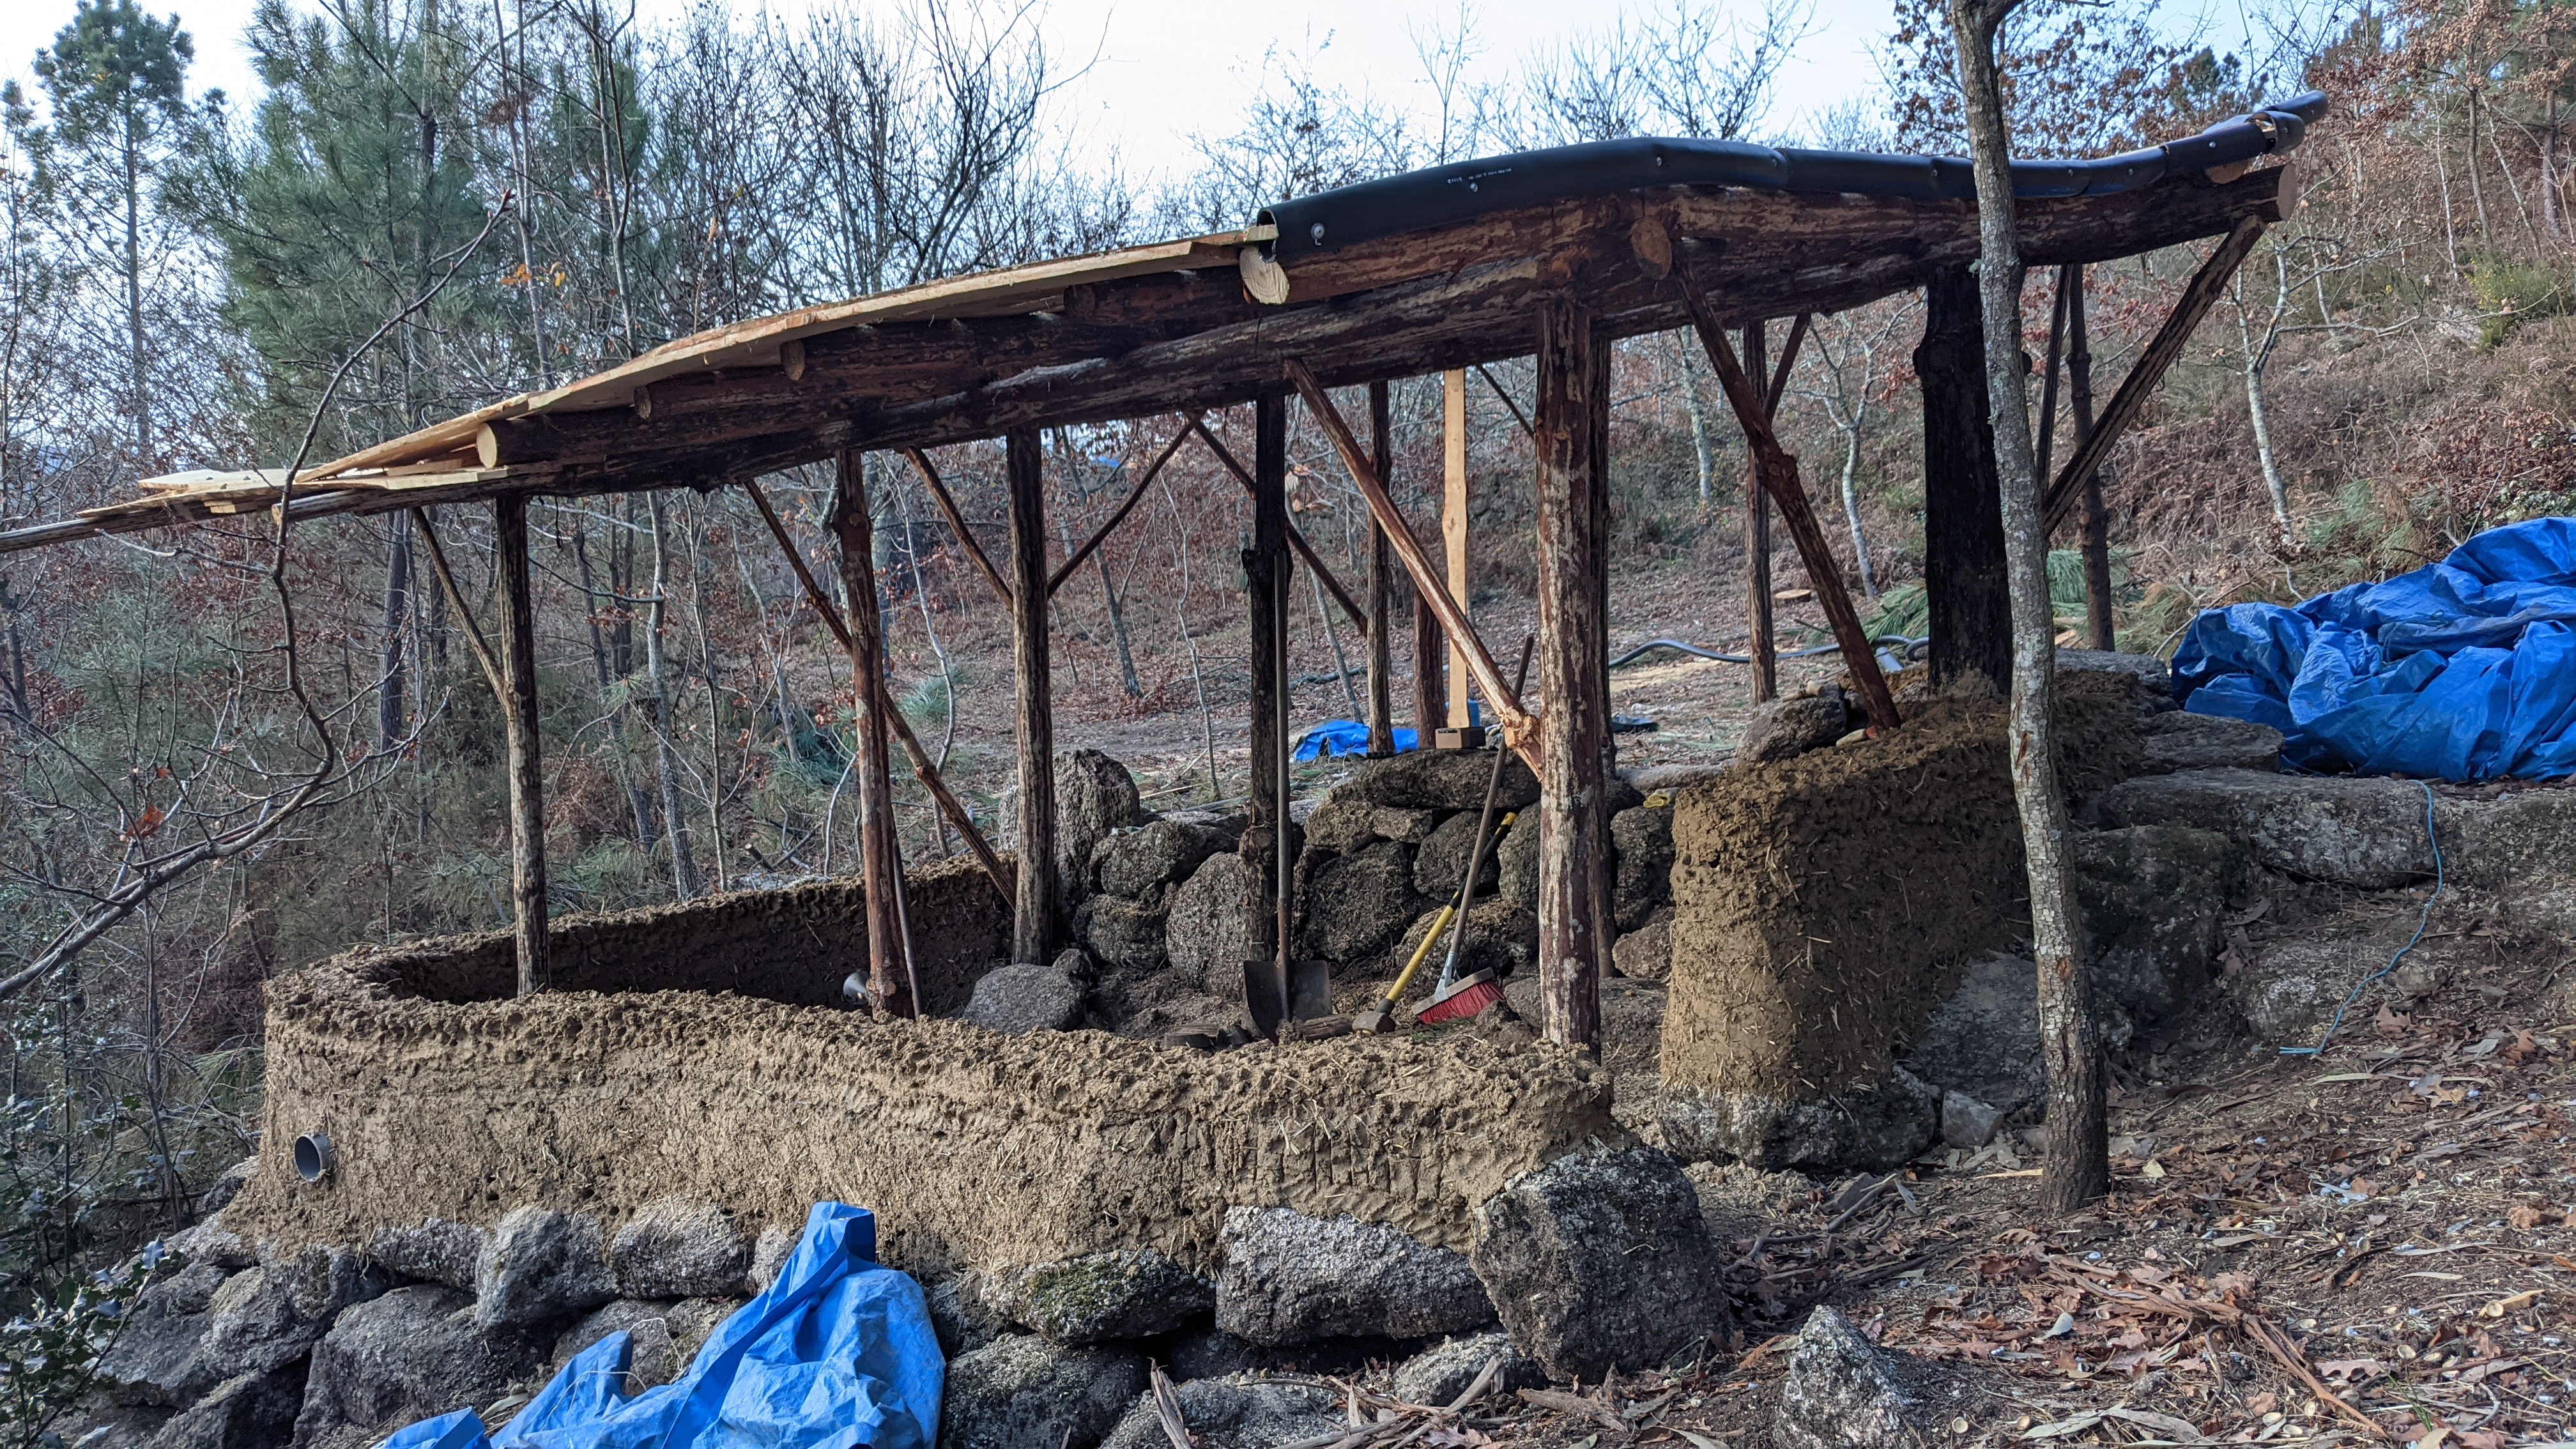
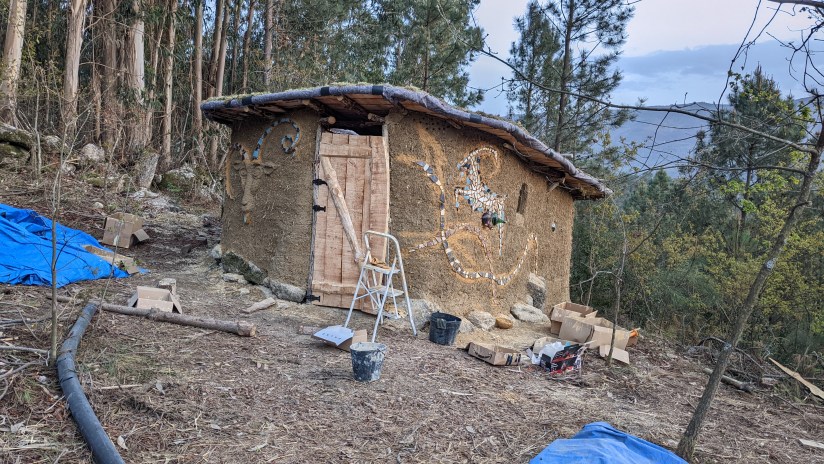
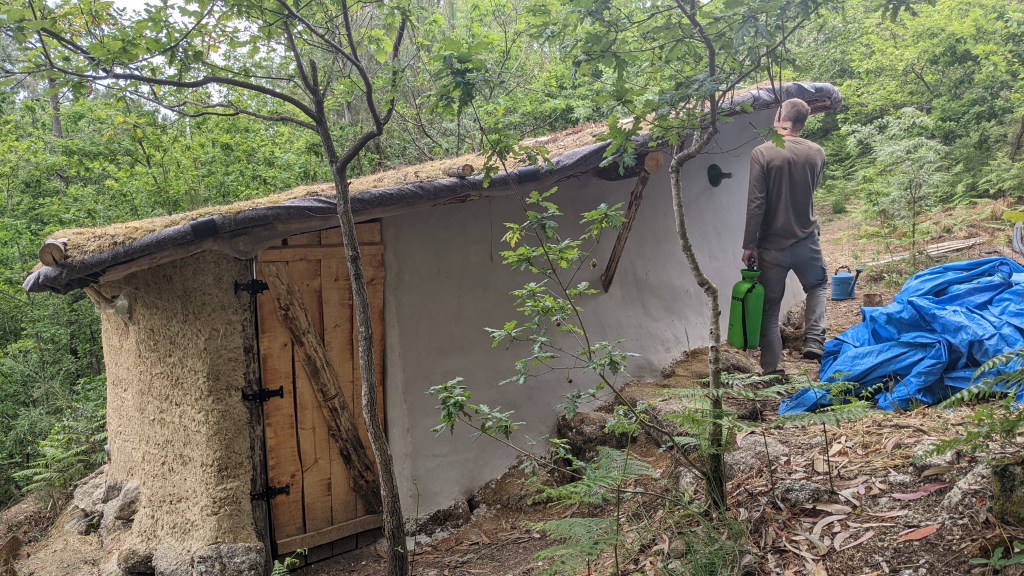
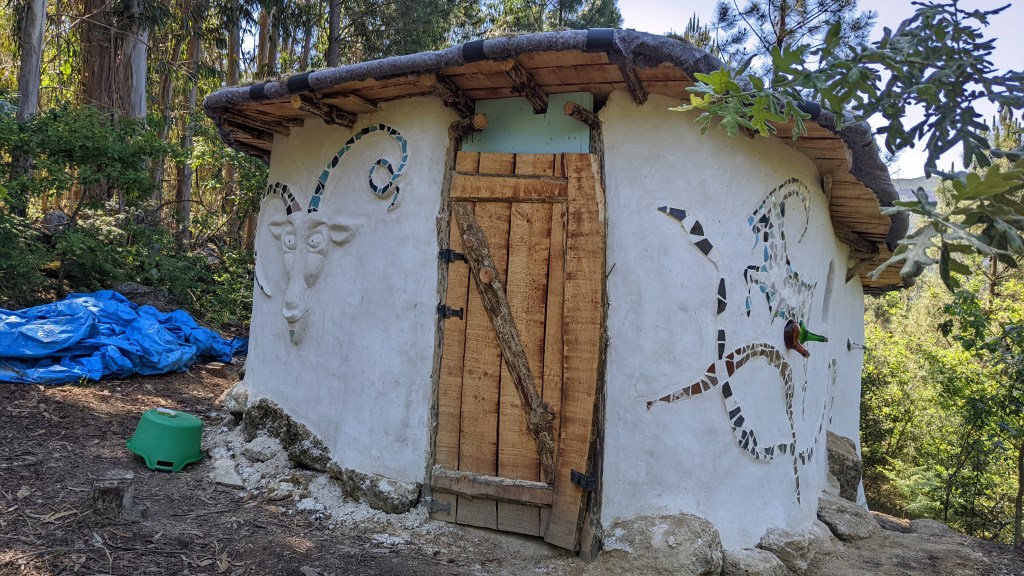
I finished my very simple green roof design. I went very low-budget on it since it is a goat barn, and I am curious if we can get away with it.
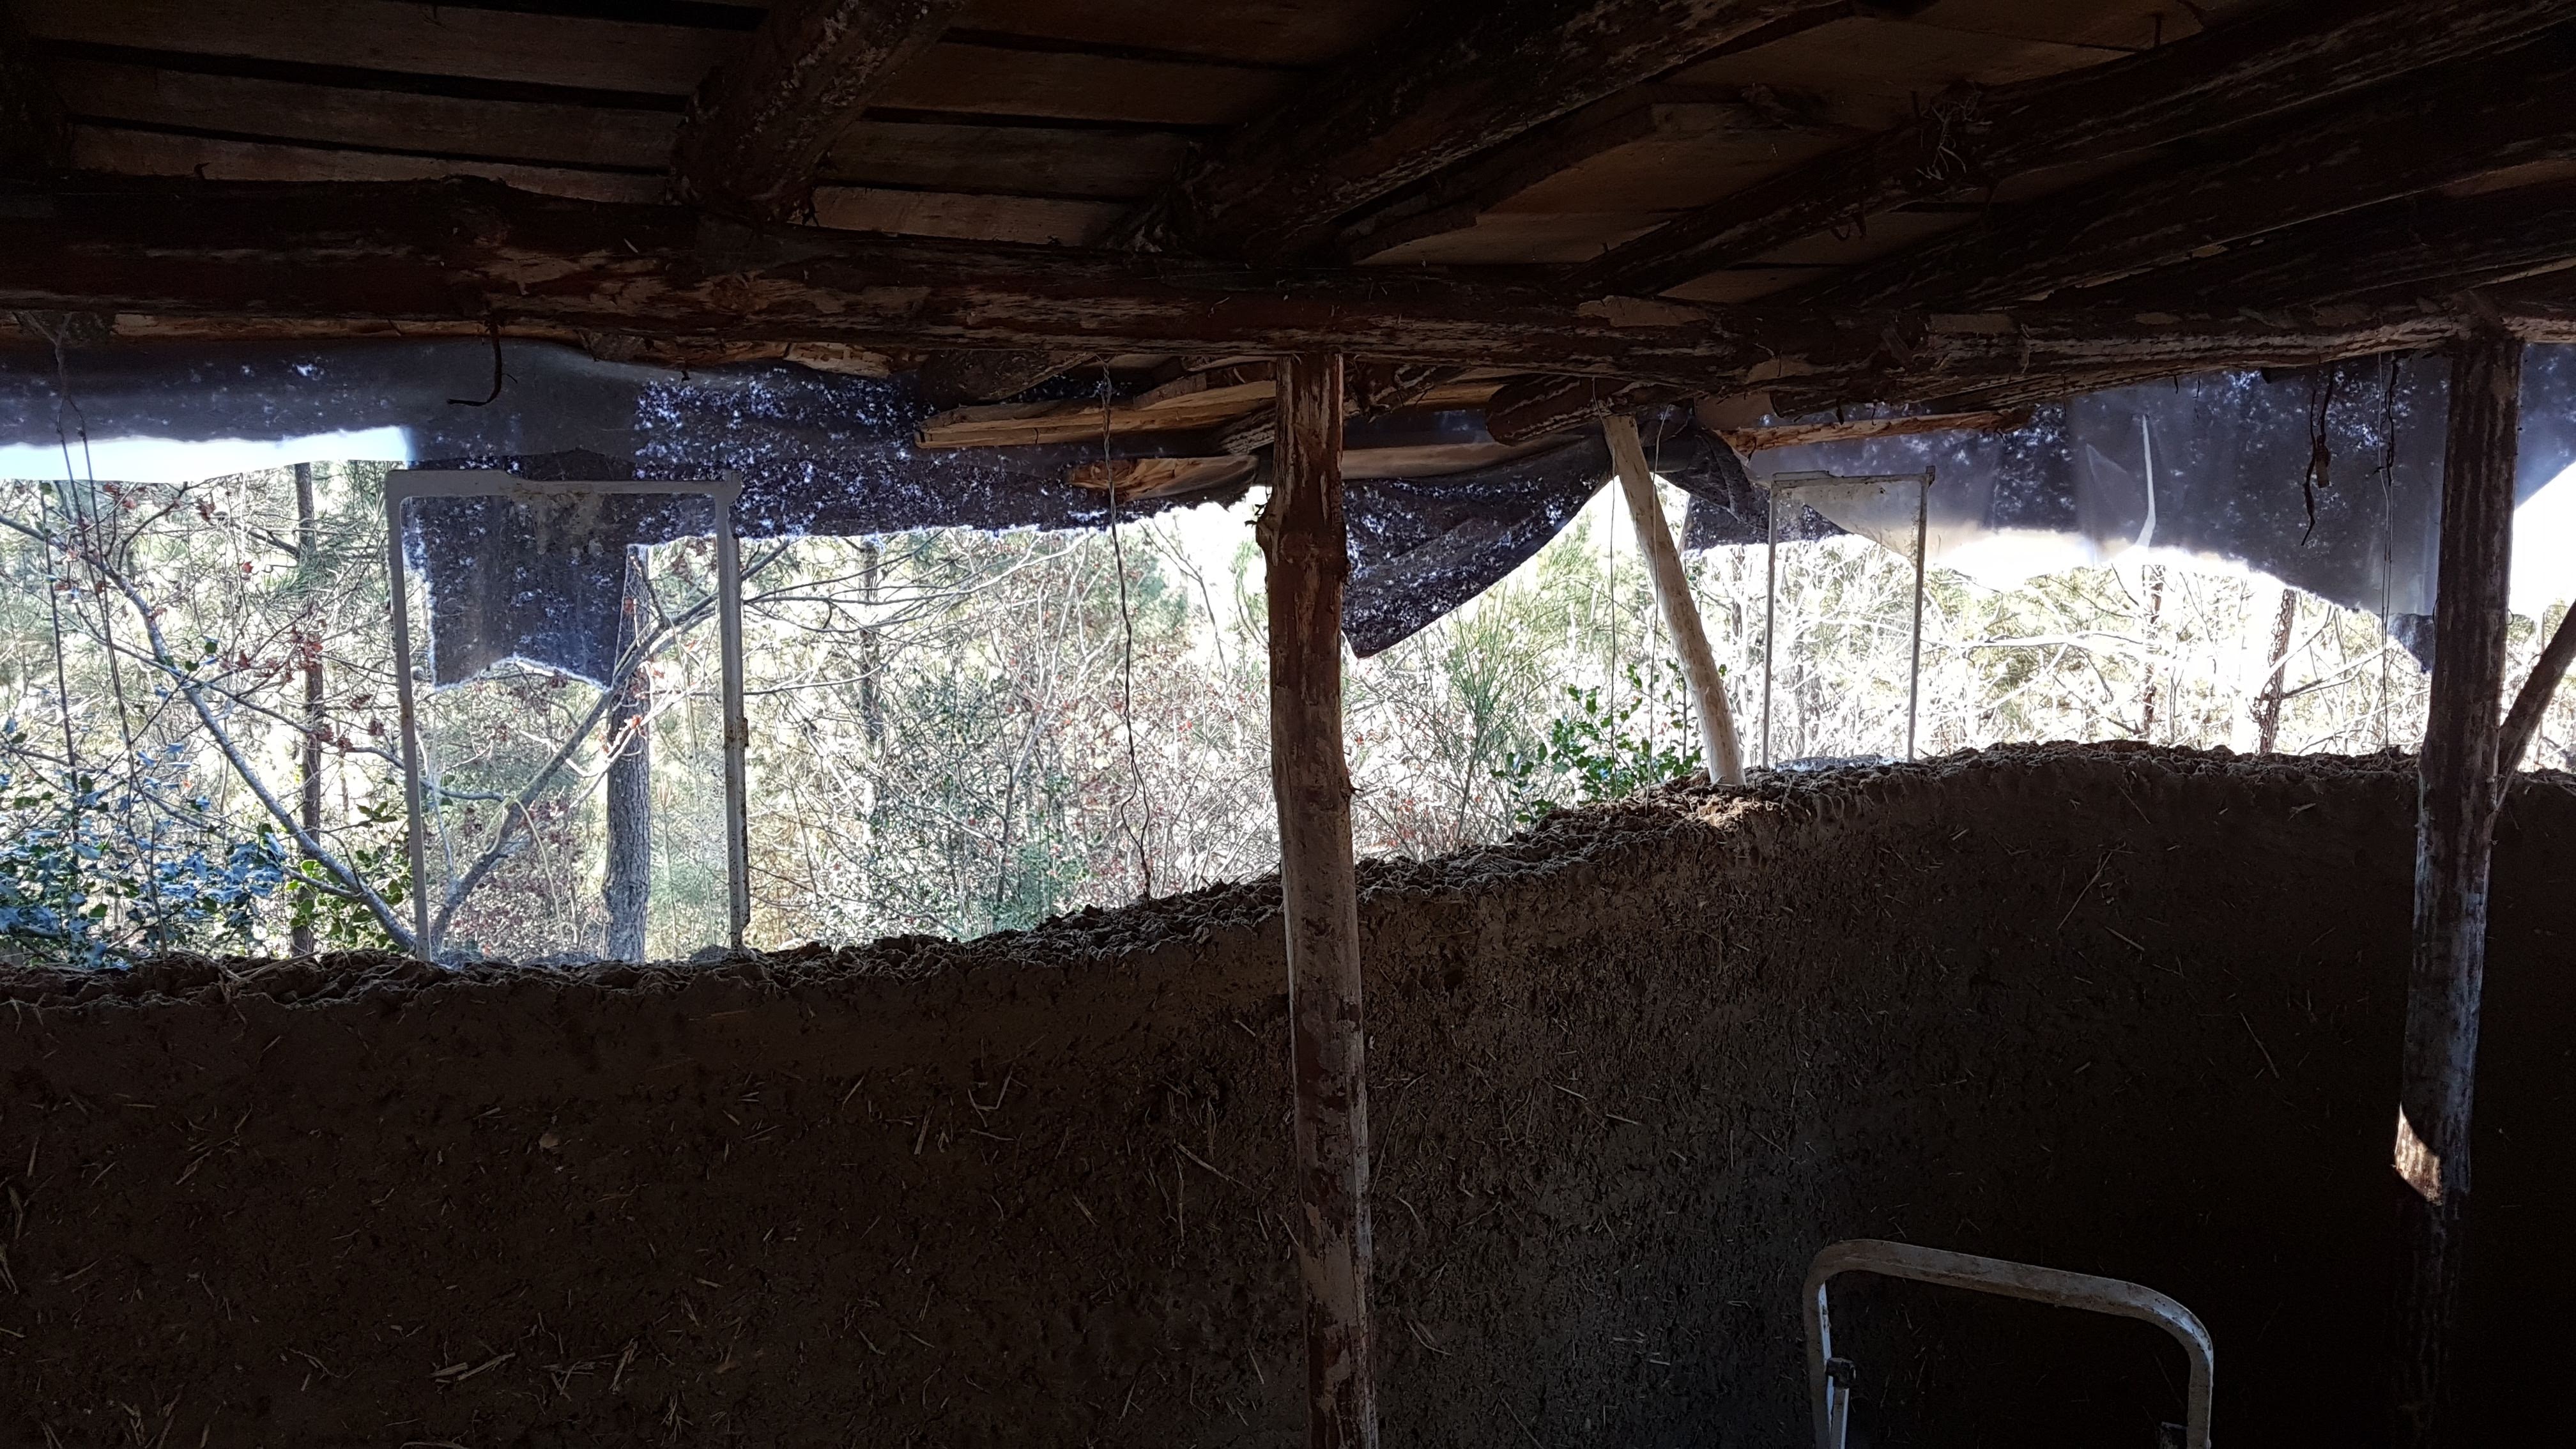
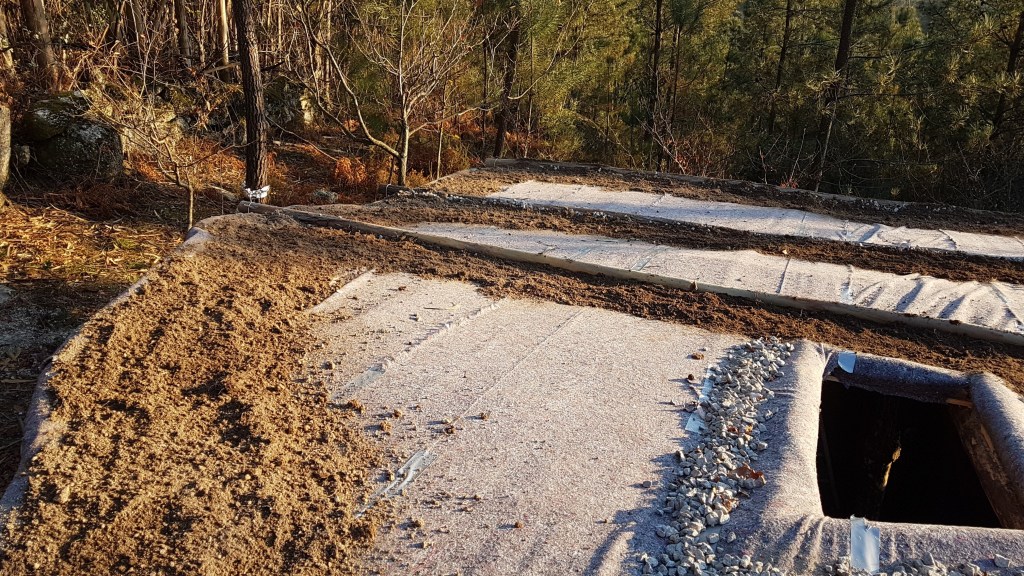
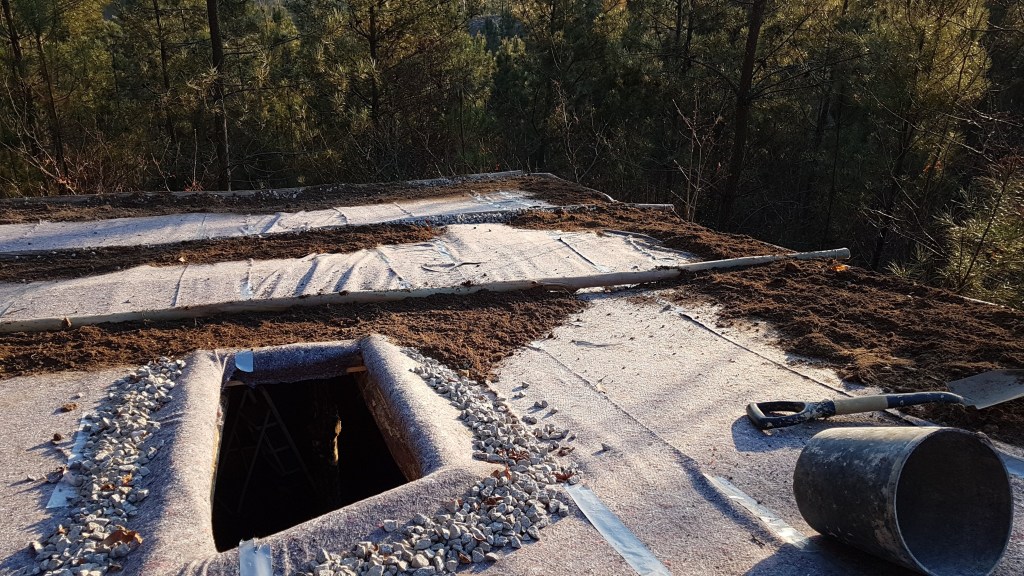
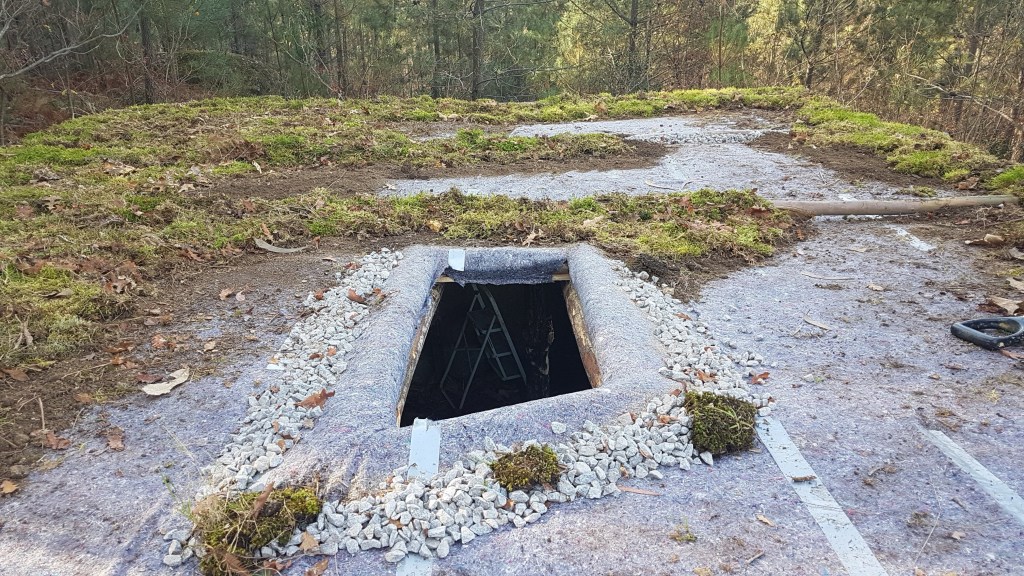
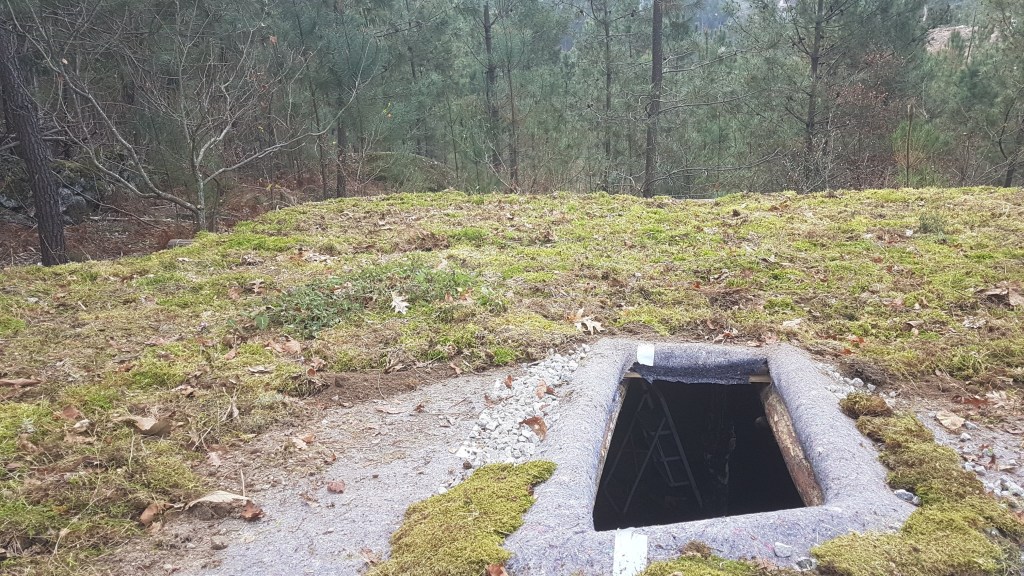
First I sliced some 2-inch tubing open and clamped it on the side of the roof, for the plastic and fabric to go over and under. I had to cut it into short segments, as it wasn’t very flexible. The round shape of the tube will prevent the water from crawling back up to the bottom of the roof. Or at least, that’s the theory.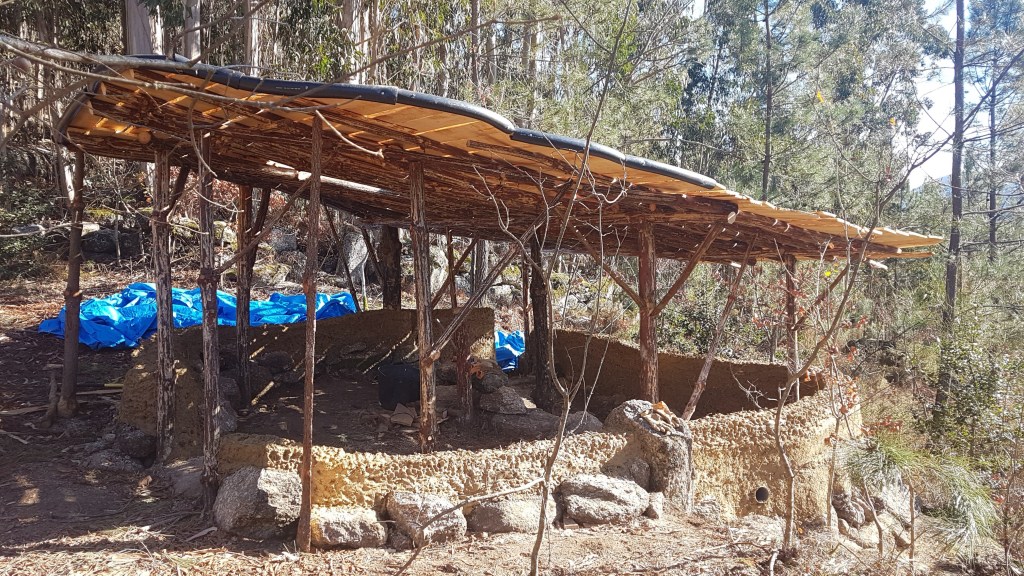

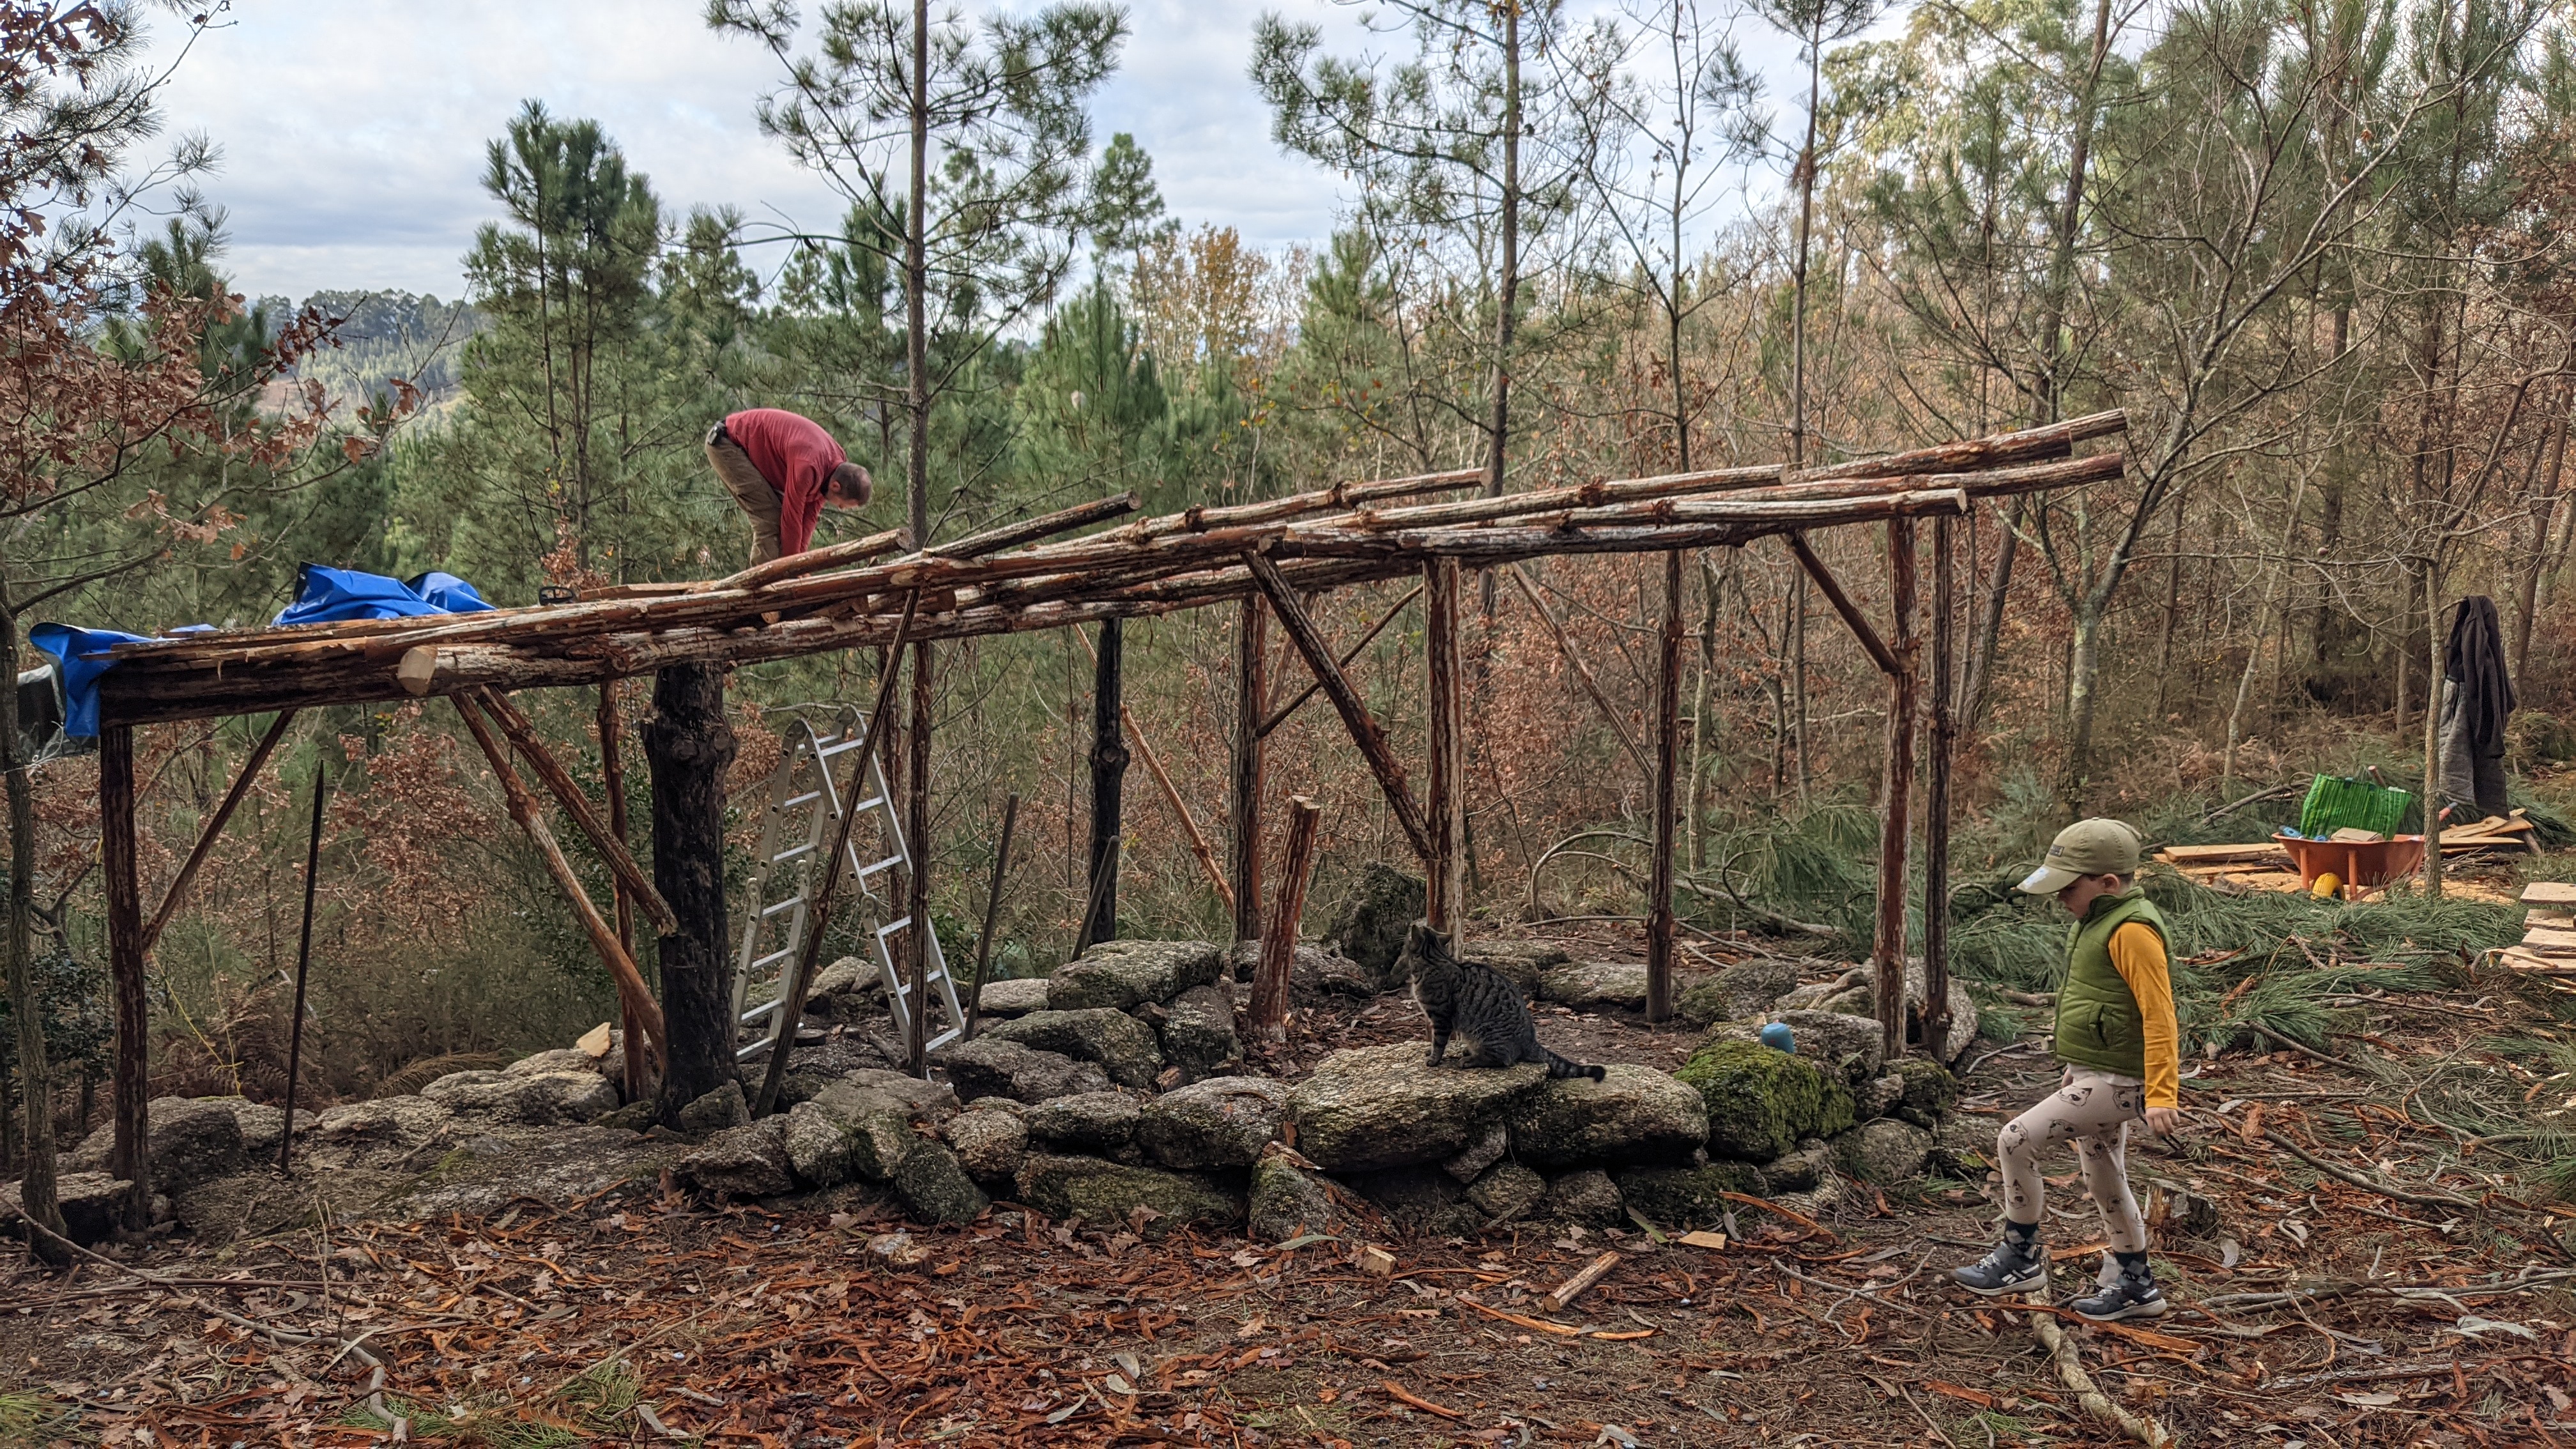
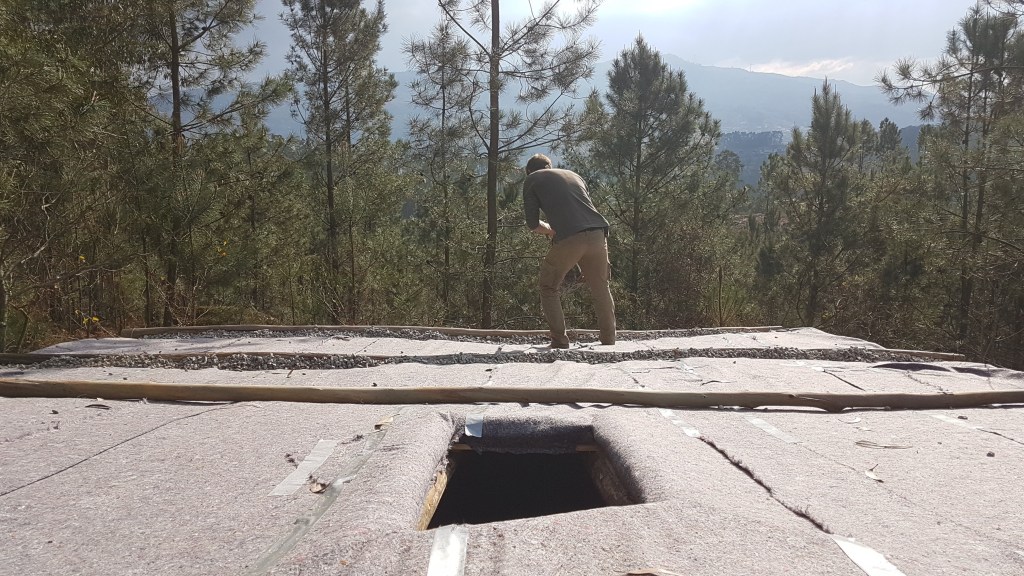
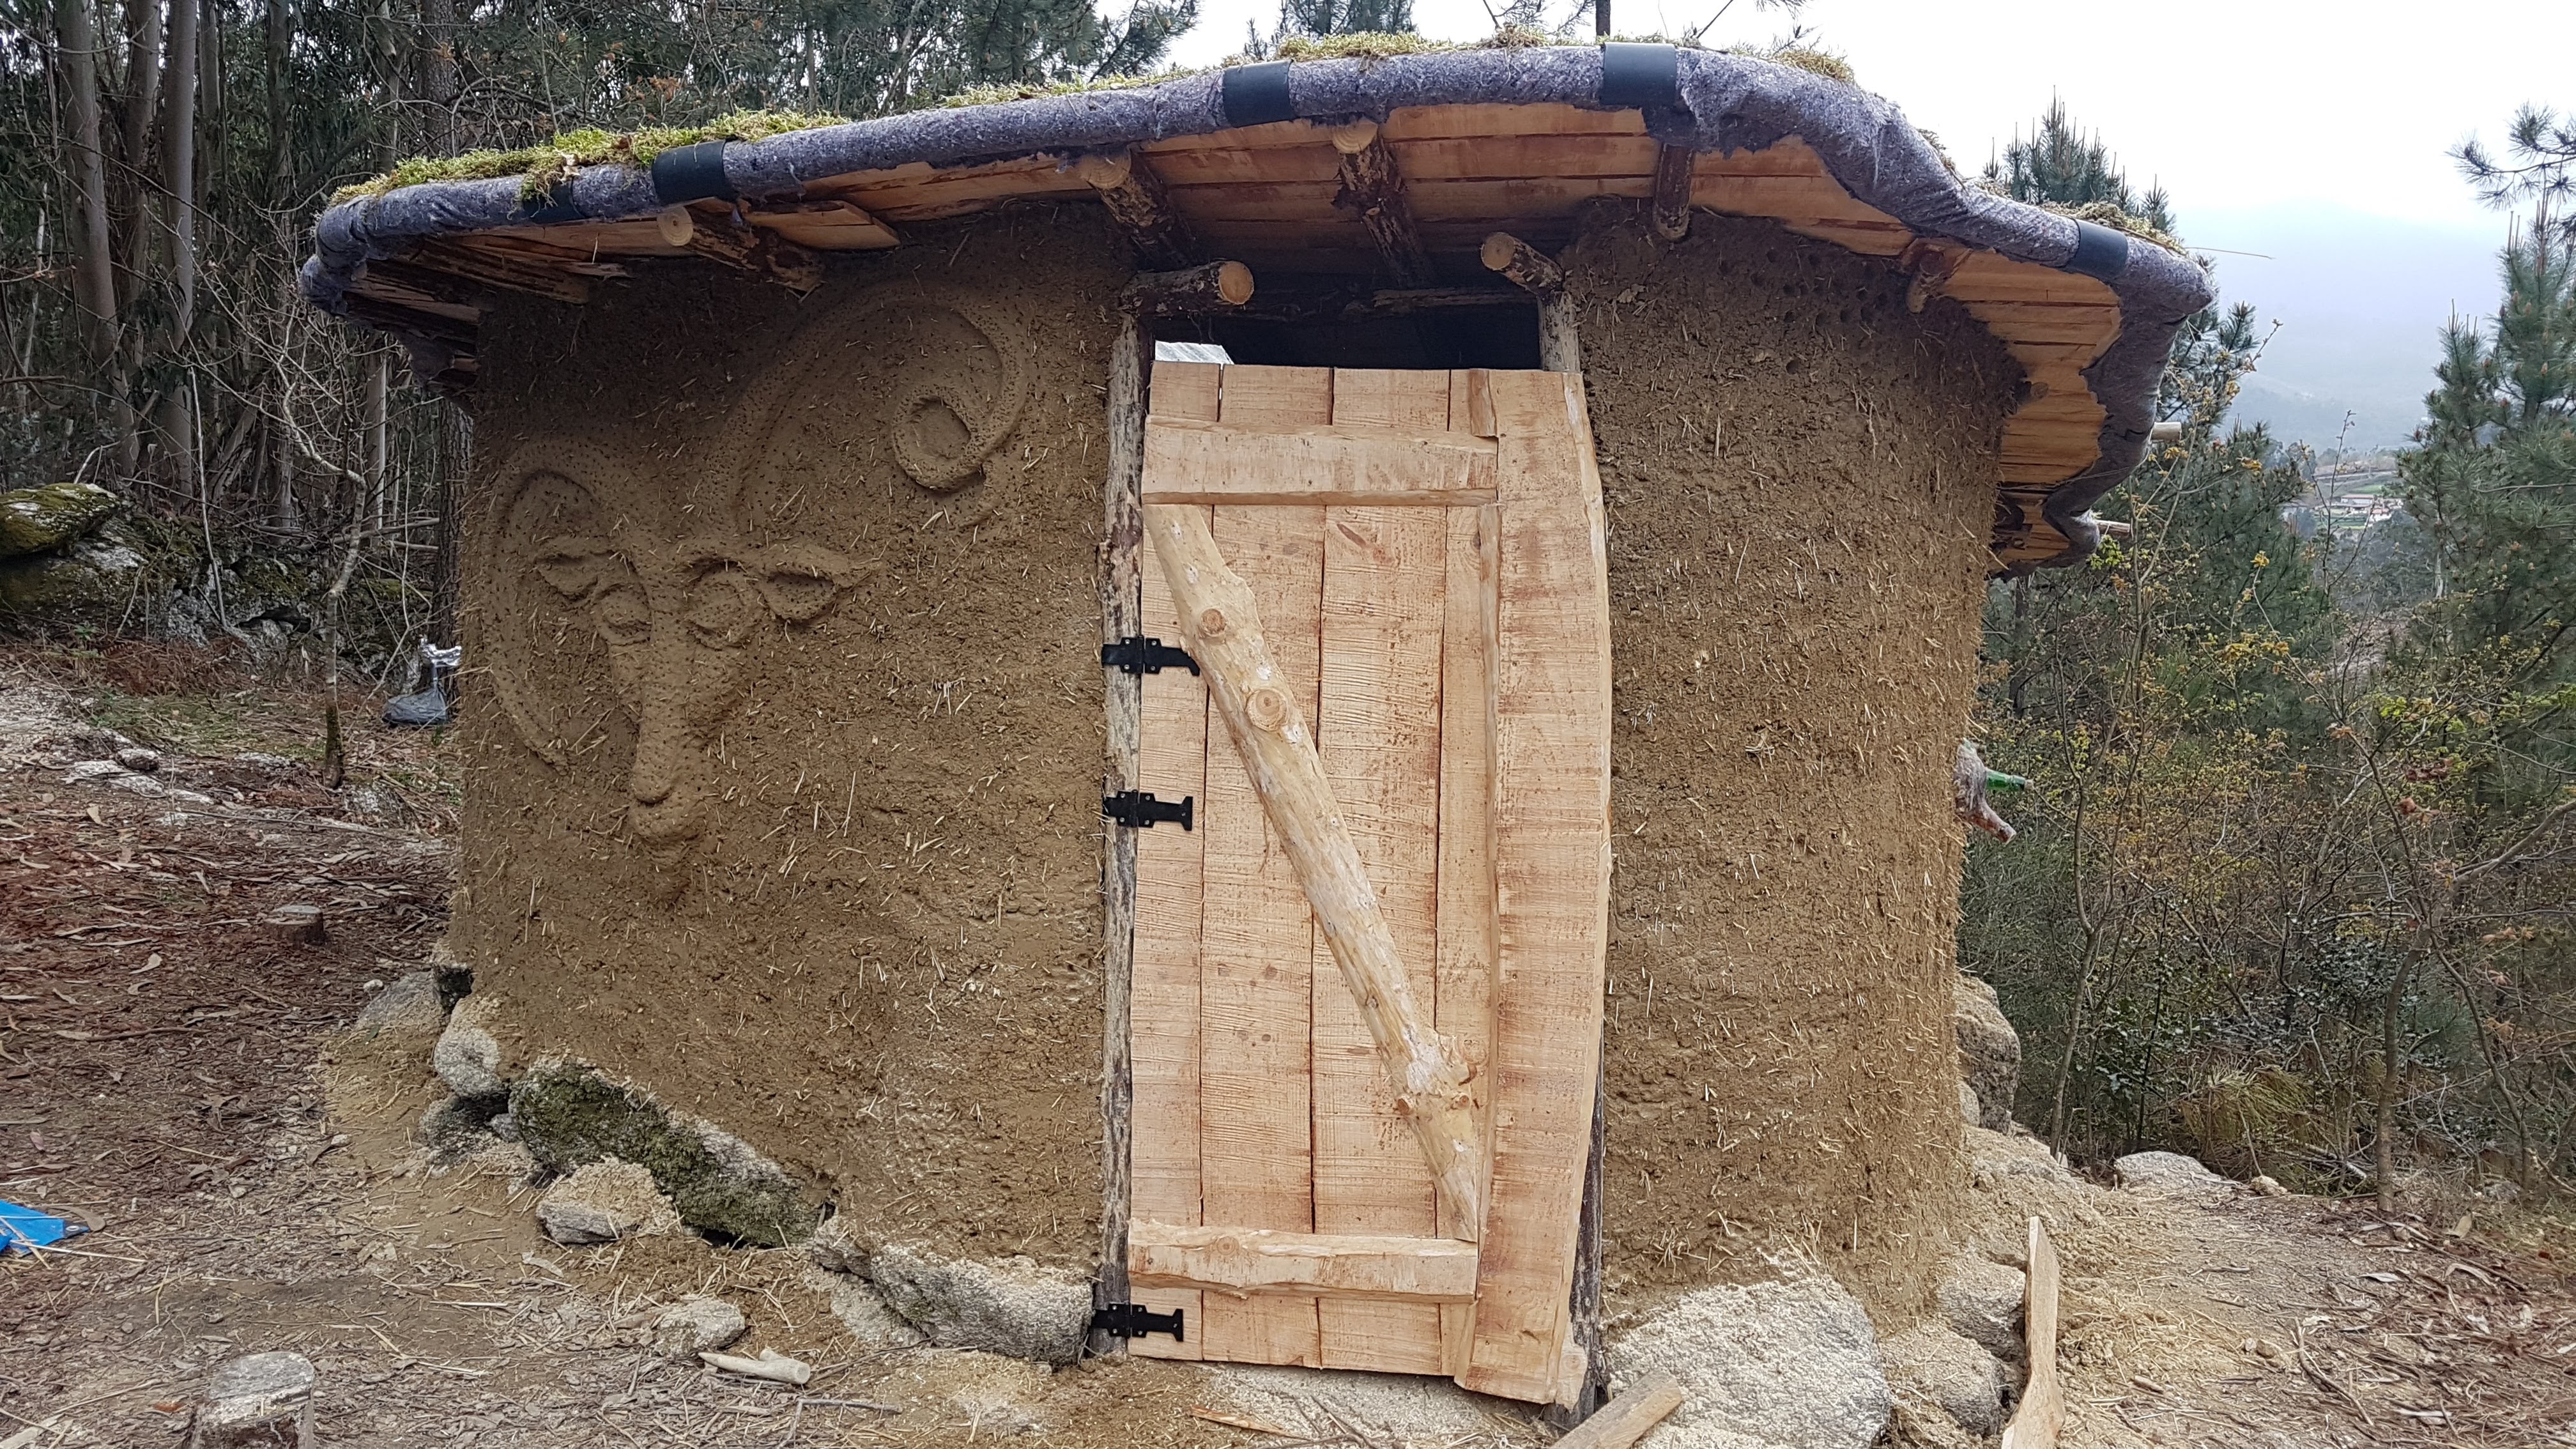
Next, I covered the milled pine boards with cardboard (part recycled, part purchased), in order to protect the plastic, and then covered the cardboard with plastic that is used for greenhouses. Once the plastic was on I took off my shoes and covered the plastic with thin fabric (as I said, I went low budget). I also added 3 logs over the fabric, secured from the side with metal wiring. These are supposed to keep the soil in place while the roof gets established, since I imagine they will rot over time. Next I added gravel along the logs, and a thin layer of soil over the entire roof. I covered the soil with moss collected from our land, and I intend to add some wildflower seeds as well. I still need to install the skylight and finish covering that part of the roof.


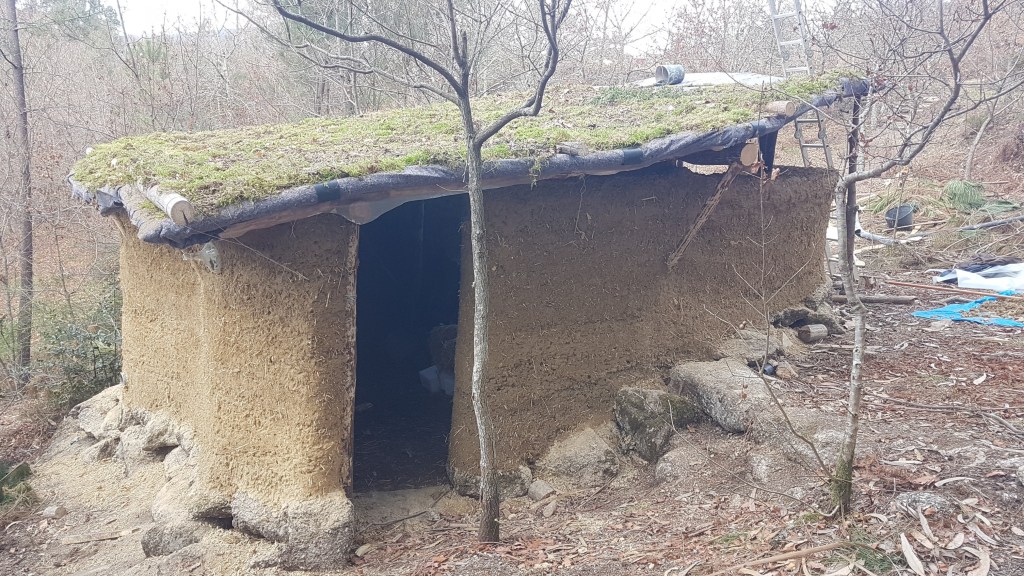
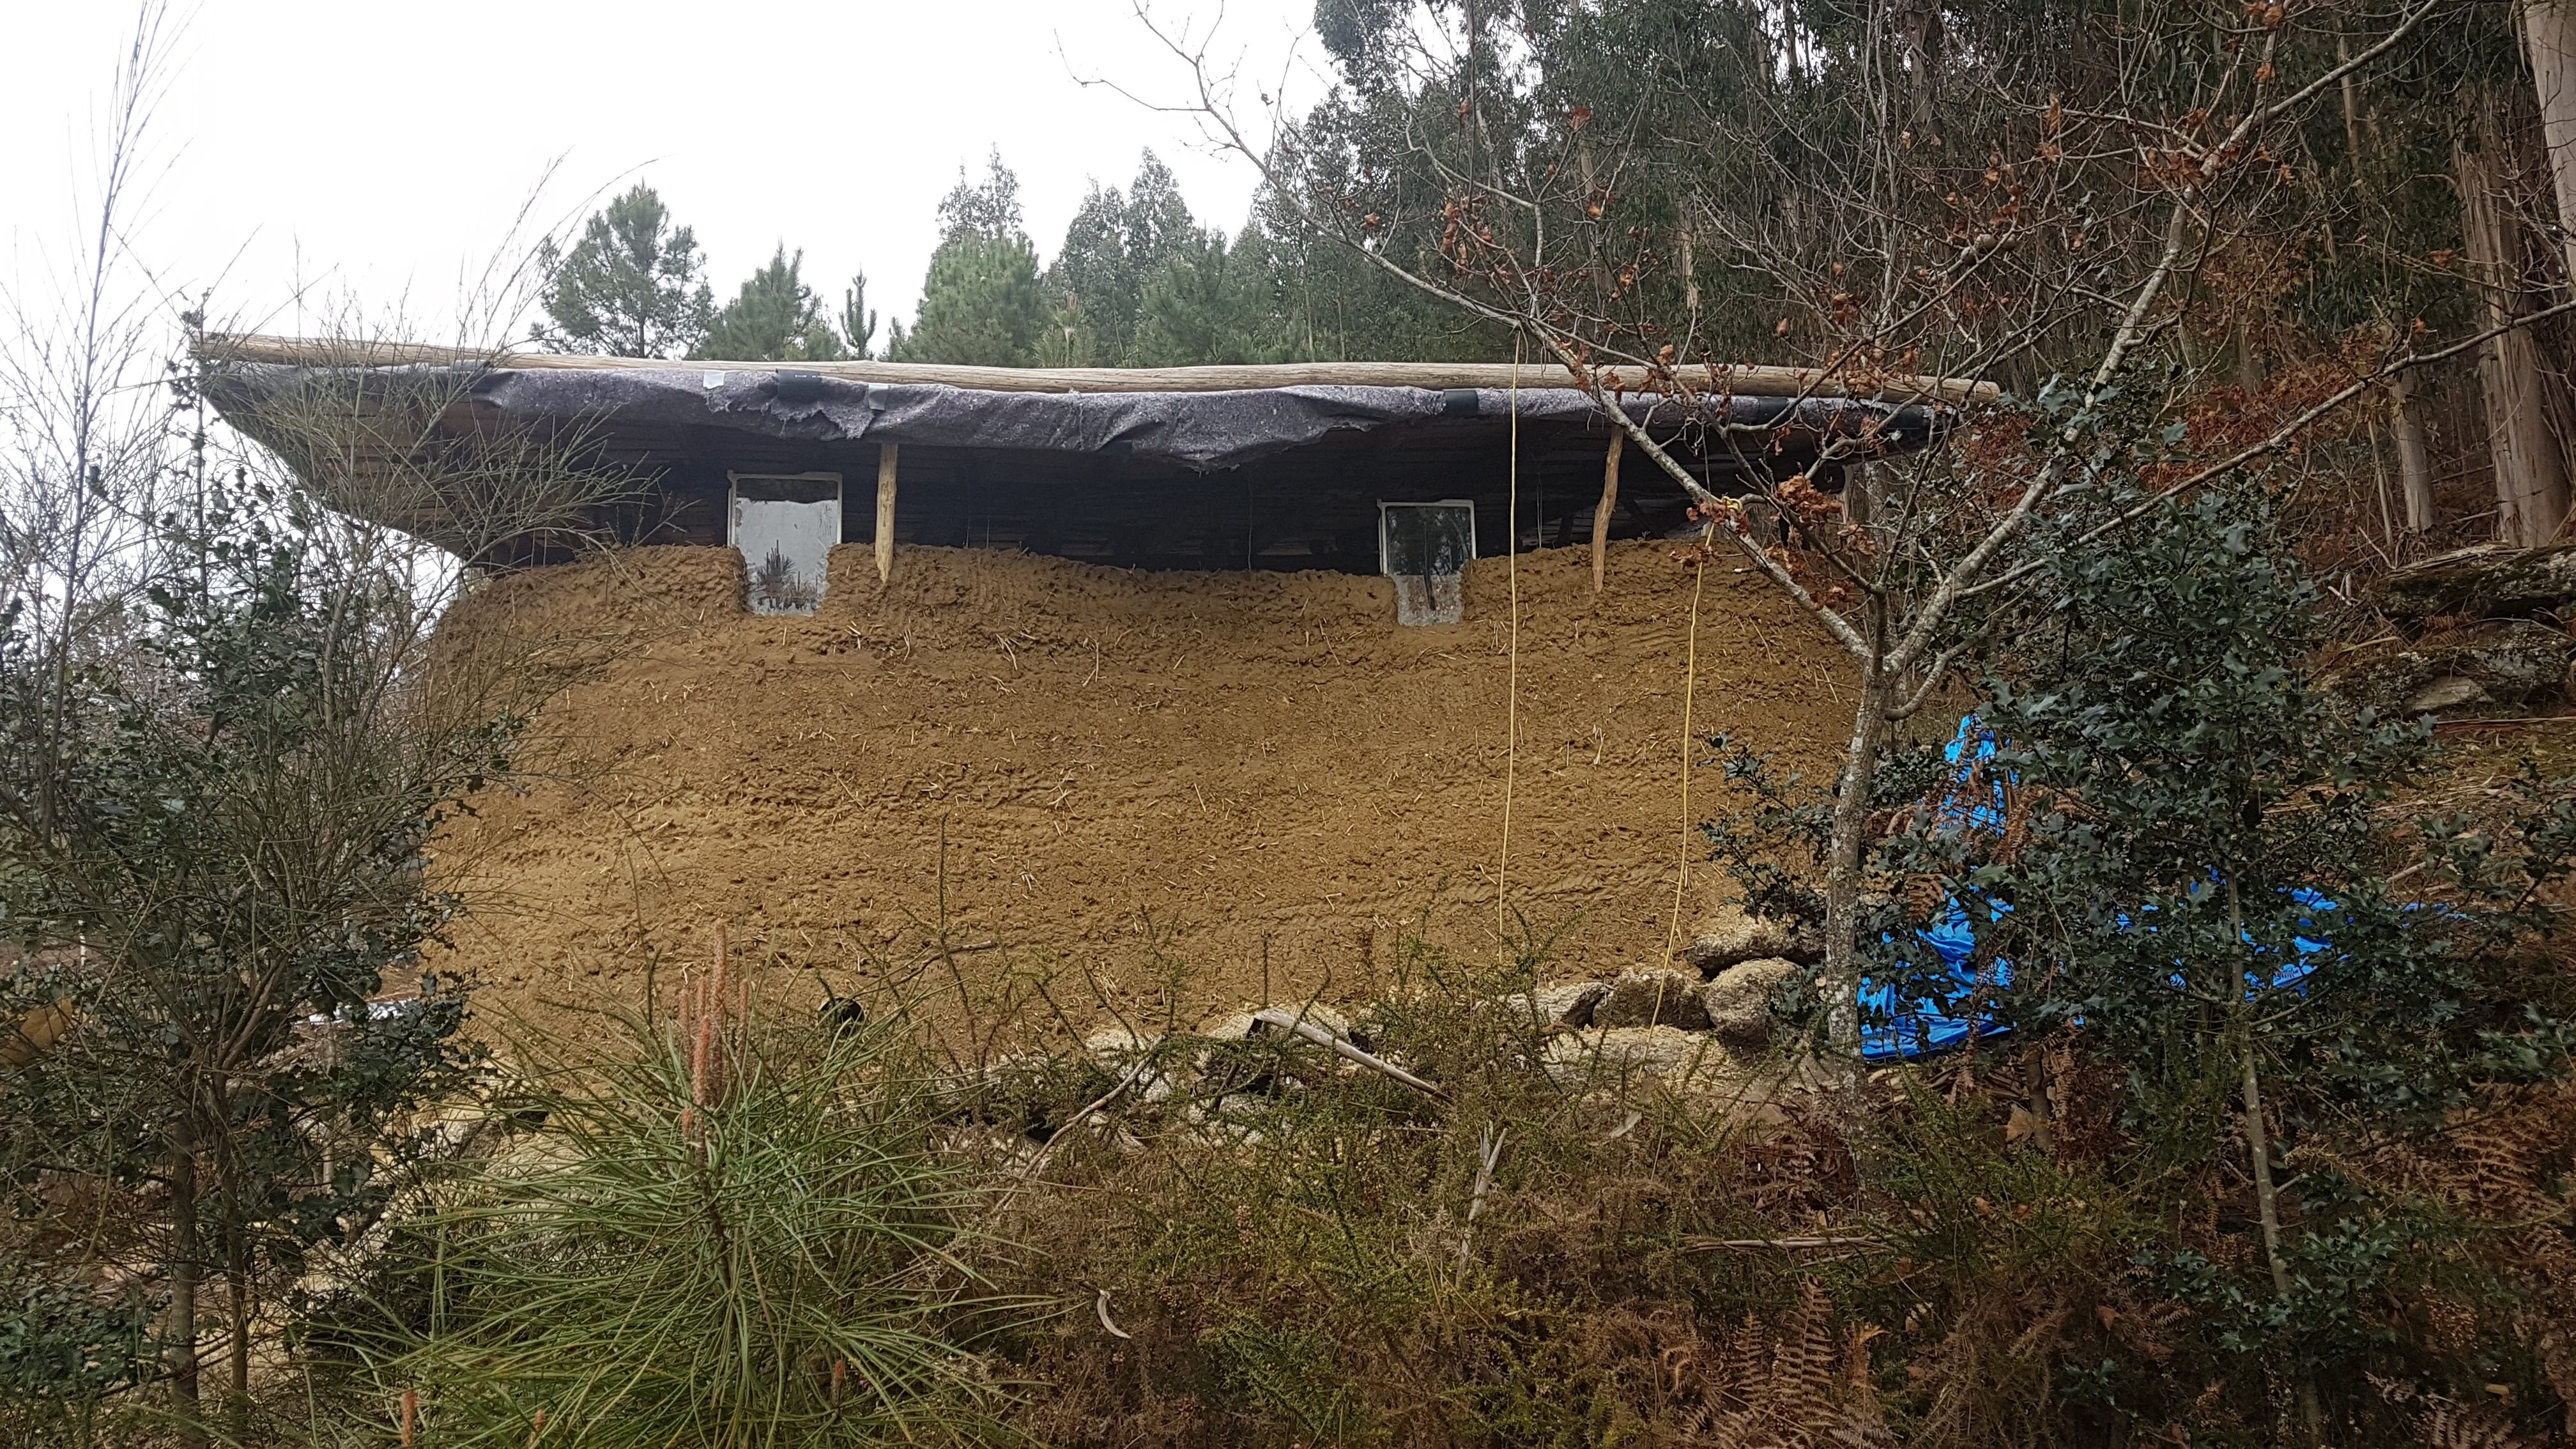
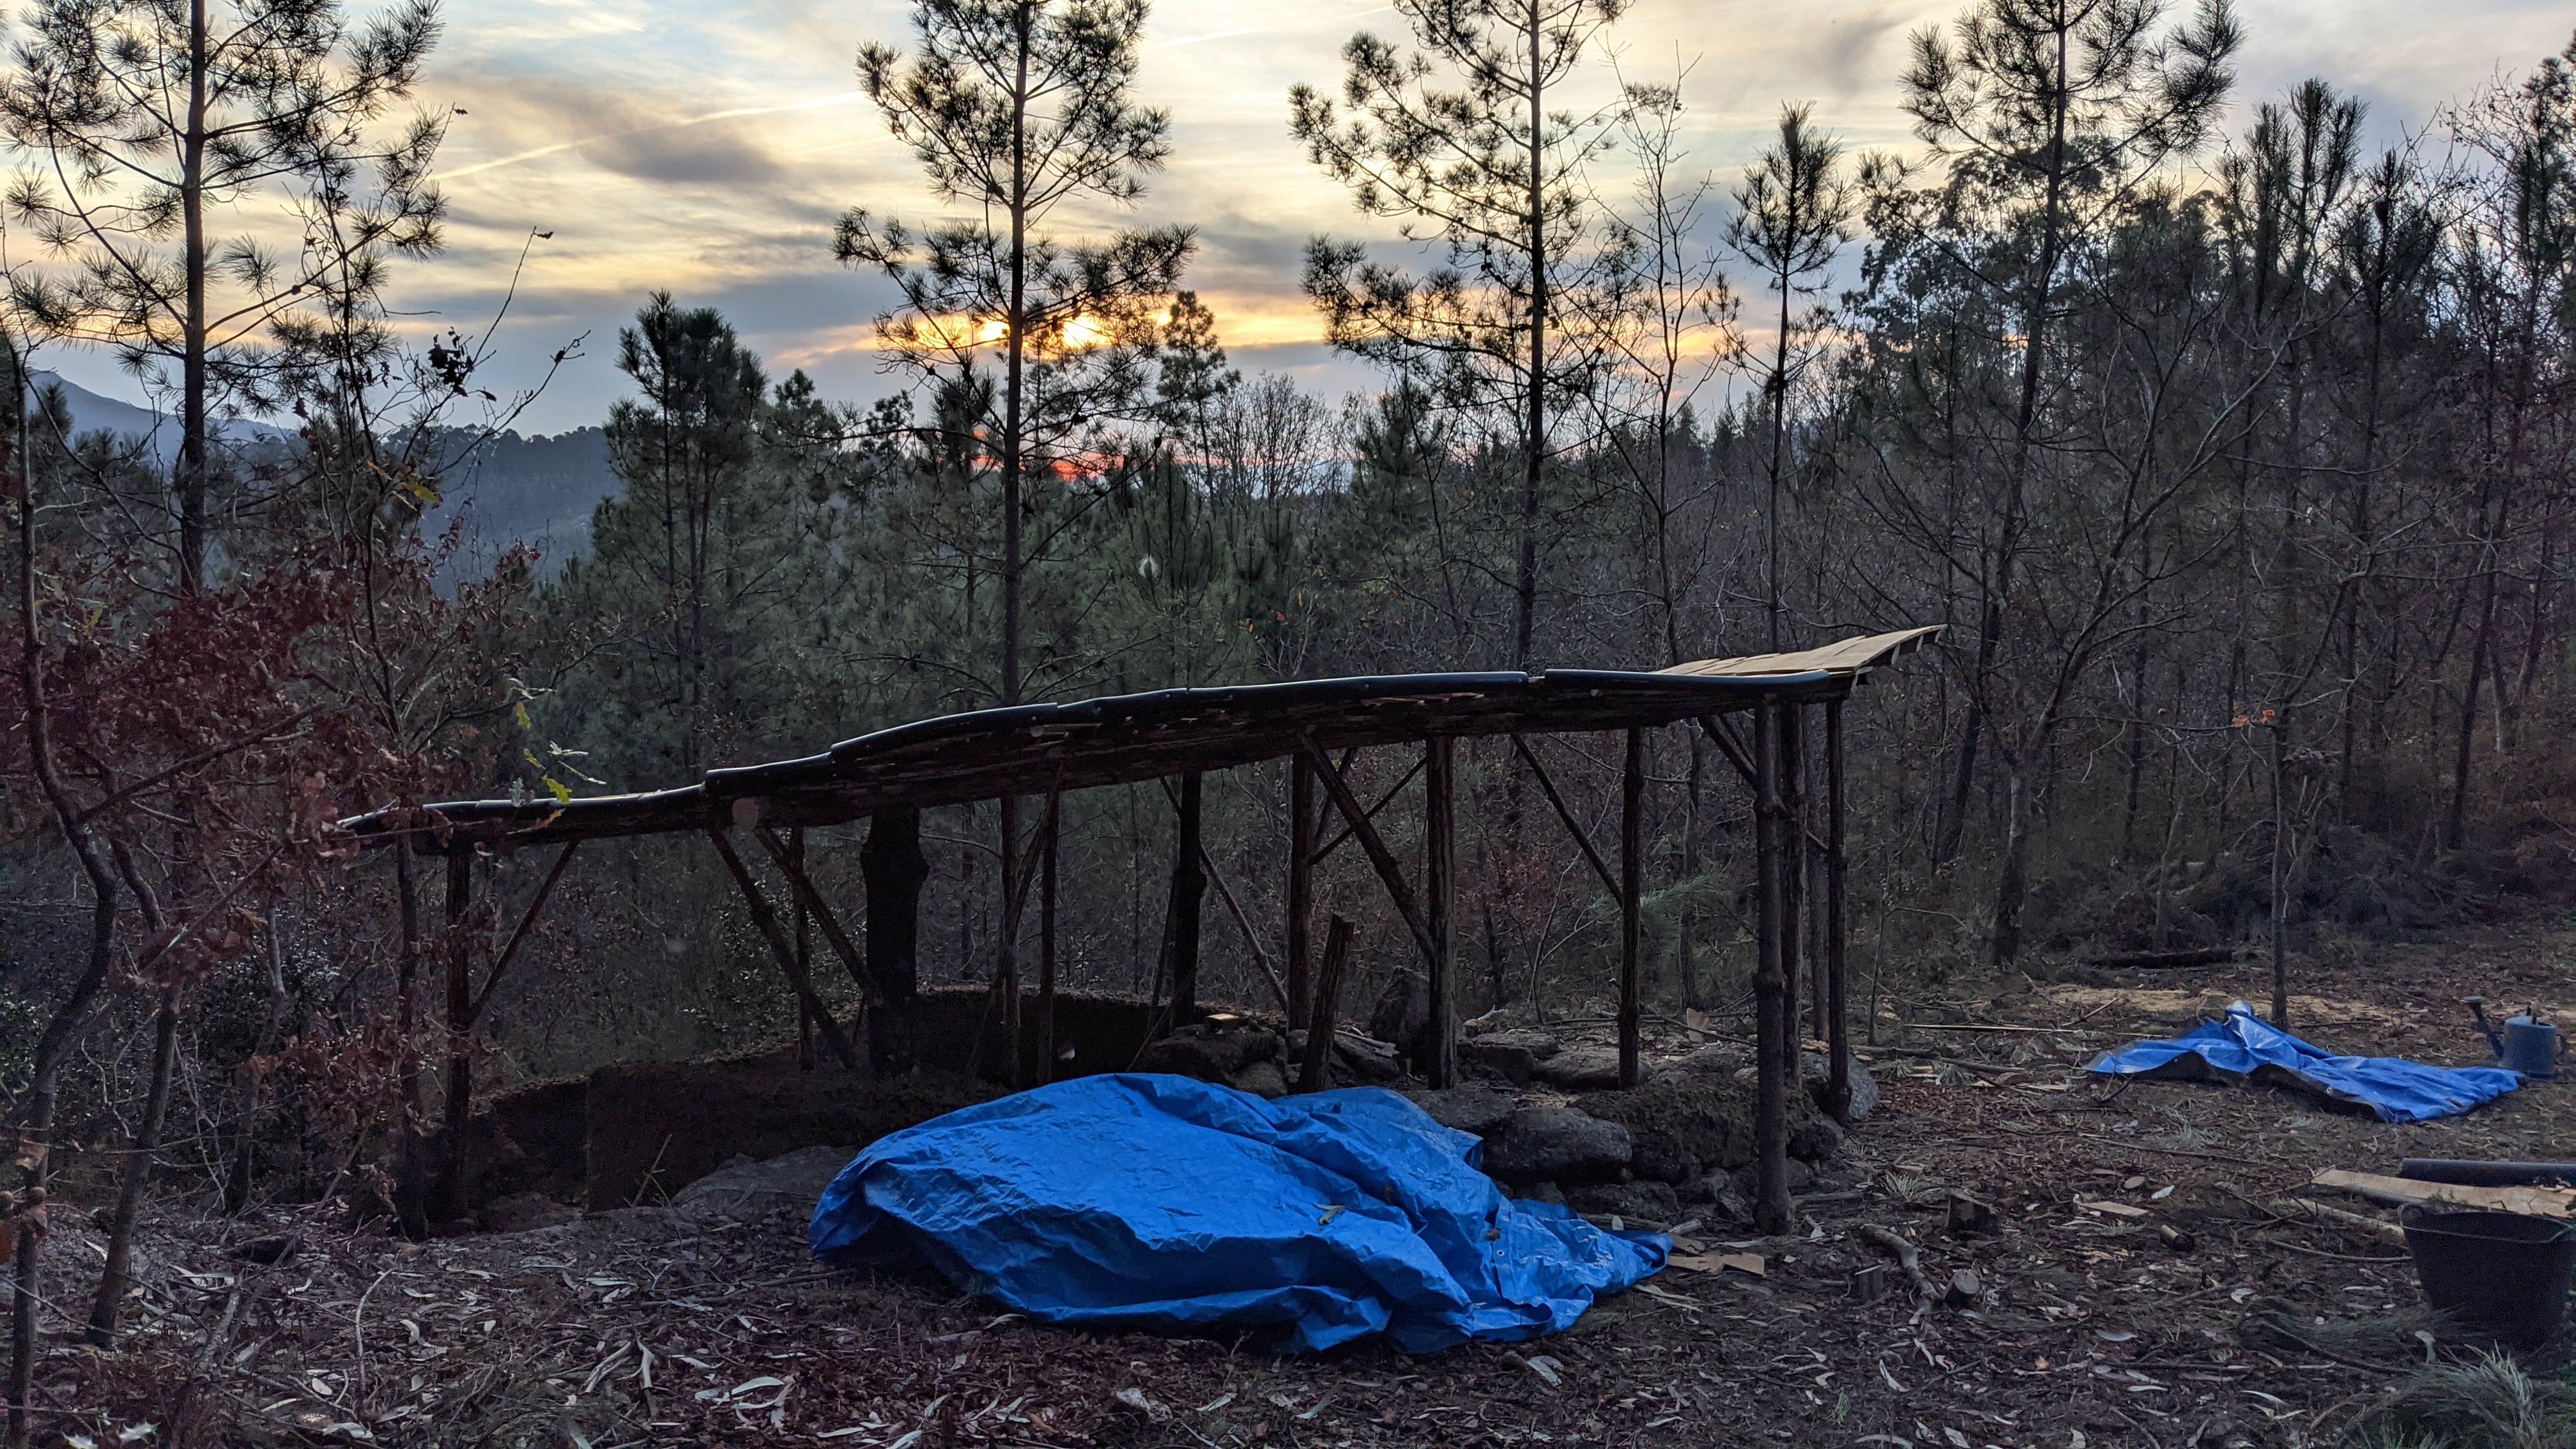
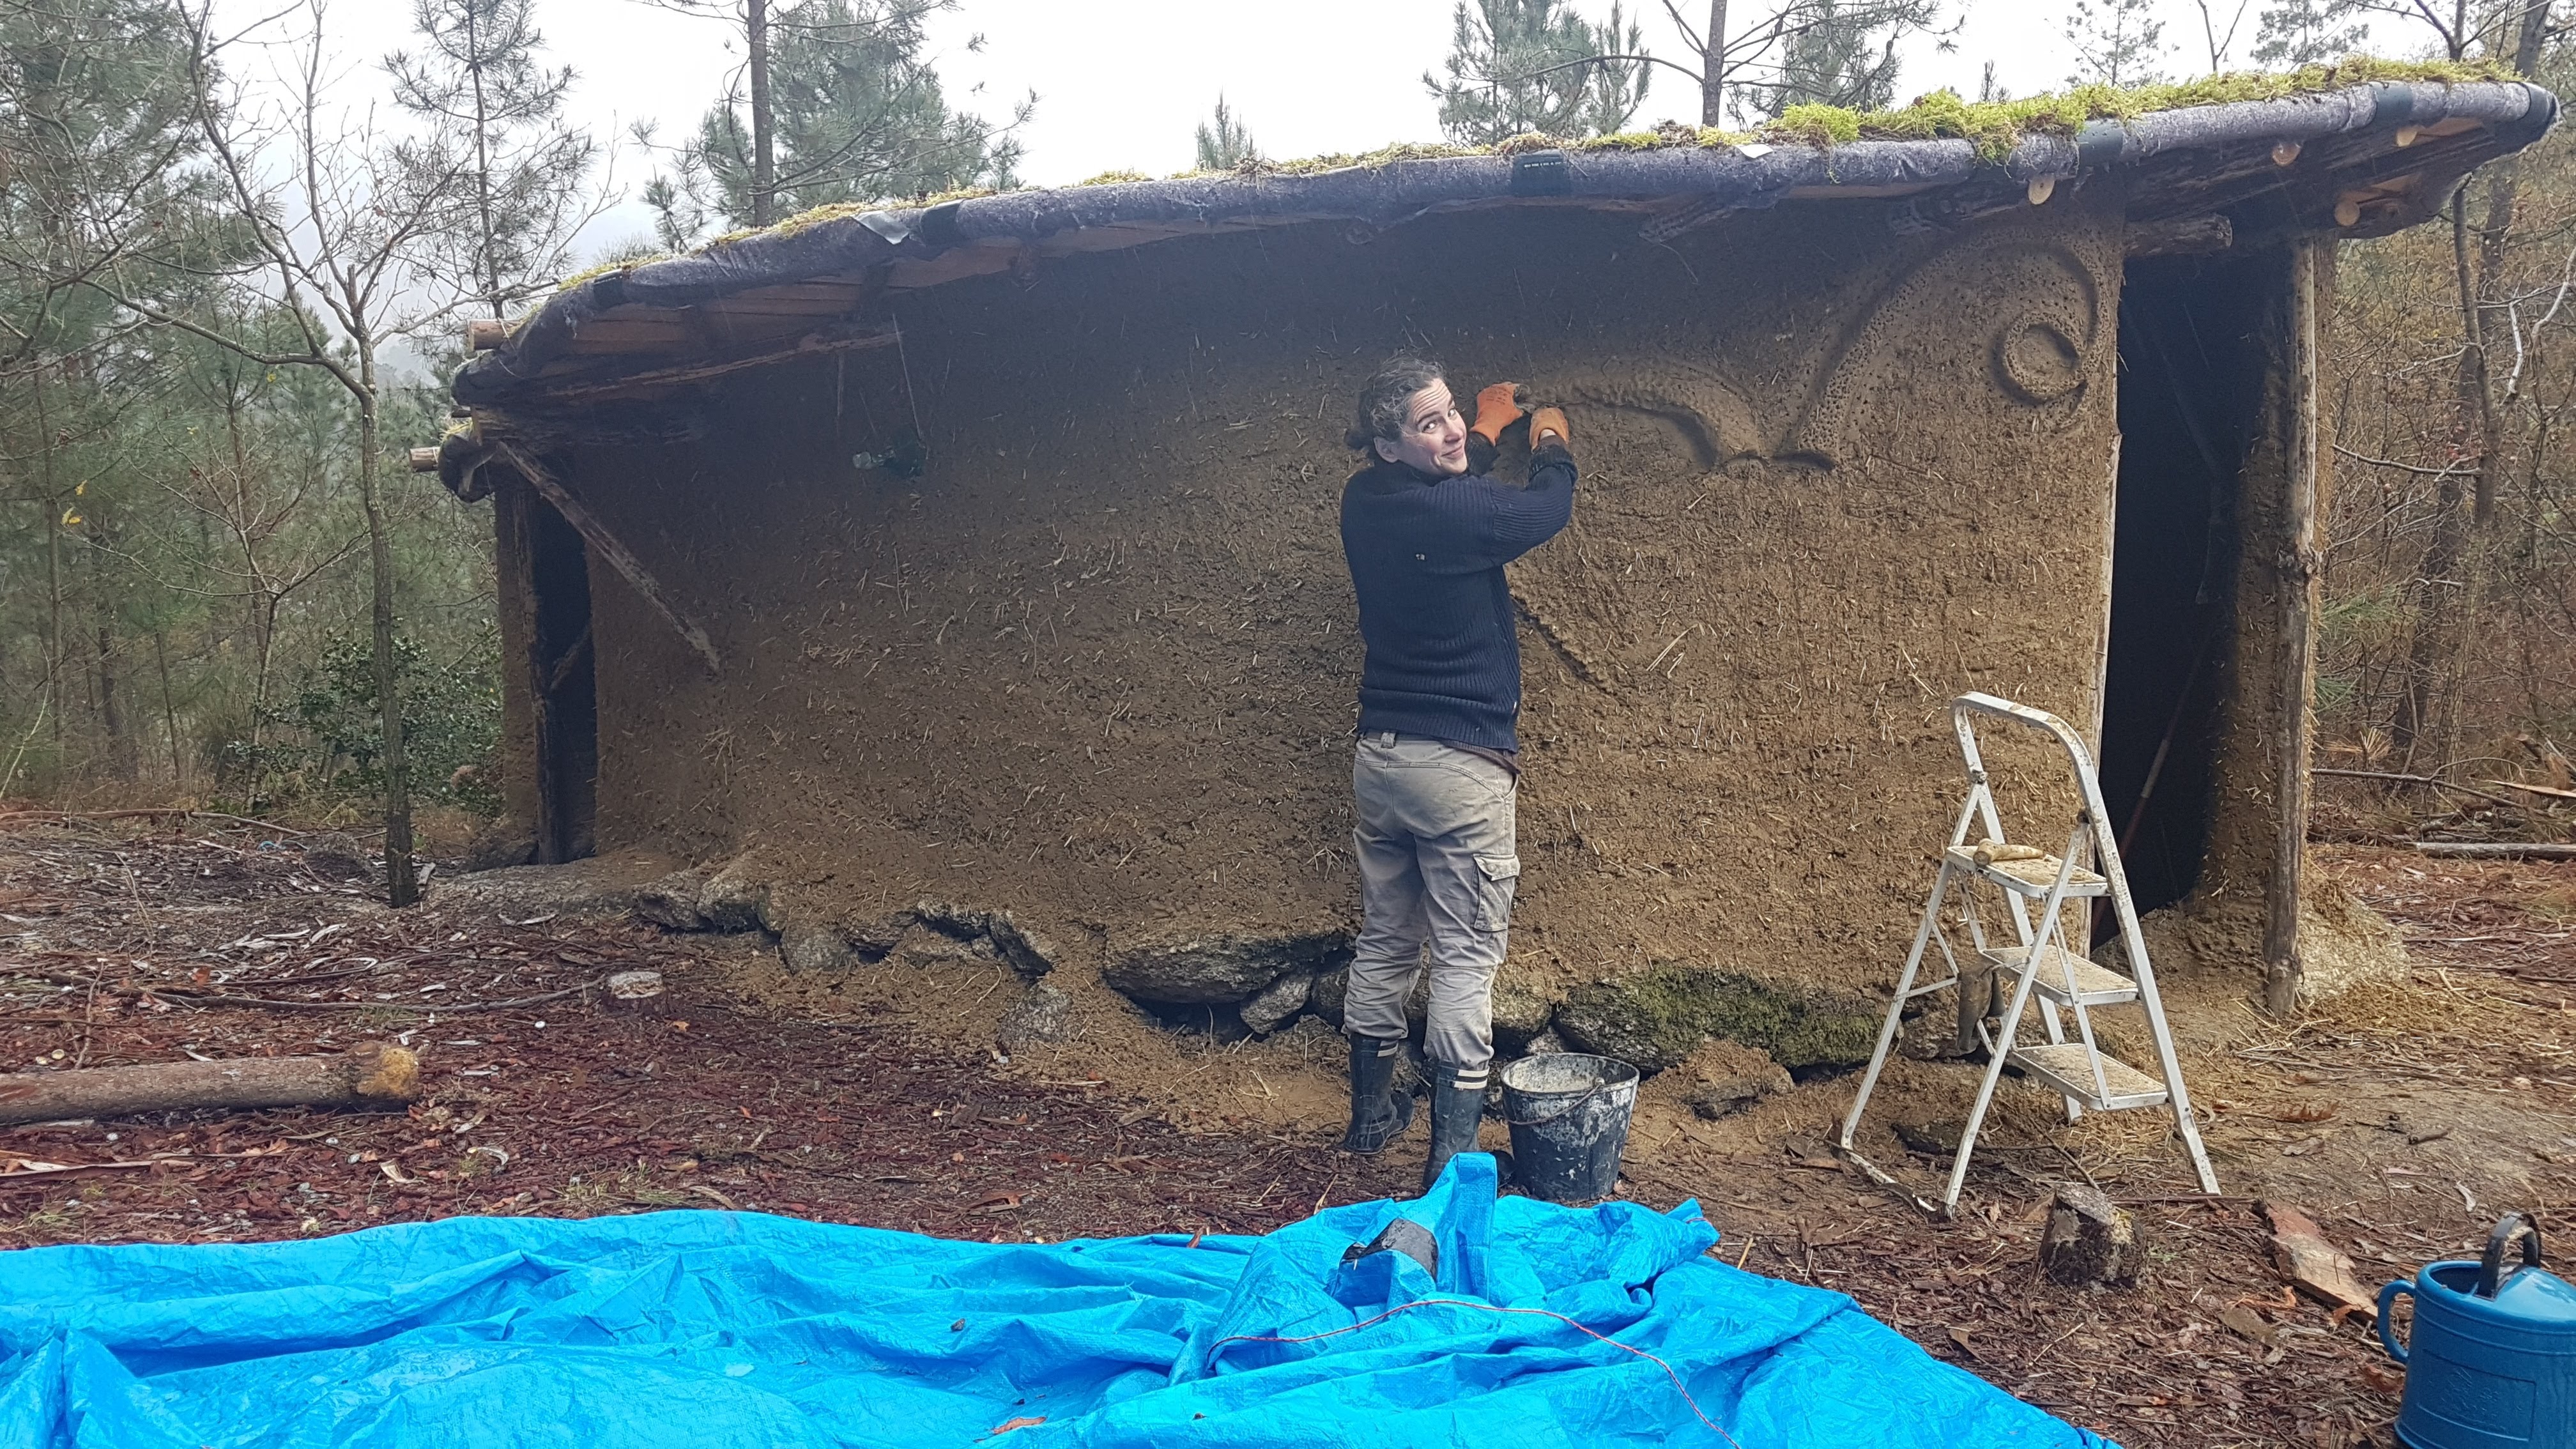
The cobbing has also progressed quite a lot. We are pushing to finish the barn before Tal’s sister comes in April, so that she can warm up the space for the goats.
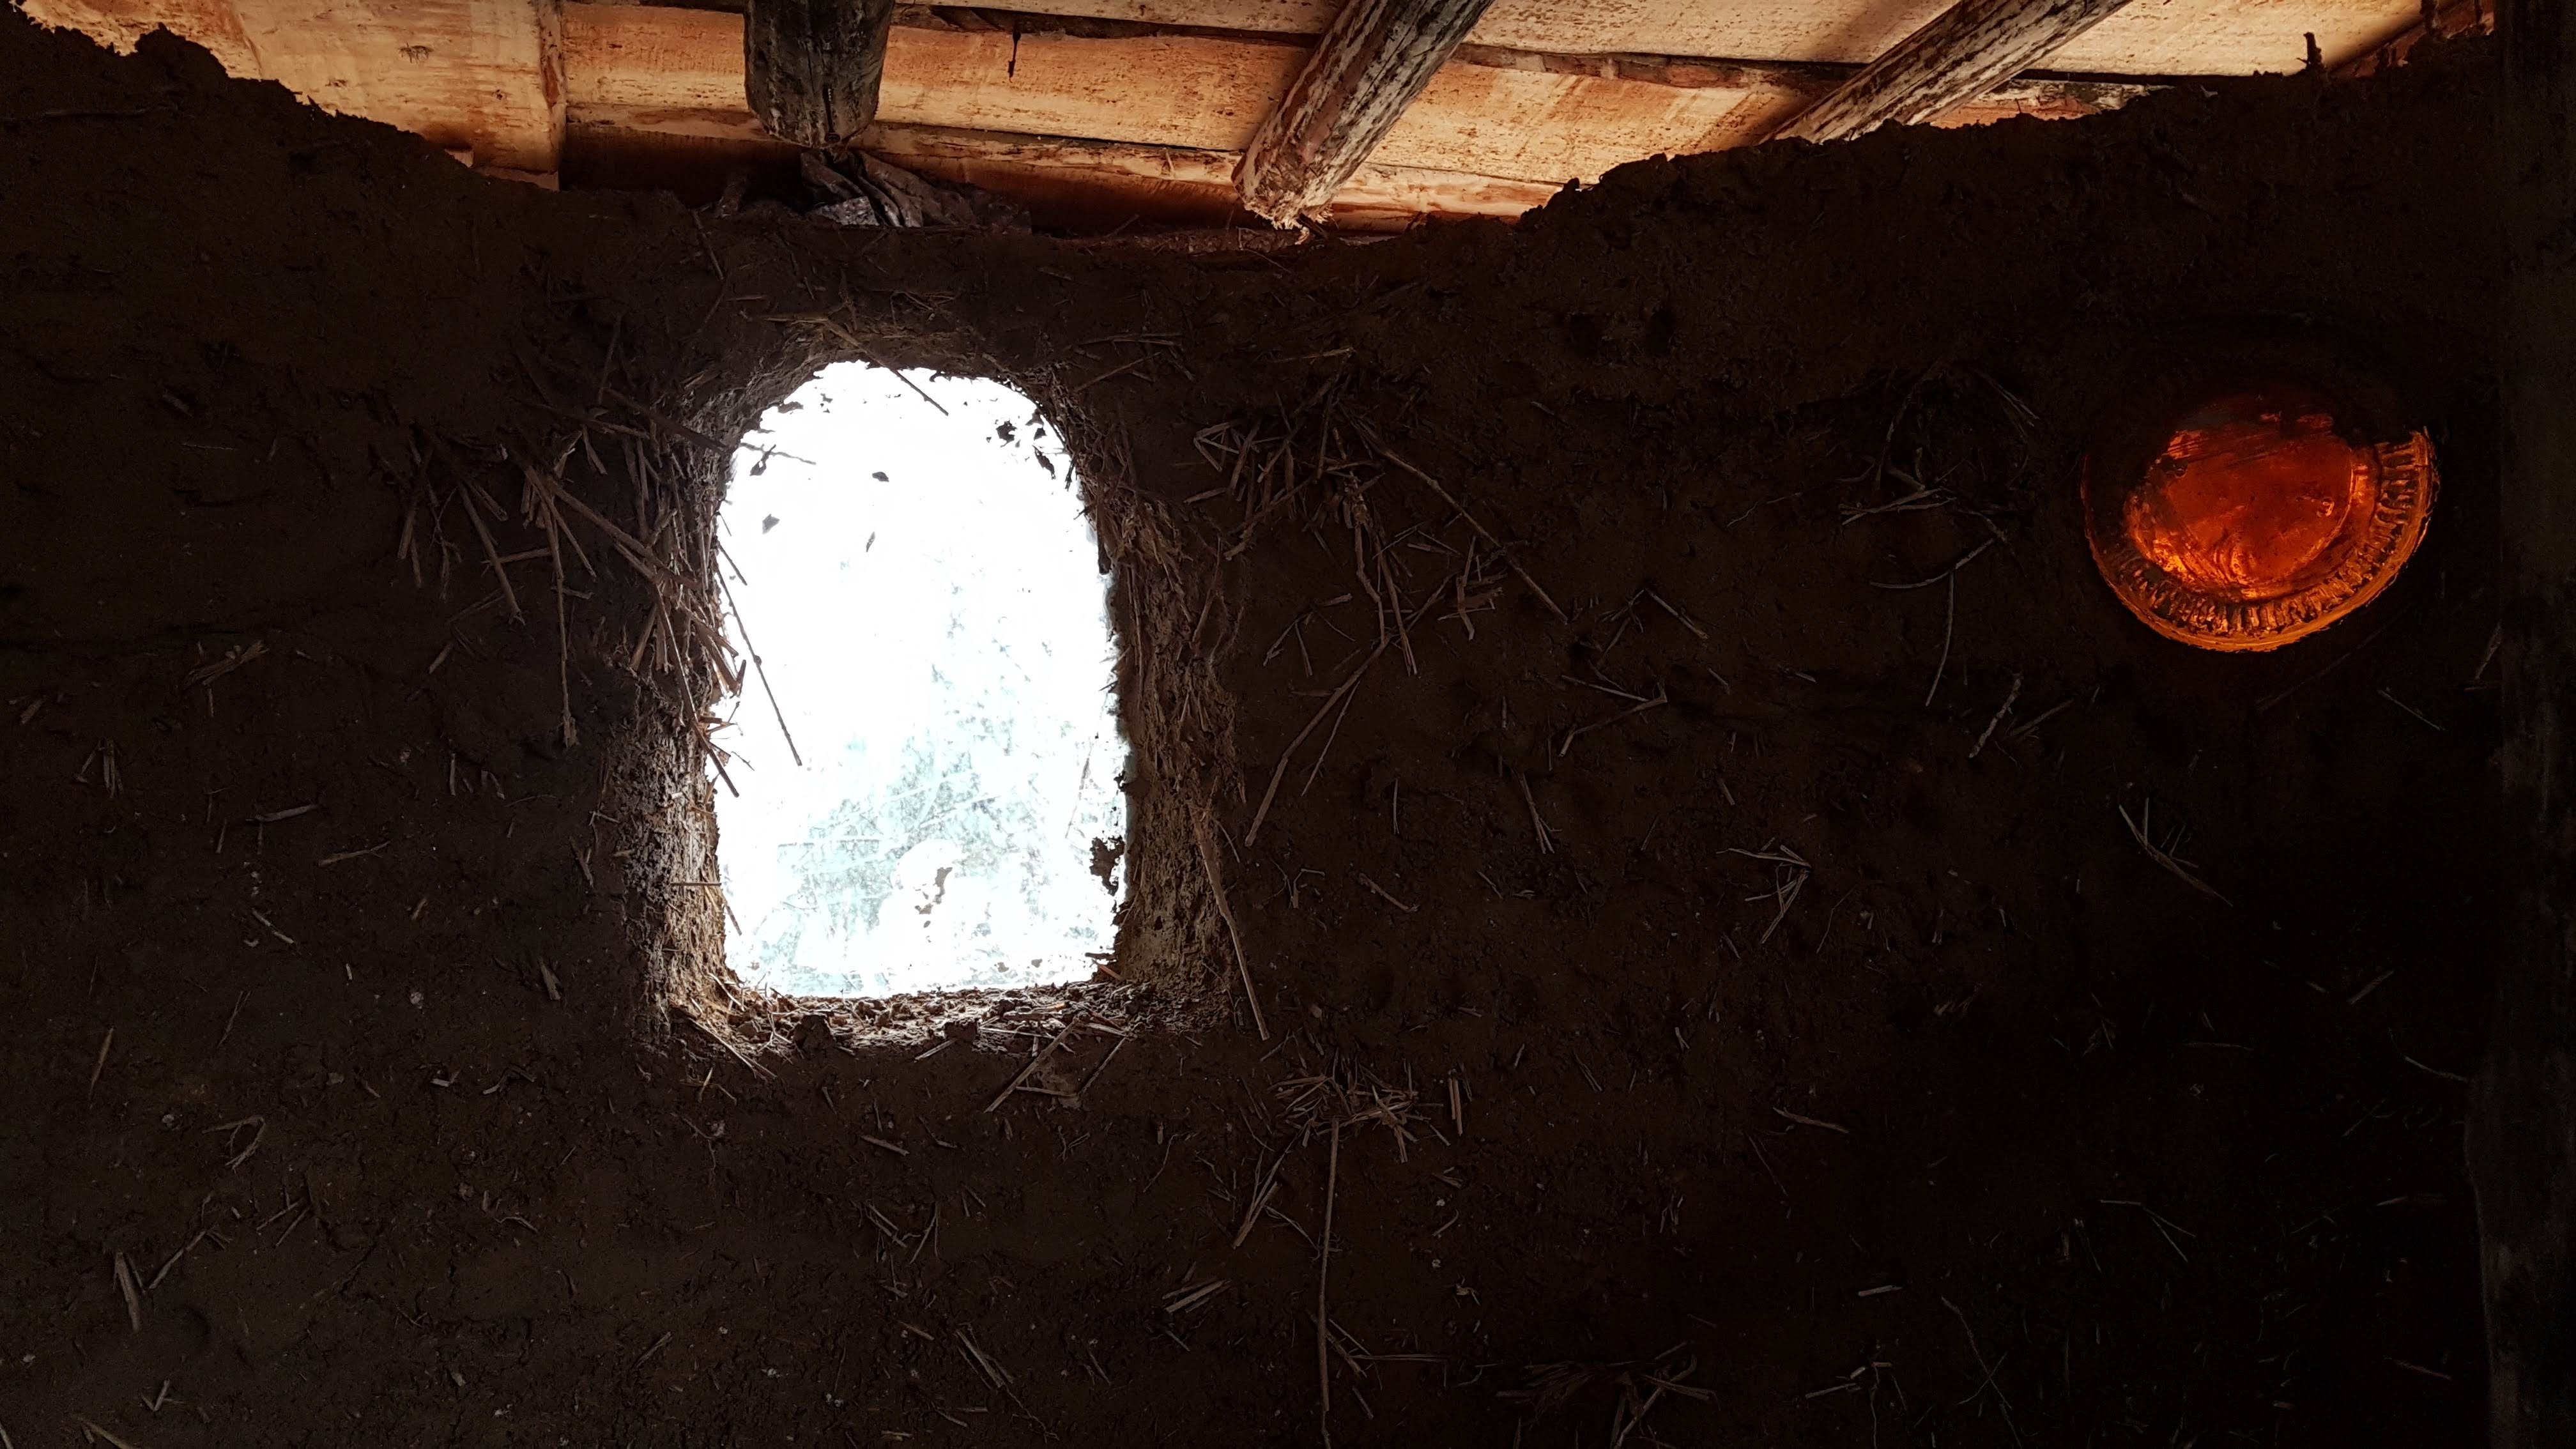
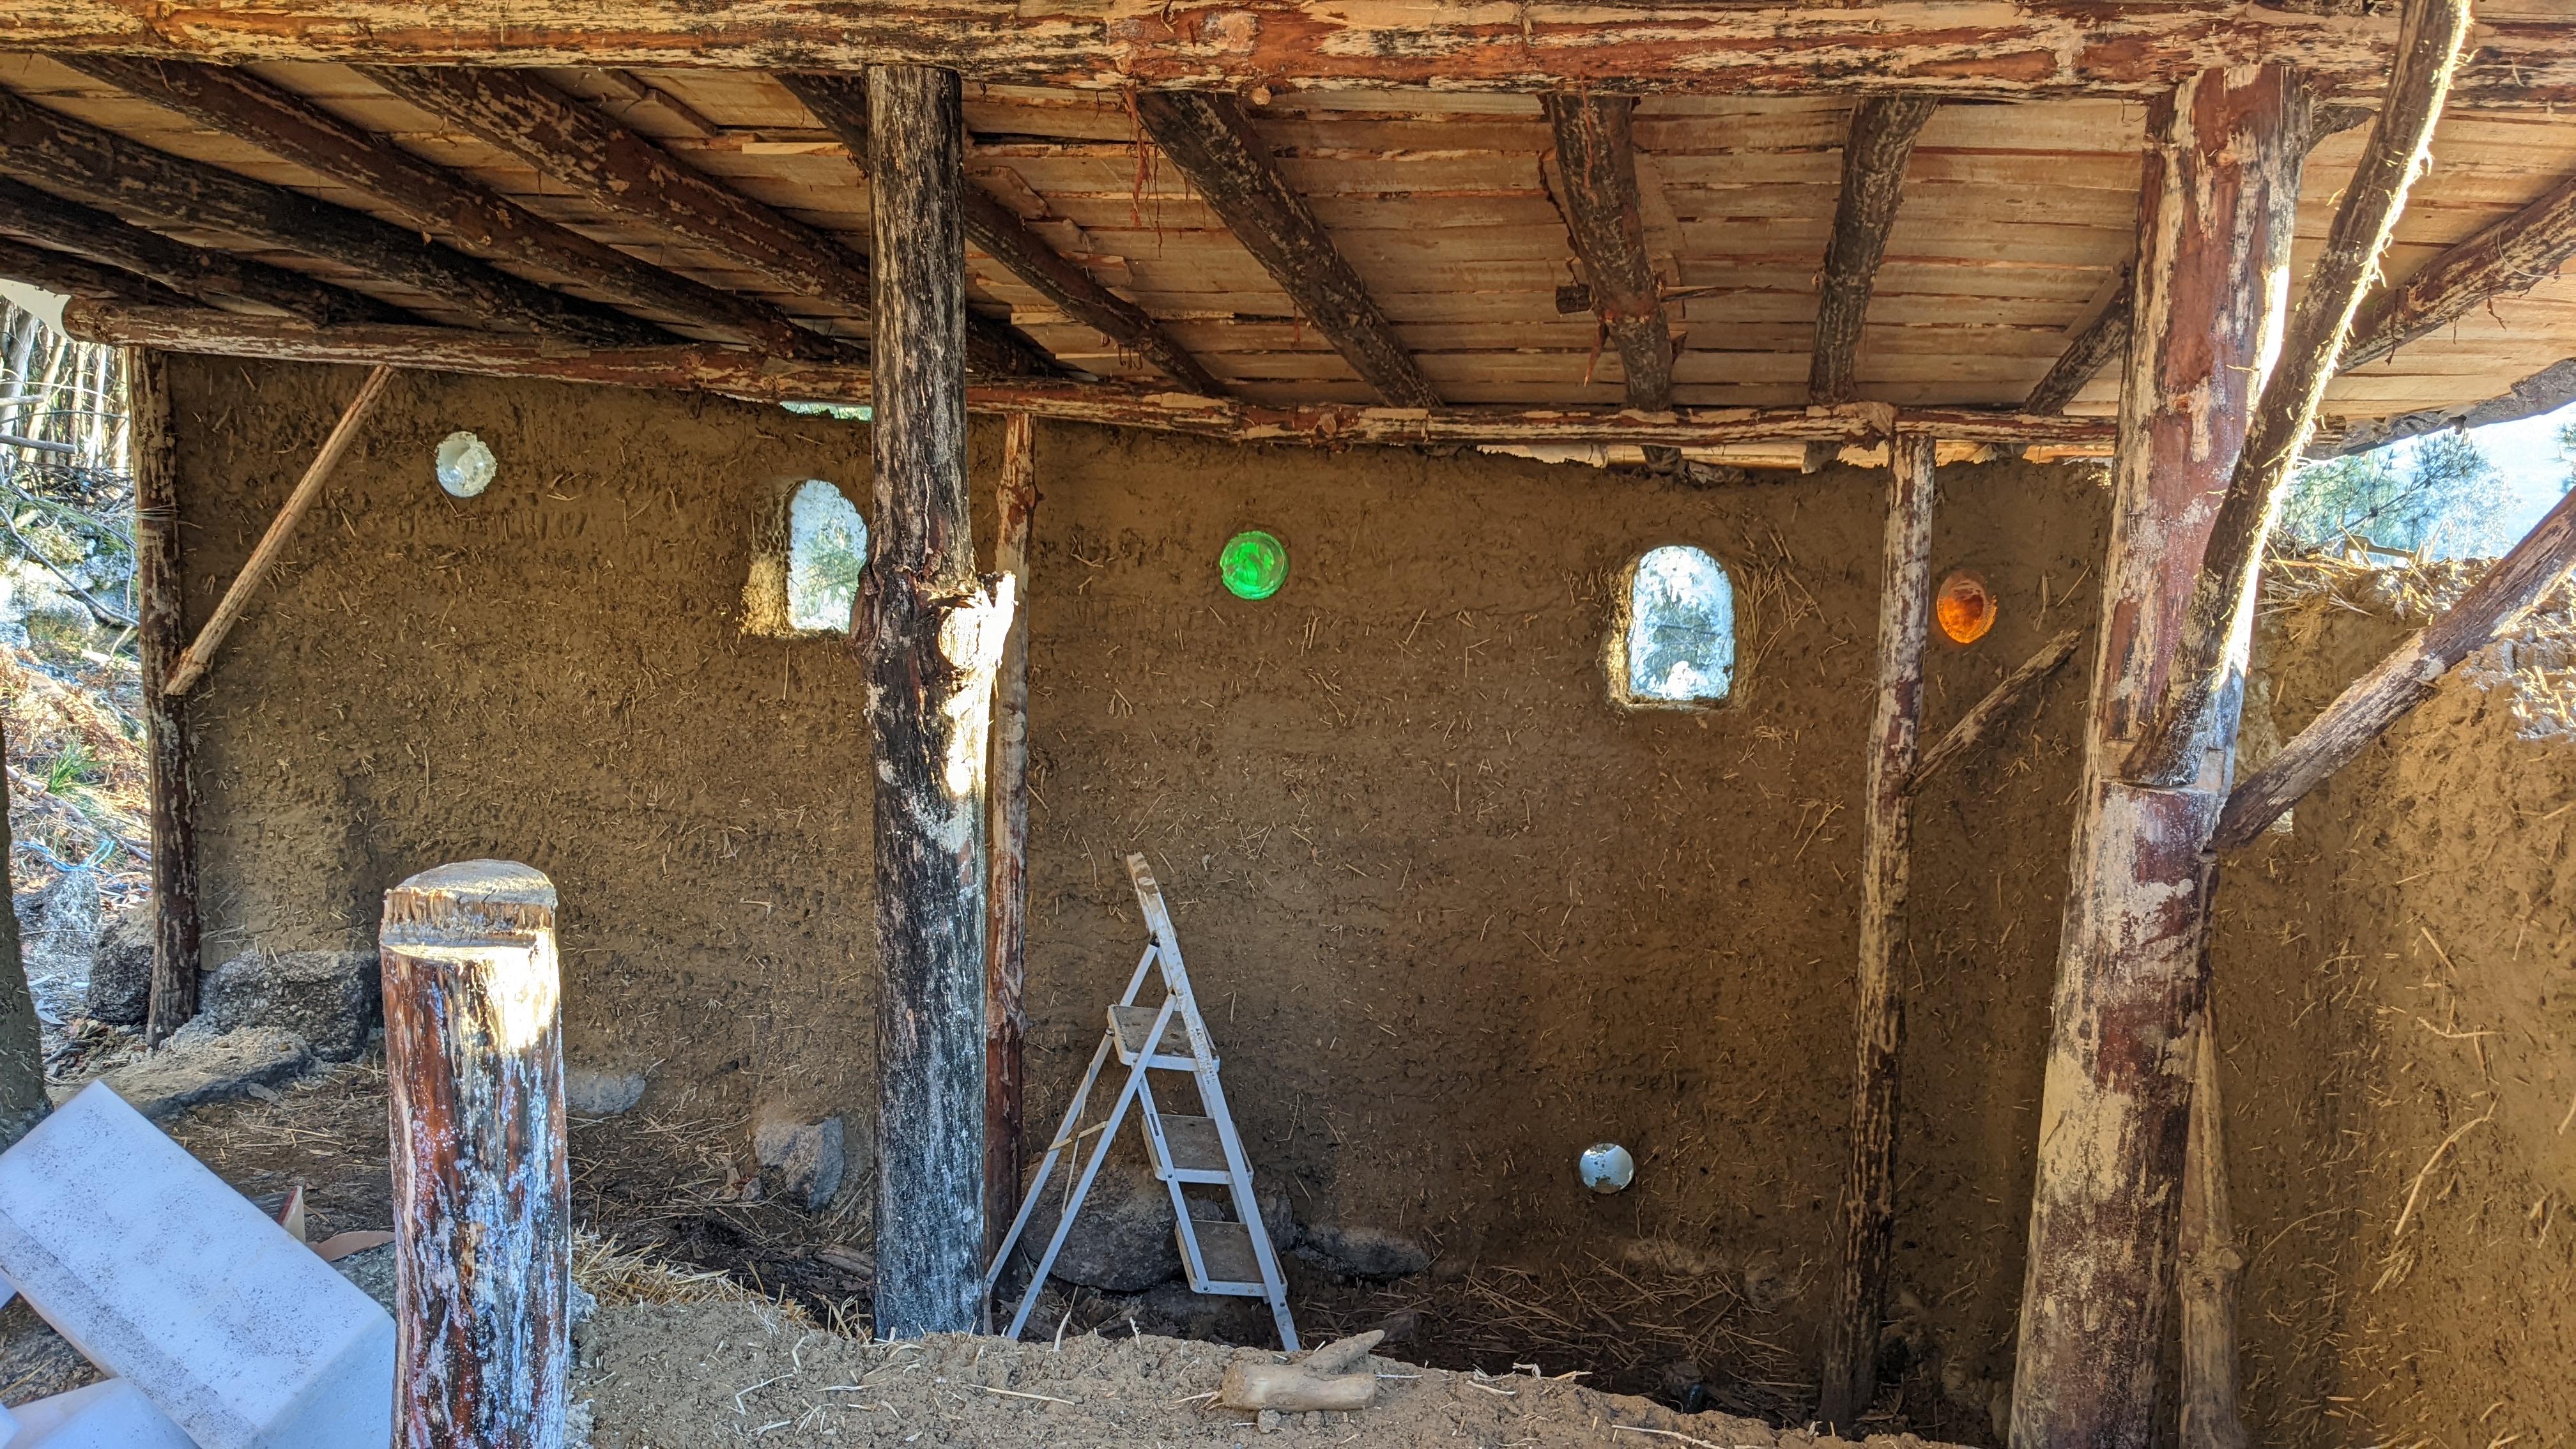
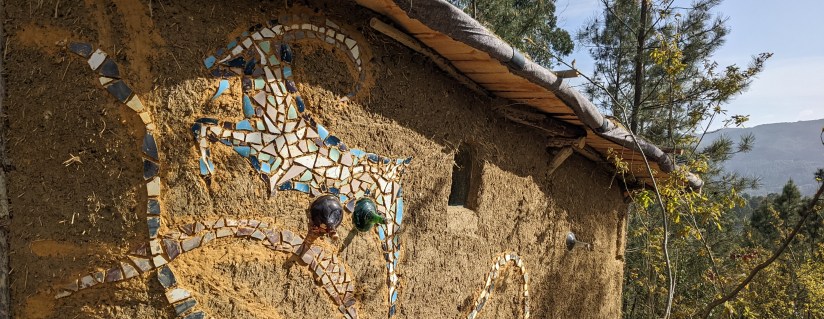
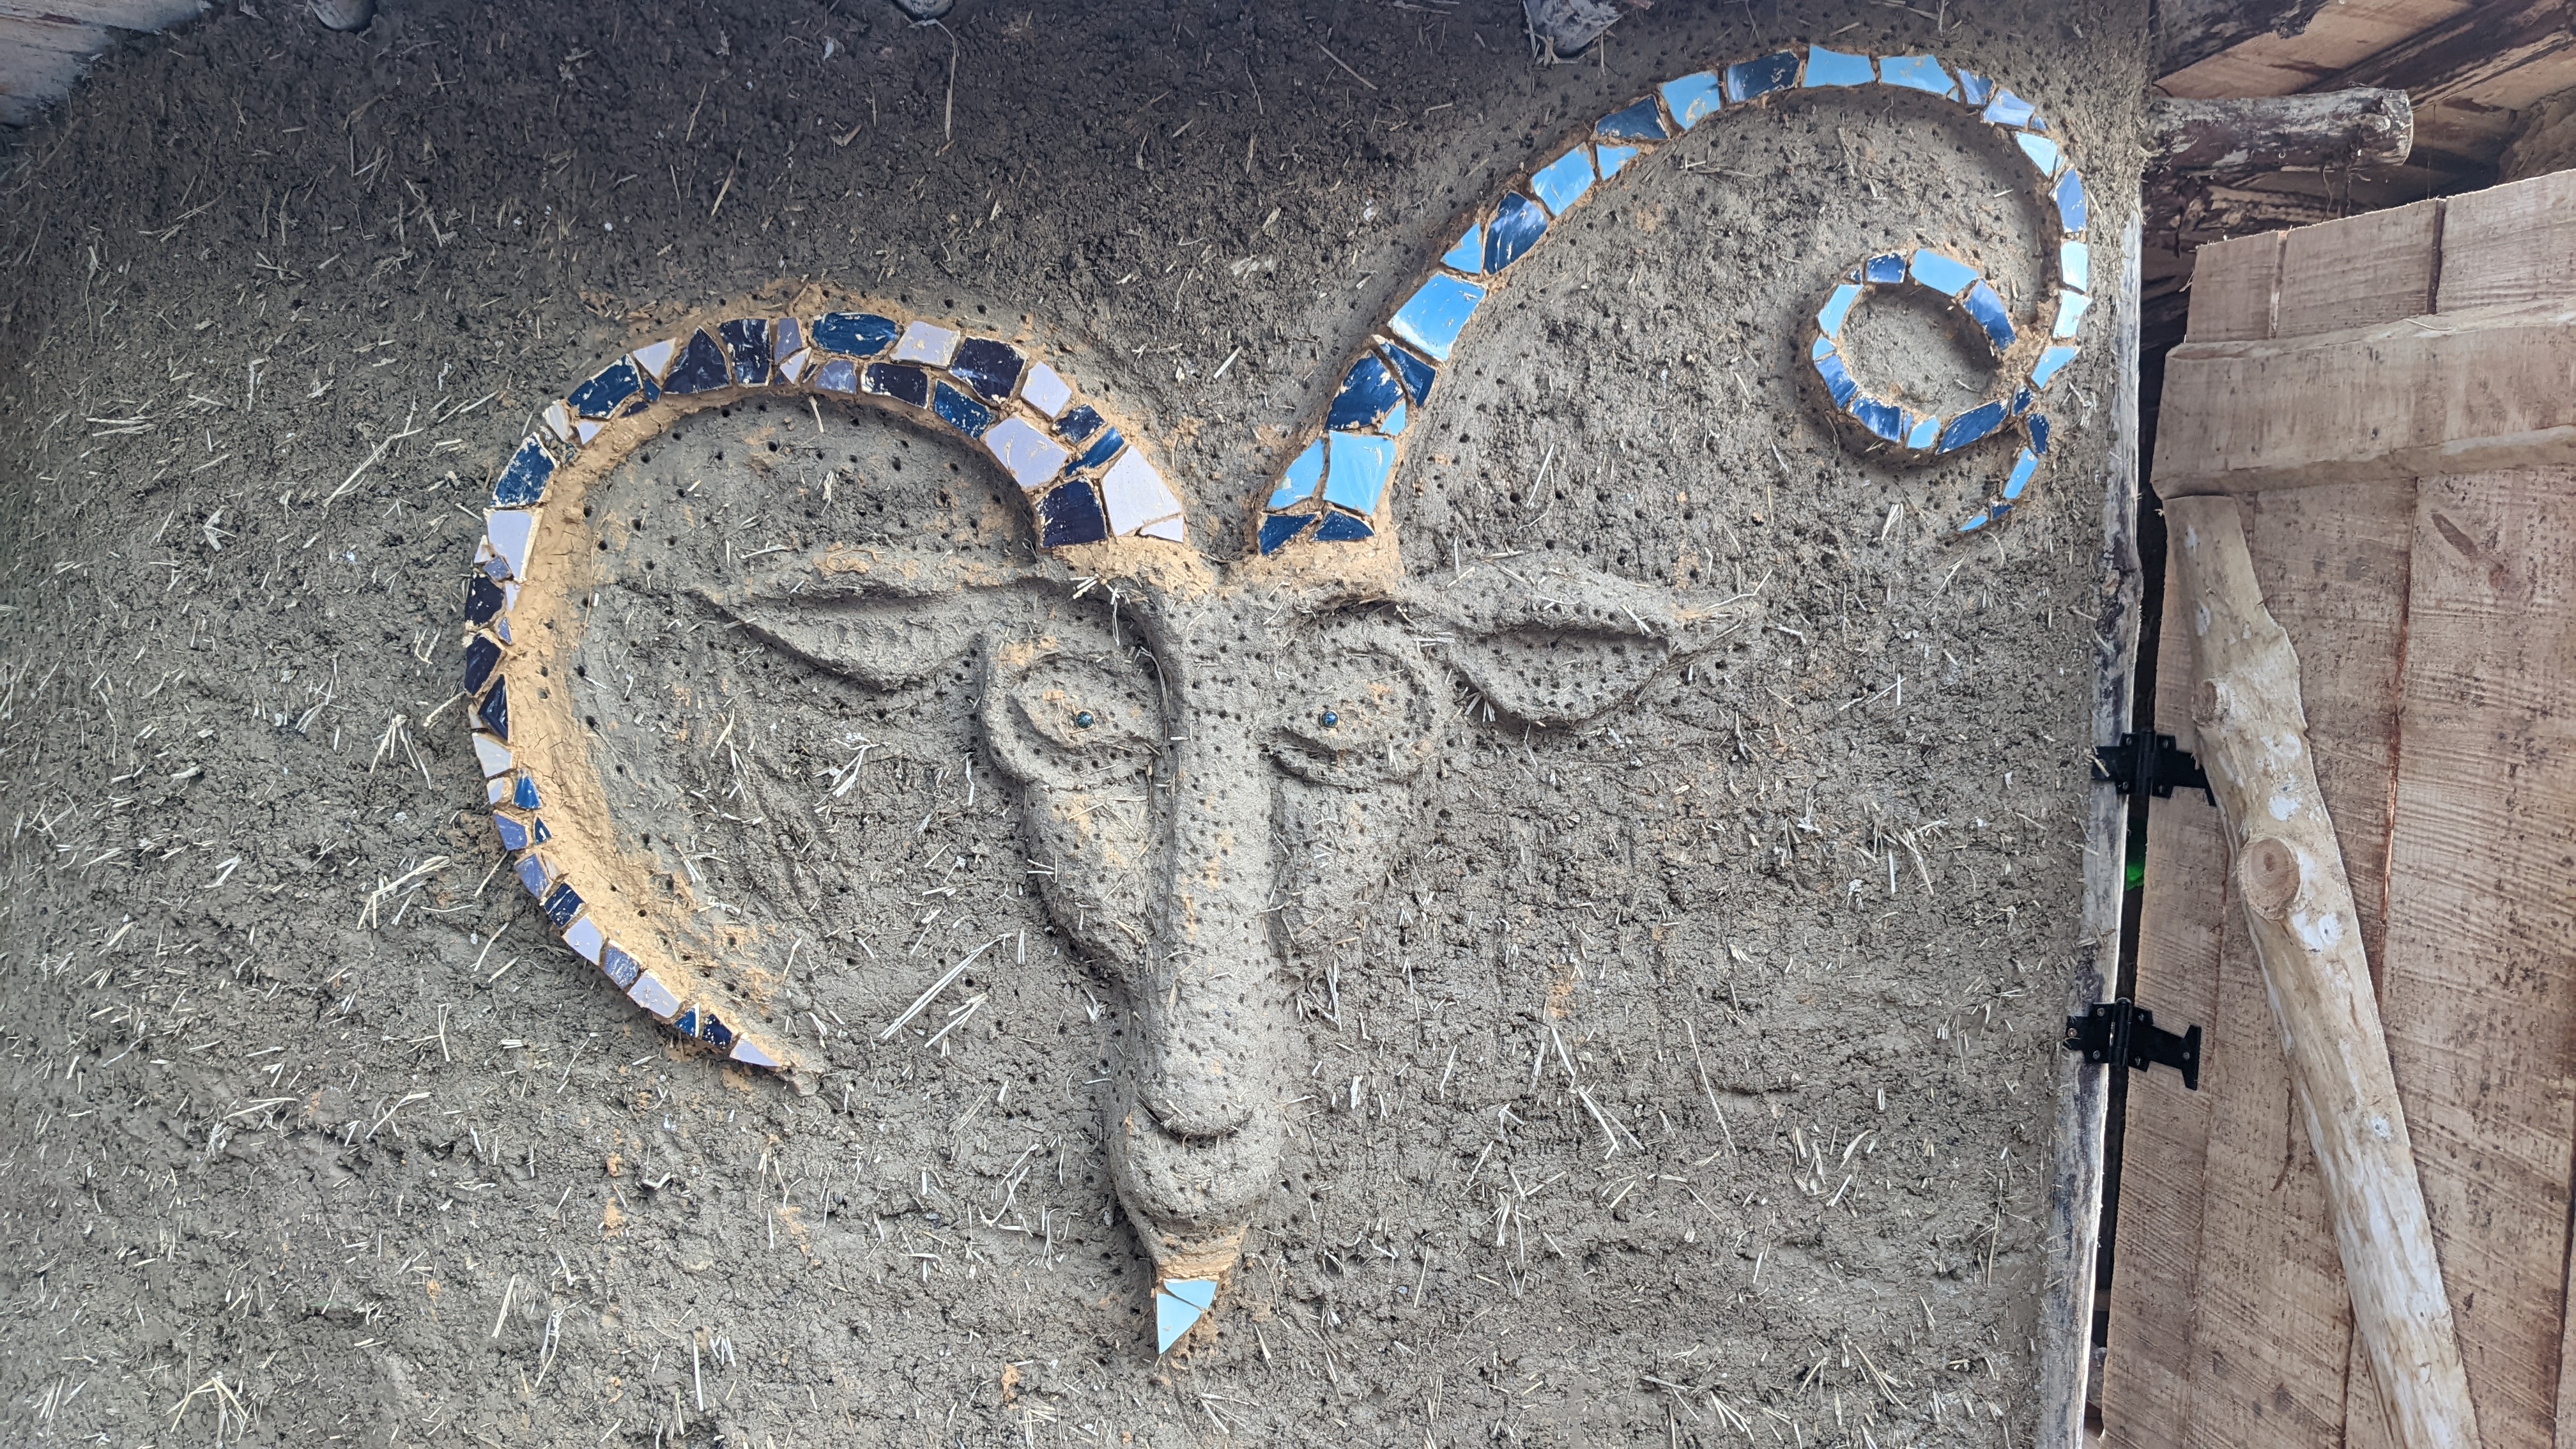
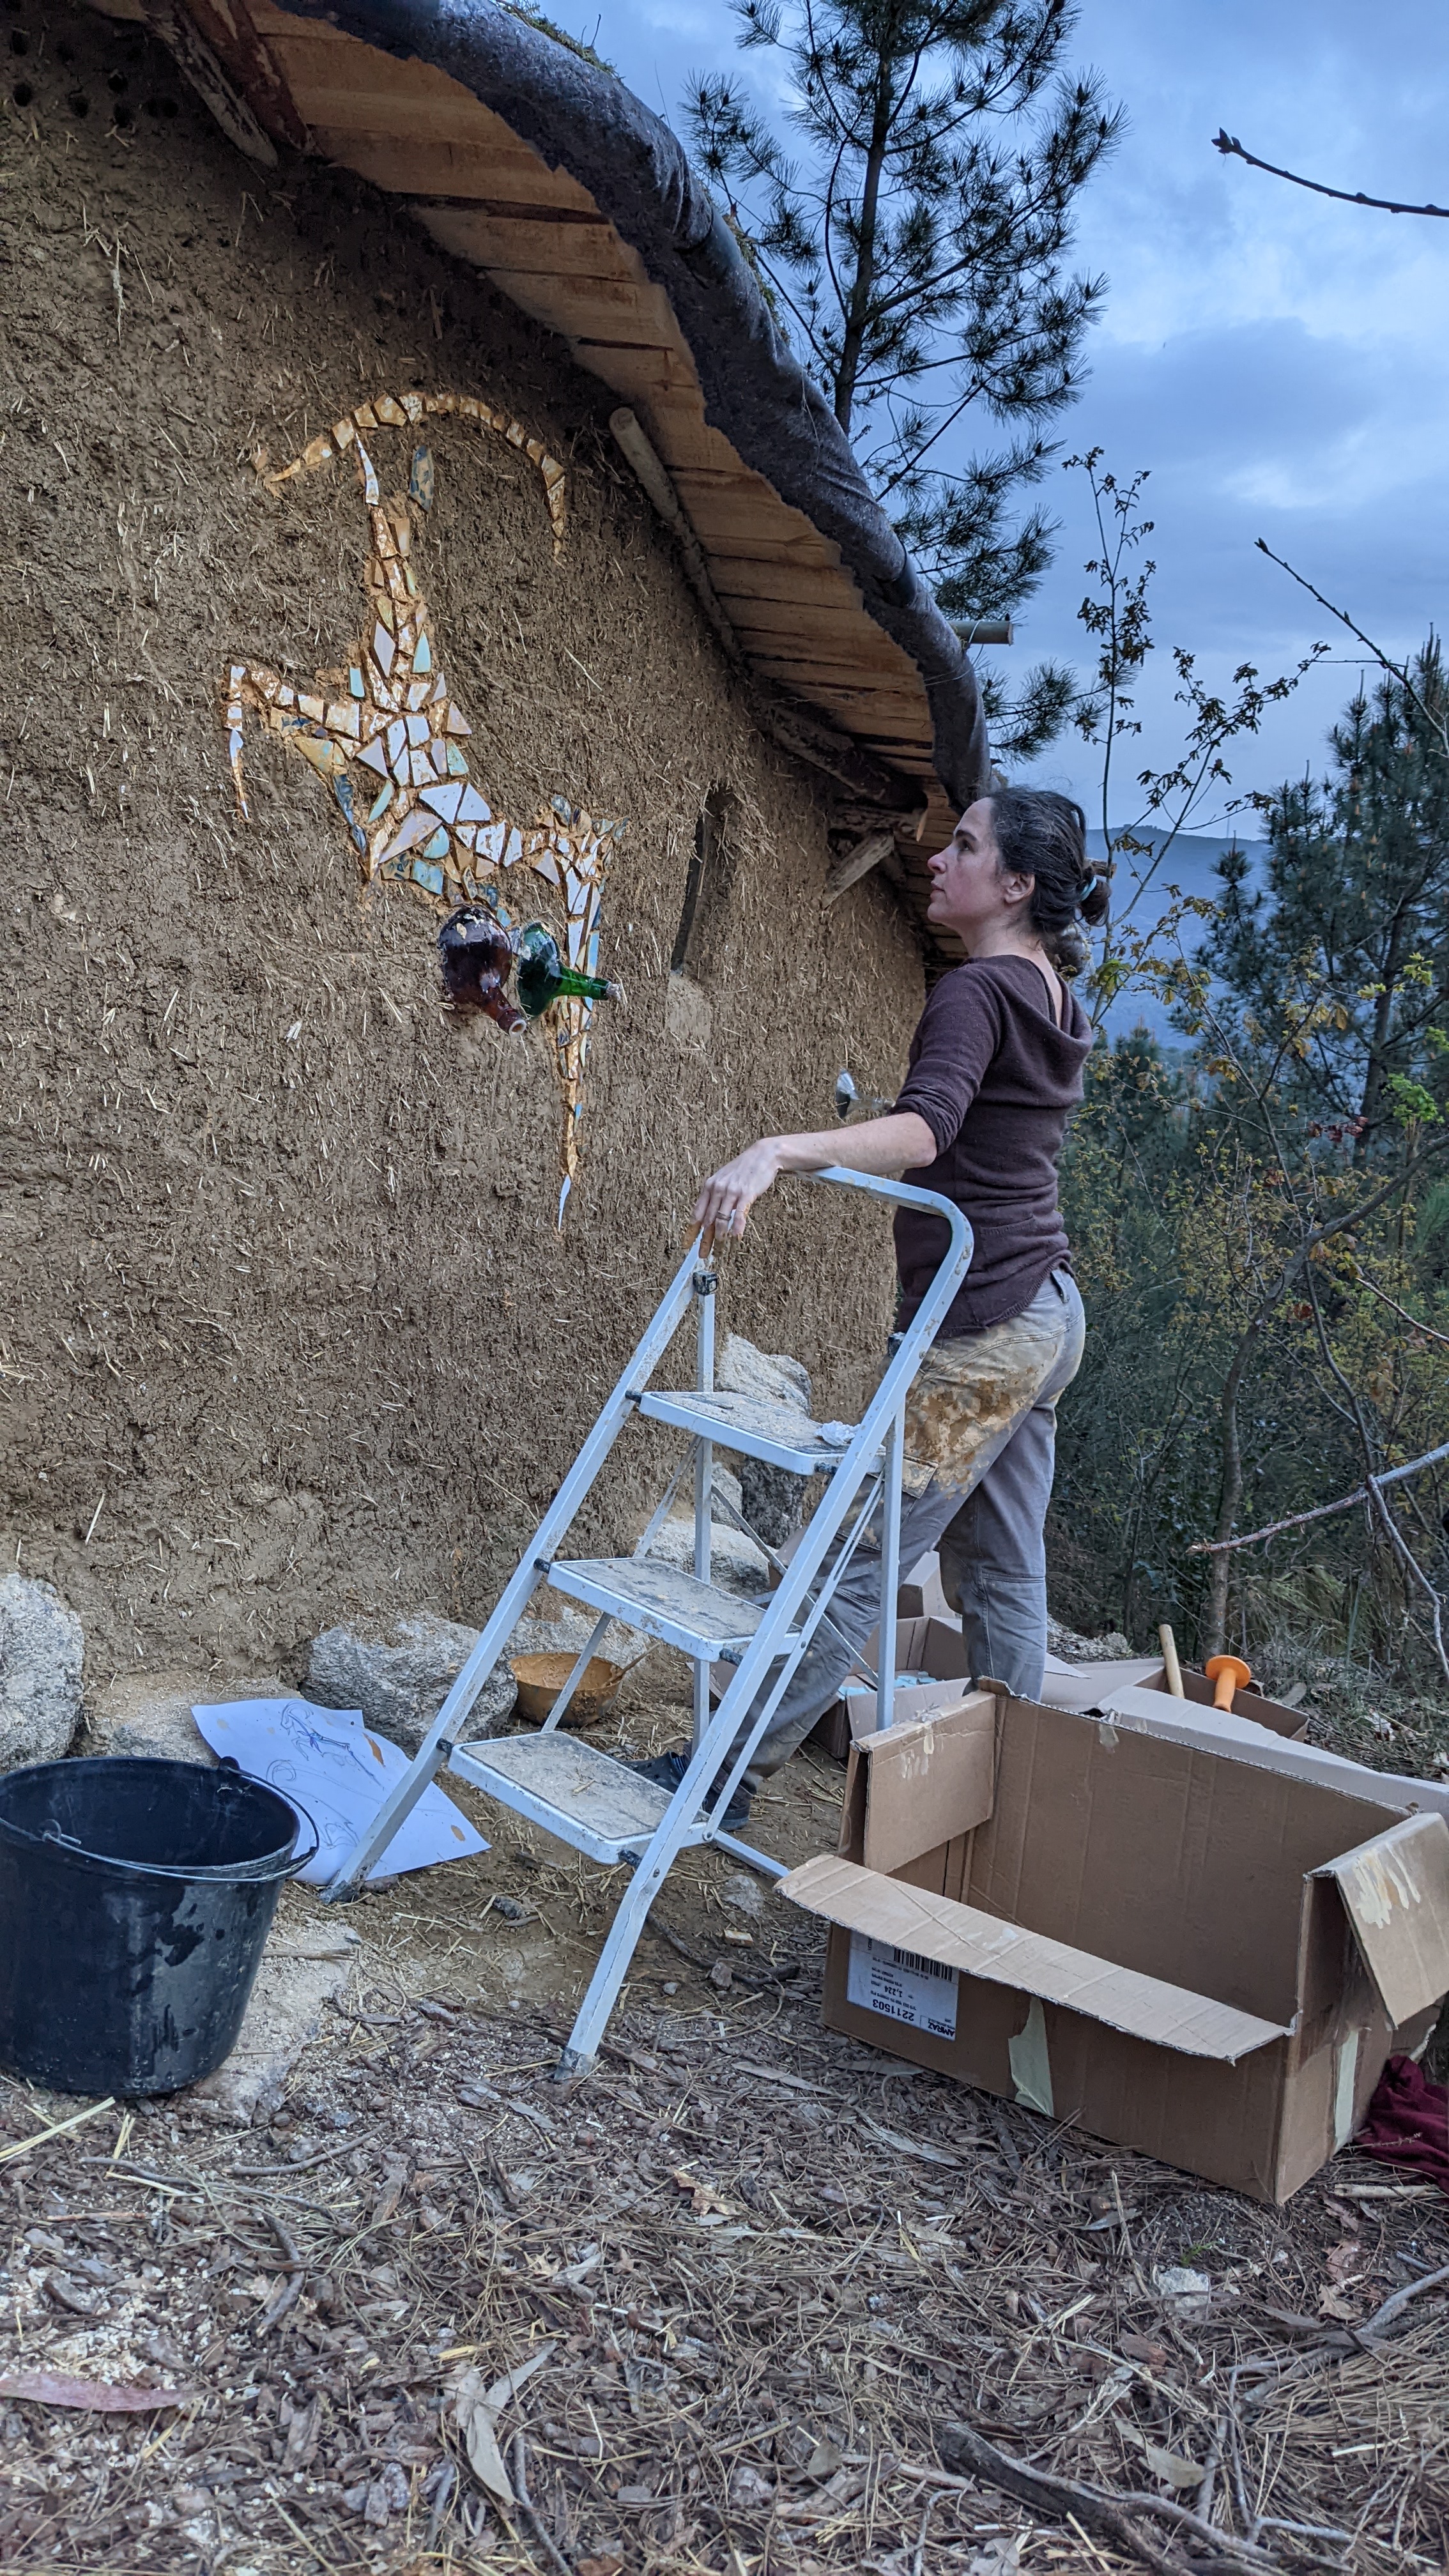
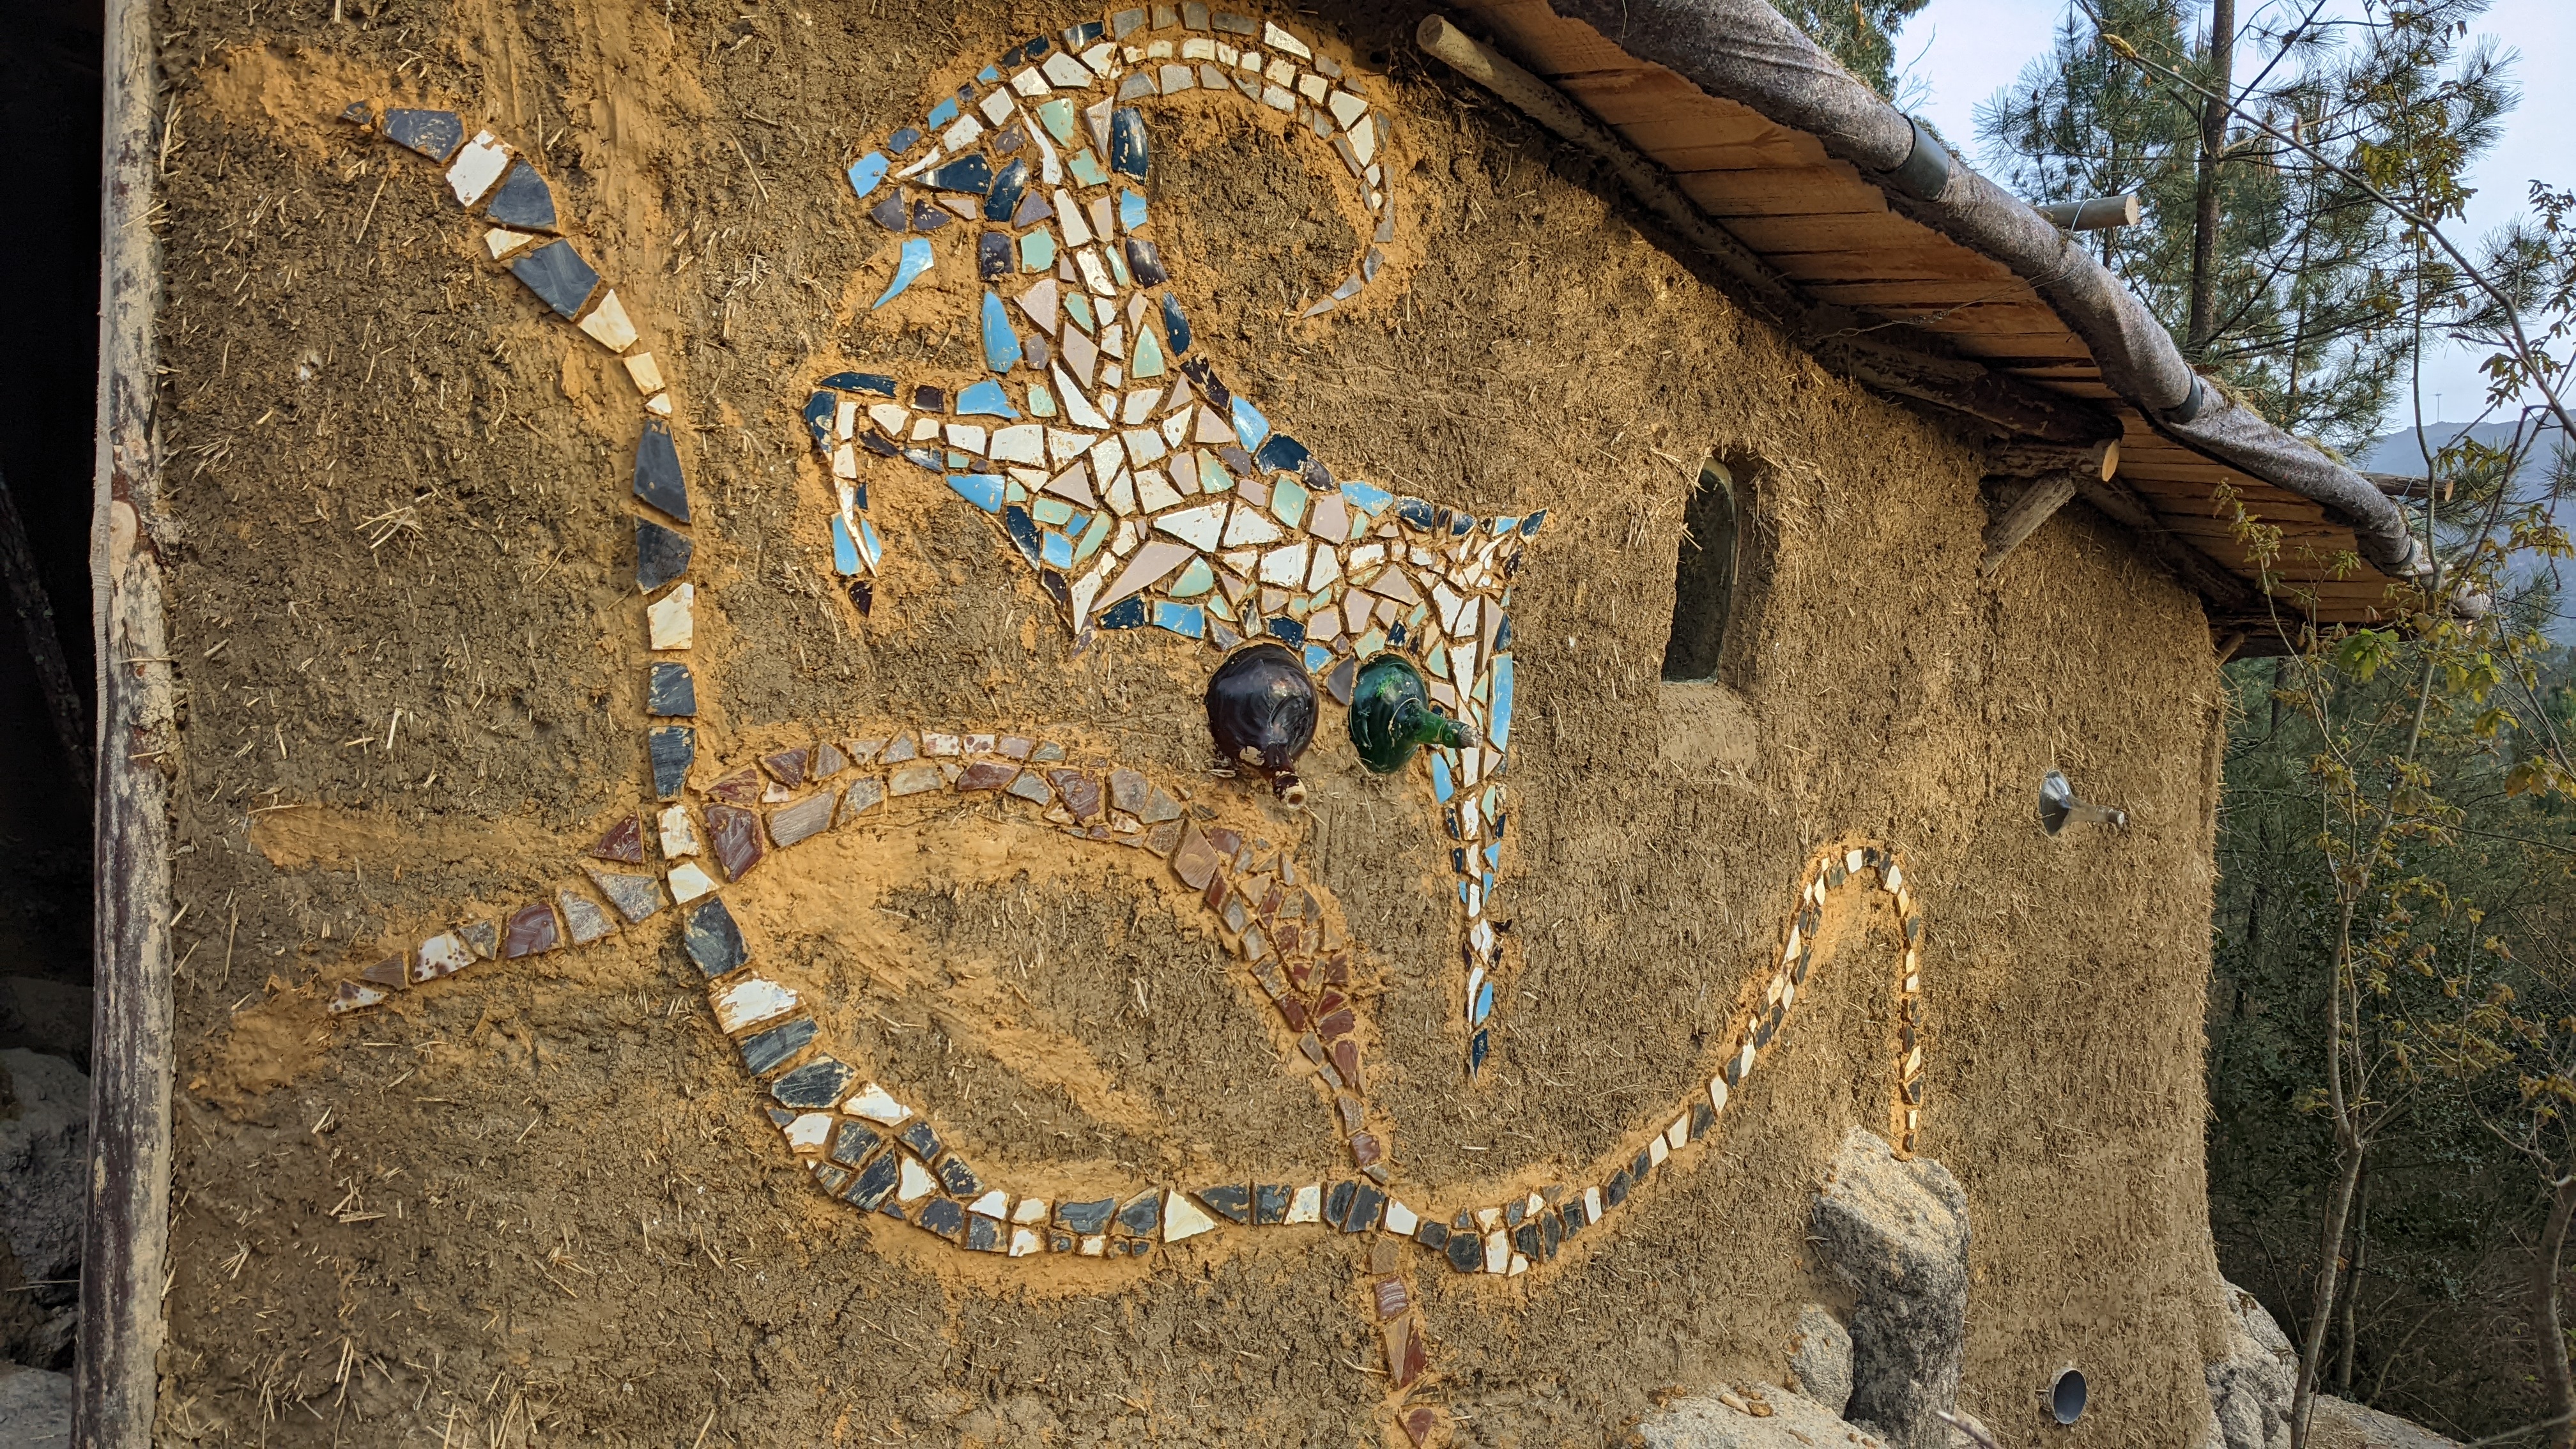
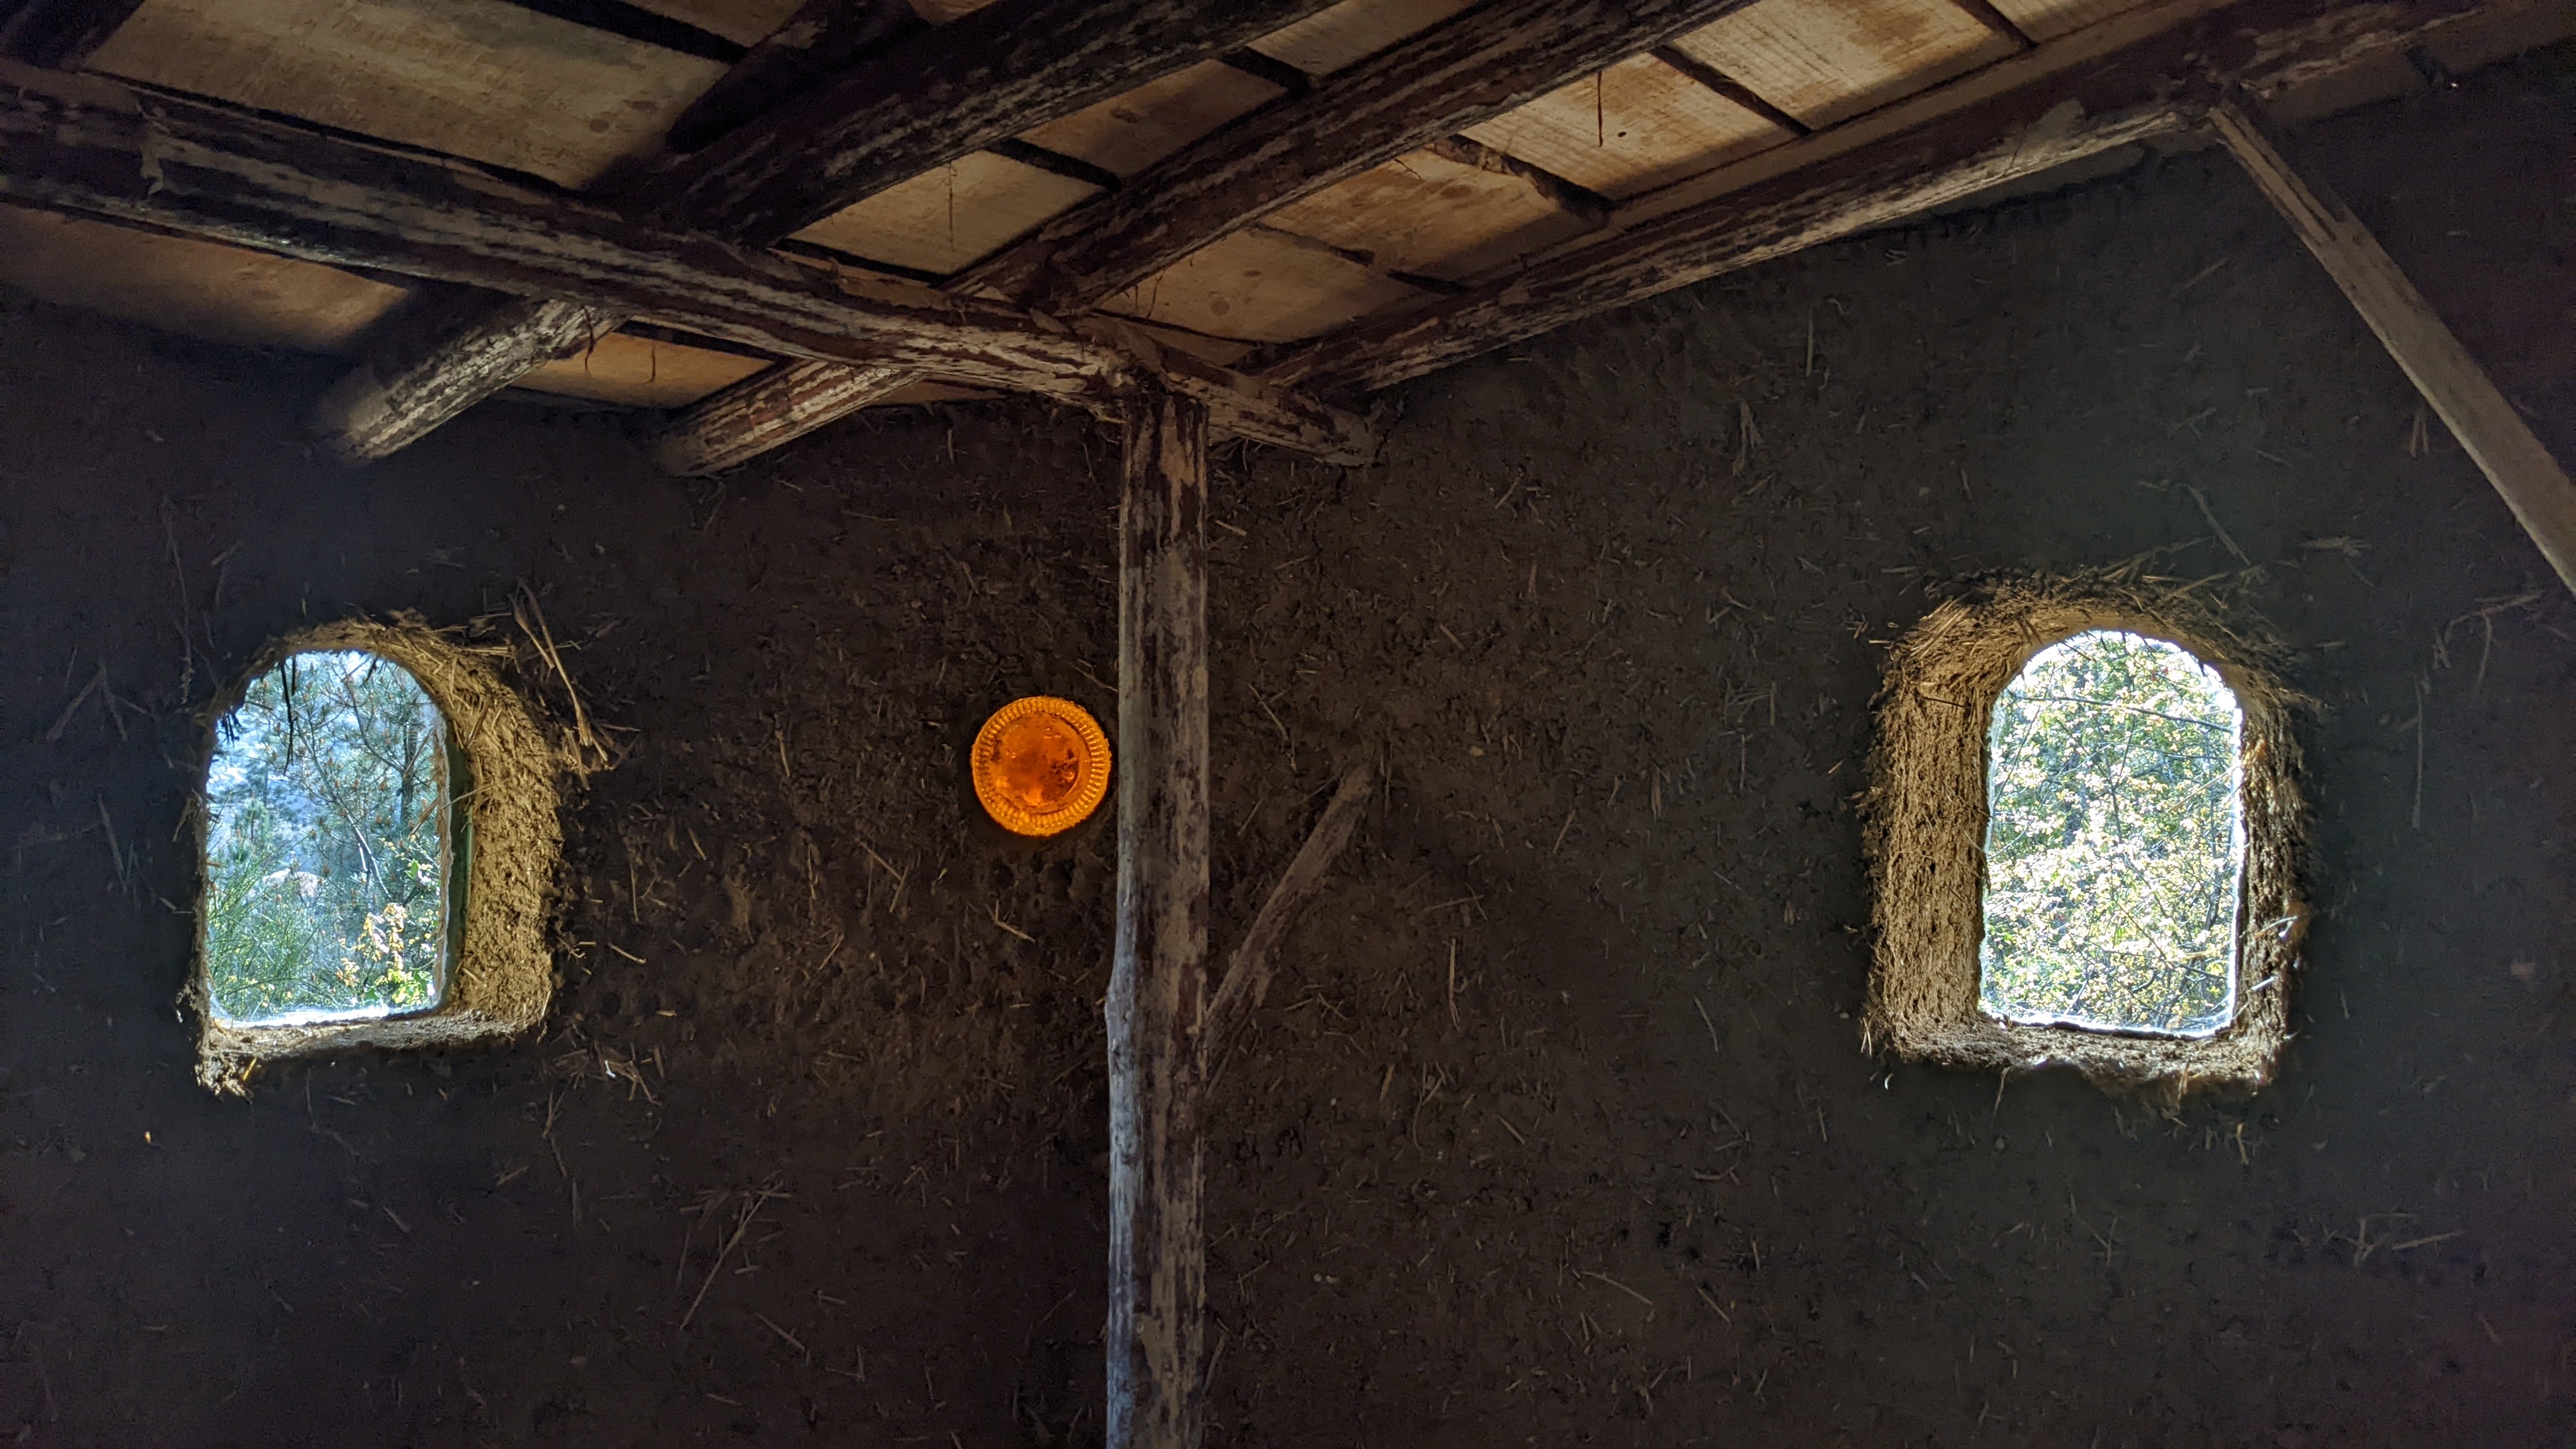
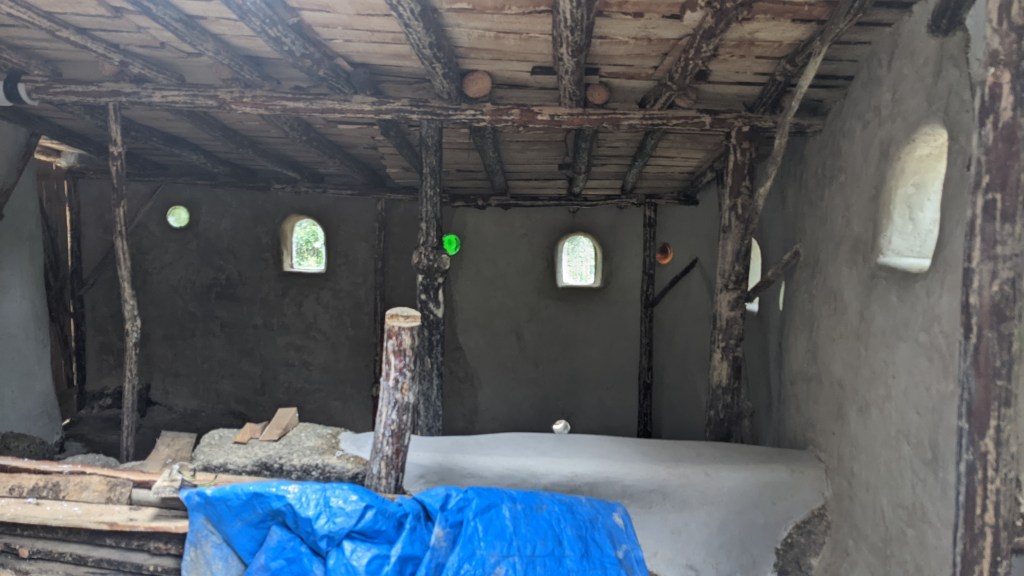
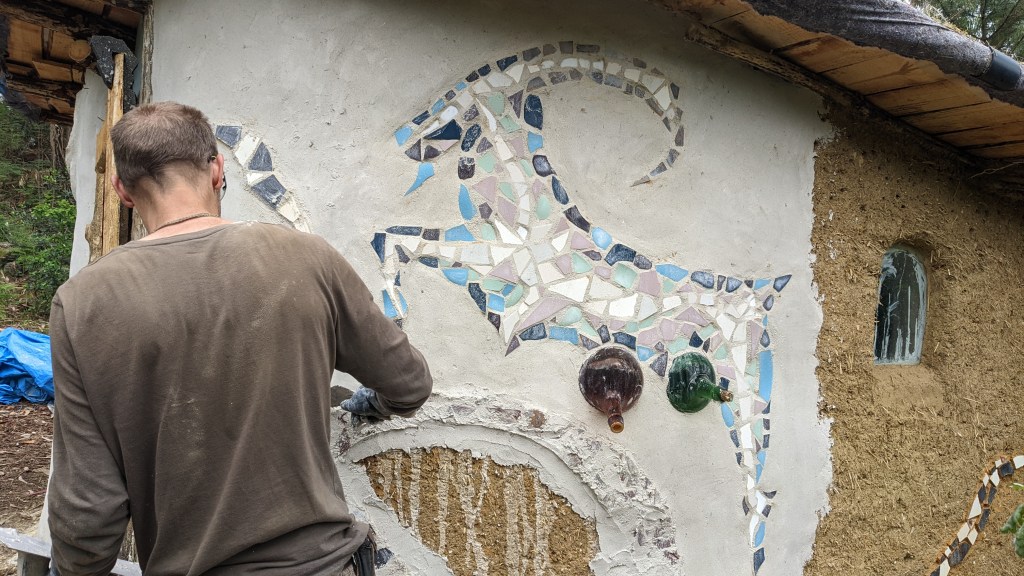
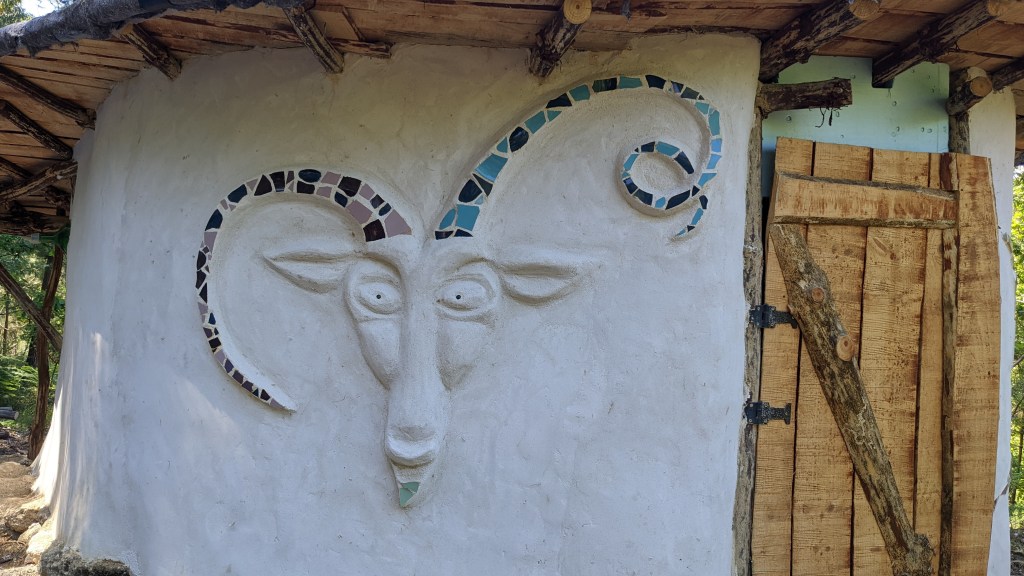
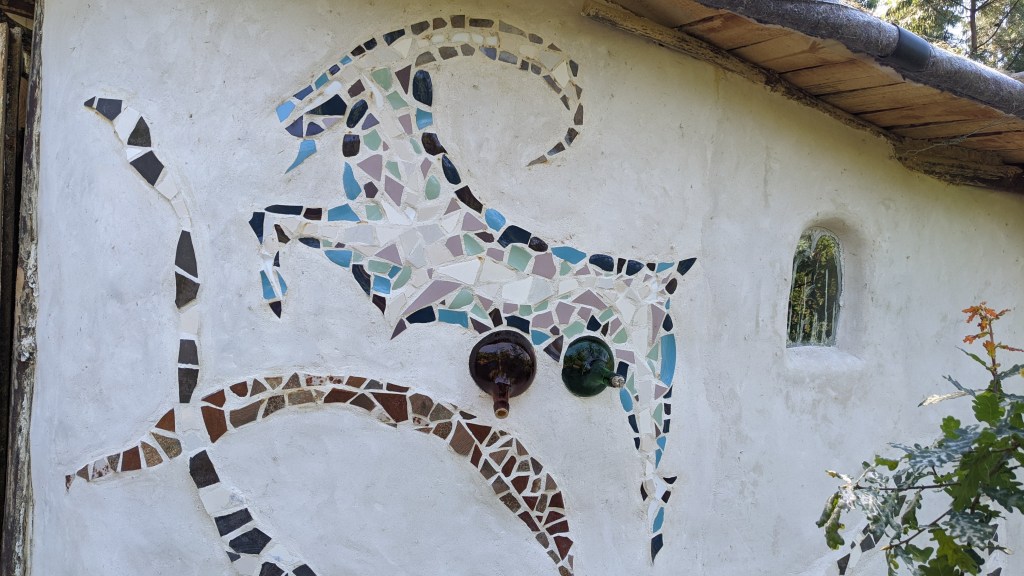
We have added the windows (old refrigerator shelves, so it’s safety glass), and threw in a few bottles as well. This way we can get some pratice with burying glass in cob and creating arched windows, and make more informed decisions for our future house.
-
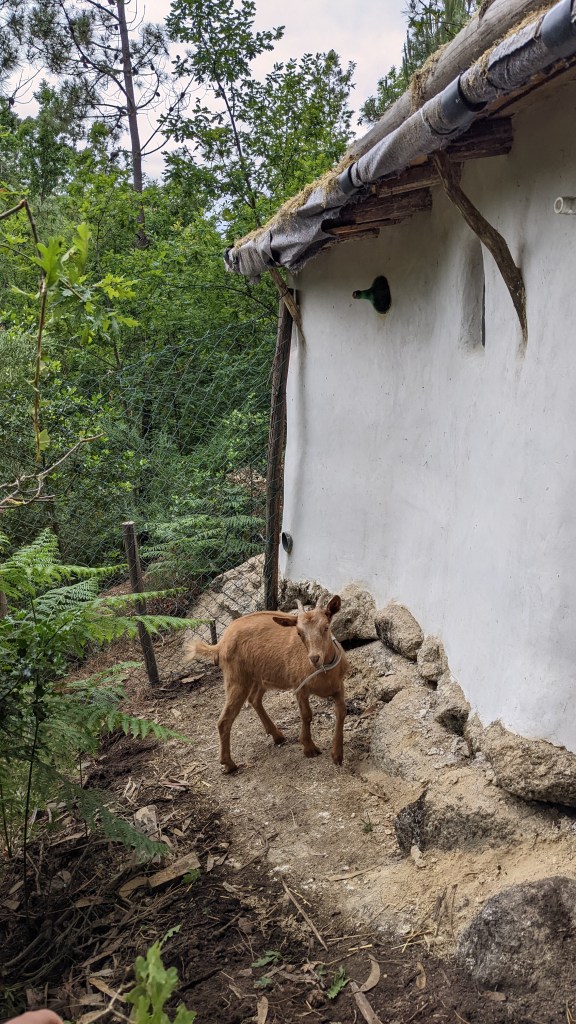
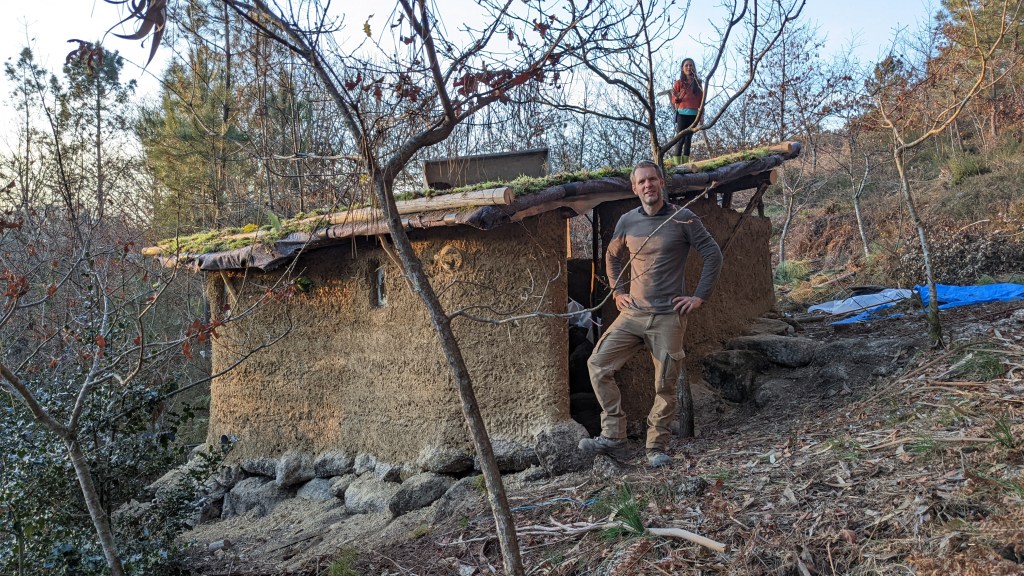
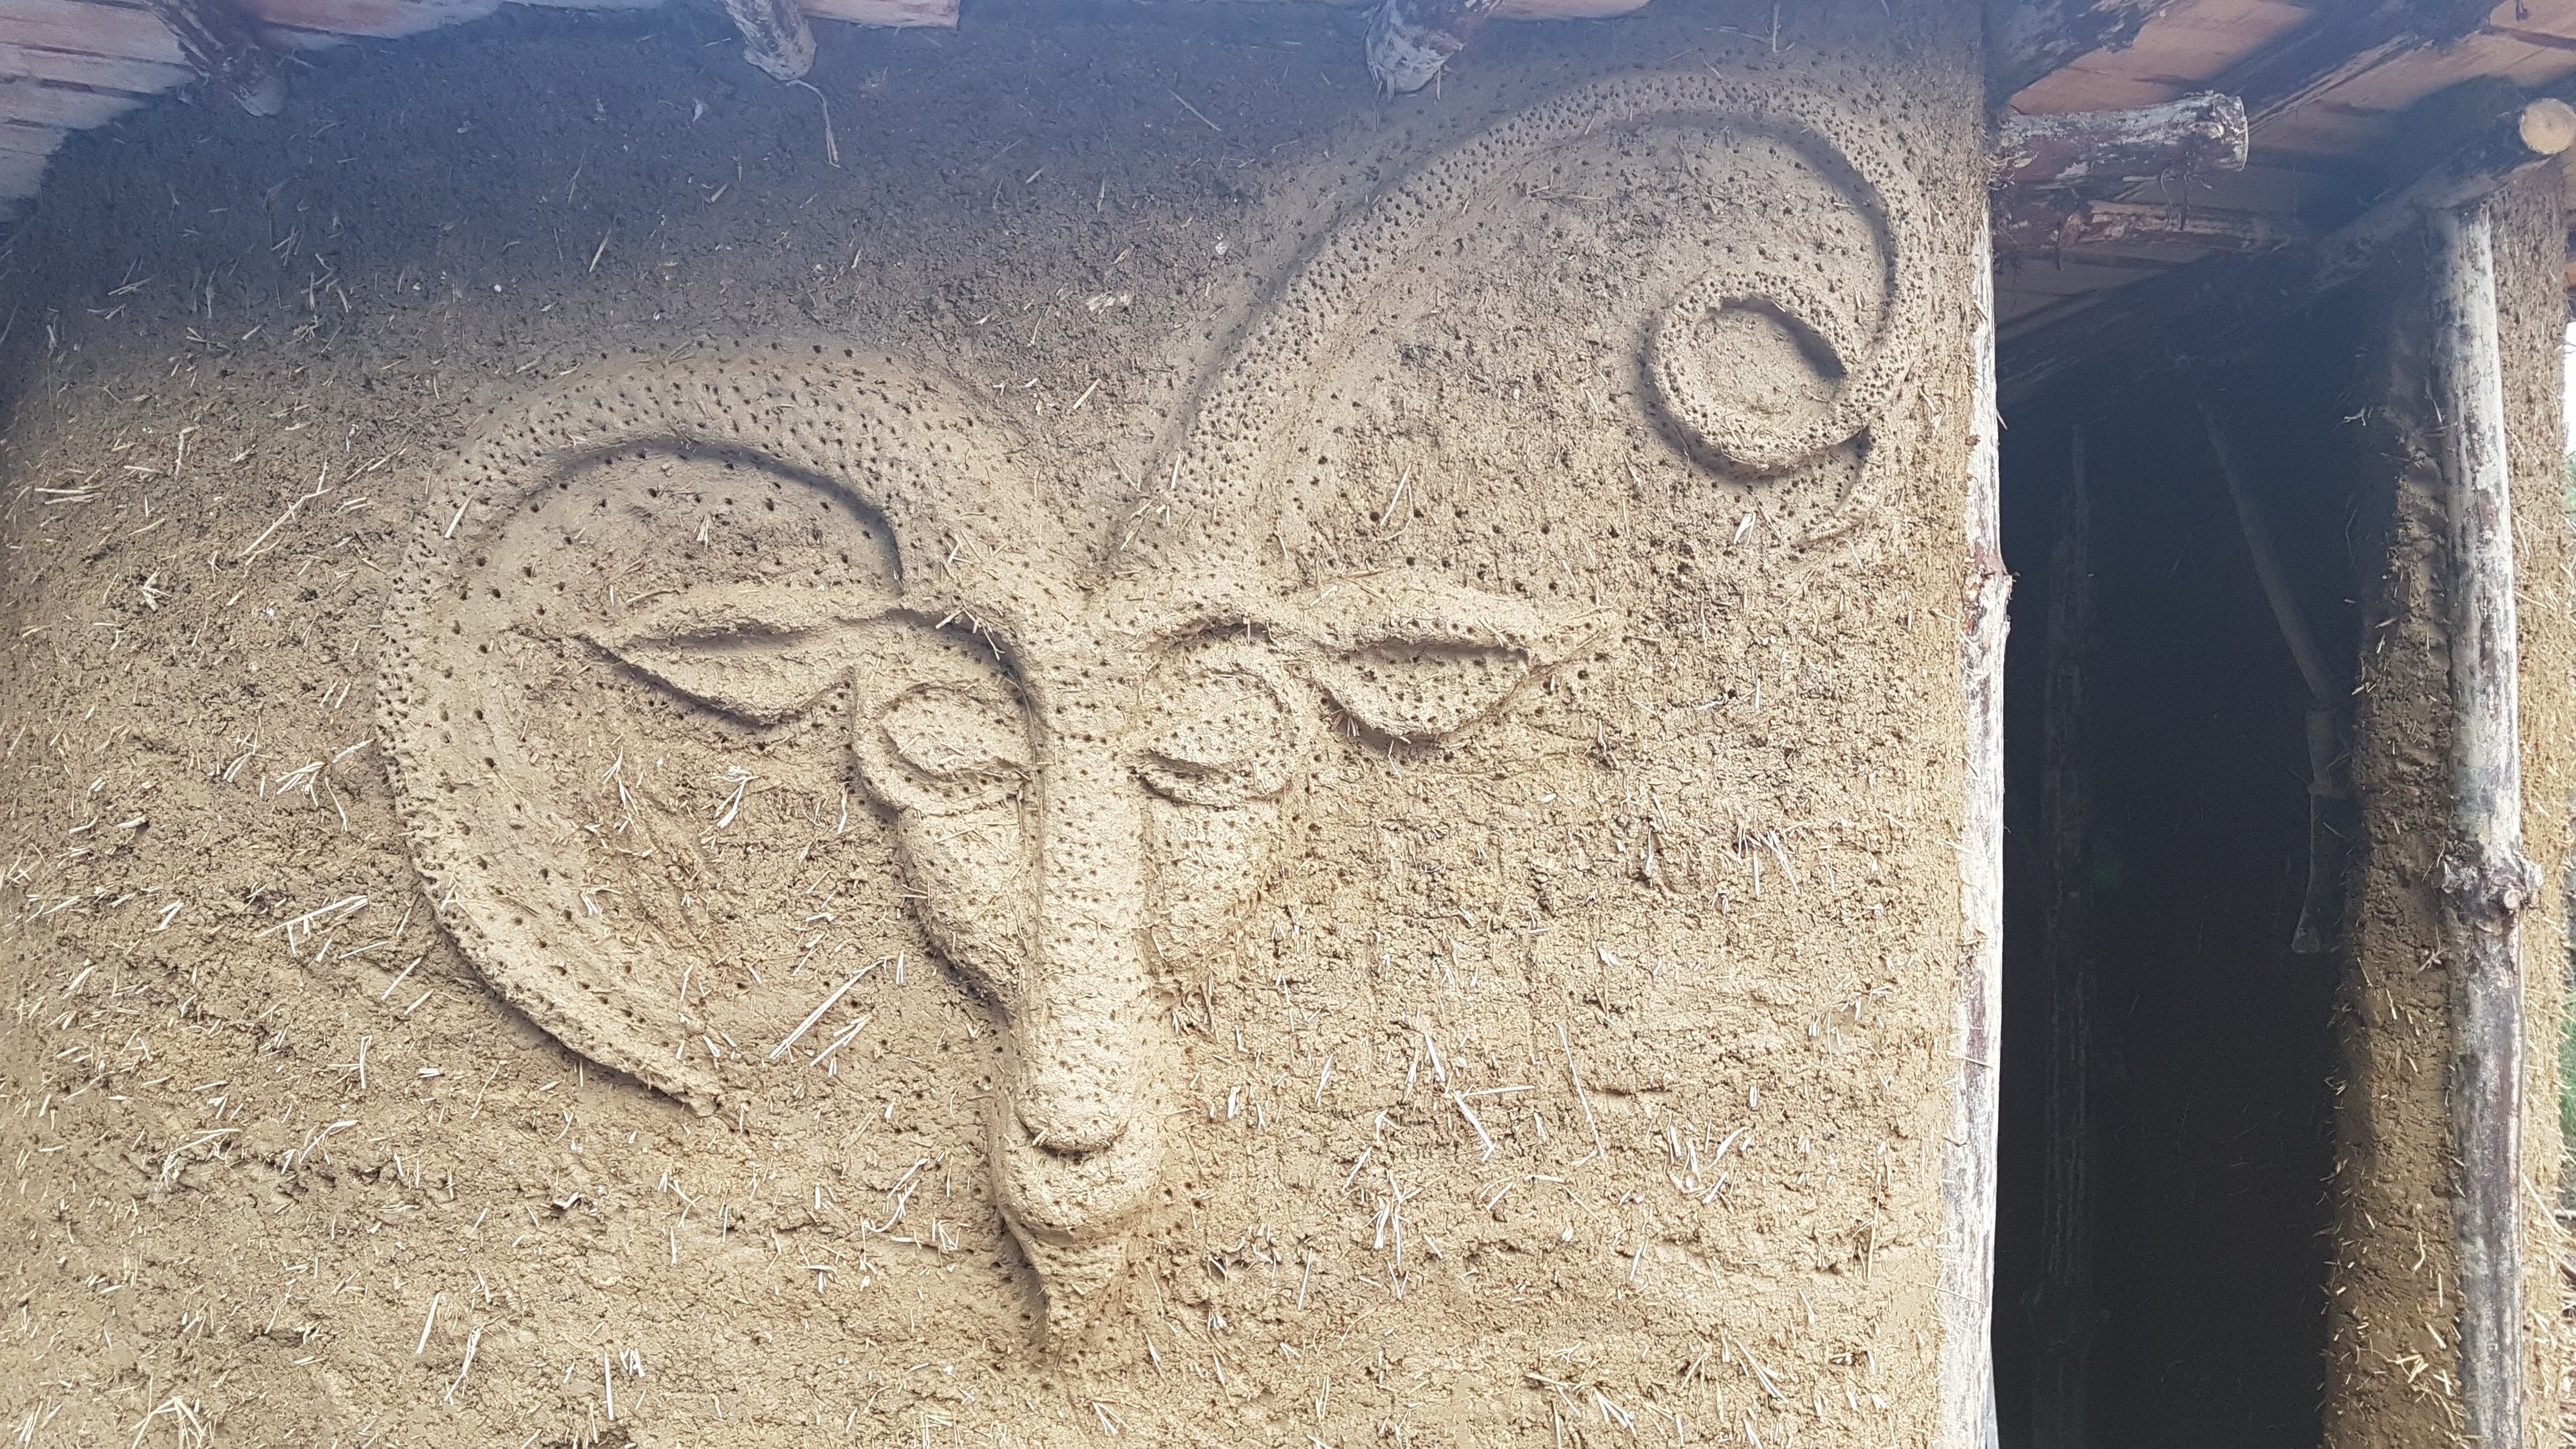
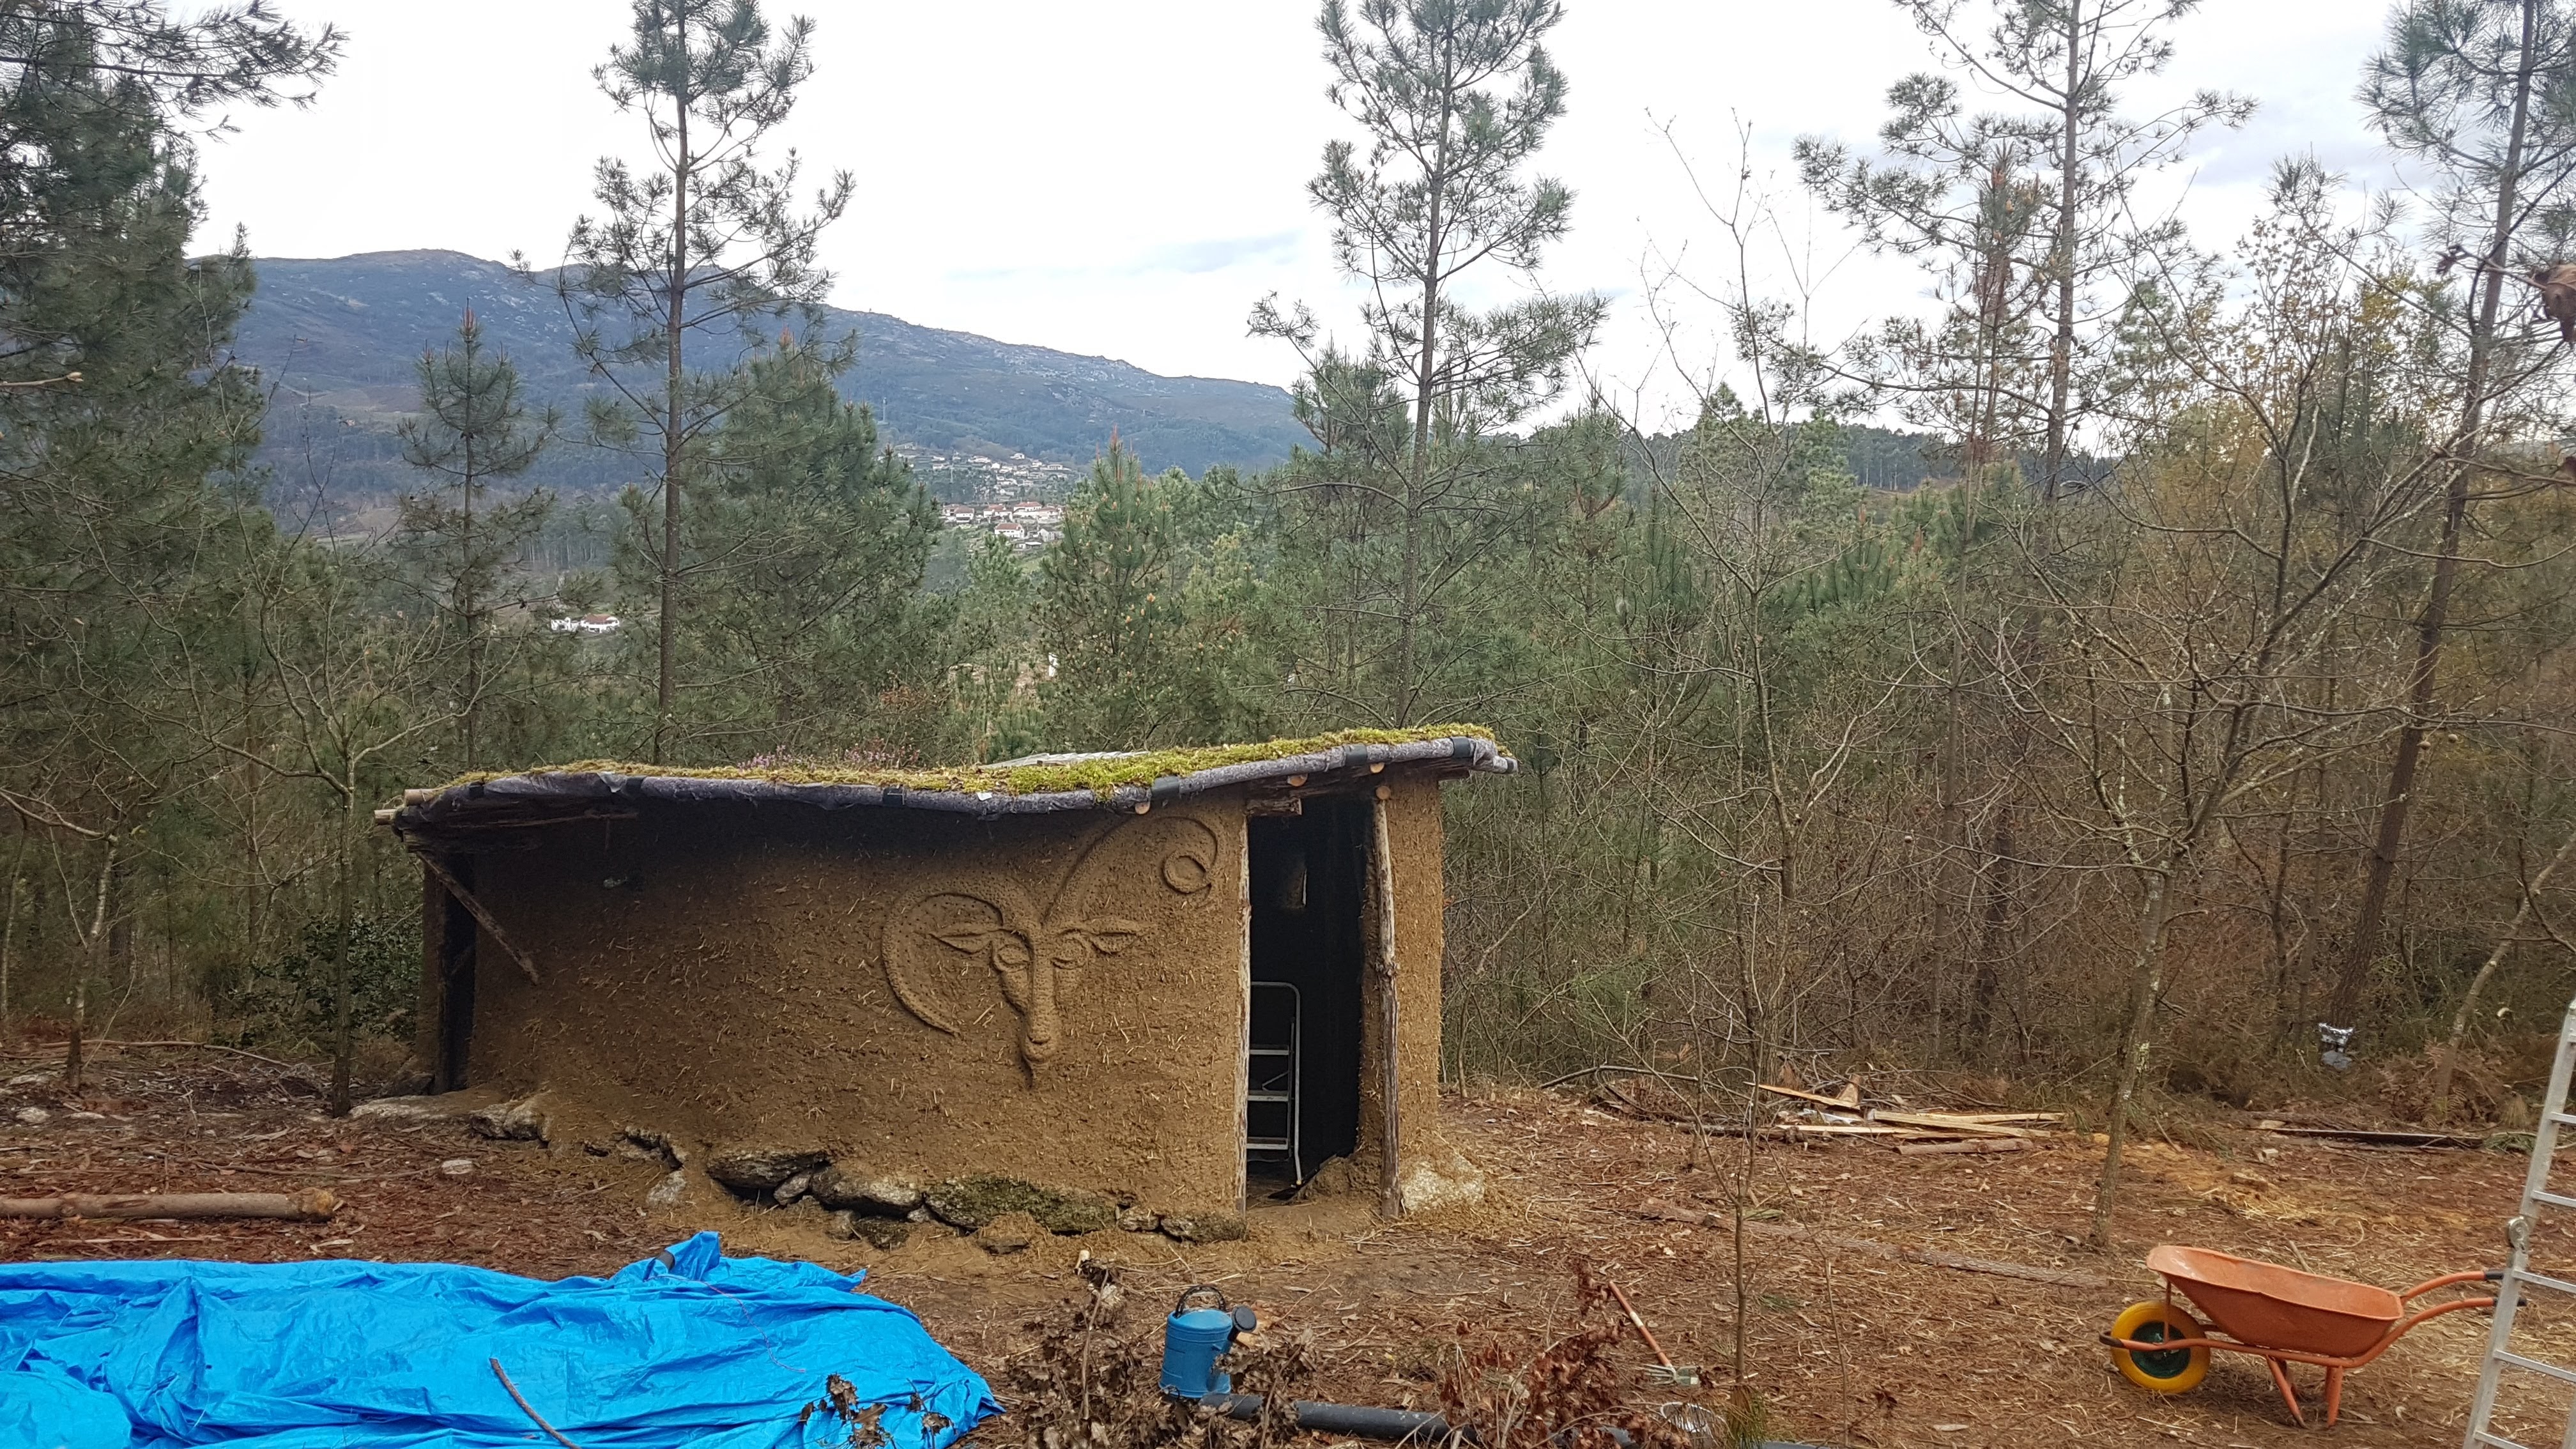
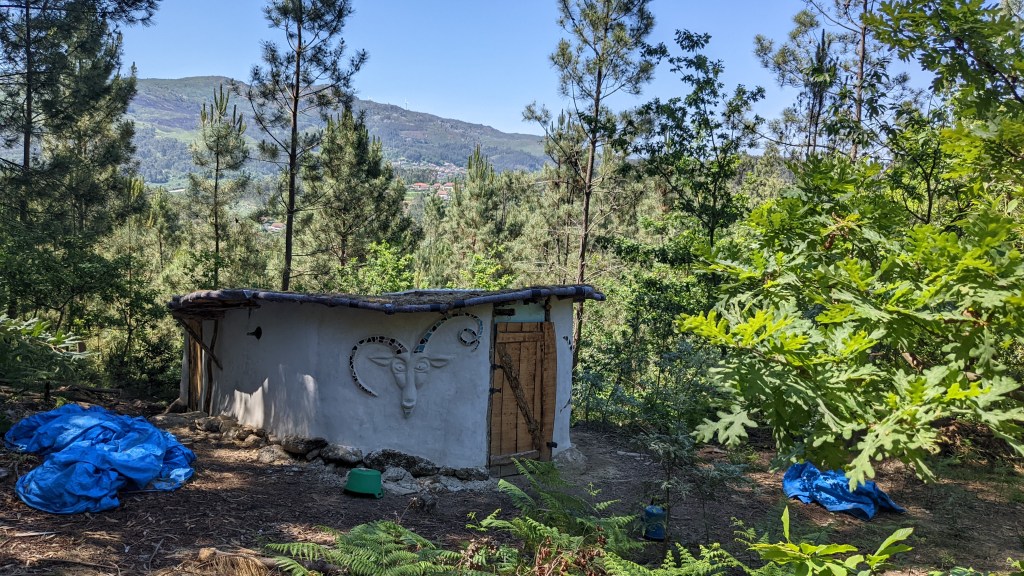
Goat Barn: Almost finished
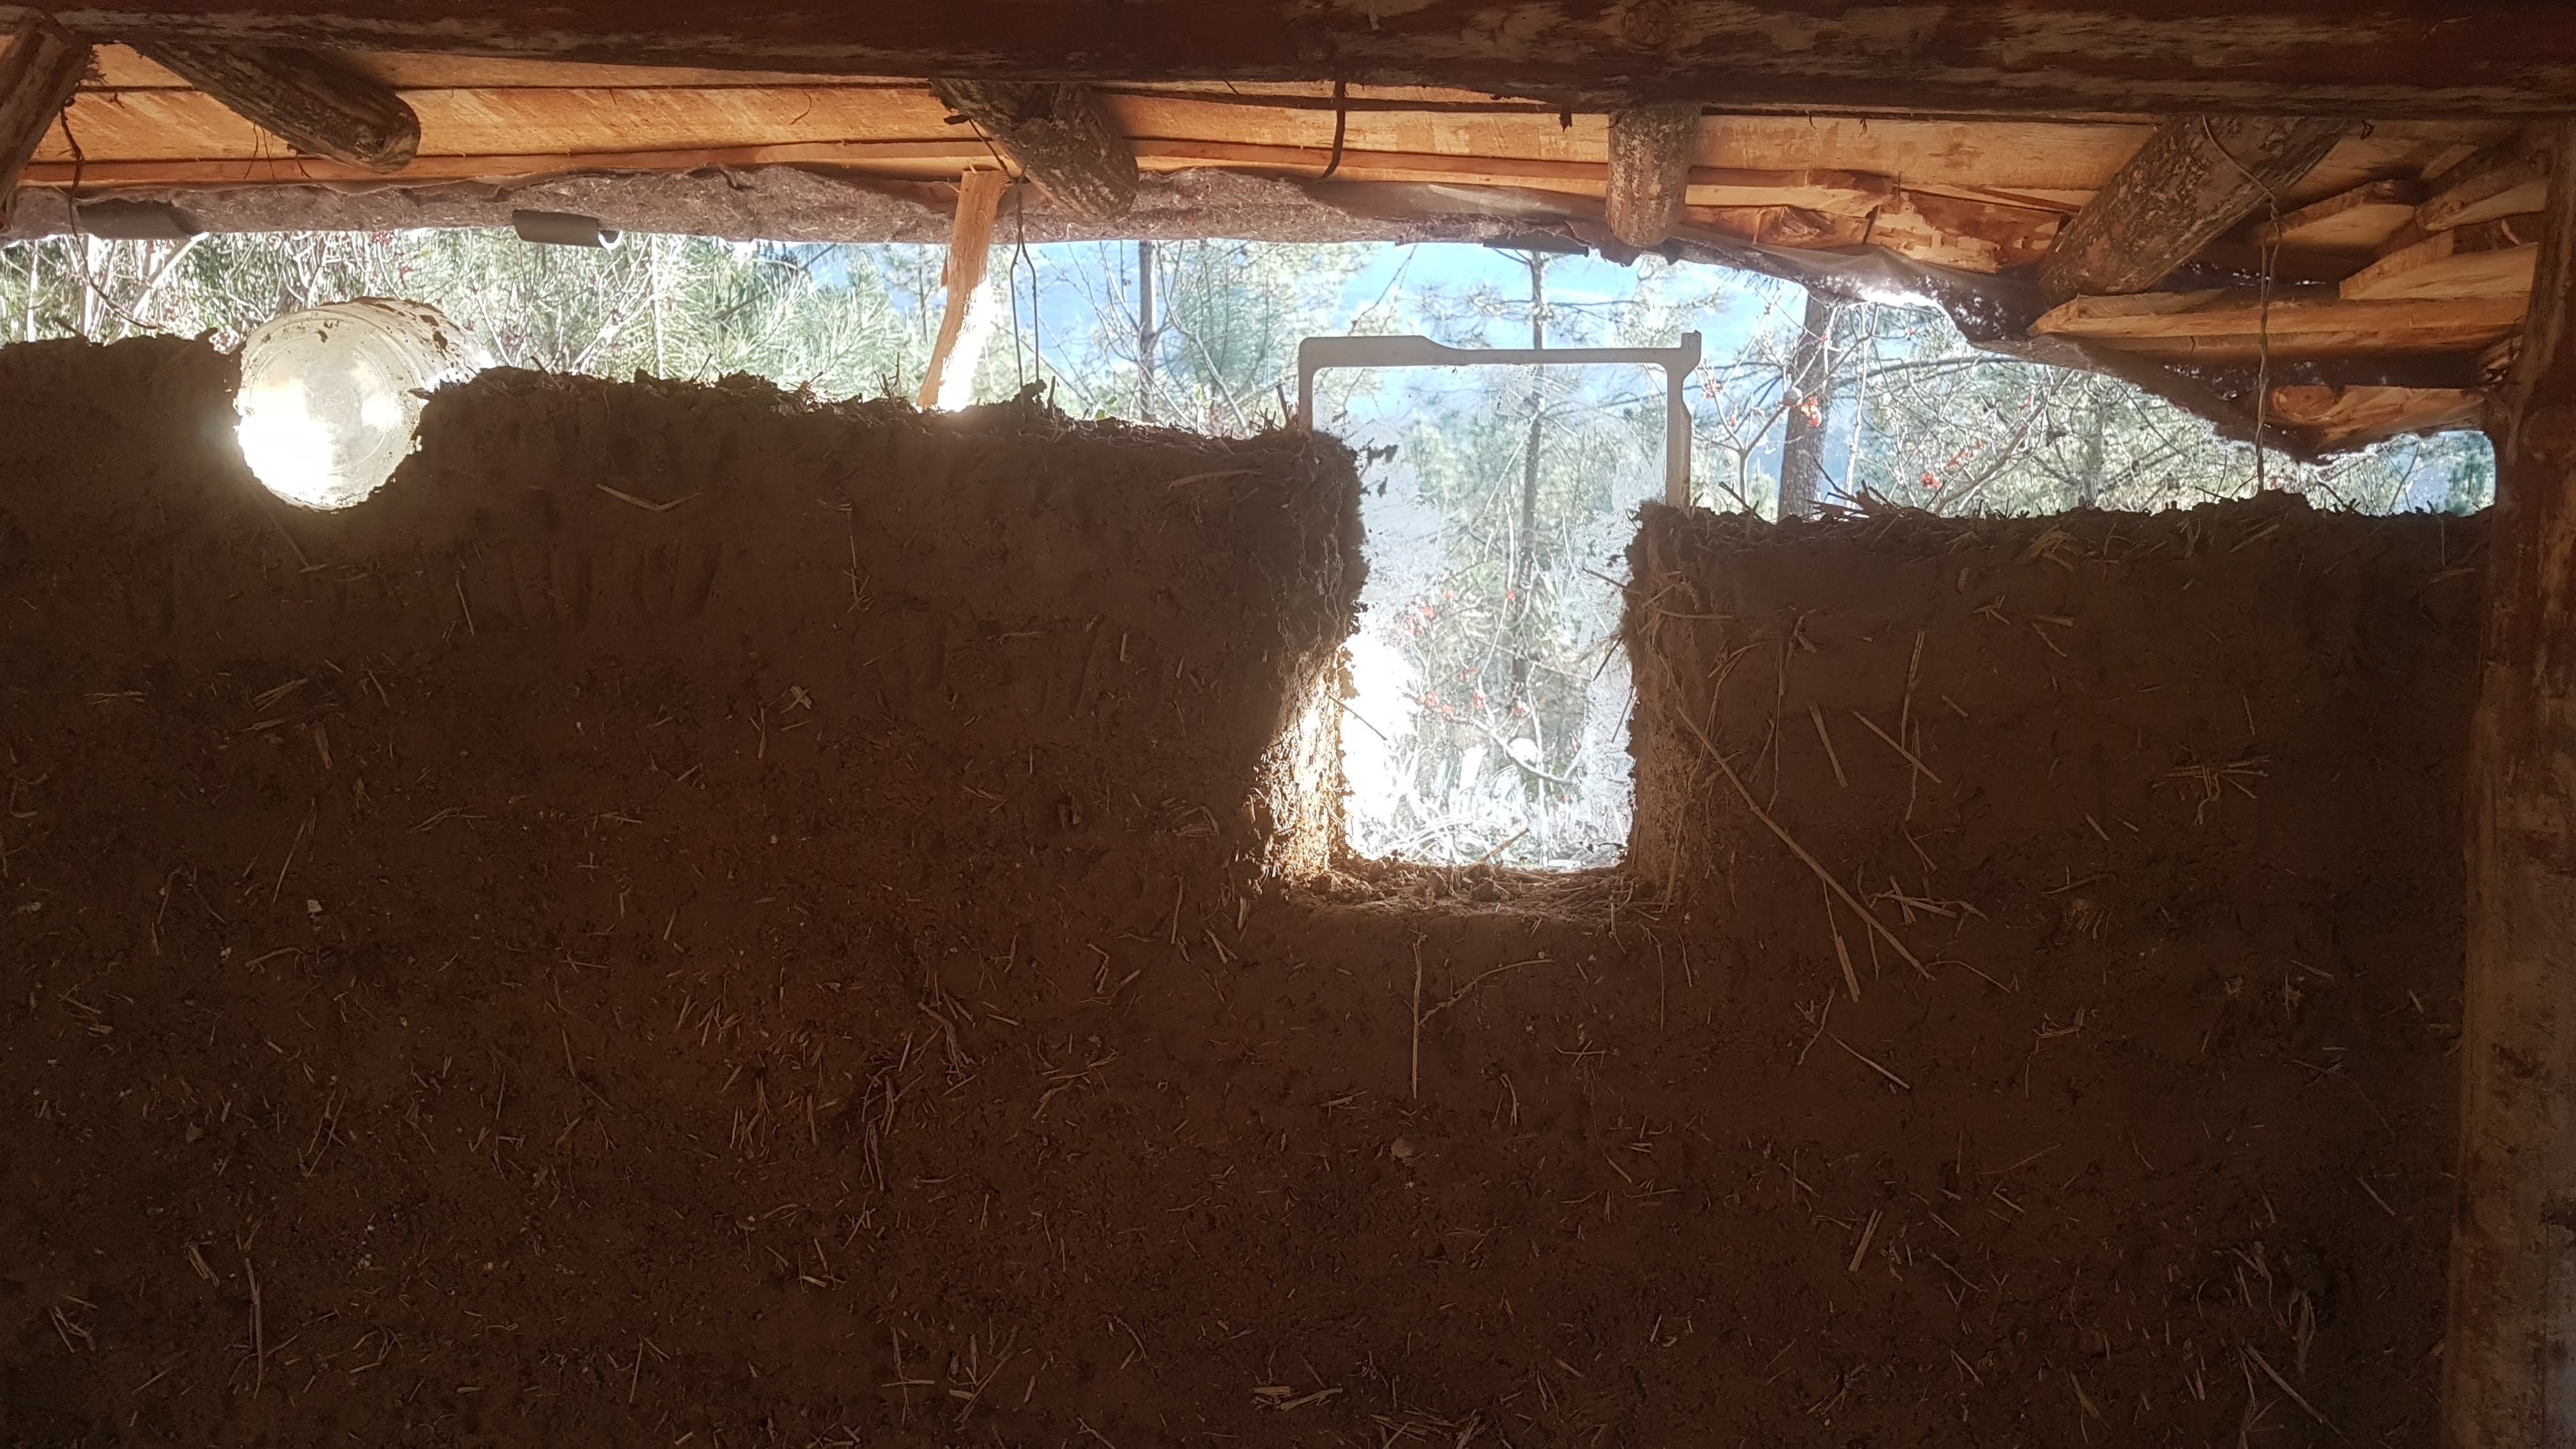
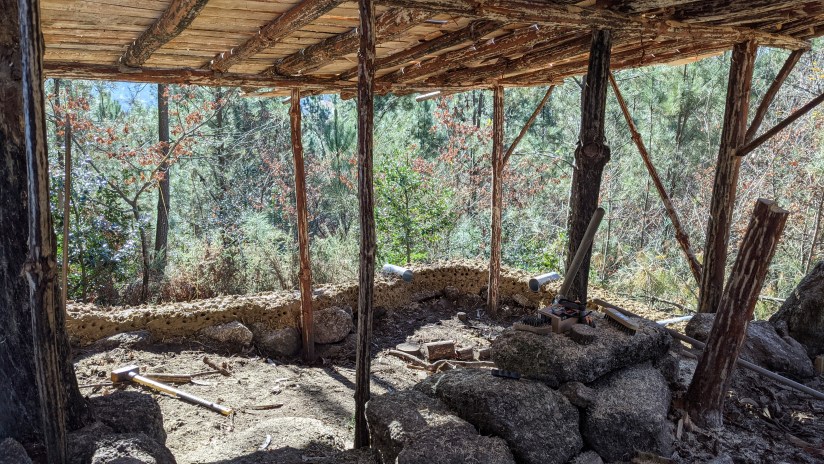
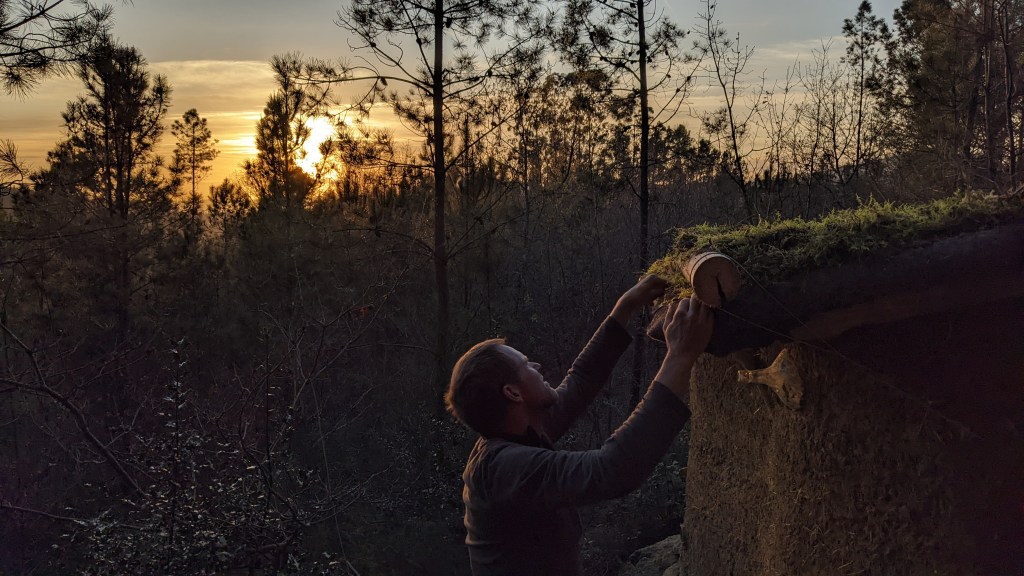
We finished the cobbing and the roof on the goat barn, and Tal has started adding her finishing touches while the wall is still moist. I am waiting for the walls to properly dry before I plaster them. Some cracks are appearing at the posts that are buried in the cob, and I want the walls to properly settle before I fill them in. Only then will I plaster.
I also made 2 doors out of a pine tree that I milled with our Alaskan saw mill. The boards are not perfect, but good enough for our purposes, and it is free wood.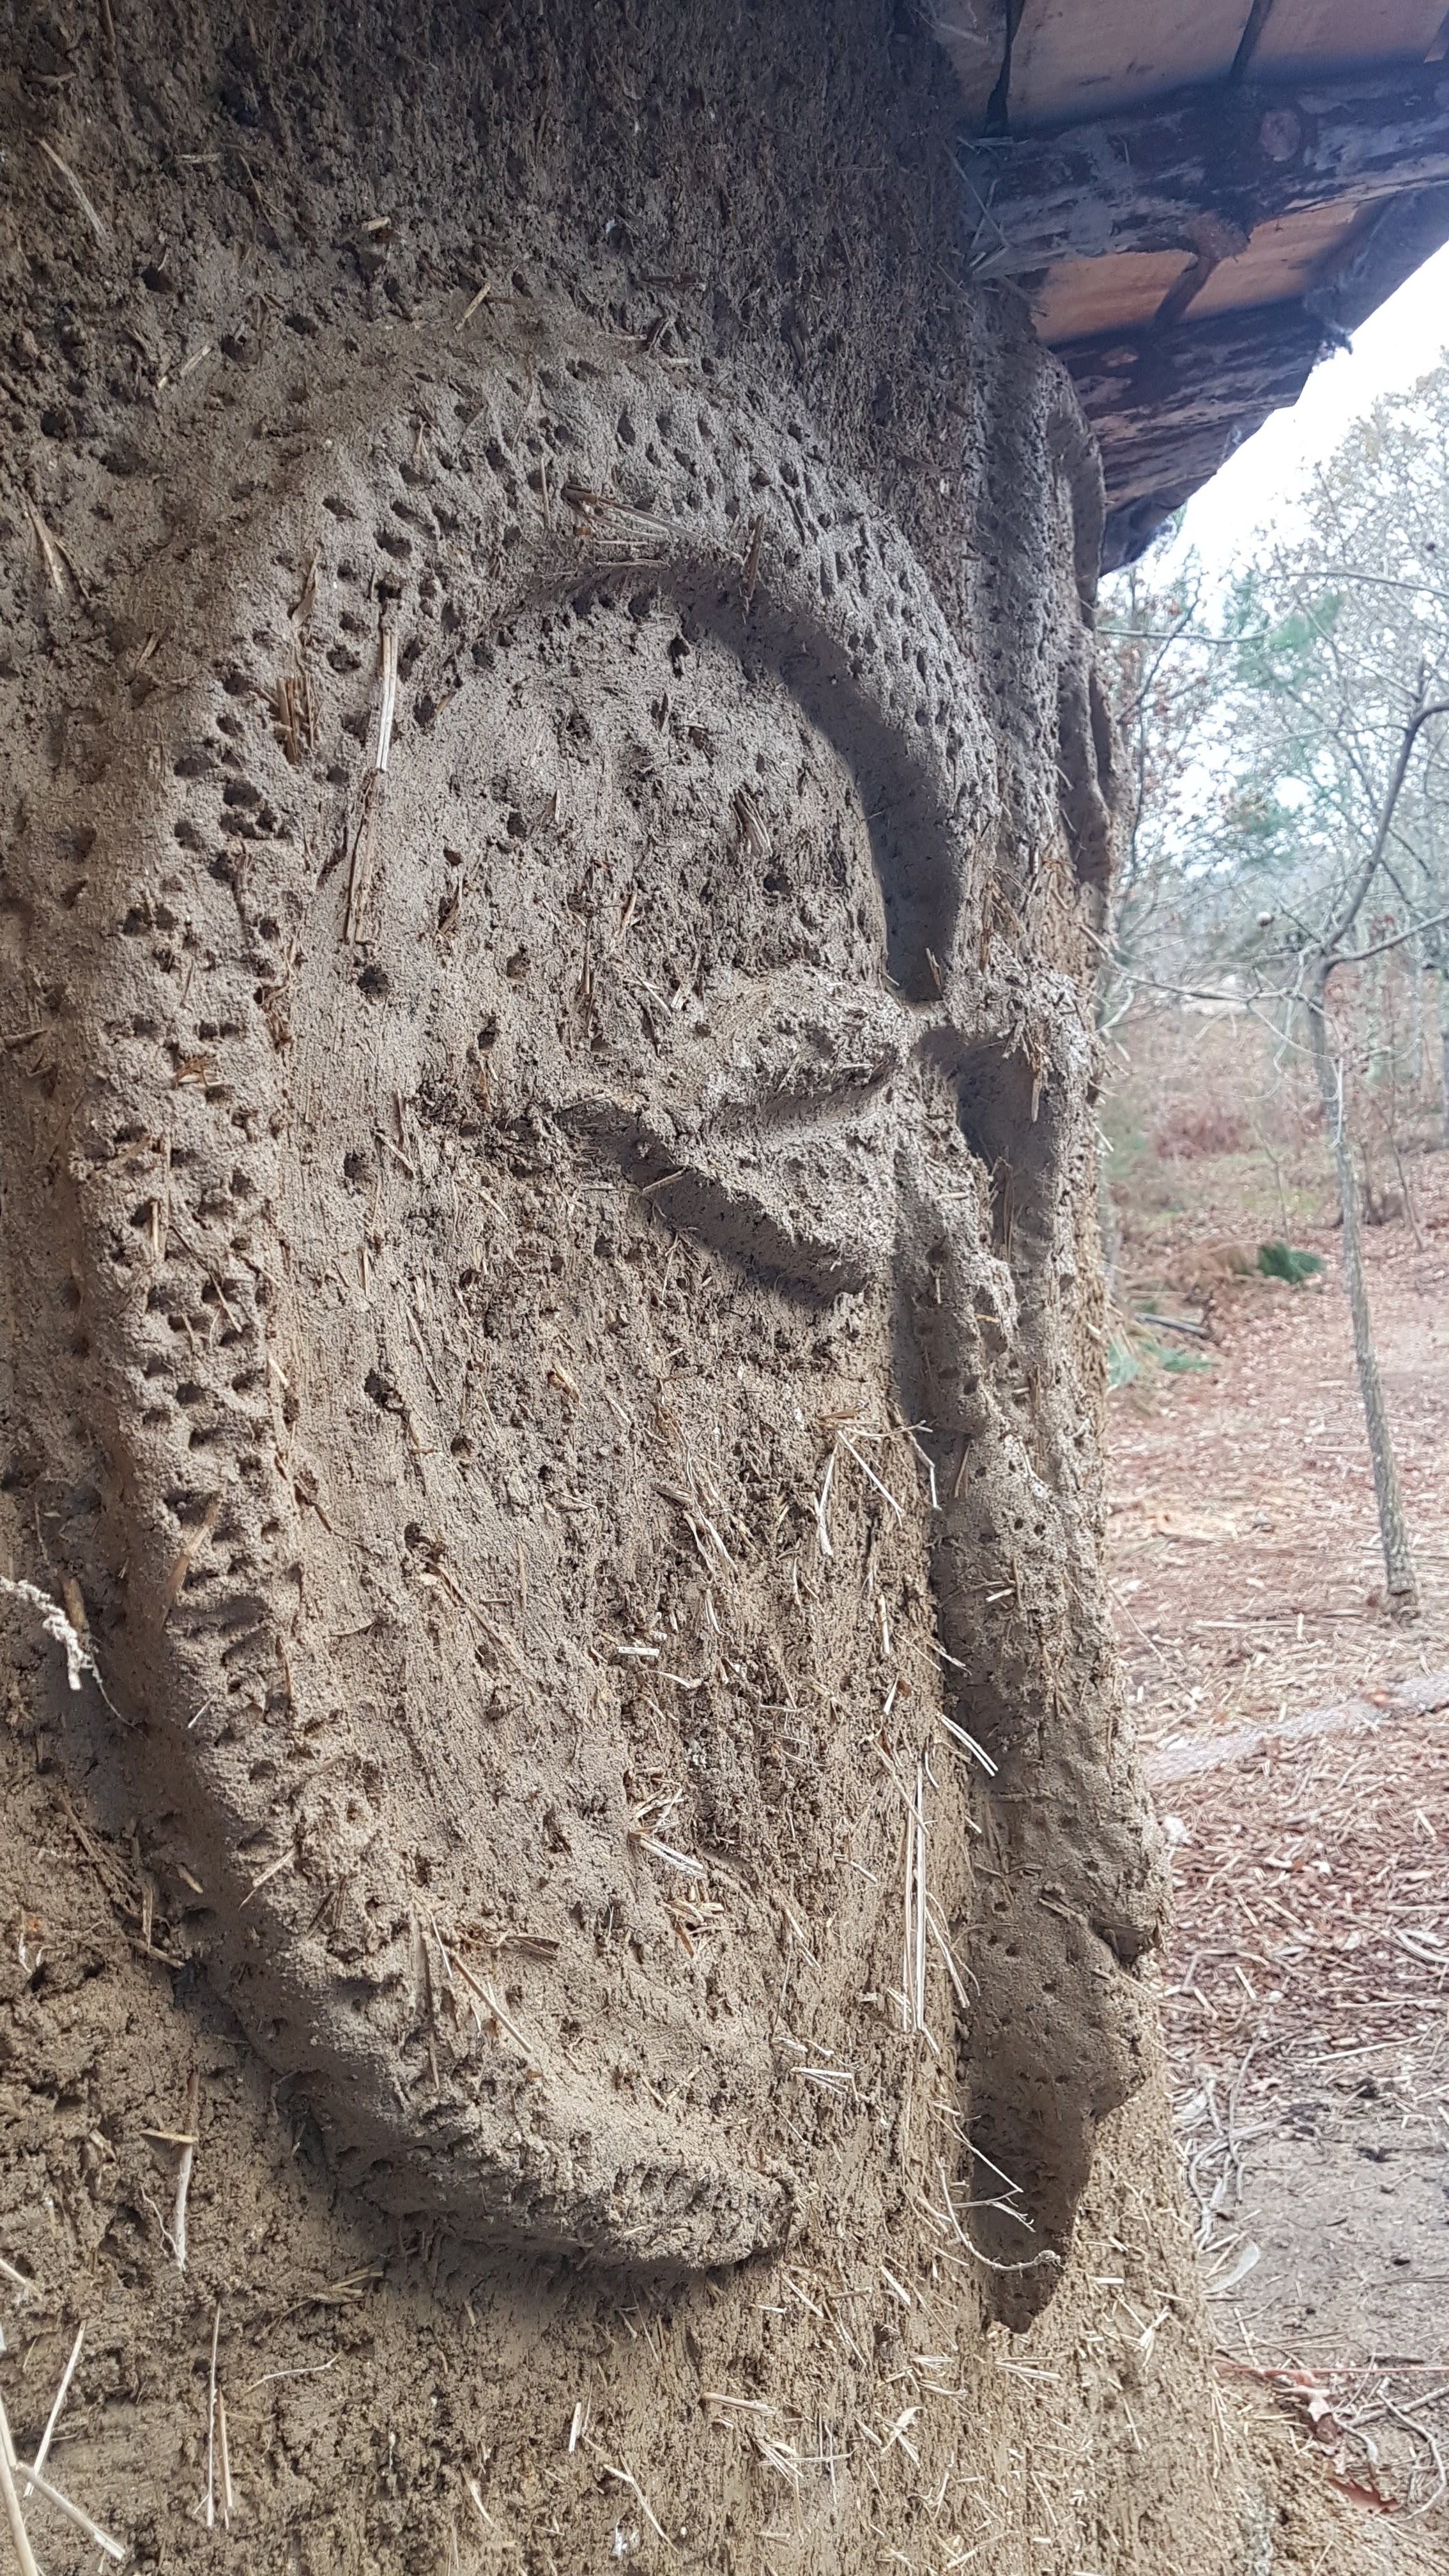


-
Goat Barn: Plaster, Interior & Goats!
The last few months have been very busy with family visits. We rushed to finish the goat barn before Tal’s sister arrived, so that she could try out the new shelter first. After she left, we had to get cracking with the rest, since we had two goats waiting to join our homestead.
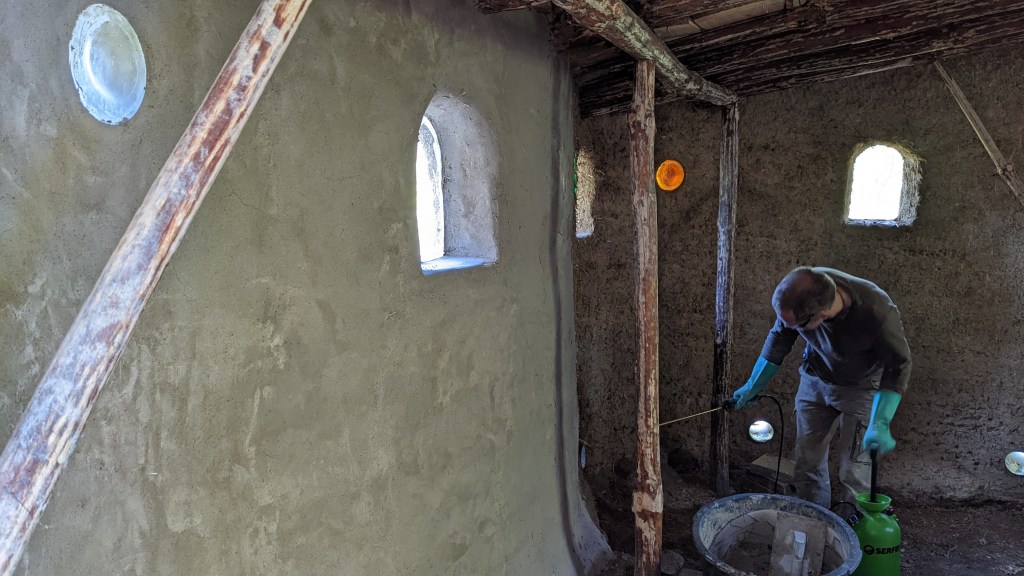
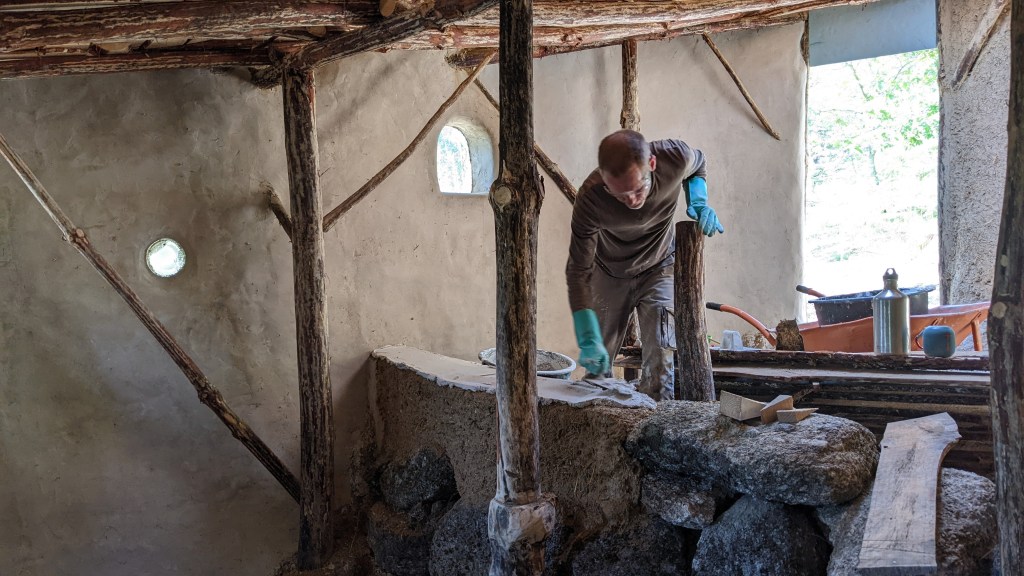
We started with plastering the walls. I used a lime plaster, applying only one layer. It is quite a simple plaster, basically only sand and lime—the same mix I used for the Octagon, but without the cow manure.
Once we finished plastering I started working on the outside fencing. We planned for the goats to have a small, permanent outside enclosure that connects to the barn. This will enable us to have the goats in one place close together, when that is required. In addition, they will have a larger pasture encompassed by electrical fencing, so that we can rotate the browsing sites. We are still waiting for the fencing to arrive, which will complete this project.
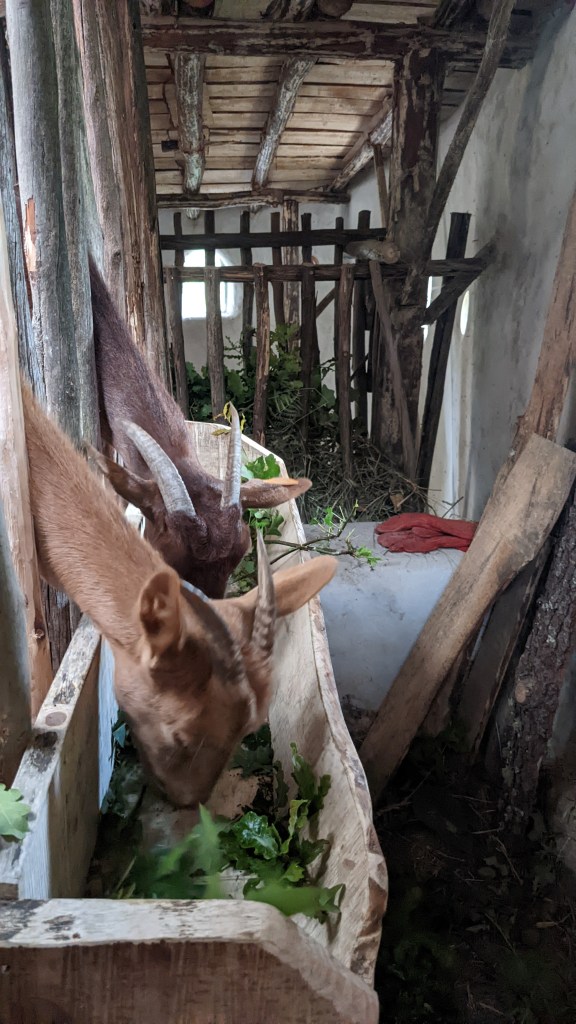
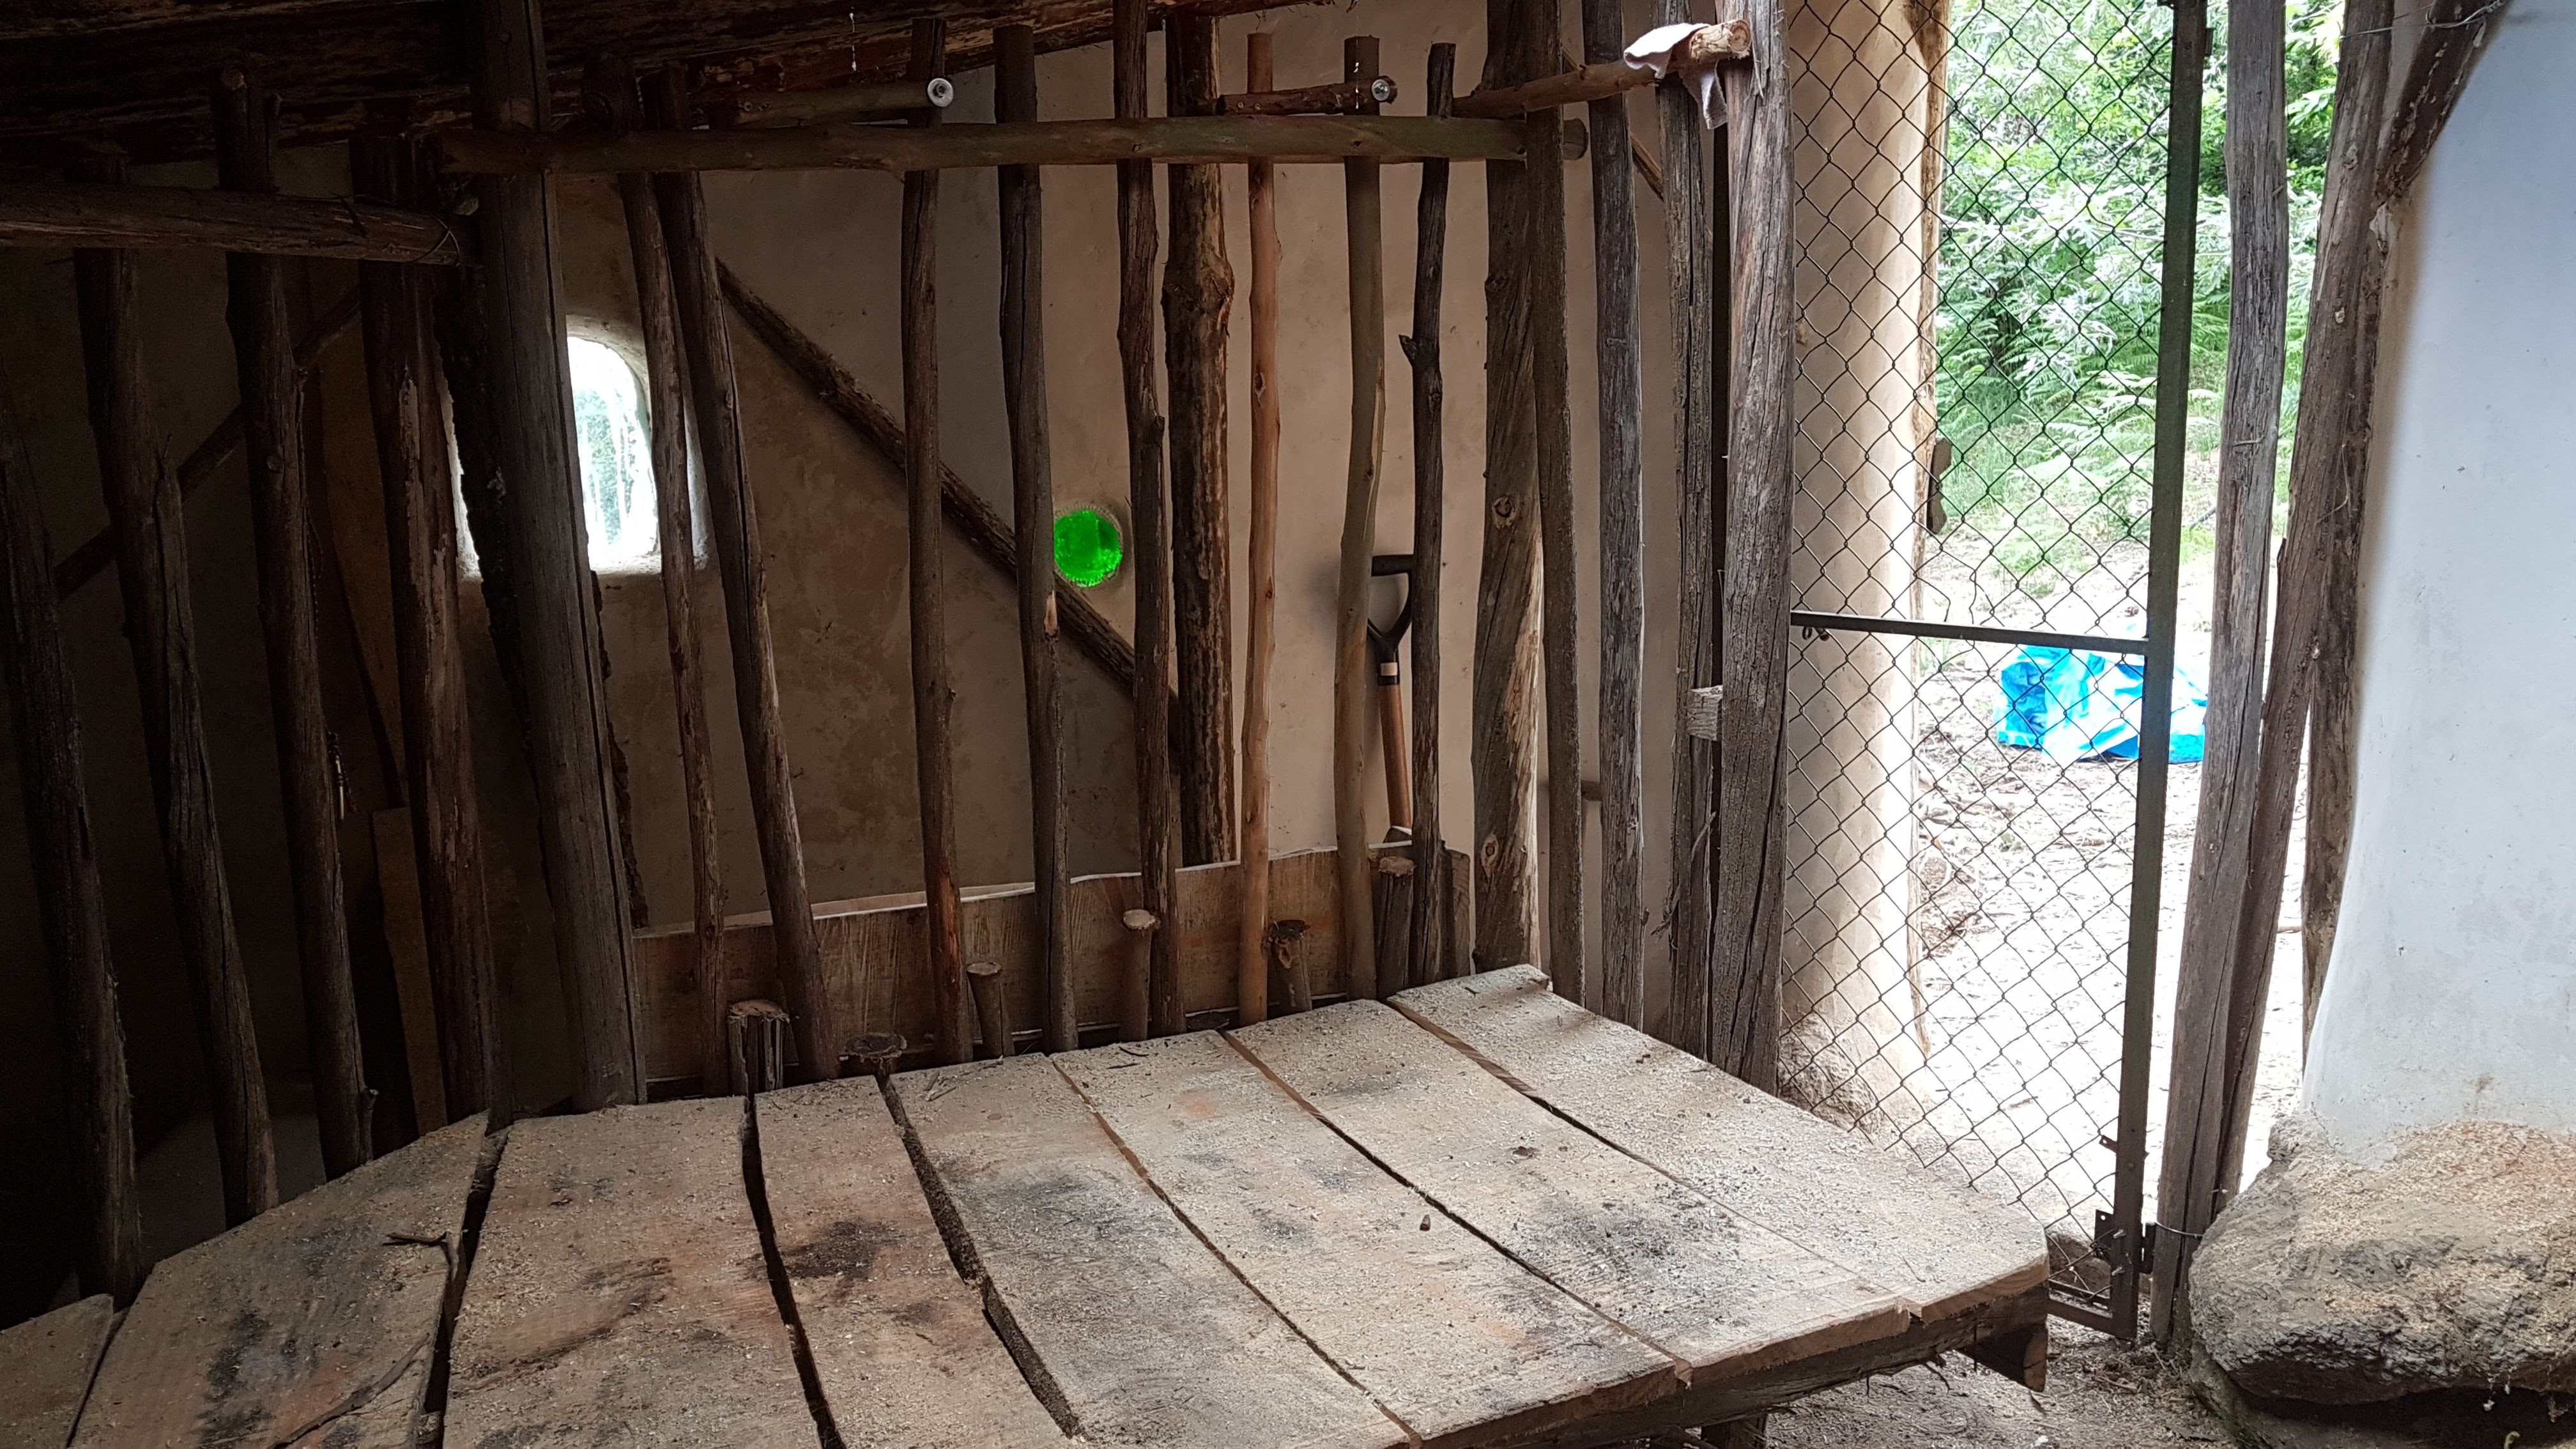
For the interior, I decided to use a compartmentalized design we had encountered in our previous goat endeavors. The lower part of the barn is the goats’ indoor living space, complete with a trough for hay/branches. The next compartment is the milking area. This has a deck for the goats to stand on while being milked. They have a feeding trough here as well, so that they can eat while being milked. The last smaller compartment is for us to access the feeding trough and to enter the barn.


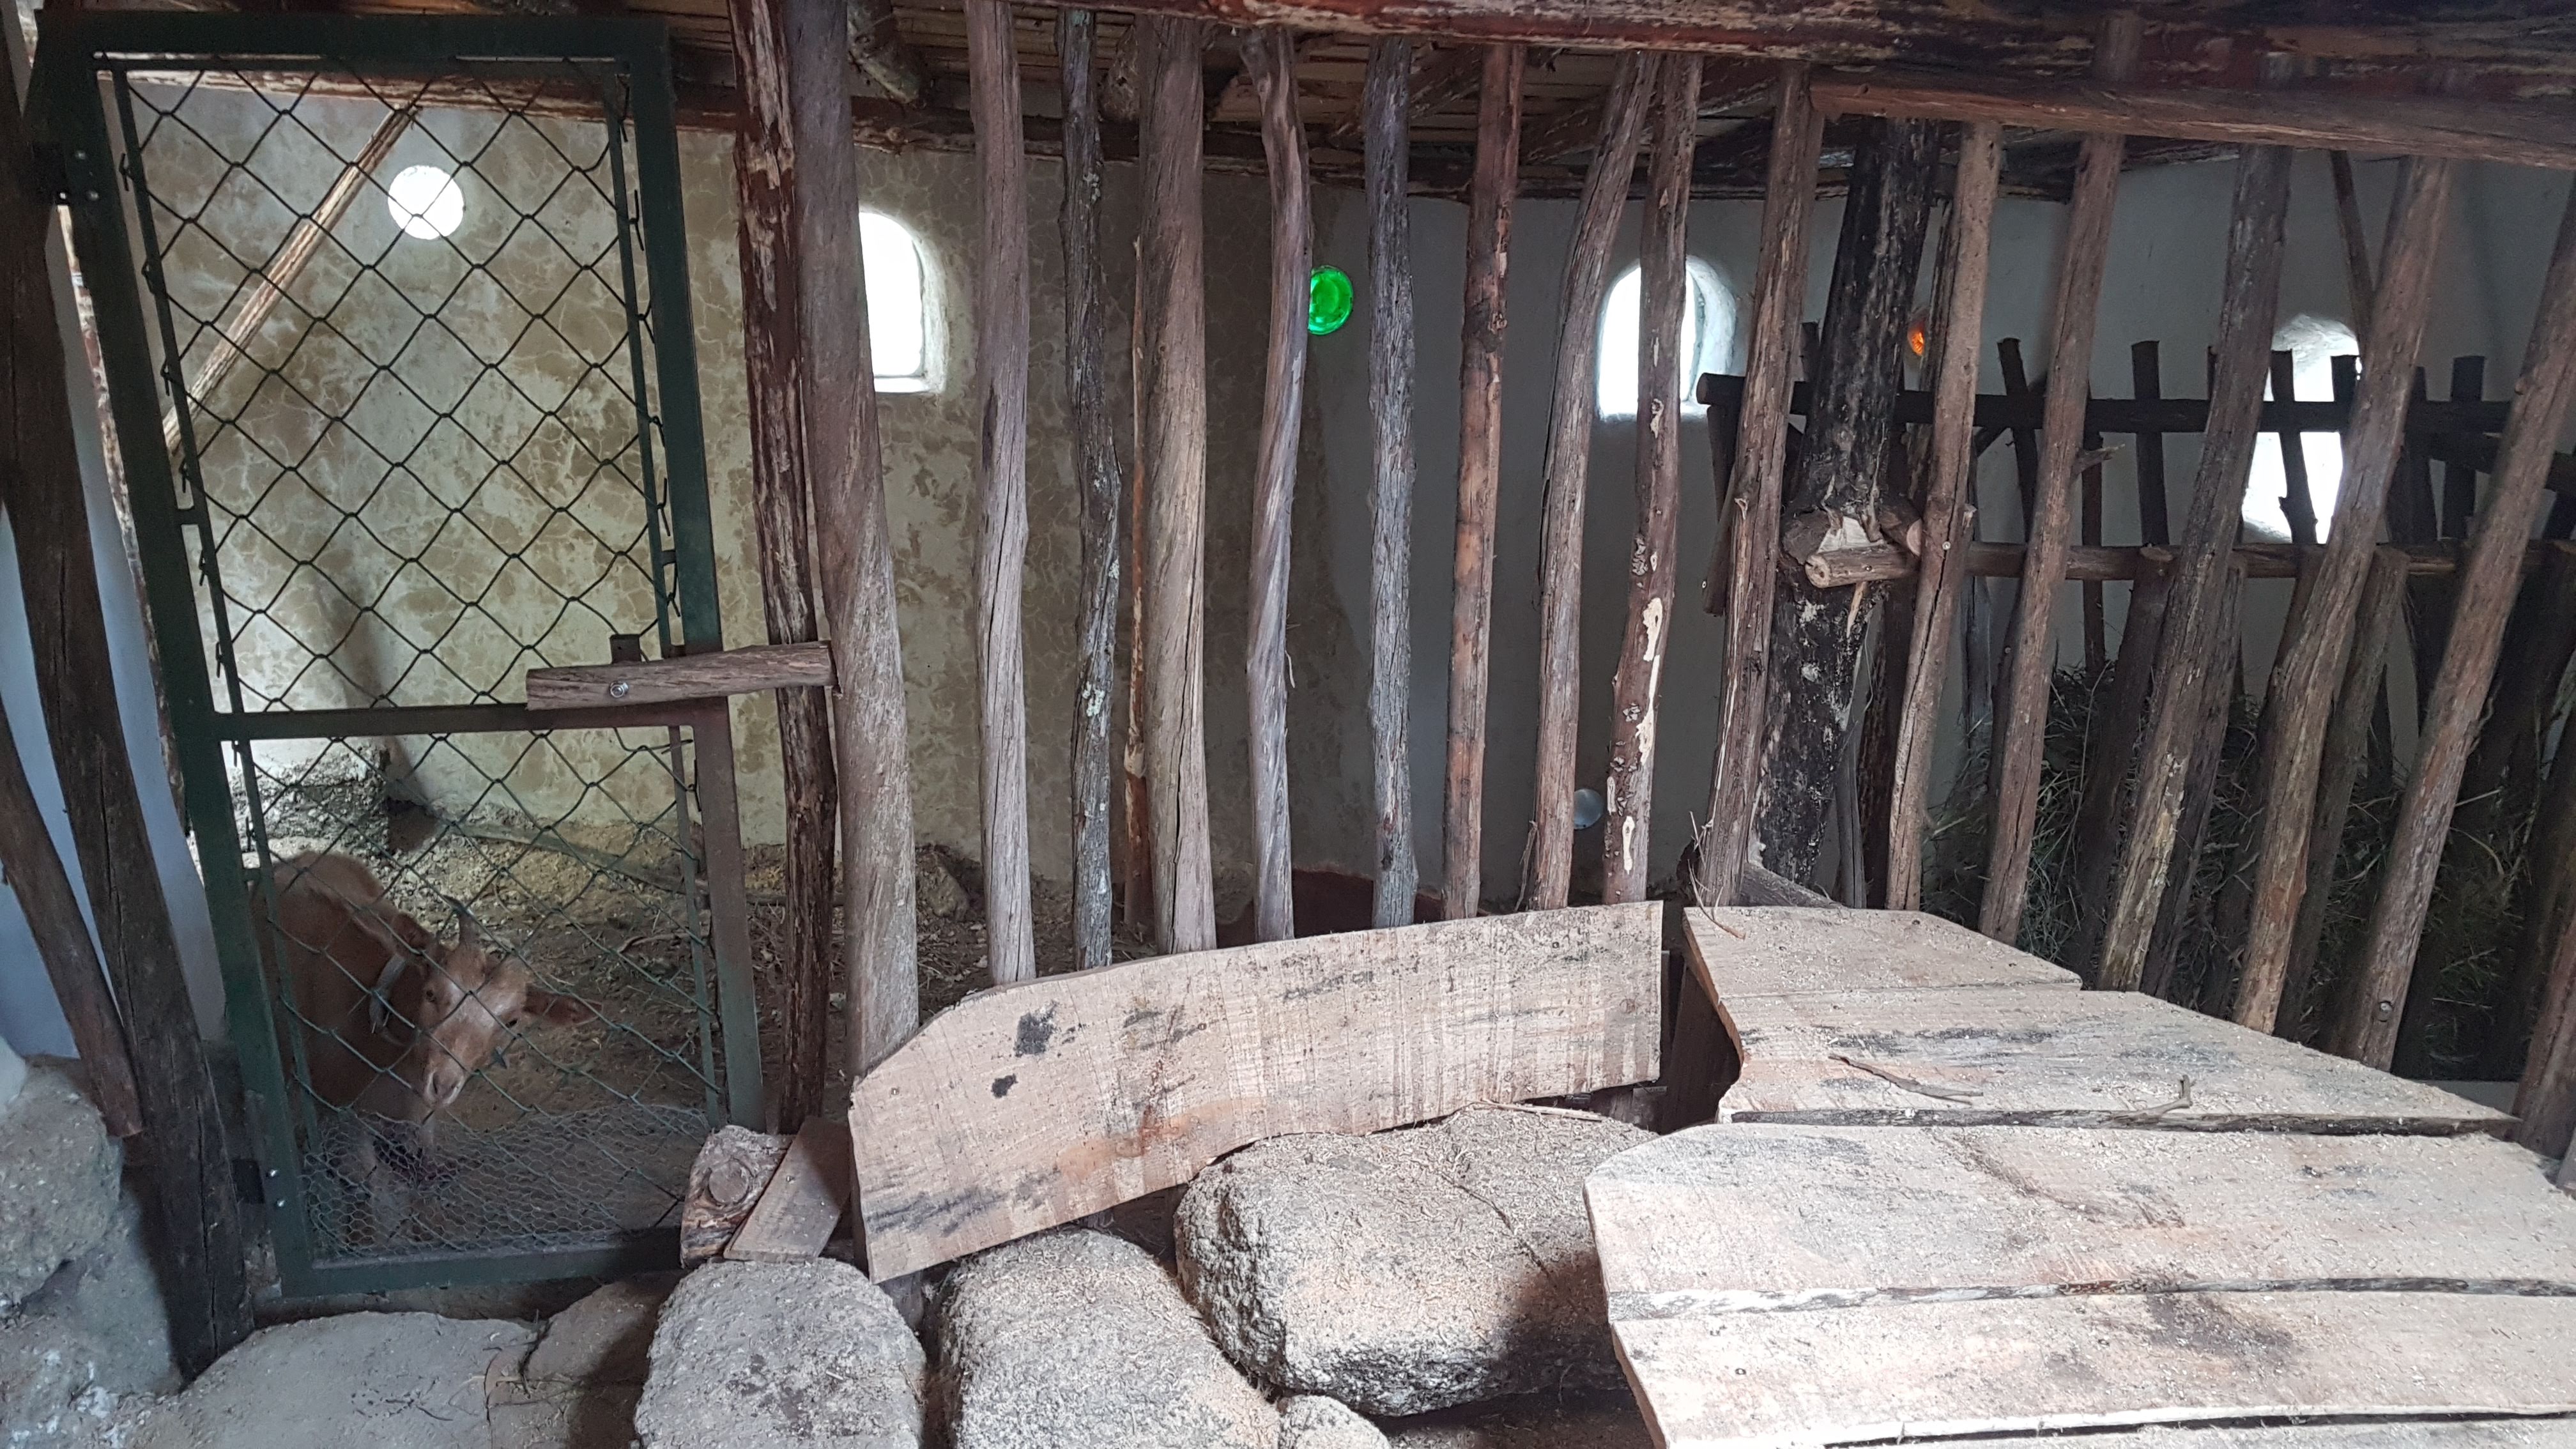
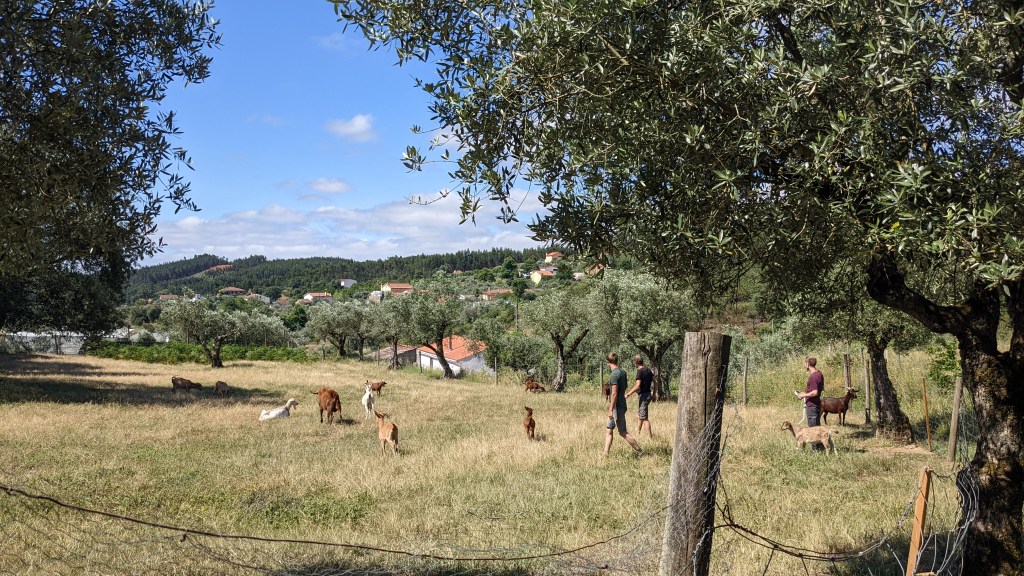
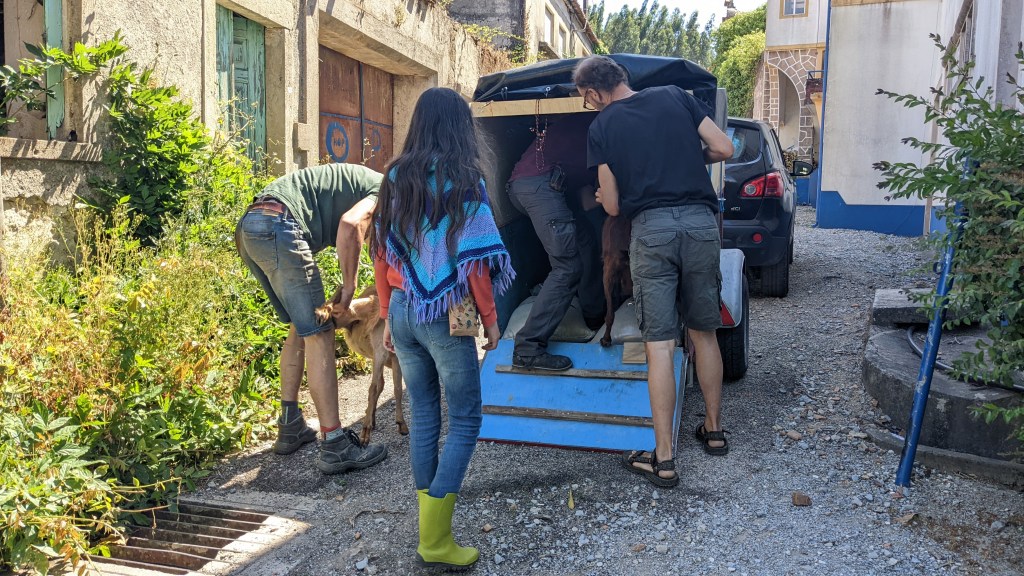
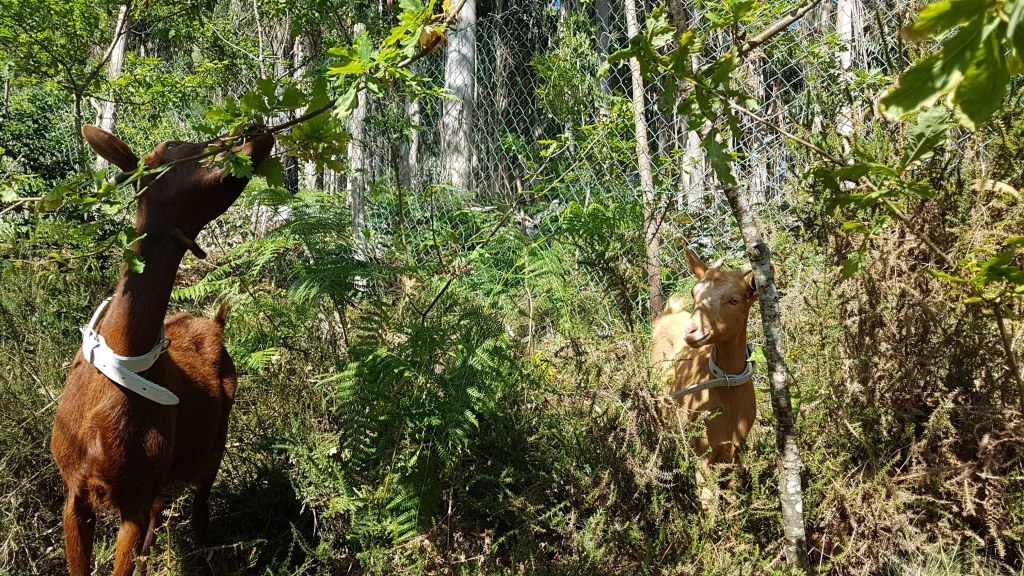
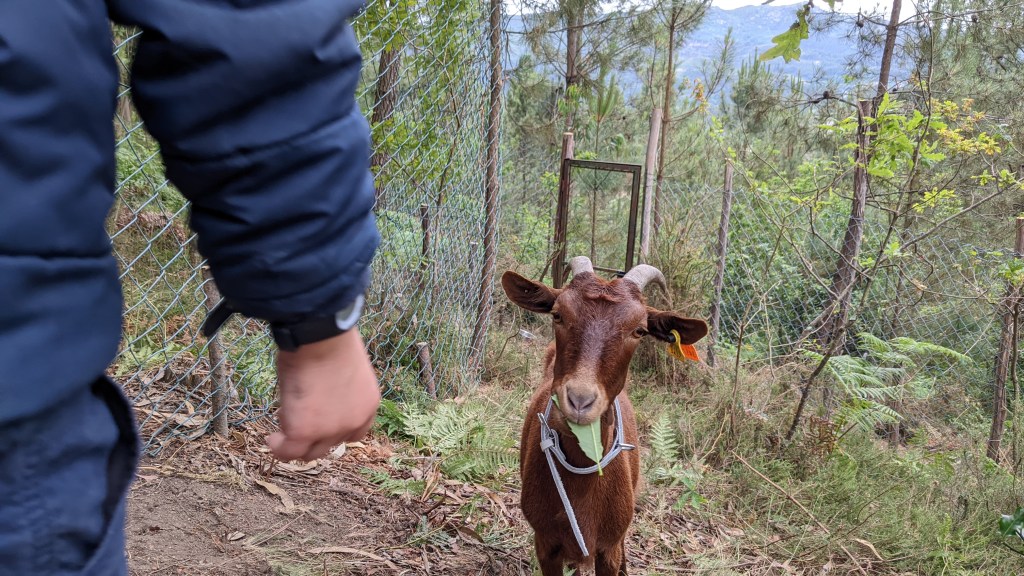
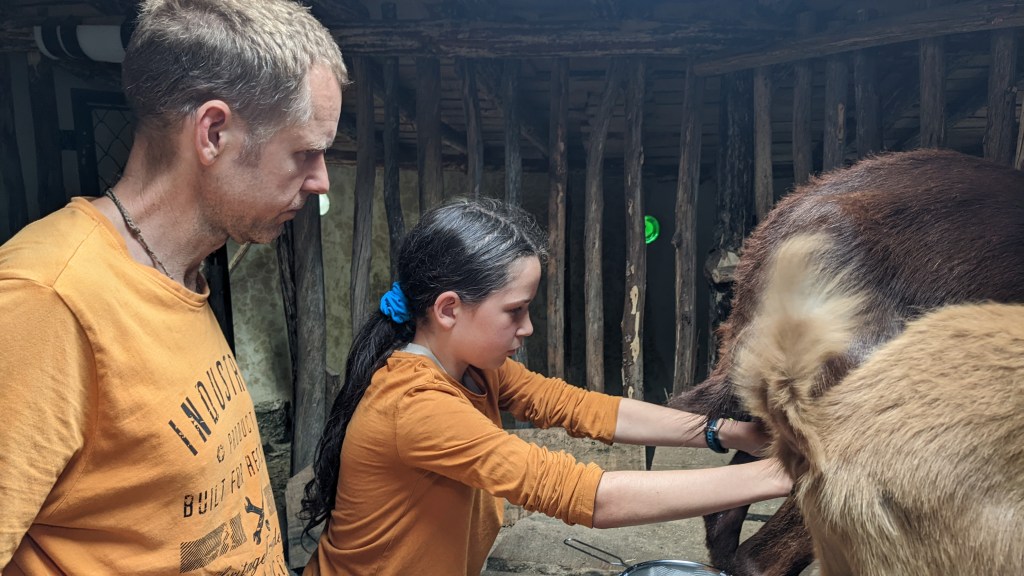
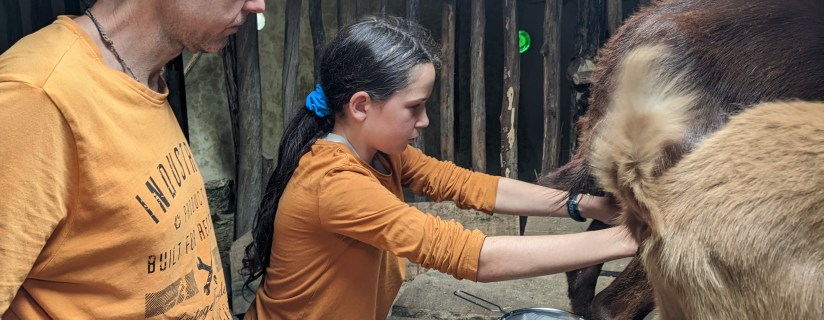
Finally, we were ready for the goats! We drove down to the center of Portugal to pick them up from a Belgian family who had raised them lovingly until then. Adina (“gentle” in Hebrew) is the older one, about 2.5-years old, with the red/brown coat. Lua (“moon” in Portuguese) is about 6-months old, with the beige coat. They are both pregnant, due in the next few months, and Adina is still giving milk from her previous pregnancy—so Haffy and Ella have both had a chance to practice their milking skills.